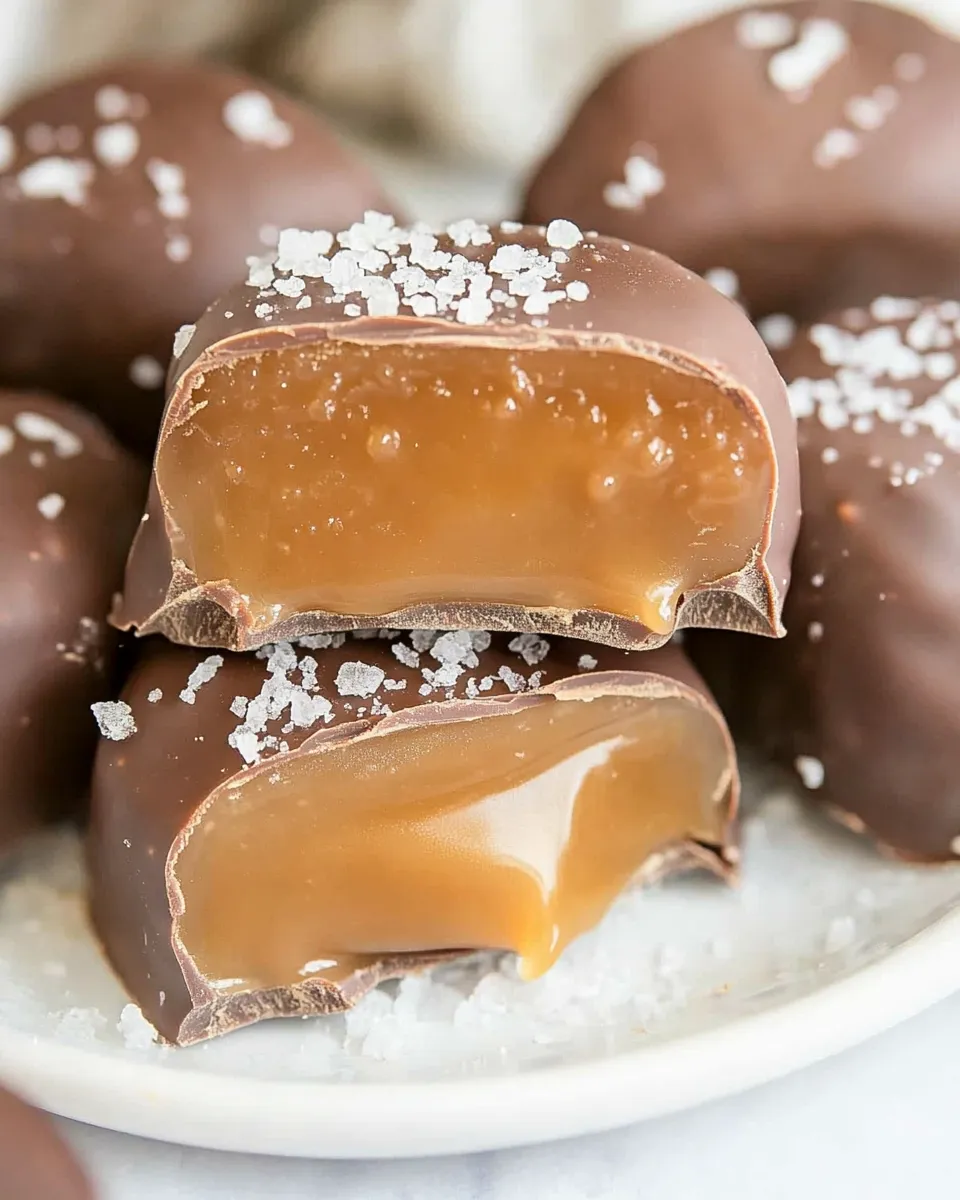
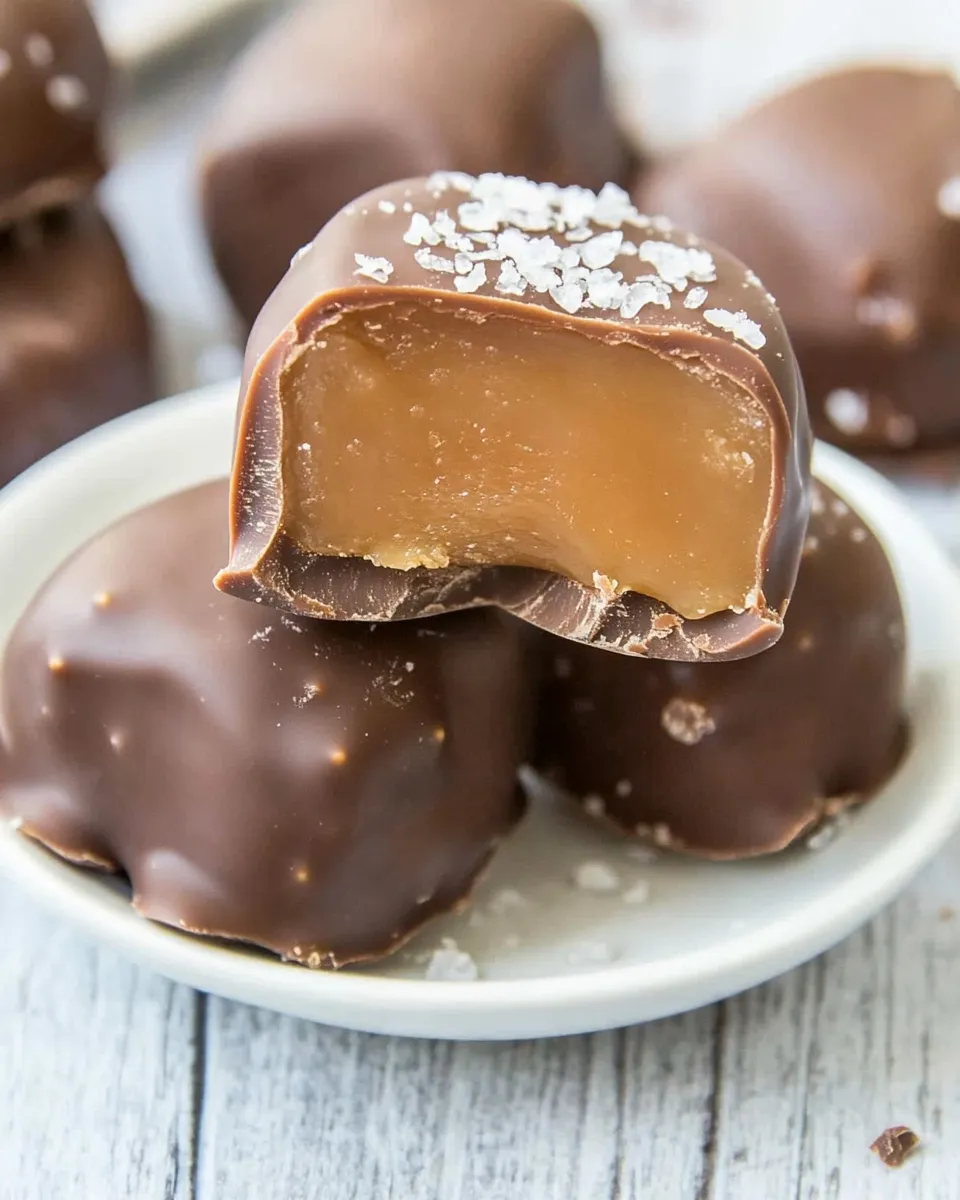
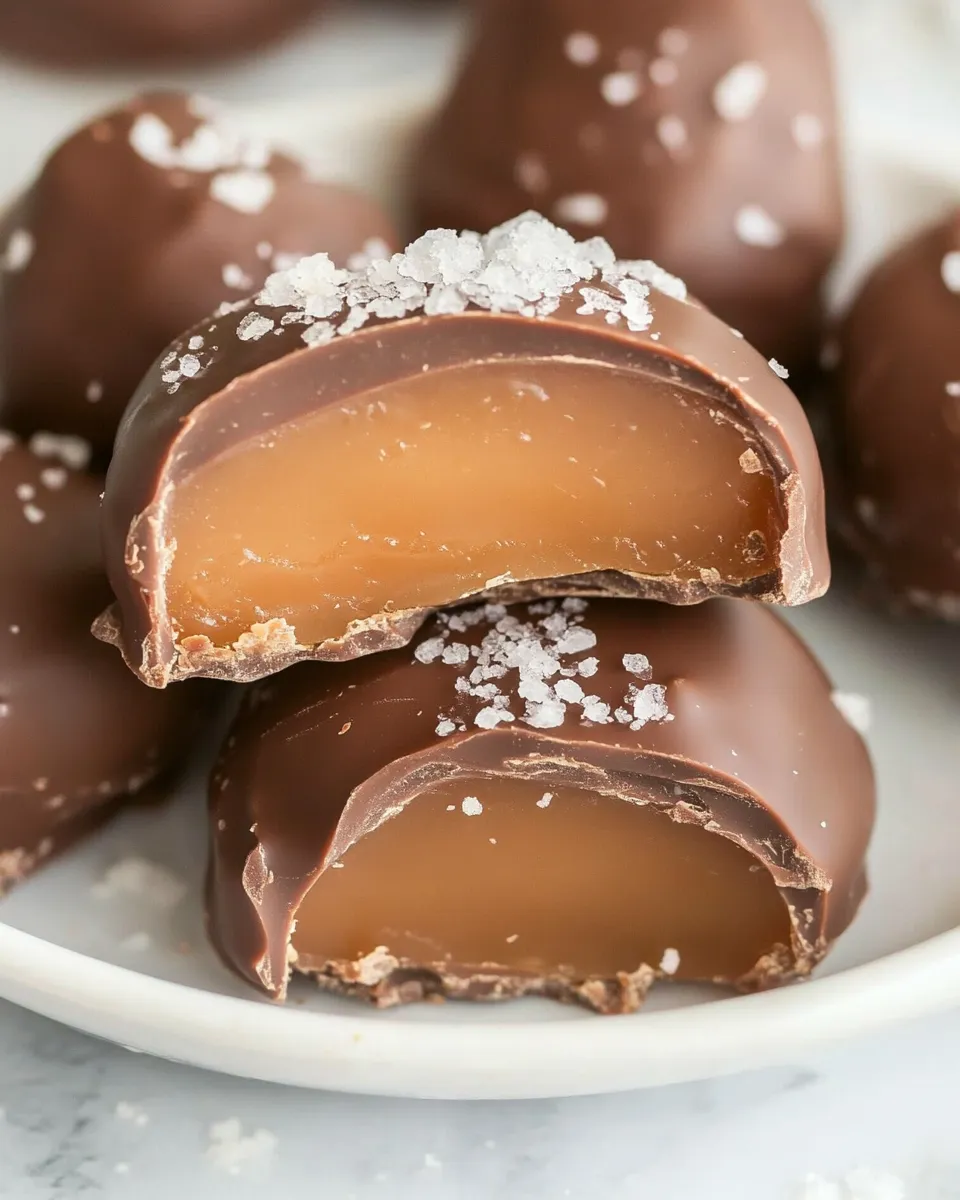
I love recipes that are straightforward to execute and deliver results that feel indulgent. These Salted Chocolate Covered Caramels are exactly that — a small project with a big payoff. You do the work once (or have the caramels ready from a trusted caramel recipe), and the rest is assembly: melting, dipping, and finishing with a tiny sprinkle of sea salt that turns sweet into something unforgettable.
There’s comfort in the method: chill the caramels so they cut cleanly, melt chocolate gently, dip carefully, and let everything set. The texture contrast — soft, chewy caramel under a crisp chocolate shell — is what keeps people coming back for another. I’ll walk you through the exact steps, what gear makes life easier, what to avoid, and a few smart swaps if you’re adapting for diet or pantry constraints.
No fluff, just practical notes: how to tell when chocolate is ready, what “tacky” looks like before salting, and how to store extras so these stay as good the second day as they are on day one. If you’ve ever been intimidated by dipping candy, this recipe will demystify the process and make you confident the first time you try it.
Ingredients at a Glance
- 1 batch homemade soft caramels (about 80 bite-size caramels) — the base: soft, chewable center that you’ve already made and chilled; texture matters for clean cuts and good bite.
- 67 ounce Hershey’s chocolate bars (or other high quality chocolate bar for melting) — chocolate for the shell; use a chocolate bar you enjoy eating because the flavor will be front-and-center.
- sea salt — for topping; a flaky finishing salt gives the best crunchy contrast and brightens the flavors.
Salted Chocolate Covered Caramels — Do This Next
- Make the homemade soft caramels according to your caramel recipe. Once set, refrigerate them (preferably overnight) until firm enough to cut.
- Remove the caramel block from its pan and cut into bite-size squares.
- Line a large jelly-roll pan or baking sheet with a large piece of parchment paper and set aside.
- Break the chocolate called for in the ingredients into small pieces and place them in a large microwave-safe bowl.
- Microwave the chocolate at 50% power for about 2 minutes total, stirring every 30 seconds, until the chocolate is completely melted and smooth.
- Using a toothpick or fork, dip each caramel into the melted chocolate to coat it, letting excess chocolate drip back into the bowl. Place each coated caramel on the prepared parchment paper, spacing them so they do not touch.
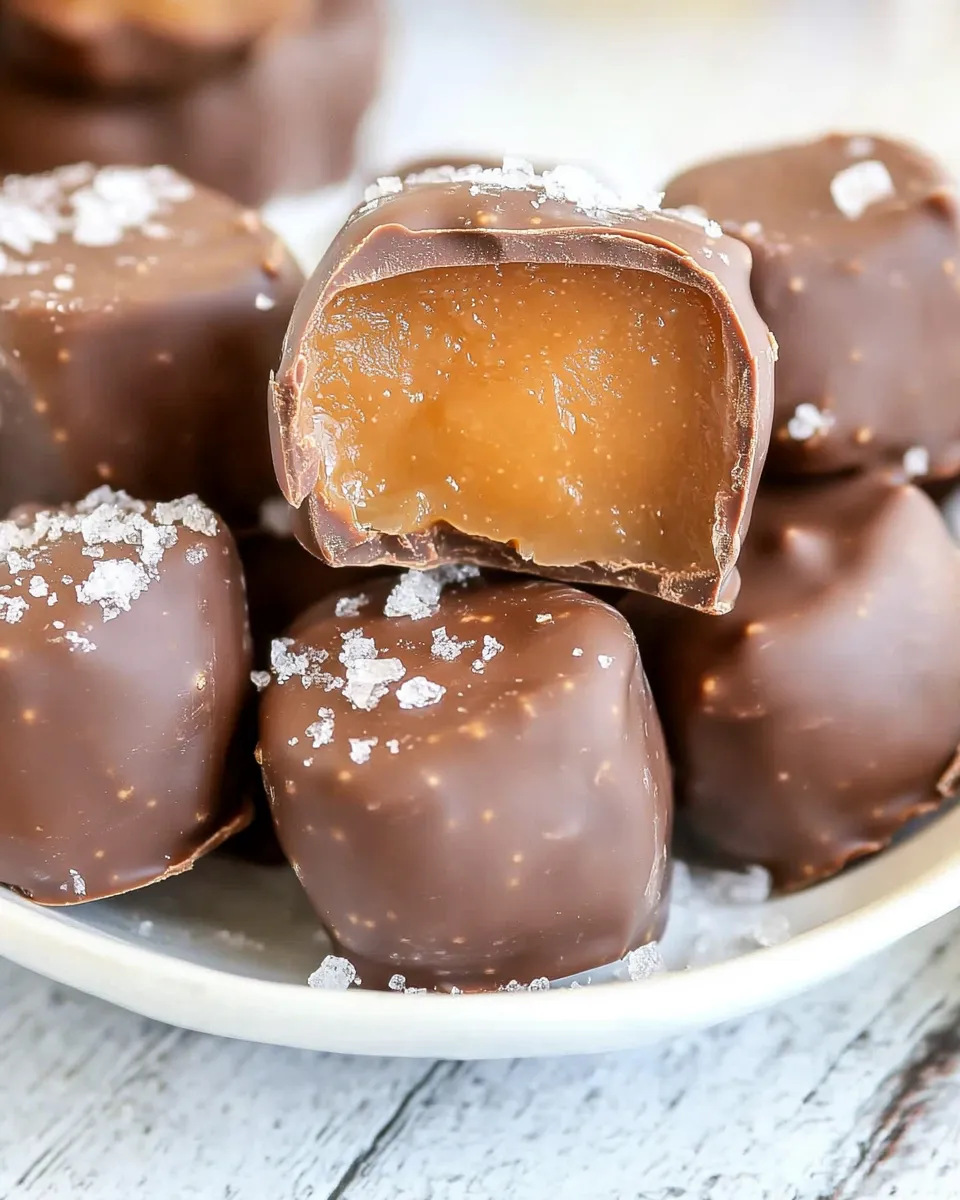
- Allow the coated caramels to sit about 2–3 minutes, until the chocolate begins to firm but is still slightly tacky, then sprinkle each one with sea salt.
- Refrigerate the pan for about 30 minutes, or until the chocolate is fully set.
- Serve and enjoy. Store any extras in the refrigerator or at room temperature, as you prefer.
Why It Works Every Time
There are a few simple reasons this method reliably produces beautiful, delicious caramels. First, chilling the caramel block firms the center, so when you cut squares the edges are clean and the pieces hold their shape. Soft caramels that are too warm will smoosh during dipping and create uneven coatings.
Second, tempering through low-power microwaving with frequent stirring prevents scorching and gives you a smooth, glossy melt without needing special equipment. The 50% power approach slows the process so the chocolate heats evenly; stirring distributes heat and finishes the melt gently.
Finally, the sequence of letting the chocolate begin to firm but remain tacky before salting guarantees the salt adheres without sinking and dissolving into the chocolate, while the final refrigeration step ensures the shell hardens quickly and crisply. Each stage is about control — temperature control, timing, and small hands-on moments — and those add up to consistent results.
Ingredient Flex Options
- Caramels: If you prefer store-bought caramels, choose a firmer, higher-quality brand and chill them before cutting. Softer, oilier caramels will be harder to dip cleanly.
- Chocolate: Swap the Hershey’s bars for any high-quality chocolate bars labeled for baking or melting. Darker chocolate gives a less sweet contrast, milk chocolate is creamier and sweeter. You can also use finely chopped chocolate couverture for a glossy finish if you have it.
- Salt: Flaky sea salt (like Maldon) is ideal for texture and appearance. If all you have is fine salt, use less and sprinkle immediately after coating so it sticks.
Kitchen Gear Checklist
- Large microwave-safe bowl — roomy enough for chocolate and stirring without splashing.
- Sharp knife and cutting board — for cleanly dividing the caramel block into uniform squares.
- Large jelly-roll pan or baking sheet — provides a flat, stable surface for setting the caramels.
- Parchment paper — prevents sticking and makes lifting and clean-up simple.
- Toothpicks or dipping forks — for dipping and transferring each caramel.
- Spatula — for stirring chocolate and scraping the bowl.
- Refrigerator space — for chilling caramels initially and again after dipping.
Don’t Do This
- Don’t skip the chill. Dipping warm or soft caramels results in misshapen candies and uneven chocolate shells.
- Don’t rush the melting. High microwave power scorches chocolate quickly; if it looks grainy or smells burnt, it’s ruined for dipping.
- Don’t overcrowd the pan. If coated caramels touch before the chocolate sets they’ll stick together and ruin the finish.
- Don’t add salt while the chocolate is fully liquid. Adding salt too early will make it sink and dissolve — you want that crystalline pop on top.
Make It Diet-Friendly
There are a few ways to adapt these Salted Chocolate Covered Caramels to different dietary needs, though options are limited because the texture and flavor rely on the ingredients listed.
- Dairy-free / vegan: Use a vegan caramel recipe for the base and choose dairy-free chocolate bars made with cocoa butter alternatives. Look for vegan chocolate labeled explicitly vegan.
- Lower sugar: You can experiment with reduced-sugar or sugar-free chocolate that melts well; results vary, so test a small batch. Replacing the caramel itself with a lower-sugar candy will fundamentally change texture and chew.
- Smaller portions: Make the caramels bite-size (as indicated) or trim squares smaller before coating to reduce per-piece calories without changing ingredients.
Notes on Ingredients
1 batch homemade soft caramels: The recipe calls for a batch of soft caramels as the foundation. The success of the finished candy depends on the caramel’s consistency — it should be pliable and chewable but solid enough to cut into squares. If your caramel recipe yields a sticky, runny result, refrigerate longer until it firms.
67 ounce Hershey’s chocolate bars (or other high quality chocolate bar for melting): Using a bar you like eating is important. Chocolate flavor is highly noticeable when paired with caramel, so choose milk or dark according to preference. If your chocolate includes additives or a lot of vegetable oil, expect a different mouthfeel and sheen.
Sea salt: Choose a flaky finishing salt for the best texture and visual appeal. A fine grind will still add saltiness but won’t provide the satisfying crunch or sparkle on top.
Keep It Fresh: Storage Guide
Store extras either in the refrigerator or at room temperature, depending on your preference and local climate. If your kitchen is warm or humid, refrigeration prevents the chocolate from softening and the caramel from becoming overly tacky. Place the caramels in a single layer or separated by parchment to avoid sticking.
If refrigerated, allow pieces to come to near room temperature before serving so the chocolate and caramel soften slightly — it improves flavor and texture. At room temperature (cool, dry place), they can keep for several days; in the refrigerator, they’ll keep longer, up to two weeks in an airtight container, though I find them best within the first week.
Questions People Ask
- Can I use chocolate chips instead of bars? Yes, but chips often contain stabilizers that prevent smooth melting; use chips labeled for dipping or consider chopping a bar for a smoother melt.
- What’s the best way to get a glossy finish? Proper melting and avoiding water are crucial. If you want a professional gloss, tempering is the best method, but the low-power microwave method here gives a nicely smooth result for home cooks.
- Why did the chocolate bloom or turn gray? Chocolate bloom is caused by fat or sugar recrystallization, usually from temperature swings. Store the finished caramels in a stable, cool environment to reduce bloom.
- Can I double the recipe? Yes, but melt chocolate in batches if your bowl is small. Work efficiently so caramels don’t warm up while you’re dipping the second batch.
The Last Word
These Salted Chocolate Covered Caramels are reliably impressive and approachable. The recipe divides into clear stages: make or source good caramels, chill and cut, melt chocolate gently, dip carefully, and finish with salt while the shell is tacky. Follow those steps and you’ll have a tray of elegant, irresistible sweets in a single afternoon.
Keep the process intentional — small touches like the right salt, even spacing on the parchment, and gentle stirring make a difference. No showy equipment required, just patience and attention. If you try them, consider making two batches: one to share and one to keep for yourself. You’ll be glad you did.
Salted Chocolate Covered Caramels
Equipment
- jelly-roll pan
- Baking Sheet
- Parchment Paper
- Large microwave-safe bowl
- Microwave
- Toothpick
- Fork
Ingredients
Ingredients
- 1 batchhomemade soft caramels about 80 bite-size caramels
- 67 ounceHershey's chocolate bars or other high quality chocolate bar for melting
- sea saltfor topping
Instructions
Instructions
- Make the homemade soft caramels according to your caramel recipe. Once set, refrigerate them (preferably overnight) until firm enough to cut.
- Remove the caramel block from its pan and cut into bite-size squares.
- Line a large jelly-roll pan or baking sheet with a large piece of parchment paper and set aside.
- Break the chocolate called for in the ingredients into small pieces and place them in a large microwave-safe bowl.
- Microwave the chocolate at 50% power for about 2 minutes total, stirring every 30 seconds, until the chocolate is completely melted and smooth.
- Using a toothpick or fork, dip each caramel into the melted chocolate to coat it, letting excess chocolate drip back into the bowl. Place each coated caramel on the prepared parchment paper, spacing them so they do not touch.
- Allow the coated caramels to sit about 2–3 minutes, until the chocolate begins to firm but is still slightly tacky, then sprinkle each one with sea salt.
- Refrigerate the pan for about 30 minutes, or until the chocolate is fully set.
- Serve and enjoy. Store any extras in the refrigerator or at room temperature, as you prefer.