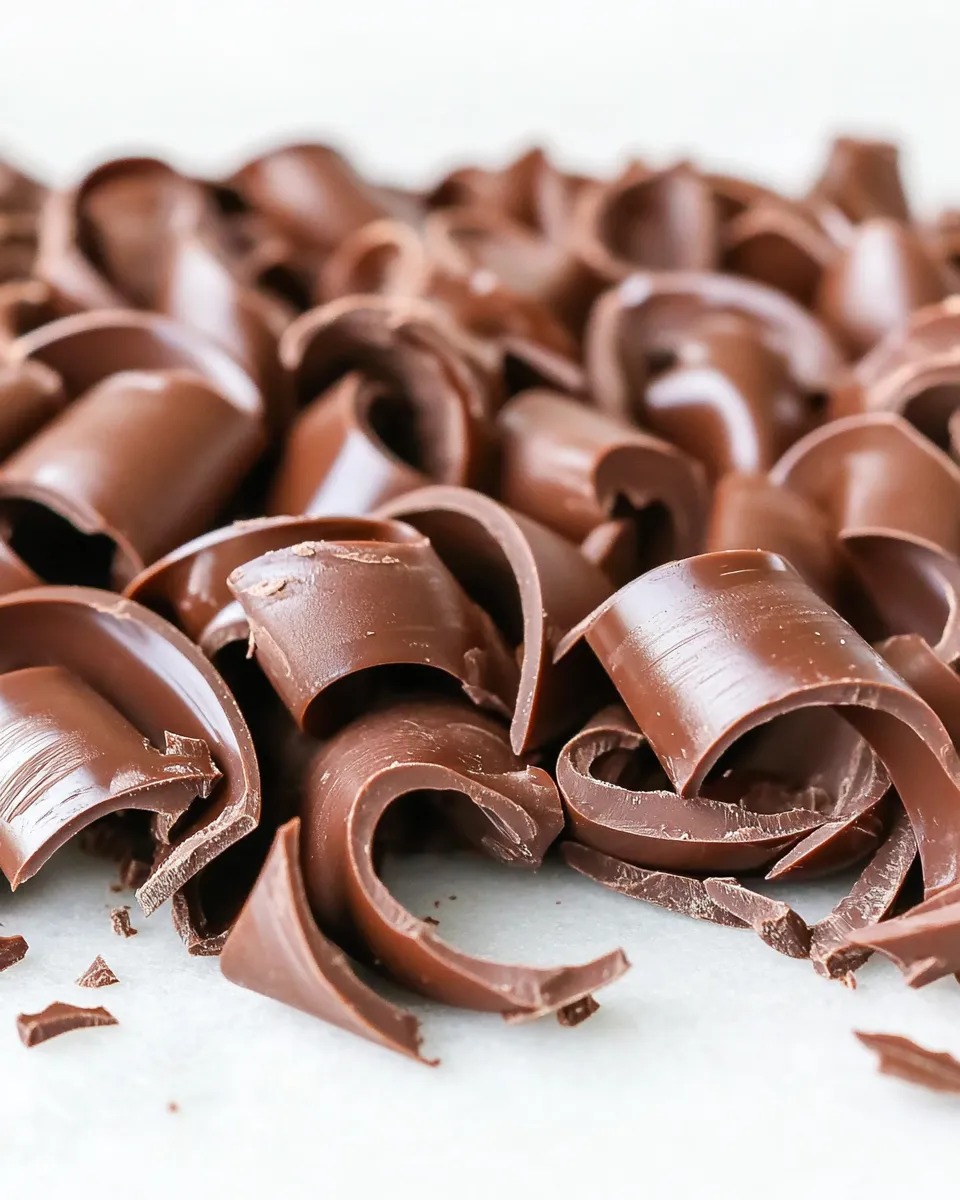
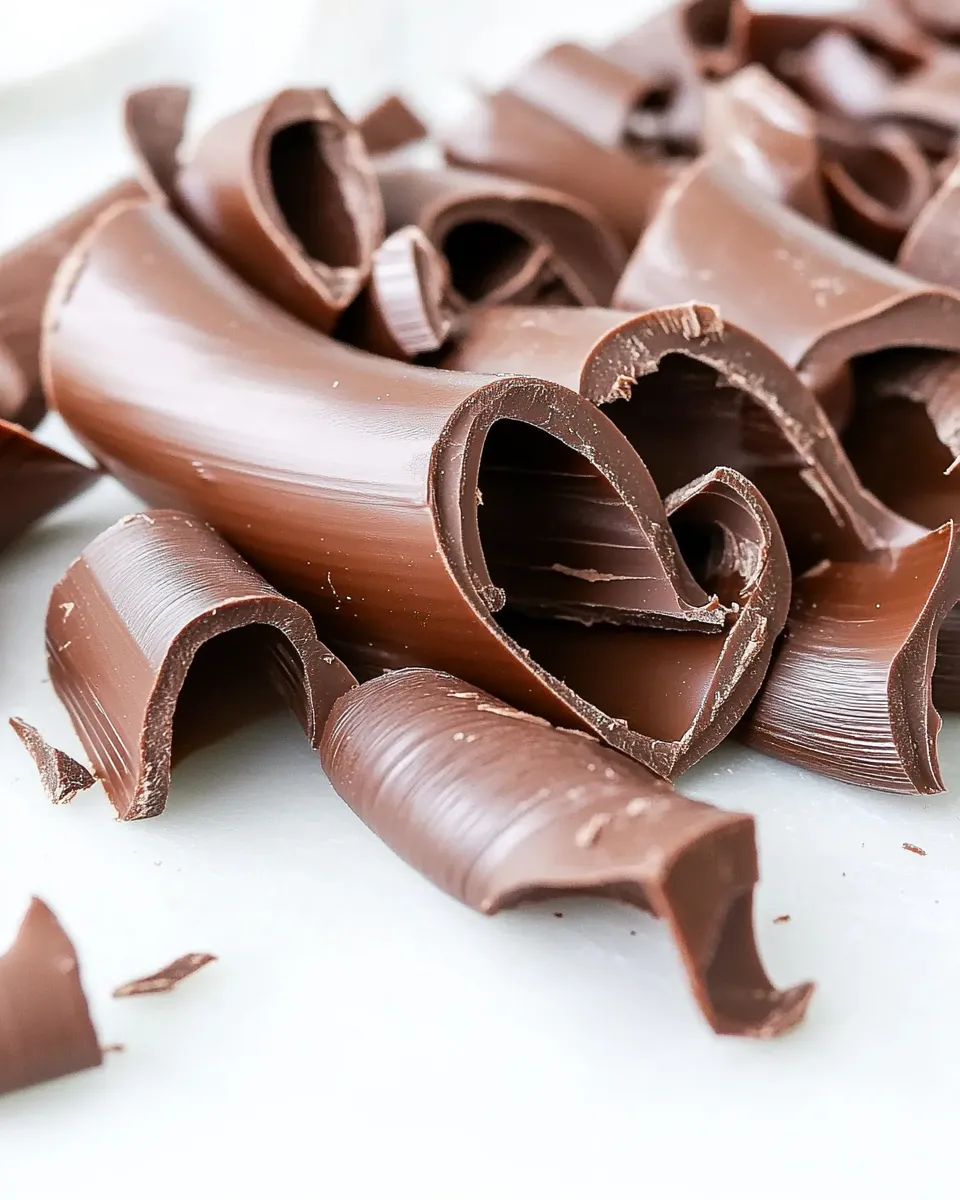
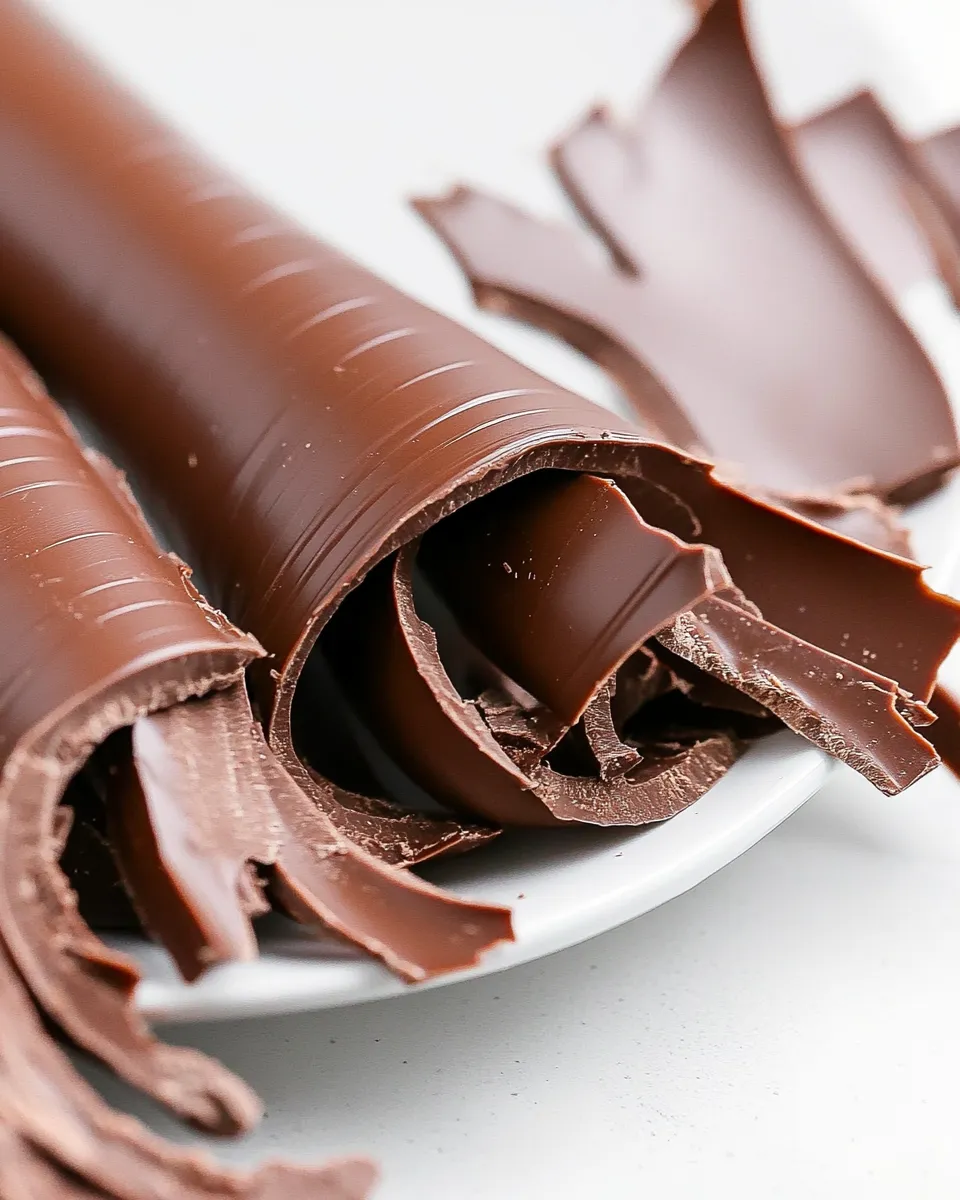
Chocolate curls are one of those small, elegant details that make a dessert feel finished. They look delicate but are surprisingly straightforward to make at home. With one cup of good chocolate and a few tools you probably already own, you can create bakery-style garnishes in minutes.
I use curls on cakes, cupcakes, plated desserts, and even on hot drinks when I want a pretty touch. The technique is all about temperature and timing — get those right and the chocolate behaves exactly how you want. Below I give a clear, step-by-step method and practical tips so you can stop buying decorations and start making them yourself.
What You’ll Gather
Ingredients
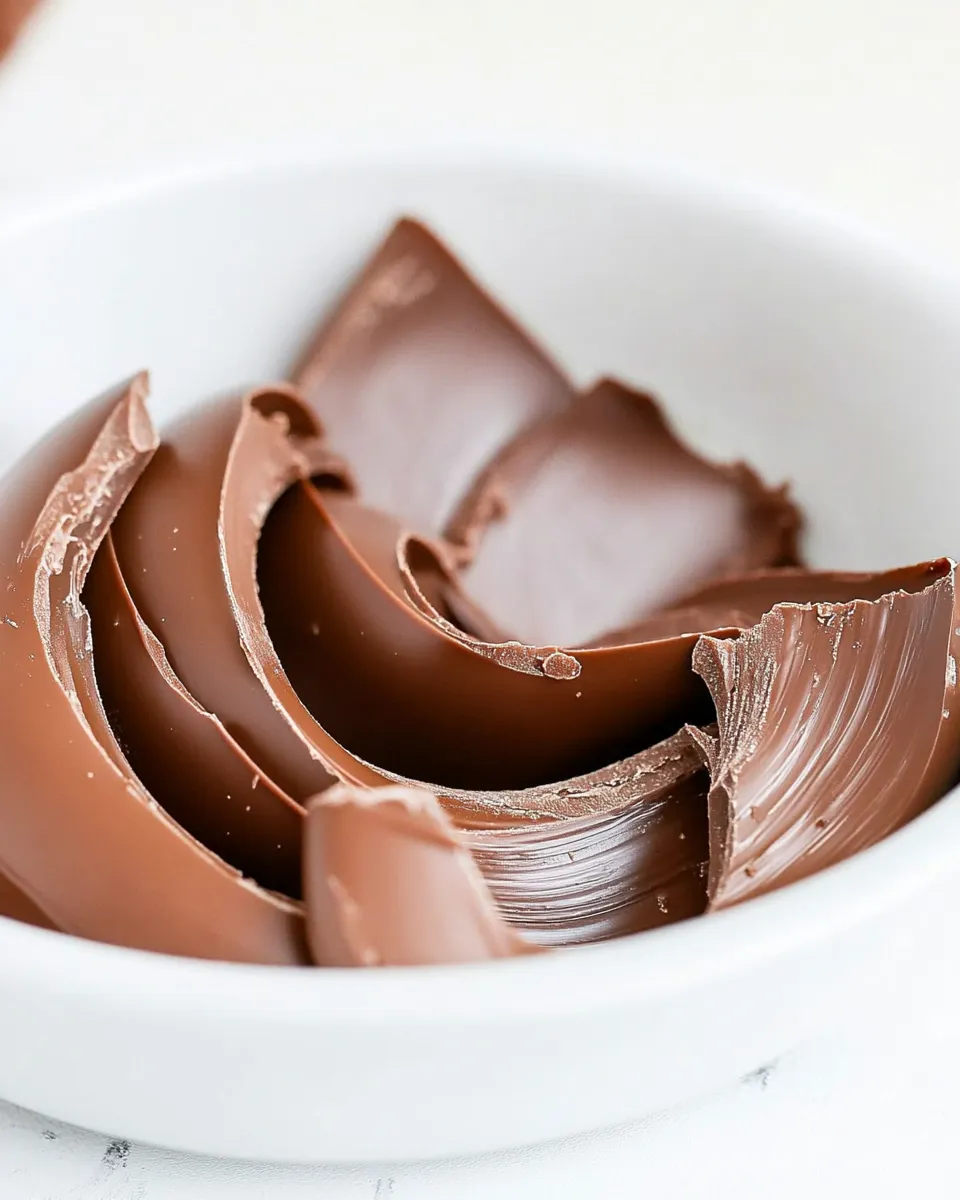
- 1 cup Ghirardelli Baking Chips, or a bar of Baker’s Chocolate, chopped — this is the only ingredient; use good-quality chocolate so the curls look glossy and hold their shape.
Stepwise Method: Chocolate Curls
- Place 1 cup chocolate (Ghirardelli baking chips or a chopped bar of Baker’s chocolate) in a clean, dry heat-proof bowl.
- Melt the chocolate either:
- Double boiler: set the bowl over a saucepan containing about 2 inches of simmering water (water should not touch the bowl). Stir the chocolate until completely smooth, then remove the bowl from the heat; or
- Microwave: heat at 50% power, stopping to stir every 30 seconds, until the chocolate is completely smooth.
- Place a baking sheet upside down (use the back side) on a flat surface. Pour the melted chocolate onto the back of the baking sheet.
- Use an offset spatula to spread the chocolate into as thin and even a layer as you can over an area roughly the size you want the curls to cover.
- Chill the baking sheet so the chocolate firms to the right consistency: refrigerate for about 5 minutes or place in the freezer for 2–3 minutes.
- Remove the baking sheet and let it rest at room temperature for 1–2 minutes so the chocolate surface loses the extreme chill but is not soft.
- Hold a metal spatula or bench scraper horizontally and press its edge firmly against the chocolate at about a 45° angle. Push the scraper forward along the chocolate surface so the chocolate lifts and curls over itself. Work in sections as needed.
- Troubleshooting:
- If the chocolate shatters into small pieces instead of curling, it is too cold — let the sheet warm a little longer at room temperature.
- If the chocolate lifts limp and won’t curl, it is too soft — return the sheet to the fridge for 30 seconds to 1 minute, then try again.
- Transfer the finished curls carefully to a plate. If they need to firm up more, refrigerate the plate for about 1 minute.
- Store the chocolate curls in an airtight container or bag in the refrigerator for several days, or until ready to use.
Why This Recipe Belongs in Your Rotation
Because small touches matter. A handful of chocolate curls instantly elevates a simple cake or dessert to something that looks considered and professional. You don’t need a pastry degree to get it right — you need patience and attention to temperature.
Making your own curls also means you control quality and flavor. Store-bought decorations can taste waxy or be overly sweet. With real baking chips or a chopped chocolate bar, your garnish will melt beautifully on the tongue and pair cleanly with other flavors.
It’s also efficient. One cup of chocolate yields a decent pile of curls, and the whole process can take less than 20 minutes from melting to finished garnish. Once you’ve practiced a couple times, you’ll be able to plan decorations as easily as you plan a frosting or glaze.
Smart Substitutions
- Different chocolate types — swap semisweet, dark, or milk chocolate depending on the dessert. Darker chocolate gives firmer curls with less sweetness; milk chocolate curls will be softer and sweeter.
- Chocolate chips vs. chopped bar — either works. Chips melt consistently, while a chopped bar usually gives slightly glossier results because it’s from a single block; both produce good curls.
- Size and thickness — spread the chocolate thinner for delicate, smaller curls; leave it a touch thicker for large statement curls. Adjust chilling time accordingly (thicker layers need slightly more time).
Tools of the Trade
Essential
- Heat-proof bowl — for melting the chocolate safely over simmering water.
- Offset spatula — to spread the chocolate into an even layer.
- Metal spatula or bench scraper — to lift and form the curls (a clean, sharp edge works best).
- Baking sheet (upside down) — provides a flat, smooth surface; use the back side as instructed.
- Refrigerator or freezer — to set the chocolate to the right firmness quickly.
Nice to have
- Digital thermometer — helpful if you want to be precise about chocolate tempering, though not required for basic curls.
- Parchment or silicone mat — if you prefer not to use the back of your baking sheet, these give a smooth surface for spreading chocolate.
Avoid These Traps
Temperature is the number-one trap. If the chocolate is too cold it will shatter; too warm and it won’t hold form. Follow the chill-and-rest sequence: cool enough to firm, then rest a minute to take off the edge of the chill.
Don’t work on an uneven or warm surface. A warped baking sheet or a counter near a hot stove will affect how uniformly the chocolate sets. Use a flat, cool workspace and spread the chocolate as evenly as possible.
Finally, use dry tools and bowls. Any water introduced to chocolate will seize it into a grainy mess. Wipe and dry everything before you start melting.
Customize for Your Needs
Change scale easily. Double or triple the chocolate for larger projects; spread across multiple sheets so each layer is thin and manageable. For smaller, delicate desserts, make a thinner layer and use a smaller scraper for finer curls.
Try two-tone curls by spreading a base layer of dark chocolate, letting it set slightly, then adding a thin streak of white chocolate on top and curling both together for marbled pieces. Work quickly; the two layers should be tacky but not fully soft.
For different shapes, vary the angle and the type of scraper. A rounded spatula gives looser spirals; a straight bench scraper yields tighter curls. Practice on a small strip before committing to a full sheet.
Behind-the-Scenes Notes
Why the back of the baking sheet? It’s usually smoother and free of baking residue. That smoothness helps create even curls without indentations. I always flip my sheet so the underside faces up — it’s a small step that makes a big visual difference.
The reason you chill then rest is physics: chilling firms the chocolate so it can hold structure; resting brings the surface temperature into the “bend but not break” zone. If you skip the rest, curls will fracture; skip chilling and the chocolate will fold without shape.
Quality chocolate matters. Cheaper coatings or candies contain stabilizers and fats that behave differently when cooled. If you want glossy, stable curls, choose a real baking chip or a chocolate bar from a reliable brand.
Prep Ahead & Store
Make curls a day or two ahead. Place them in a single layer in an airtight container or bag and store in the refrigerator. Take care when stacking; use parchment between layers if necessary to prevent sticking and breakage.
For longer storage, keep them chilled and sealed against moisture. Chocolate can take on fridge odors, so use an airtight container. When ready to use, bring the curls to just above fridge temperature (a minute at room temperature) before placing on a dessert so they don’t sweat.
Quick Questions
- My curls keep breaking — now what? — They’re too cold. Let the sheet sit at room temperature a few more minutes and try again, or warm the blade slightly between attempts.
- They won’t curl; they flop instead. — The layer is too soft. Return the sheet to the fridge for 30–60 seconds, then retry.
- Can I temper chocolate for extra shine? — Yes. Tempering gives extra snap and gloss, but it isn’t required for basic curls. If you temper, the timing will change slightly because tempered chocolate firms differently.
- How do I transport decorated desserts? — Keep the cake chilled and boxed. Add curls as late as possible, ideally at the venue, to avoid handling bumps and condensation.
See You at the Table
Making chocolate curls is a small skill with a big payoff. Once you’ve practiced the temperature and pressure a few times, you’ll get consistent results and be able to add a professional touch to everyday desserts. Keep your tools clean, watch the chocolate, and don’t rush the chill-rest-curl rhythm.
Try it this weekend on a simple chocolate cake or a batch of cupcakes. Leave a note about what worked for you — I love hearing practical tweaks that make the process smoother. Enjoy the tiny, beautiful details. They’re worth the few extra minutes.
How to Make Chocolate Curls
Equipment
- Metal Scraper
Ingredients
Ingredients
- 1 cupGhirardelli Baking Chips or a bar of Baker's Chocolate, chopped
Instructions
Instructions
- Place 1 cup chocolate (Ghirardelli baking chips or a chopped bar of Baker’s chocolate) in a clean, dry heat-proof bowl.
- Melt the chocolate either: - Double boiler: set the bowl over a saucepan containing about 2 inches of simmering water (water should not touch the bowl). Stir the chocolate until completely smooth, then remove the bowl from the heat; or - Microwave: heat at 50% power, stopping to stir every 30 seconds, until the chocolate is completely smooth.
- Place a baking sheet upside down (use the back side) on a flat surface. Pour the melted chocolate onto the back of the baking sheet.
- Use an offset spatula to spread the chocolate into as thin and even a layer as you can over an area roughly the size you want the curls to cover.
- Chill the baking sheet so the chocolate firms to the right consistency: refrigerate for about 5 minutes or place in the freezer for 2–3 minutes.
- Remove the baking sheet and let it rest at room temperature for 1–2 minutes so the chocolate surface loses the extreme chill but is not soft.
- Hold a metal spatula or bench scraper horizontally and press its edge firmly against the chocolate at about a 45° angle. Push the scraper forward along the chocolate surface so the chocolate lifts and curls over itself. Work in sections as needed.
- Troubleshooting: - If the chocolate shatters into small pieces instead of curling, it is too cold — let the sheet warm a little longer at room temperature. - If the chocolate lifts limp and won’t curl, it is too soft — return the sheet to the fridge for 30 seconds to 1 minute, then try again.
- Transfer the finished curls carefully to a plate. If they need to firm up more, refrigerate the plate for about 1 minute.
- Store the chocolate curls in an airtight container or bag in the refrigerator for several days, or until ready to use.
Notes
White Chocolate Chips:
You may substitute high quality white chocolate baking chips, chunks, or a bar.