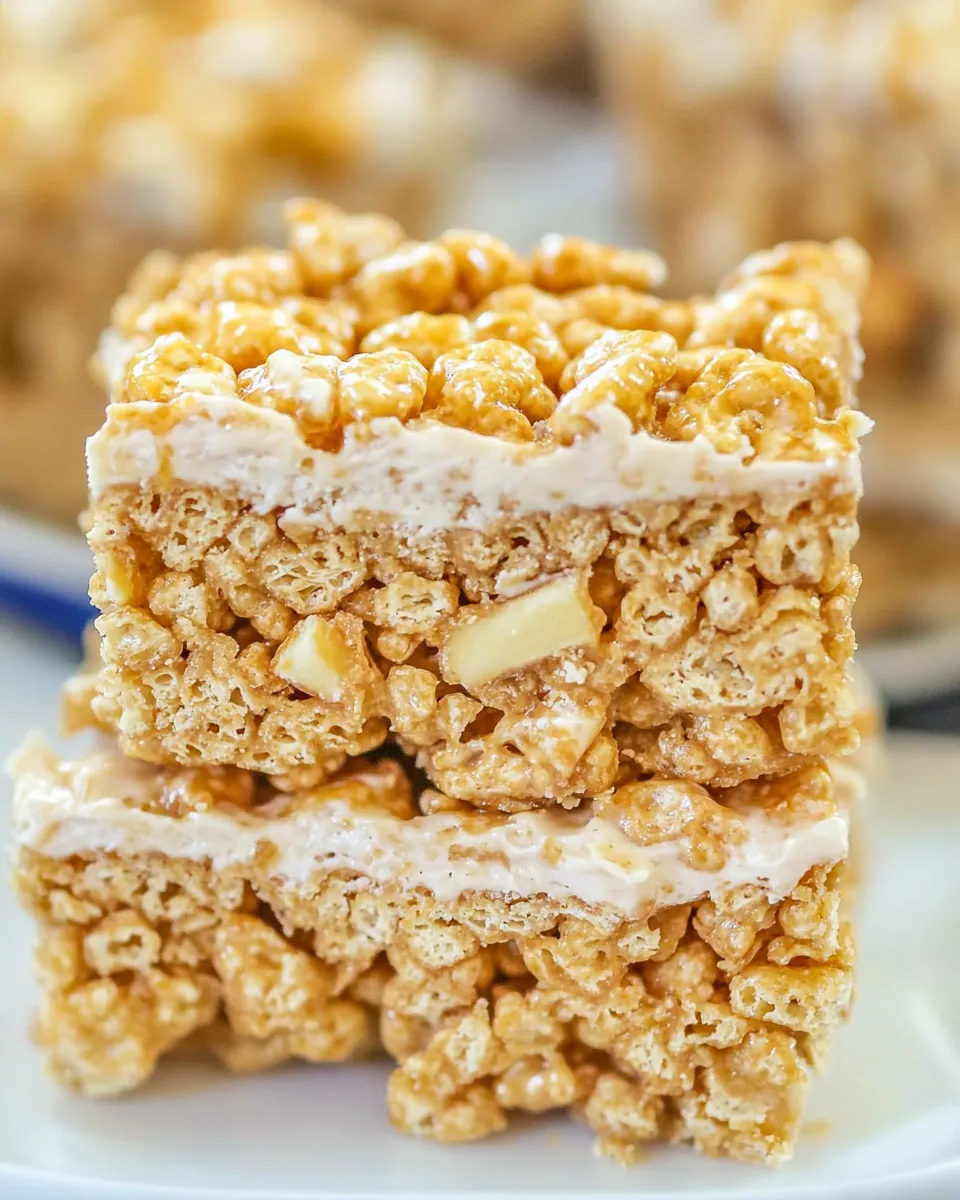
These bars are one of my go-to quick sweets when I need something nostalgic and wildly satisfying. Think classic marshmallow-and-cereal krispie treats, but studded with chopped Butterfinger pieces for a salty-sweet, crunchy surprise in every bite. They come together fast, and everyone seems to disappear them at parties.
I like them for the same reasons you will: minimal bowls, pantry-friendly ingredients, and a short window between “done” and “dangerously addictive.” The marshmallow-cereal base is forgiving, and the Butterfinger pieces keep the texture interesting without extra steps.
I’ll walk you through the exact ingredient list, step-by-step cooking guide, sensible equipment choices, and practical storage tips so these bars are easy to reproduce. No fluff — just reliable, tested instructions and useful tips to keep the outcome consistent every time.
What Goes In
Below are the exact ingredients used in this recipe, followed by brief notes so you know why each one matters. I don’t add extras here — just the essentials that make these bars work.
Ingredients
- 4 tablespoons (57 g) butter, salted or unsalted — Adds richness and helps the marshmallows melt smoothly; salted is fine since Butterfinger has salt already.
- 1 (10 ounce) bag mini marshmallows — The glue that holds everything together; mini melt faster and give a silkier coating than large marshmallows.
- 1 teaspoon vanilla extract — Brightens the marshmallow flavor and balances the sweetness.
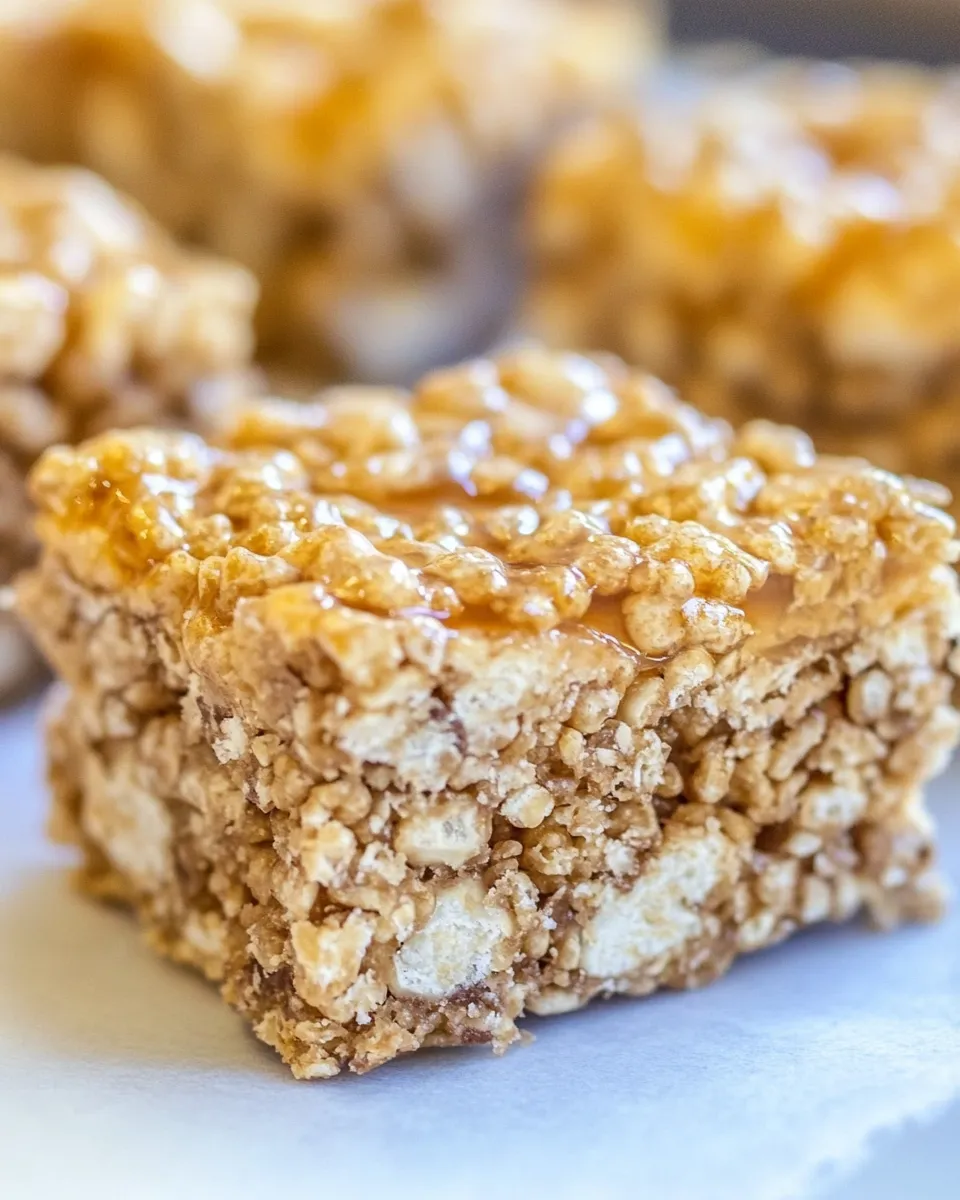
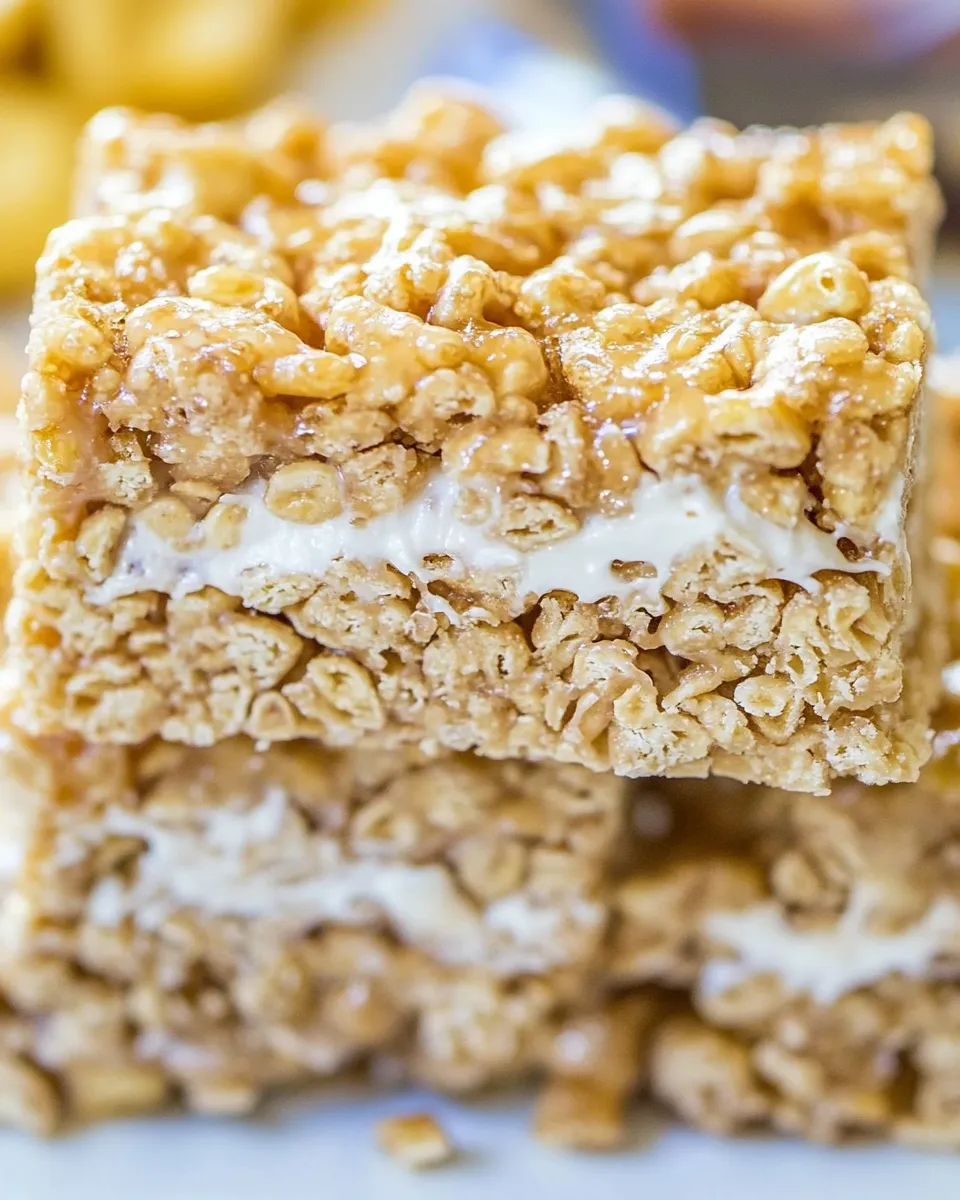
- 6 cups rice krispie cereal — The structure and crispy texture for the bars; measure by cups for ease.
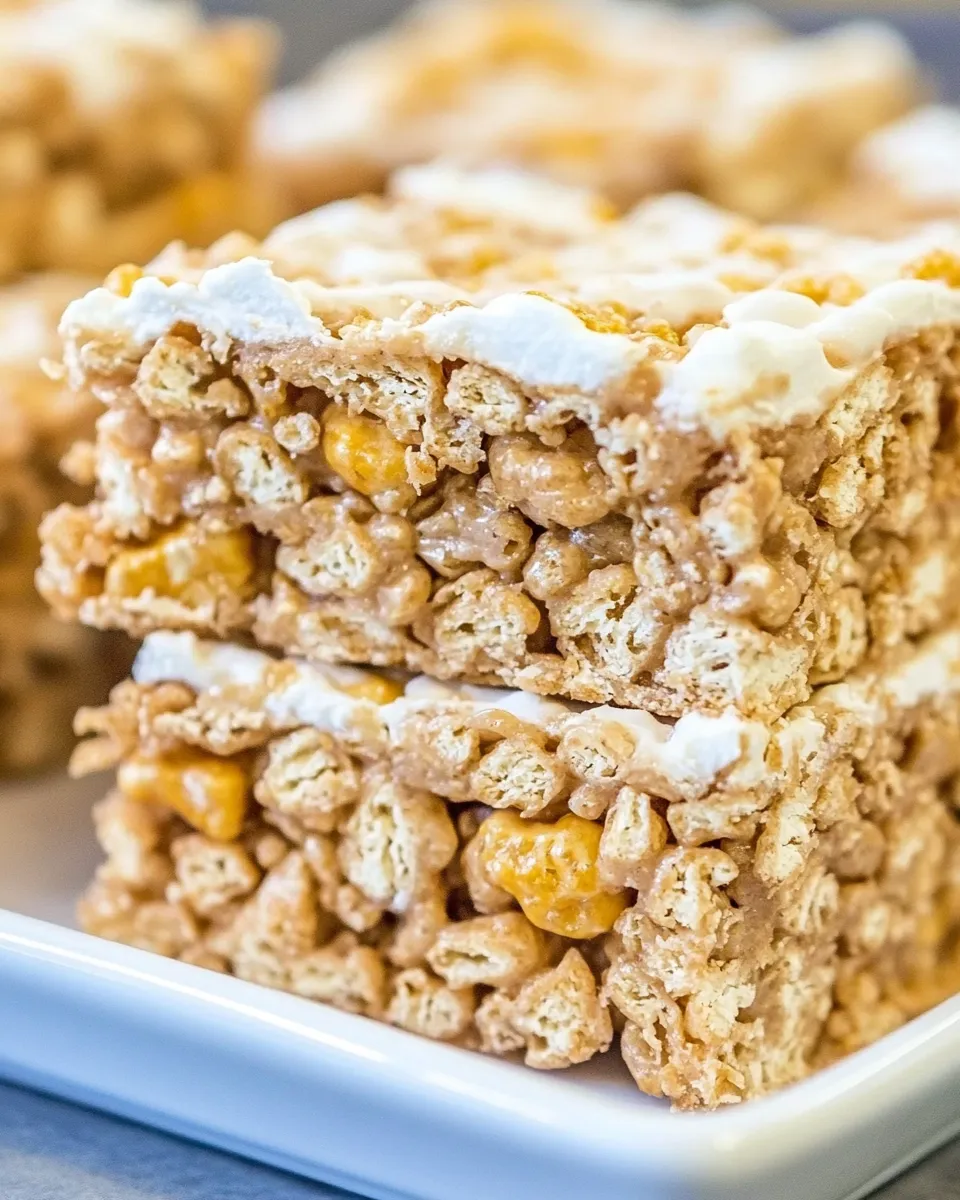
- 2 cups chopped Butterfinger candy bars — The star add-in: chopped pieces spread throughout the bars for crunch and peanut-buttery-caramel flavor.
Butterfinger Krispie Treats Cooking Guide
- Line a 9×13-inch pan with foil and spray the foil well with cooking spray (foil is optional but makes removal easier). Set the pan aside.
- Measure 6 cups rice krispie cereal into a large bowl and set aside. Measure 2 cups chopped Butterfinger candy bars (chop as needed) and set aside.
- In a large microwave-safe bowl combine 4 tablespoons (57 g) butter and the entire 10-ounce bag of mini marshmallows.
- Microwave the butter and marshmallows on 50% power in 1-minute increments, stirring after each increment, until fully melted and smooth — about 2–3 minutes in an 1100W microwave (your time/power may vary).
- Immediately stir 1 teaspoon vanilla extract into the melted marshmallow mixture.
- Add the measured cereal and the 2 cups chopped Butterfinger pieces to the marshmallow mixture. Stir quickly and thoroughly until the cereal and candy are evenly coated.
- Pour the mixture into the prepared pan. Spray your hands lightly with cooking spray and carefully press the mixture evenly and firmly into the pan to compact (the mixture will be hot).
- Allow the bars to cool and set at room temperature until firm. Lift from the pan using the foil (if used) and cut into squares before serving.
Why You’ll Love This Recipe
First, it delivers a familiar childhood favorite with a grown-up twist: the Butterfinger pieces add a crunchy, malted-flavor contrast to the usual pillowy marshmallow binder. That contrast makes these treats more interesting than standard krispie bars.
Second, the technique is forgiving. Even if you slightly overheat the marshmallows or pack the pan a bit differently, you’ll still get a tasty bar. The recipe relies on simple chemistry — melted marshmallows, butter, and cereal — so there’s little room for costly mistakes.
Finally, they travel and store well. Make a pan for school functions, potlucks, or an impromptu movie night. They slice cleanly once cooled and keep their crunch if stored correctly.
Budget & Availability Swaps
- If you can’t find Butterfinger bars or want something different: use an equal volume (2 cups) of another chopped candy bar you like. The texture will change, but the method is the same.
- For a slightly cheaper option, buy Butterfinger bars in bulk or from a discount store and chop them yourself rather than buying pre-chopped or single wrapped pieces.
- If mini marshmallows aren’t available, you can use large marshmallows — about the same total weight — but they take a touch longer to melt and may require more stirring to achieve a smooth melt.
- Unsalted butter is marginally safer if you’re watching sodium, but salted butter saves a step and adds flavor. Either works.
Before You Start: Equipment
- 9×13-inch baking pan — for uniform thickness and easy serving.
- Aluminum foil (optional) — lines the pan for easy lift-out and clean-up.
- Large microwave-safe bowl — roomy enough to stir without spilling; glass works well.
- Measuring cups and spoons — especially for the cereal and butter.
- Cooking spray — to grease the foil and your hands when pressing the mixture into the pan.
- Sturdy spatula and a wooden spoon or heatproof silicone spatula — for mixing and pressing.
Steer Clear of These
A few mistakes are common but easy to avoid. First, don’t skip the step of spraying your hands or using a piece of parchment to press the mixture. The marshmallow mix is hot and sticky; ungreased hands will make a mess and compress the bars unevenly.
Second, avoid over-microwaving in one stretch. Heating in 1-minute increments at 50% power and stirring between helps prevent scorch spots and keeps the marshmallows glossy. If you see browned bits, stop and stir — browning means some sugar has heated too much.
Finally, don’t cut before the bars are cool and set. They’ll fall apart and smear. Let them firm up at room temperature until they hold their shape.
Spring–Summer–Fall–Winter Ideas
These bars are versatile across seasons. Small swaps or serving ideas keep them feeling timely.
- Spring: Cut into small bite-size squares for a brunch or baby shower. They’re light, fun, and pair well with coffee or a simple fruit platter.
- Summer: Package in small clear bags tied with ribbon for pool parties or neighborhood gatherings. Keep them shaded; high heat will soften the candy pieces.
- Fall: Serve with warm apple slices or alongside pumpkin spice treats. The candy pieces add an interesting textural counterpoint to softer seasonal desserts.
- Winter: Dress them up for the holidays by drizzling melted dark chocolate over the top and sprinkling a few extra chopped Butterfinger pieces before the drizzle sets.
Behind-the-Scenes Notes
A few real-world notes from my kitchen: I prefer using mini marshmallows because they melt more quickly and evenly. The texture ends up silkier than when starting with large marshmallows. If you buy large marshmallows, cut them into smaller pieces for a similar melt time.
When chopping the Butterfinger bars, use a sharp knife and a steady hand. Chop them into irregular pieces so you get a mix of small bits and a few larger chunks — that variety in size creates pockets of crunch throughout the bars.
If you prefer your candy pieces less crunchy, fold them in gently and press firmly into the pan. The pressure softens larger bits slightly and tucks them into the structure of the bar.
Save It for Later
Storage is straightforward. Keep the bars in an airtight container at room temperature for up to 3–4 days. If your kitchen is warm, store them in a cool spot or refrigerate briefly to keep the candy pieces from getting too soft.
To freeze: cut into squares, separate layers with parchment, and place in a freezer-safe container. They’ll keep well for up to a month. Thaw at room temperature before serving to return the texture closer to fresh.
FAQ
Can I make these without a microwave?
Yes. Melt the butter and marshmallows in a large saucepan over very low heat, stirring constantly until smooth. Remove from heat, stir in vanilla, then proceed with the cereal and Butterfinger pieces.
Will the Butterfinger pieces melt?
They’ll soften and meld into the marshmallow coating but won’t fully melt into a liquid. That’s what gives the bars those delightful crunchy pockets.
Can I use a different cereal?
Rice krispie cereal is the classic because of its snap and light texture. If you swap to something denser, the bars will be heavier and may need more binder — not recommended without adjusting the recipe.
How do I get clean slices?
Use a sharp knife and wipe it clean between cuts. For extra-clean edges, chill the pan briefly (15–20 minutes) to firm the top slightly, then slice.
The Last Word
This is the kind of recipe I keep in my head for last-minute gatherings or when I want a nostalgic treat with a little grown-up crunch. It’s quick, forgiving, and reliably popular. Follow the steps, use the exact ingredient amounts provided, and you’ll land the same soft, chewy base with pockets of Butterfinger that make these bars irresistible.
Make a pan, cut them generously, and enjoy. And if you try a variation, note it down — small tweaks can lead to delicious discoveries.
Butterfinger Krispie Treats
Equipment
- 9x13 inch Pan
- foil (optional)
- Cooking spray
- Large Bowl
- Microwave-safe Bowl
Ingredients
Ingredients
- 4 tablespoons 57 g butter, salted or unsalted
- 1 10 ounce bagmini marshmallows
- 1 teaspoonvanilla extract
- 6 cupsrice krispie cereal
- 2 cupschopped Butterfinger candy bars
Instructions
Instructions
- Line a 9×13-inch pan with foil and spray the foil well with cooking spray (foil is optional but makes removal easier). Set the pan aside.
- Measure 6 cups rice krispie cereal into a large bowl and set aside. Measure 2 cups chopped Butterfinger candy bars (chop as needed) and set aside.
- In a large microwave-safe bowl combine 4 tablespoons (57 g) butter and the entire 10-ounce bag of mini marshmallows.
- Microwave the butter and marshmallows on 50% power in 1-minute increments, stirring after each increment, until fully melted and smooth — about 2–3 minutes in an 1100W microwave (your time/power may vary).
- Immediately stir 1 teaspoon vanilla extract into the melted marshmallow mixture.
- Add the measured cereal and the 2 cups chopped Butterfinger pieces to the marshmallow mixture. Stir quickly and thoroughly until the cereal and candy are evenly coated.
- Pour the mixture into the prepared pan. Spray your hands lightly with cooking spray and carefully press the mixture evenly and firmly into the pan to compact (the mixture will be hot).
- Allow the bars to cool and set at room temperature until firm. Lift from the pan using the foil (if used) and cut into squares before serving.
Notes
Store in an airtight container for up to 3 days, or freeze. Place wax or parchment paper between layers so they don’t stick.