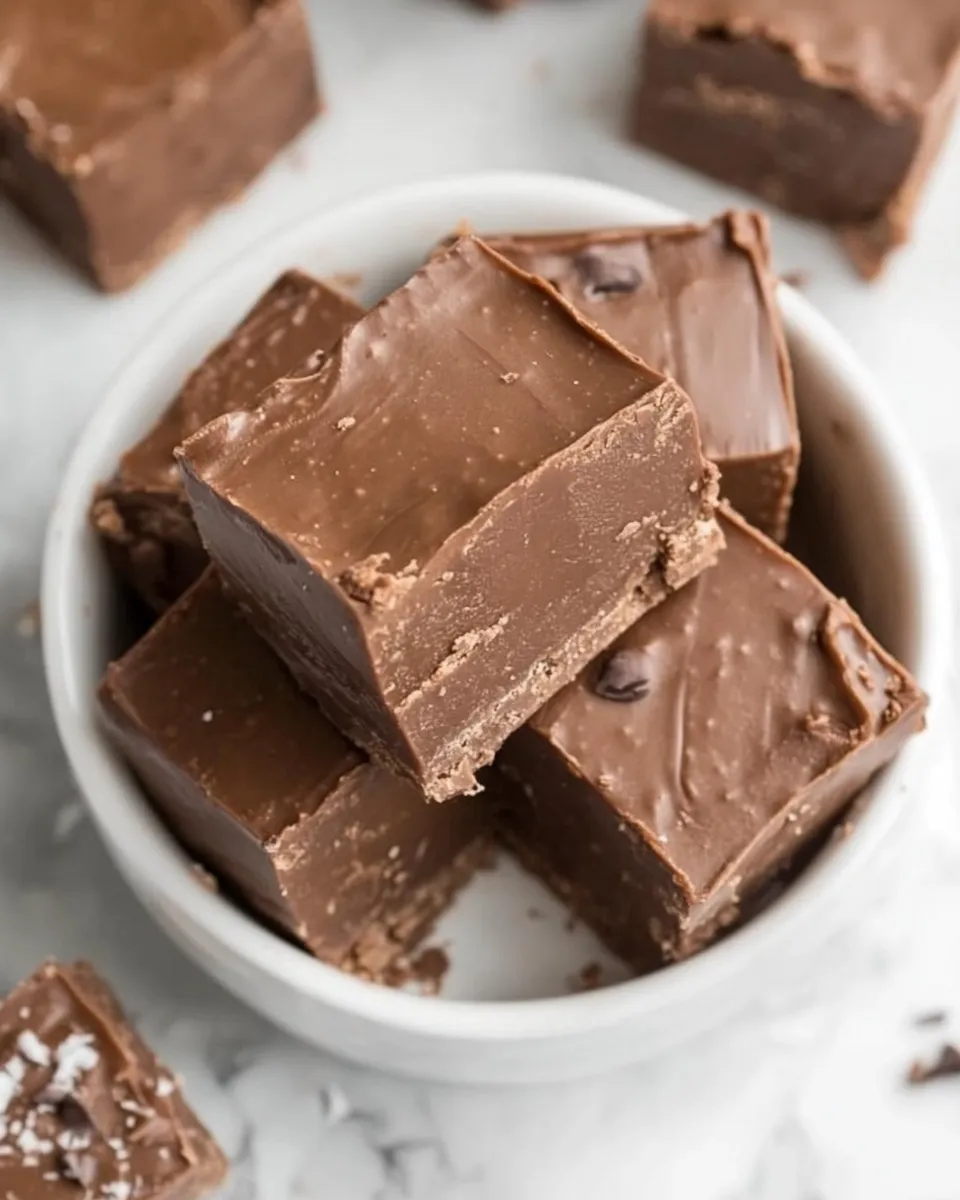
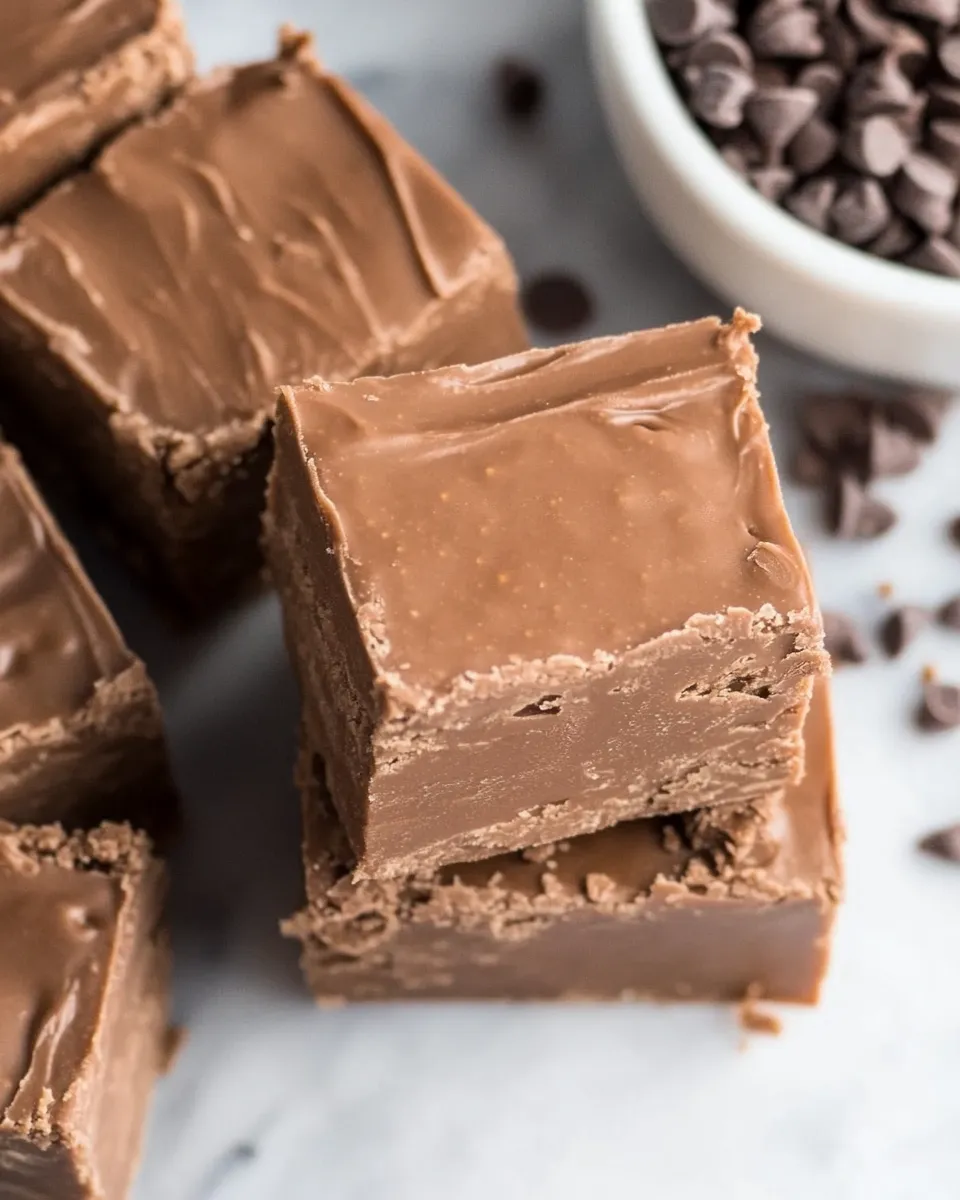
If you’re on the hunt for a simple yet indulgent treat, look no further than this delectable 3 Ingredient Fudge recipe. Imagine rich, creamy fudge that melts in your mouth, made with just three pantry staples. This fudge is perfect for satisfying your sweet tooth, sharing with loved ones, or even gifting during the holiday season. The best part? It requires minimal effort and is ready in no time. Let’s dive into the details!
Why This Recipe is a Keeper
This 3 Ingredient Fudge is not just easy to make; it’s also incredibly versatile. The combination of coconut condensed milk or standard condensed milk, chocolate, and vanilla extract creates a rich and velvety texture that’s hard to resist. Whether you’re a novice in the kitchen or a seasoned baker, this fudge is foolproof and can be customized to suit your taste. Plus, it’s a great way to whip up a quick dessert for any occasion!
Your Shopping Guide
Before you start whipping up your fudge, here’s a list of what you’ll need to gather from your kitchen or the store:
- 14 ounces coconut condensed milk or standard condensed milk: This is the sweet base of your fudge, providing creaminess and flavor.
- 2 cups + 2 tablespoons chocolate, chopped: You can use semi-sweet, dark, or milk chocolate depending on your preference.
- 1 teaspoon vanilla extract: This adds a lovely depth of flavor to your fudge.
Tools of the Trade
To make your 3 Ingredient Fudge, you’ll need a few essential tools:
- Microwave-safe bowl or double boiler: For melting the chocolate and mixing ingredients.
- Spatula: Ideal for stirring and scraping down the sides of the bowl.
- 9×9-inch baking pan: This will give your fudge the perfect shape and size.
- Parchment paper: For lining the baking pan, making it easier to remove the fudge after it sets.
Directions: 3 Ingredient Fudge
Step 1: Prepare Your Pan
Start by lining your 9×9-inch baking pan with parchment paper, leaving some overhang. This will make it easier to lift out the fudge once it has set.
Step 2: Melt the Chocolate
In a microwave-safe bowl, combine the chopped chocolate and coconut condensed milk (or standard condensed milk). Microwave in 30-second intervals, stirring in between until the mixture is smooth and fully melted. Alternatively, you can use a double boiler to melt the chocolate gently.
Step 3: Add Vanilla Extract
Once your chocolate mixture is melted, stir in the 1 teaspoon of vanilla extract. Mix until everything is well combined and you have a glossy fudge mixture.
Step 4: Pour into the Pan
Pour the fudge mixture into your prepared baking pan. Use a spatula to spread it evenly, smoothing the top.
Step 5: Chill and Set
Place the pan in the refrigerator for about 2-3 hours, or until the fudge is firm and set. You can also let it sit at room temperature for a faster setting time, but refrigeration is recommended for best results.
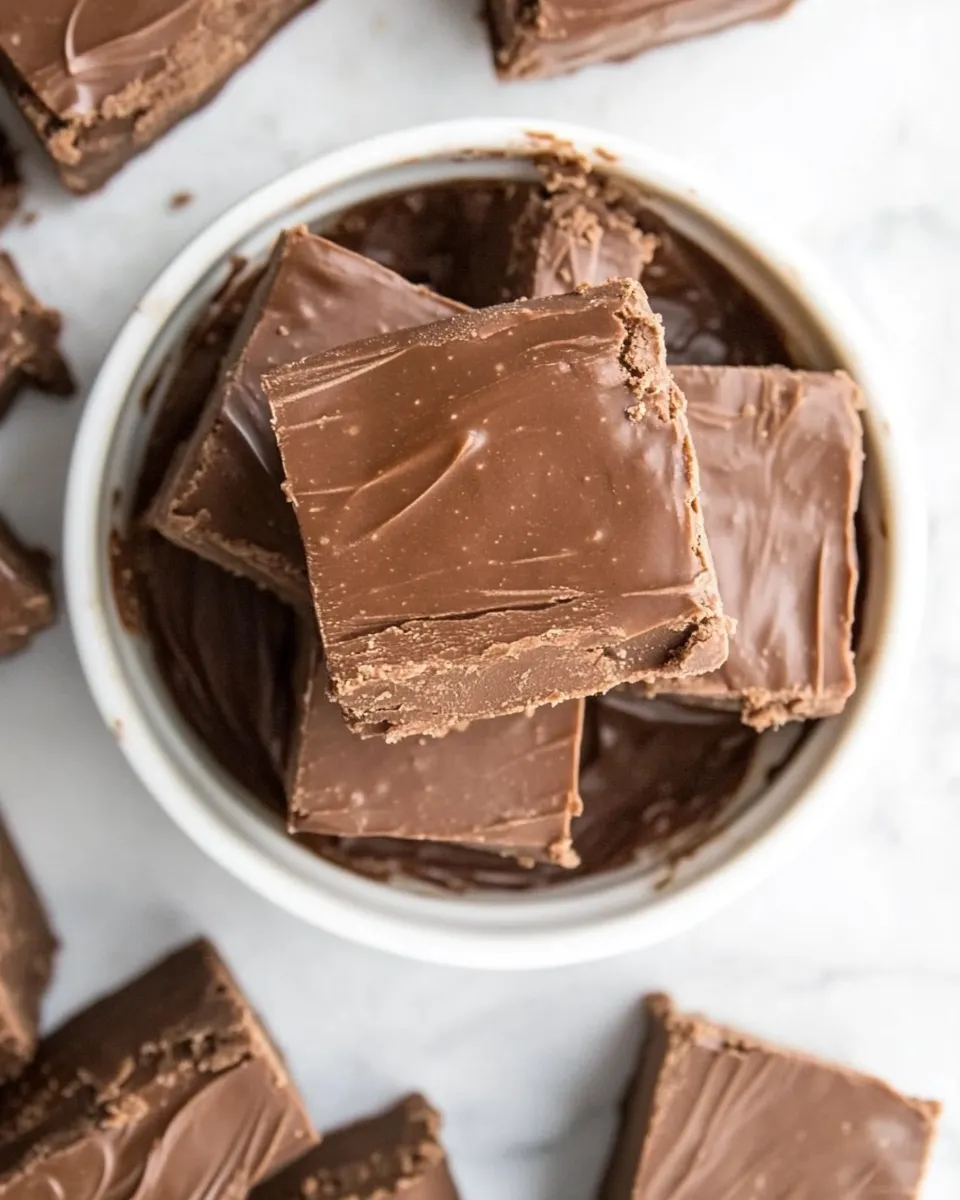
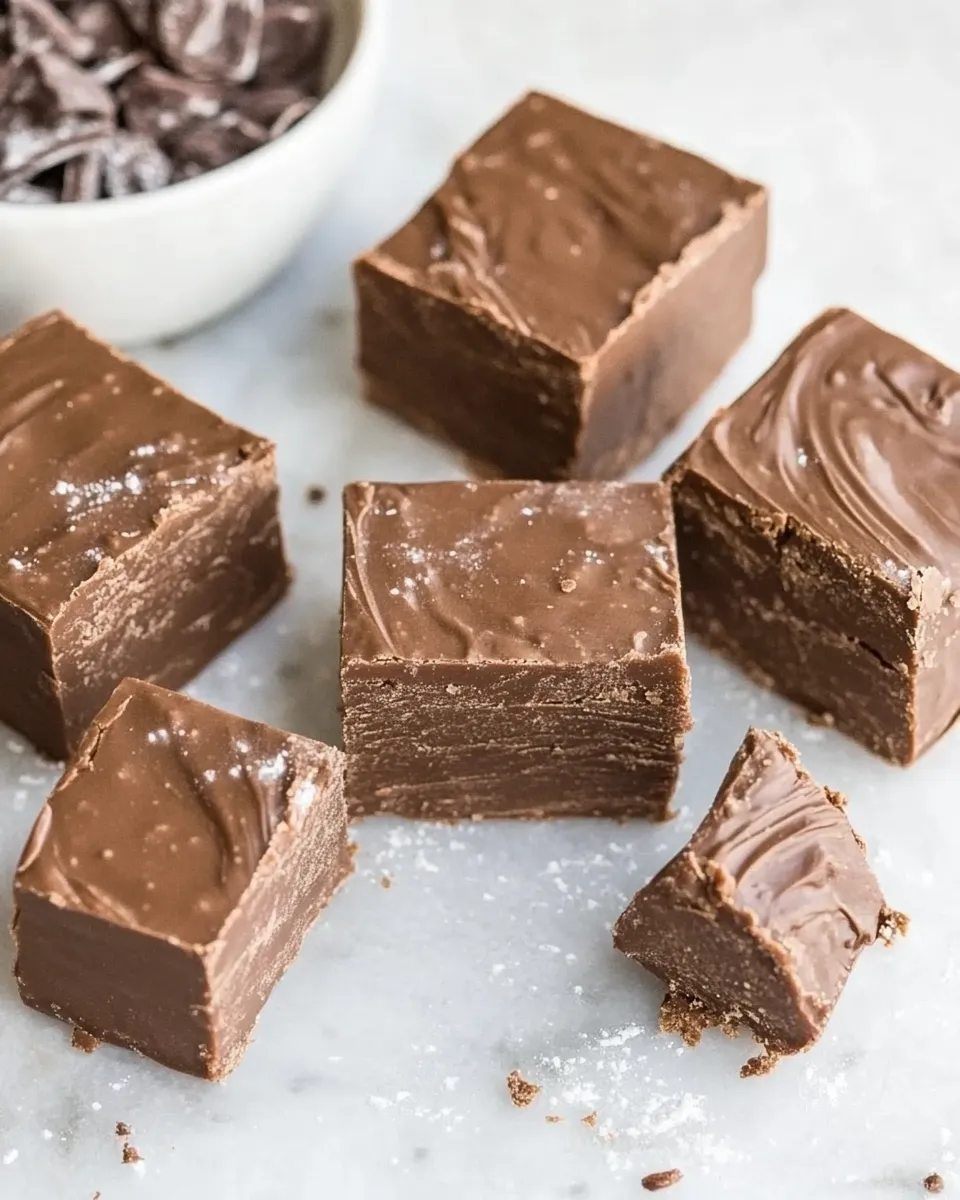
Step 6: Cut and Serve
Once set, lift the fudge out of the pan using the parchment overhang. Cut it into squares or rectangles, and enjoy this delicious treat!
Variations for Dietary Needs
If you or your guests have specific dietary needs, here are a few variations you can try:
- Dairy-Free: Use dairy-free chocolate and coconut condensed milk for a completely dairy-free fudge.
- Nut-Free: Ensure that the chocolate you choose is nut-free, and skip any nut toppings.
- Vegan: Opt for vegan chocolate and ensure the condensed milk is plant-based.
- Flavored Fudge: Add a pinch of sea salt, crushed peppermint, or a sprinkle of instant coffee for a flavor twist.
Problems & Prevention
Even though this 3 Ingredient Fudge recipe is straightforward, here are some common issues and how to prevent them:
- Grainy Texture: Ensure the chocolate is melted slowly and mixed well to avoid graininess. Stirring constantly helps achieve a smooth texture.
- Fudge Too Soft: If your fudge doesn’t set properly, it may need more time in the refrigerator. Make sure it’s completely chilled before cutting.
- Sticking to the Pan: Always line your baking pan with parchment paper to prevent sticking and make removal easier.
Storing Tips & Timelines
To ensure your 3 Ingredient Fudge stays fresh and delicious, follow these storage tips:
- Room Temperature: Store in an airtight container at room temperature for up to 1 week.
- Refrigerator: For longer freshness, keep the fudge in the refrigerator, where it can last for up to 2 weeks.
- Freezer: You can freeze the fudge for up to 3 months. Just wrap it tightly in plastic wrap and place it in an airtight container.
Ask the Chef
Can I use different types of chocolate for this fudge?
Absolutely! You can use semi-sweet, dark, or even white chocolate. Each type will create a unique flavor profile, so feel free to experiment!
What if I don’t have a microwave or double boiler?
You can melt the chocolate using a heatproof bowl set over a pot of simmering water, making sure the bowl doesn’t touch the water. Stir regularly until melted.
Can I add mix-ins to the fudge?
Yes! Feel free to add nuts, dried fruit, or even crushed cookies to the fudge mixture before pouring it into the pan for added texture and flavor.
How do I know when the fudge is set?
The fudge is set when it feels firm to the touch and holds its shape when you cut a piece. It should not be sticky or soft in the center.
If you enjoyed this 3 Ingredient Fudge, you might also love these delicious treats:
Next Steps
Now that you’ve mastered this easy 3 Ingredient Fudge recipe, it’s time to gather your ingredients, roll up your sleeves, and get started! Remember, the joy of creating something delicious is just as satisfying as the sweet rewards that follow. So, don’t hesitate to share this recipe with friends and family, and let them indulge in your chocolatey creation. Happy fudging!
3 Ingredient Fudge
Equipment
- Microwave-safe bowl or double boiler
- Spatula
- 9x9-inch baking pan
- Parchment Paper
Ingredients
- 14 ounces coconut condensed milk or standard condensed milk
- 2 cups chocolate chopped
- 2 tablespoons chocolate chopped
- 1 teaspoon vanilla extract
Instructions
Directions: 3 Ingredient Fudge
- Start by lining your 9x9-inch baking pan with parchment paper, leaving some overhang. This will make it easier to lift out the fudge once it has set.
- In a microwave-safe bowl, combine the chopped chocolate and coconut condensed milk (or standard condensed milk). Microwave in 30-second intervals, stirring in between until the mixture is smooth and fully melted. Alternatively, you can use a double boiler to melt the chocolate gently.
- Once your chocolate mixture is melted, stir in the 1 teaspoon of vanilla extract. Mix until everything is well combined and you have a glossy fudge mixture.
- Pour the fudge mixture into your prepared baking pan. Use a spatula to spread it evenly, smoothing the top.
- Place the pan in the refrigerator for about 2-3 hours, or until the fudge is firm and set. You can also let it sit at room temperature for a faster setting time, but refrigeration is recommended for best results.
- Once set, lift the fudge out of the pan using the parchment overhang. Cut it into squares or rectangles, and enjoy this delicious treat!
Notes
- Use dairy-free or vegan chocolate and condensed milk to make this fudge dairy-free or vegan.
- Line the pan with parchment paper for easy removal and to prevent sticking.
- Store fudge in an airtight container; it keeps well at room temperature, in the fridge, or frozen for longer storage.