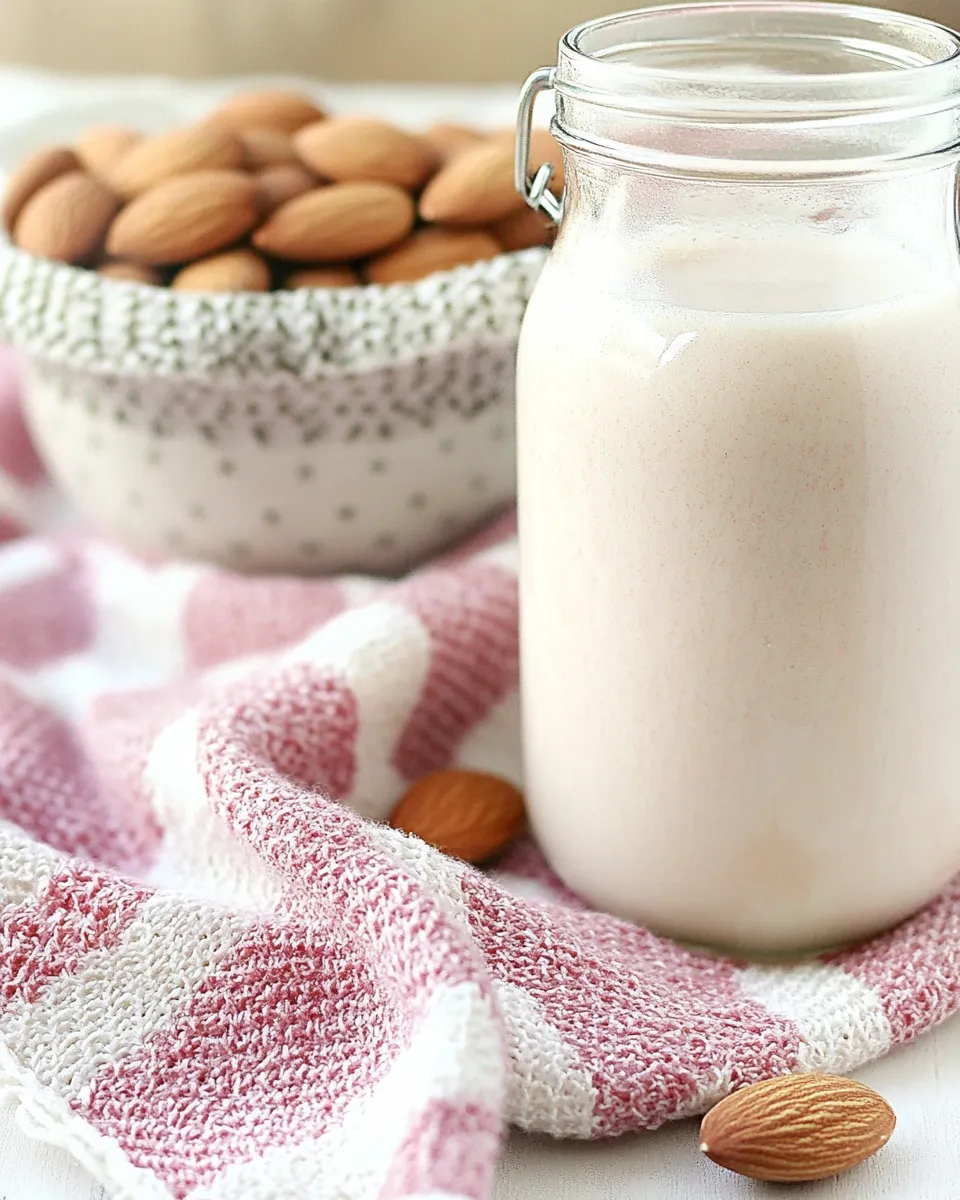
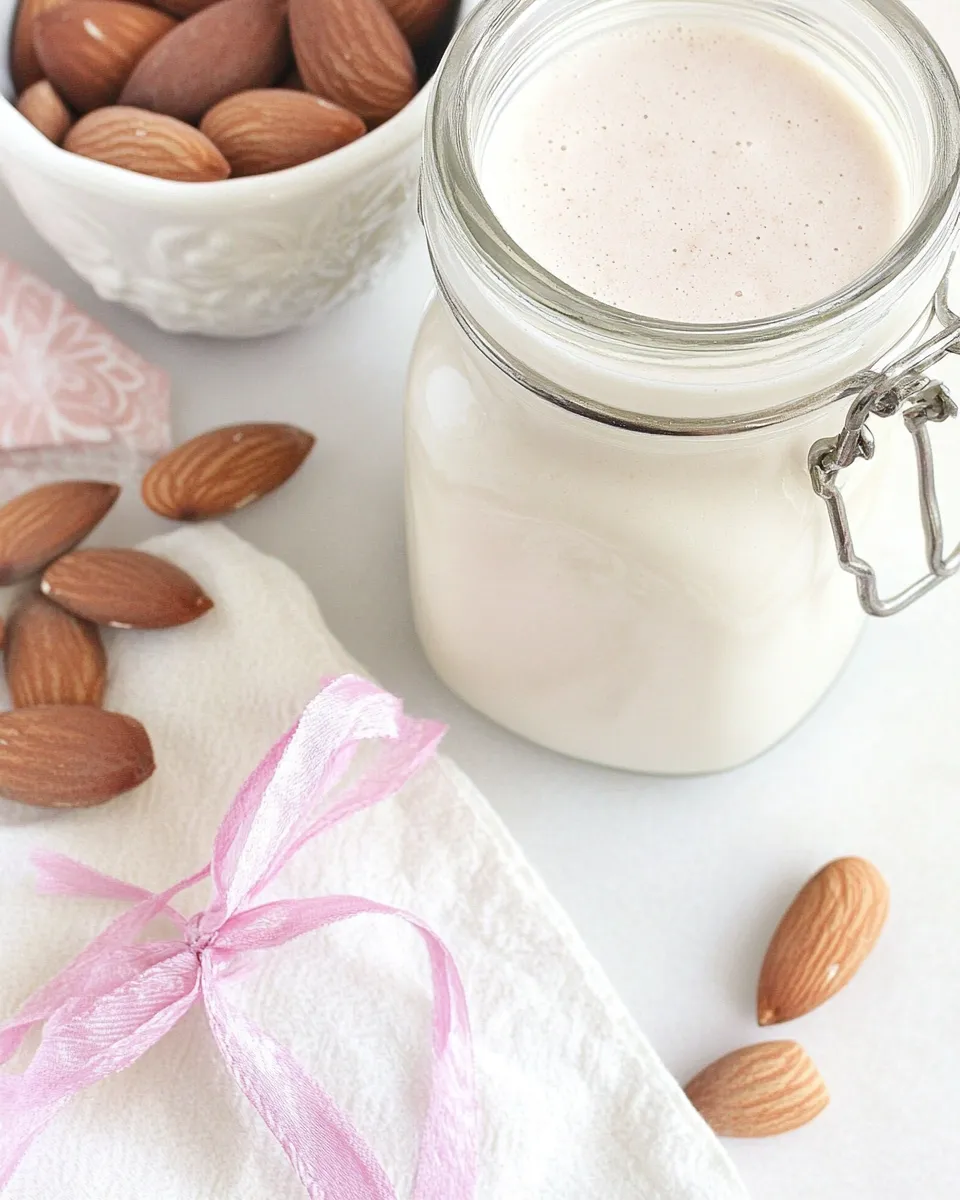
Are you ready to elevate your dairy-free game with creamy, dreamy homemade almond milk? This delightful alternative not only enhances your morning coffee or smoothie but also allows you to control the ingredients, ensuring a delicious experience without any unwanted additives. Making almond milk at home is a breeze, and it’s a versatile base for a variety of flavors. Whether you’re sipping it straight or whipping up something special, you’ll love how easy it is to create this nutty elixir from scratch.
The Upside of Homemade Almond Milk
Homemade almond milk is not just a trendy beverage; it’s a nourishing choice packed with healthy fats, vitamins, and minerals. The advantages of making your almond milk include:
- Freshness: Enjoy the vibrant taste of freshly made almond milk without any preservatives or artificial flavors.
- Customization: Tailor the sweetness and flavor to your liking, whether you crave something simple or a bit more indulgent.
- Cost-Effective: Save money in the long run by making your own nut milk rather than purchasing expensive store-bought versions.
- Health Benefits: Almonds are a great source of Vitamin E, magnesium, and antioxidants, making your homemade almond milk a nutritious addition to your diet.
Your Shopping Guide
Before you embark on this culinary adventure, here’s a list of everything you’ll need to create your homemade almond milk and its delicious variations:
- 1 cup slivered almonds
- 3 cups hot tap water (for blending)
- 3-1/2 cups cold tap water (for soaking and diluting)
- Fresh or frozen strawberries (for strawberry almond milk)
- Cocoa powder (for chocolate almond milk)
- Vanilla bean paste (for vanilla almond milk)
- Agave syrup or other natural sweeteners (optional)
Gear Up: What to Grab
Before you get started, make sure you have the right tools on hand:
- High-speed blender: Essential for achieving a smooth and creamy consistency.
- Nut milk bag or cheesecloth: Needed for straining the almond milk to remove the pulp.
- Measuring cups: For precise ingredient measurements.
- Glass jars or bottles: Perfect for storing your homemade almond milk.
Homemade Almond Milk: Step-by-Step Guide
With your ingredients and equipment ready, let’s jump into the process of making your own almond milk.
Step 1: Soak the Almonds
Start by soaking 1 cup of slivered almonds in 3-1/2 cups of cold tap water for at least 8 hours, or overnight if possible. This will help soften the almonds and make them easier to blend.
Step 2: Drain and Rinse
After soaking, drain and rinse the almonds under cold water to remove any impurities or bitterness.
Step 3: Blend
In a high-speed blender, combine the soaked almonds with 3 cups of hot tap water. Blend on high for about 1-2 minutes until the mixture is creamy and frothy.
Step 4: Strain
Using a nut milk bag or cheesecloth, strain the blended almond mixture into a large bowl or pitcher. Gently squeeze the bag or cloth to extract as much milk as possible. The remaining almond pulp can be saved for baking or smoothies.
Step 5: Flavor Your Milk
At this stage, you can enjoy your almond milk as is, or you can choose to flavor it! For strawberry, chocolate, or vanilla almond milk, follow the instructions below.
Step 6: Store
Pour your homemade almond milk into a glass jar or bottle and store it in the refrigerator. It will stay fresh for about 4-5 days.
Seasonal Ingredient Swaps
To keep things exciting, consider these seasonal swaps for your almond milk:
- Spring: Add a splash of fresh mint or lavender for a refreshing twist.
- Summer: Blend in ripe peaches or mangoes for a fruity delight.
- Fall: Mix in pumpkin puree and spices like cinnamon and nutmeg for a cozy autumn flavor.
- Winter: Infuse with spices like ginger or cardamom for a warming treat.
Author’s Commentary
There’s something incredibly satisfying about making your own almond milk. The process allows you to connect with your ingredients and create something truly nourishing. I love experimenting with different flavors and finding new ways to enjoy my almond milk. Plus, the fact that I can avoid unnecessary additives makes every sip feel guilt-free. Trust me, once you try homemade almond milk, you’ll wonder why you ever bought it from the store!
Cooling, Storing & Rewarming
To keep your homemade almond milk fresh, store it in an airtight container in the refrigerator. If you notice any separation (which is completely normal), simply give it a good shake before using. If you prefer your almond milk warm, gently heat it on the stovetop or in the microwave, but be careful not to bring it to a boil. Enjoy it in your coffee, oatmeal, or simply as a comforting drink on its own!
Helpful Q&A
Can I use whole almonds instead of slivered almonds?
Yes, whole almonds work perfectly fine! Just make sure to soak them for the same duration for optimal creaminess.
What can I do with the leftover almond pulp?
The leftover almond pulp can be used in baking recipes, added to smoothies, or even mixed into oatmeal for extra fiber and nutrition.
How can I sweeten my almond milk naturally?
You can use agave syrup, honey, maple syrup, or dates to sweeten your almond milk according to your taste preferences.
Can I make flavored almond milk without using sweeteners?
Absolutely! You can enhance the flavor of your almond milk with natural ingredients like vanilla bean paste or spices without adding any sweeteners. Just adjust the flavors to your liking!
Time to Try It
Now that you’re armed with the knowledge and the recipe for homemade almond milk, it’s time to roll up your sleeves and give it a go! Experiment with flavors, enjoy the process, and savor every drop of your creamy creation. Whether you prefer it plain, fruity, chocolatey, or vanilla, homemade almond milk is sure to become a staple in your kitchen. Happy blending!
Homemade Almond Milk
Equipment
- High-speed blender
- Nut milk bag or cheesecloth
- Measuring Cups
- Glass jars or bottles
Ingredients
- 1 cup slivered almonds
- 3 cups hot tap water for blending
- 3.5 cups cold tap water for soaking and diluting
- Fresh or frozen strawberries for strawberry almond milk (optional)
- Cocoa powder for chocolate almond milk (optional)
- Vanilla bean paste for vanilla almond milk (optional)
- Agave syrup or other natural sweeteners optional
Instructions
Homemade Almond Milk: Step-by-Step Guide
- Start by soaking 1 cup of slivered almonds in 3.5 cups of cold tap water for at least 8 hours or overnight to soften.
- Drain and rinse the soaked almonds under cold water to remove any impurities or bitterness.
- Combine the soaked almonds with 3 cups of hot tap water in a high-speed blender. Blend on high for 1-2 minutes until creamy and frothy.
- Strain the blended mixture through a nut milk bag or cheesecloth into a large bowl or pitcher. Gently squeeze to extract as much milk as possible.
- Enjoy your almond milk as is, or flavor it with strawberries, cocoa powder, vanilla bean paste, or sweeteners as desired.
- Pour the almond milk into glass jars or bottles and store in the refrigerator for 4-5 days. Shake before use if separation occurs.
Notes
- Soak almonds overnight for the creamiest milk and easier blending.
- Save leftover almond pulp for baking or smoothies to reduce waste.
- Shake well before each use as natural separation is normal.
- Warm gently if you prefer your almond milk heated, but avoid boiling.
- Experiment with seasonal flavors like pumpkin spice or fresh mint for variety.