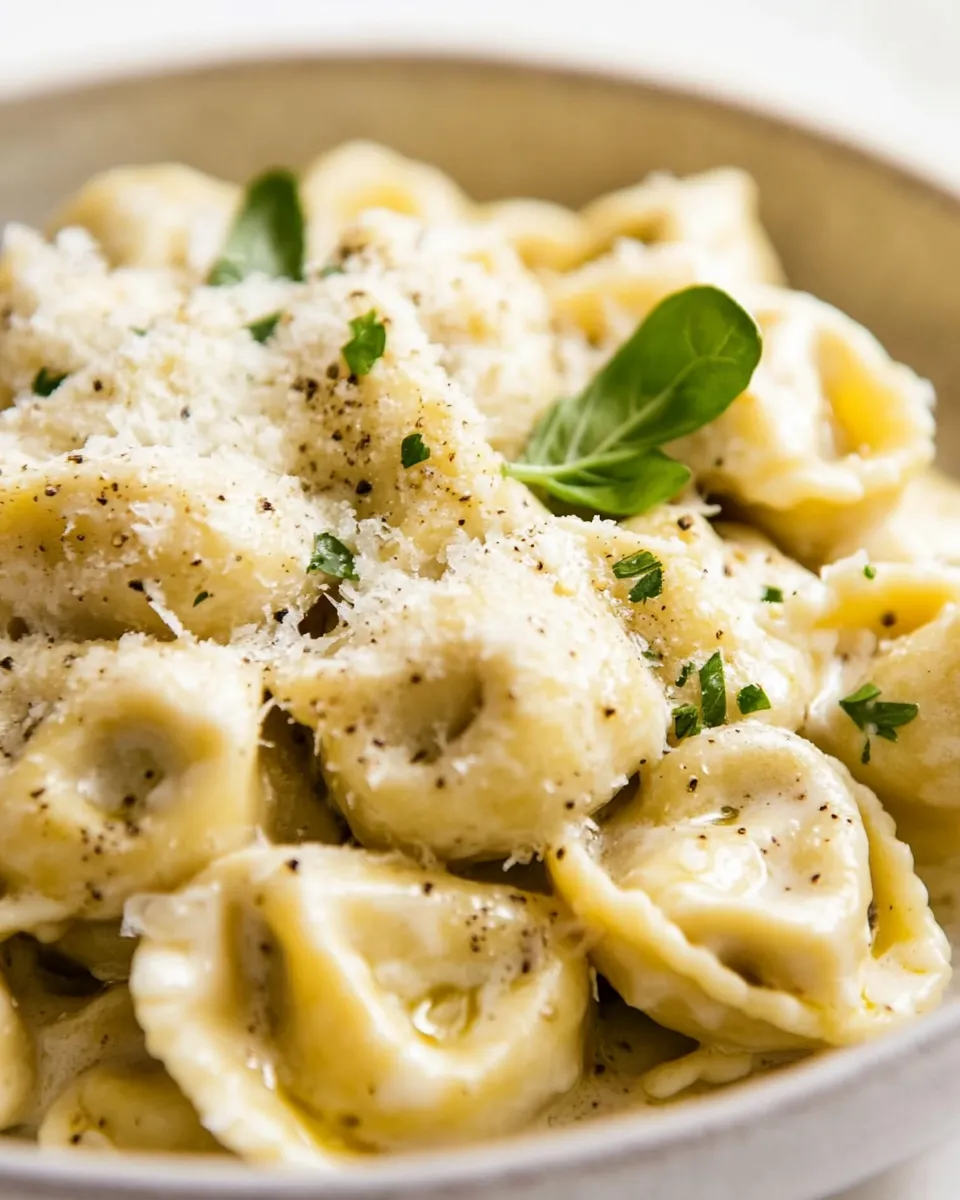
There’s a reason some weeknight dinners become instant staples: they’re fast, comforting, and delicious without demanding a pantry full of specialty items. This Cheese Tortellini in Garlic Butter Sauce recipe hits all those notes. Tender cheese-filled tortellini swim in a silky garlic butter and chicken broth base that’s lifted by dried basil, brightened with freshly grated Parmesan, and finished with a chiffonade of fresh basil if you like. It feels indulgent, but it’s also approachable—perfect for a solo supper, a cozy date night, or a quick family meal.
This version keeps things simple and focused on texture and flavor. Frozen cheese tortellini cooks quickly in a glossy sauce made by combining warm chicken broth and a cornstarch slurry, which gives body without heavy cream. Butter and garlic build the backbone of flavor while dried basil lends an herbal note. A sprinkle of Parmesan at the end adds that salty, grassy finish that makes pasta sing.
Why this recipe works
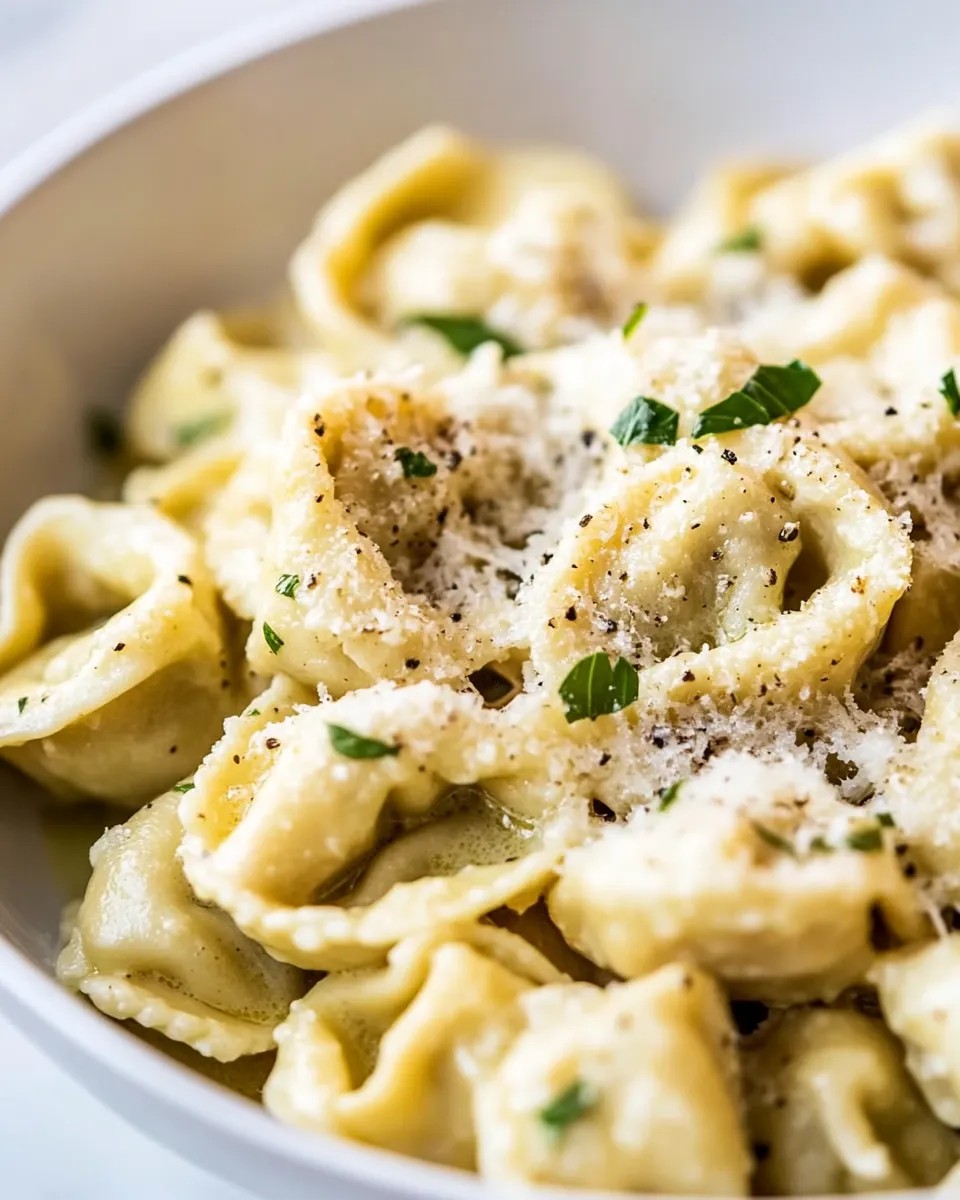
- Cheese tortellini cooks very quickly from frozen, so dinner can be on the table in about 20 minutes.
- Cornstarch and part of the reserved broth create a smooth, velvety sauce without cream.
- Simple seasonings—garlic, basil, and Parmesan—are all you need to make this feel special.
- The recipe is scalable: double or halve as needed without losing balance.
Ingredients
- 32 ounces chicken broth or vegetable broth, divided (see note 1)
- 2 tablespoons cornstarch (see note 2)
- 1 (16 ounce) package frozen cheese tortellini (see note 3)
- 4 tablespoons butter (see note 4)
- 2 cloves garlic, minced
- 2 teaspoons dried basil
- 1/4 cup freshly grated Parmesan cheese for garnish
- Fresh basil chiffonade, for garnish, optional
Notes
- Note 1: If you prefer a lighter sauce, use vegetable broth. The recipe calls for 32 ounces total; part of it is used to make a cornstarch slurry so the sauce thickens properly.
- Note 2: Cornstarch is the thickening agent here. Mix it with cold broth before adding to hot liquid to avoid lumps.
- Note 3: Use the frozen tortellini straight from the freezer—no thawing needed.
- Note 4: Unsalted or salted butter both work; if using unsalted, you may need a touch more salt at the end to taste.
Prep checklist
- Measure and divide the chicken or vegetable broth: set aside about 1/2 cup for the cornstarch slurry and keep the rest ready for the pot.
- Minced garlic should be ready to go—fresh garlic makes the flavor pop.
- Have the frozen tortellini on the counter so you can add it directly to the simmering liquid.
- Grate the Parmesan and chiffonade the fresh basil, if using, so the dish comes together quickly at the end.
Step-by-step instructions
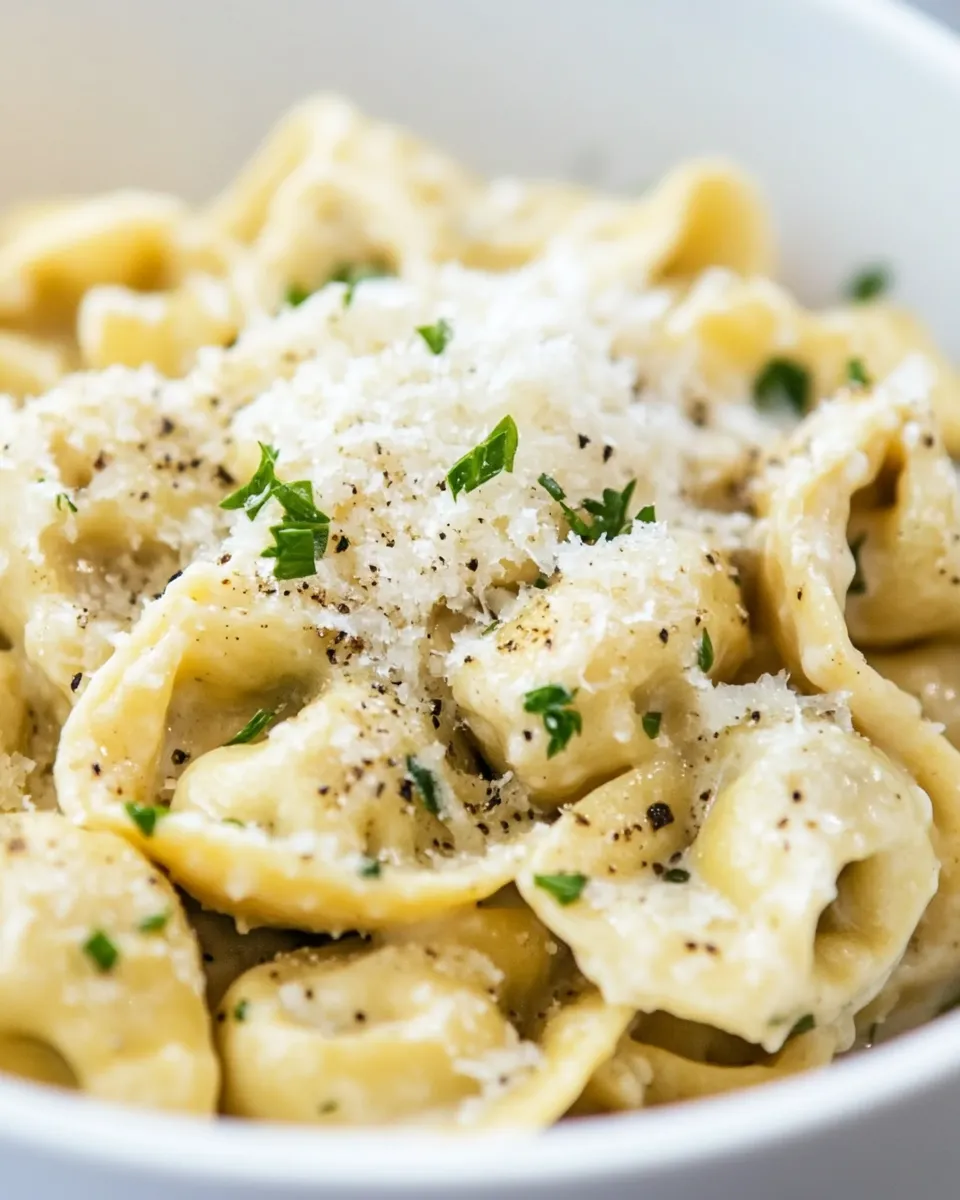
Follow these clear, ordered steps to make a perfectly saucy Cheese Tortellini in Garlic Butter Sauce.
- In a small bowl, combine the 2 tablespoons of cornstarch with about 1/2 cup of the chicken or vegetable broth. Whisk until the cornstarch is dissolved and the mixture is smooth. This slurry will thicken the sauce later.
- Pour the remaining broth (approximately 30 ounces) into a medium-sized saucepan and bring it to a gentle simmer over medium heat. Keep an eye on it so it does not boil vigorously; a calm simmer is all you need.
- Once the broth is simmering, add the frozen cheese tortellini directly to the pot. Stir gently so the tortellini aren’t stuck together, then simmer according to the package directions. Typically this will take around 5 to 7 minutes. Test one tortellini to ensure it’s tender and cooked through.
- While the tortellini cooks, melt the 4 tablespoons of butter in a small skillet over medium-low heat. Add the 2 cloves of minced garlic and sauté for 30 to 60 seconds, stirring constantly, until the garlic is fragrant but not browned. Add the 2 teaspoons of dried basil to the butter and garlic and stir to combine.
- When the tortellini are tender, remove about 1 cup of the hot broth from the pot and set it aside. This reserved broth can be adjusted into the sauce if you want a thinner consistency later.
- Slowly pour the cornstarch-broth slurry into the simmering broth and tortellini, stirring constantly. Continue to simmer for 1 to 2 minutes, until the sauce begins to thicken slightly and becomes glossy. If the sauce becomes too thick, stir in a splash of the reserved hot broth until you reach your desired consistency.
- Pour the garlic-butter mixture into the pot with the tortellini and gently stir to coat each piece in the sauce. Taste and season with salt and pepper as needed. The Parmesan will add saltiness, so season lightly at first.
- Turn off the heat. Serve the tortellini into warmed bowls and sprinkle each portion with the 1/4 cup of freshly grated Parmesan cheese. Finish with a handful of fresh basil chiffonade on top, if using, for a bright, herbal note.
- Serve immediately while warm. If you need to hold the tortellini for a short time, keep the pot on the lowest heat setting and stir occasionally to prevent sticking; add a splash of reserved broth if the sauce thickens too much as it rests.
Troubleshooting and tips
- If the sauce is too thin: let it simmer for another minute or two to reduce slightly, or whisk in a tiny additional pinch of cornstarch mixed with cold water. Add gradually to avoid over-thickening.
- If the sauce is too thick: loosen it with a small amount of the reserved hot broth until it reaches the consistency you like.
- Avoid overheating the garlic in the butter. Garlic browns fast and turns bitter; keep the heat medium-low and remove it from direct heat once fragrant.
- For extra richness, stir an additional tablespoon of butter into the sauce at the end, off the heat.
Serving suggestions
This dish is a cozy centerpiece and pairs well with crisp, bright sides that cut through the buttery sauce. Try a simple green salad with lemon vinaigrette, roasted broccoli or green beans, or slices of toasted crusty bread to mop up the sauce. A small antipasto plate of marinated vegetables or olives also makes a nice complement.
Make-ahead and storage
- To make ahead: cook the tortellini and sauce to step 7, cool completely, and store in an airtight container in the refrigerator for up to 2 days. Reheat gently on the stovetop over low heat, adding a splash of broth to loosen the sauce.
- To freeze: the texture of tortellini changes after freezing and reheating, so it’s best enjoyed fresh. If you must freeze, place the cooled pasta and sauce in a freezer-safe container for up to 1 month and thaw overnight before reheating slowly on the stove with a little extra broth.
Variations
- Add vegetables: Stir in quick-cooking greens like baby spinach or arugula at the end and toss until wilted. Peas or blanched asparagus tips work well too.
- Protein boost: For a heartier meal, toss in shredded cooked chicken or pan-seared tofu cubes when you add the garlic-butter mixture.
- Cheese swap: If you like a nuttier finish, grate a little Pecorino Romano in place of some Parmesan.
Final thoughts
Cheese Tortellini in Garlic Butter Sauce is one of those dishes that feels indulgent without elaborate effort. It’s an ideal weeknight option when time is short but you still want something comforting and satisfying. The garlic and butter lay down deep, familiar flavors while the broth and cornstarch create a light, glossy sauce that lets the cheesy tortellini stay the star. In just a few simple steps and with a handful of ingredients, you’ll have a soul-soothing plate that’s ready to share—or keep all to yourself.
Enjoy your meal, and don’t forget the final flourish of freshly grated Parmesan and basil. Small details like those lift this simple recipe to something memorable.
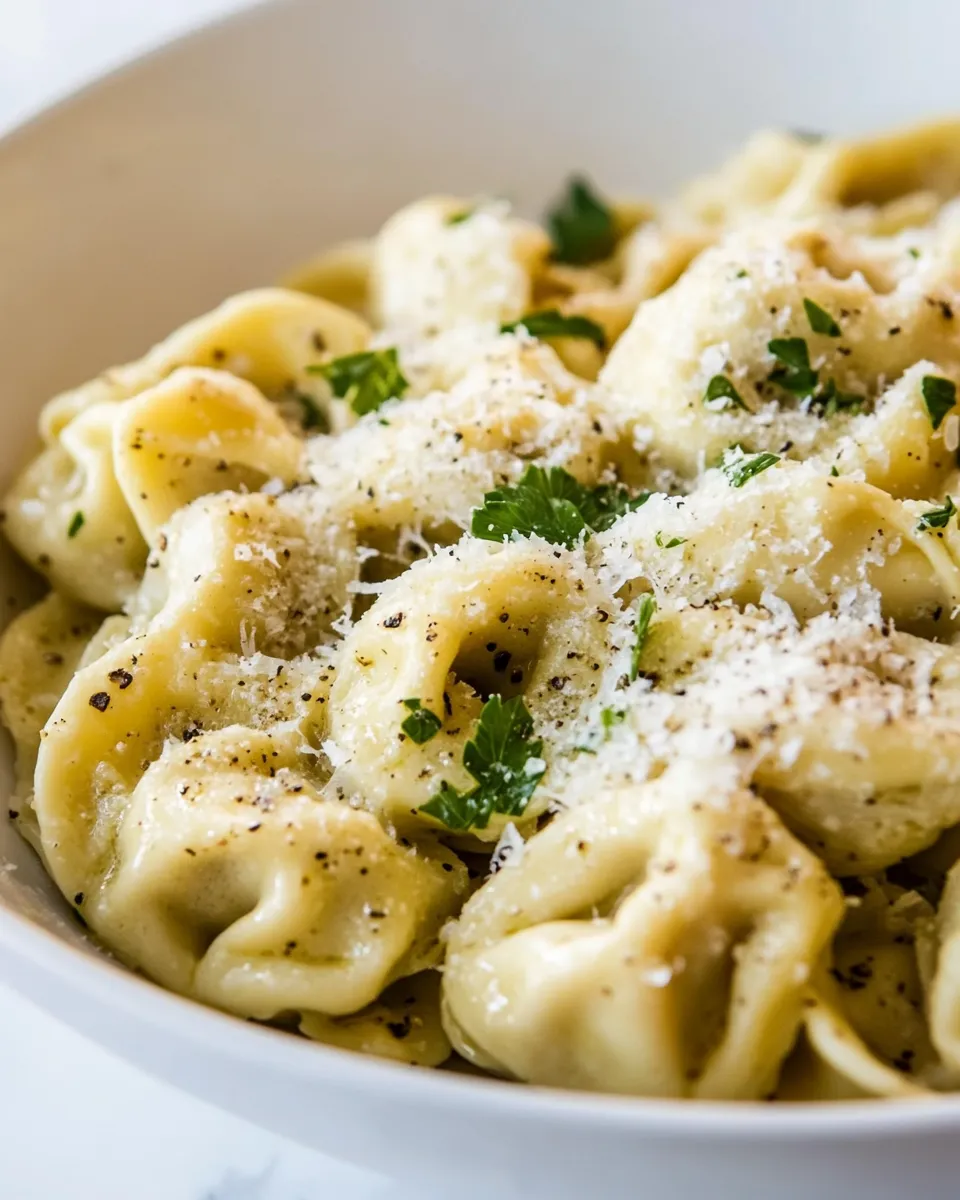
Cheese Tortellini in Garlic Butter Sauce
Equipment
- Dutch Oven
- large non-stick skillet
- Measuring cups and spoons
- Whisk
- Colander
Ingredients
- 32 ounces chicken or vegetable broth divided (see note)
- 2 tablespoons cornstarch (see note)
- 1 package (16 ounces) frozen cheese tortellini (see note)
- 4 tablespoons butter (see note)
- 2 cloves garlic minced
- 2 teaspoons dried basil
- 1/4 cup Parmesan cheese freshly grated, for garnish
- fresh basil chiffonade, for garnish (optional)
Instructions
- Bring 2 1/2 cups of the broth to a boil in a large pot or Dutch oven.
- Add the frozen cheese tortellini to the boiling broth and return to a boil; cook until the tortellini float, about 3 minutes, or until the internal temperature reaches 165°F. Drain completely in a colander.
- Meanwhile, whisk the remaining 1 1/2 cups broth with 2 tablespoons cornstarch until smooth.
- In a large nonstick skillet over medium-high heat, melt 4 tablespoons butter until foaming. Add the minced garlic and dried basil and cook, stirring, for about 2 minutes.
- Stir the broth–cornstarch mixture into the skillet, bring to a boil, and simmer until the sauce thickens, about 2 minutes.
- Add the cooked tortellini to the skillet and toss gently to coat evenly with the sauce.
- Transfer to a serving dish and garnish with freshly grated Parmesan and chiffonaded basil, if using.
Notes
- Do not use low-sodium chicken broth or the sauce may be bland.
- All-purpose flour can replace cornstarch but may require 3–4 more minutes of cooking.
- Frozen tortellini timing is about 3 minutes; fresh or refrigerated tortellini cooks 2–3 minutes and dried follows package directions.
- Use regular salted butter for best flavor.
- Yield: makes 4 hearty main-course servings or about 8 appetizer servings.
- Store leftovers covered in the refrigerator for up to 4 days.