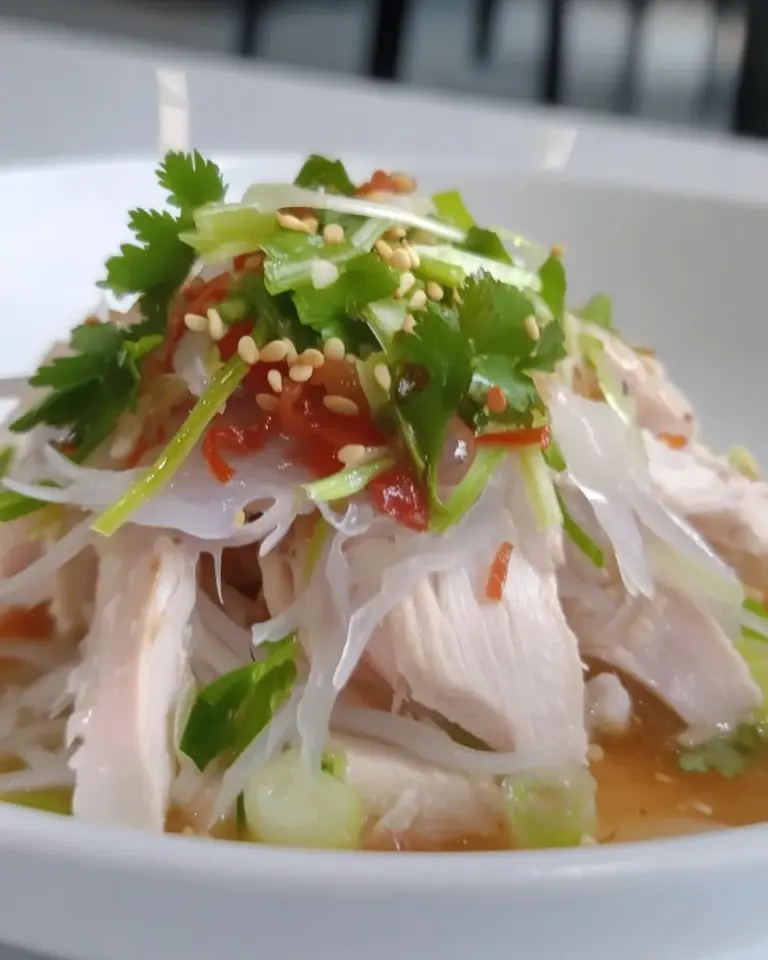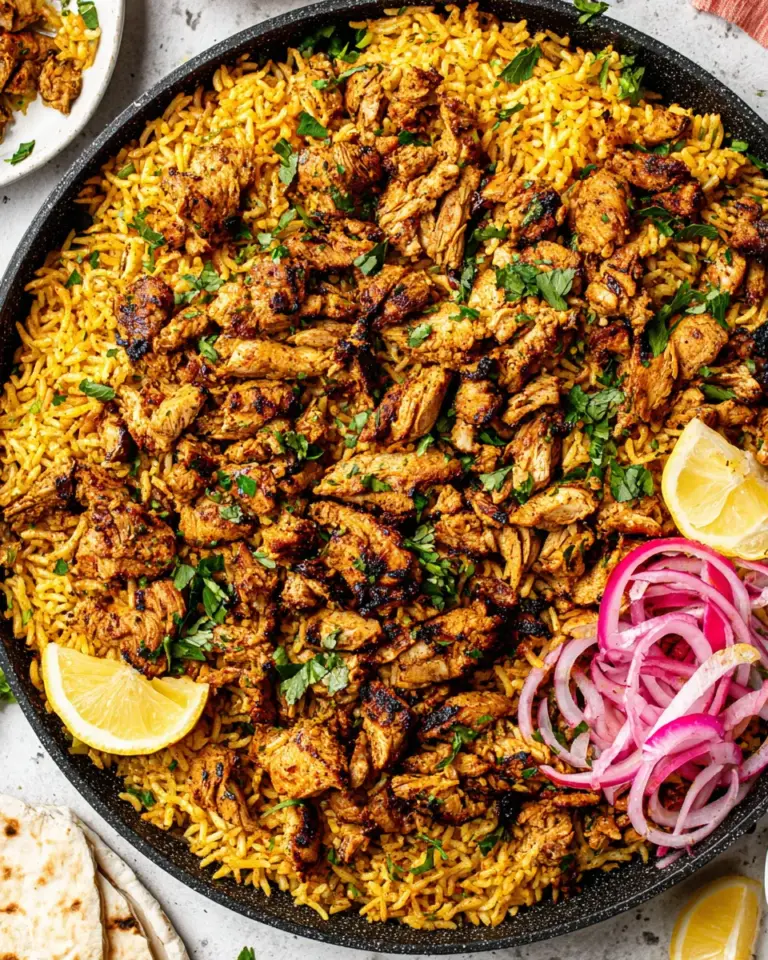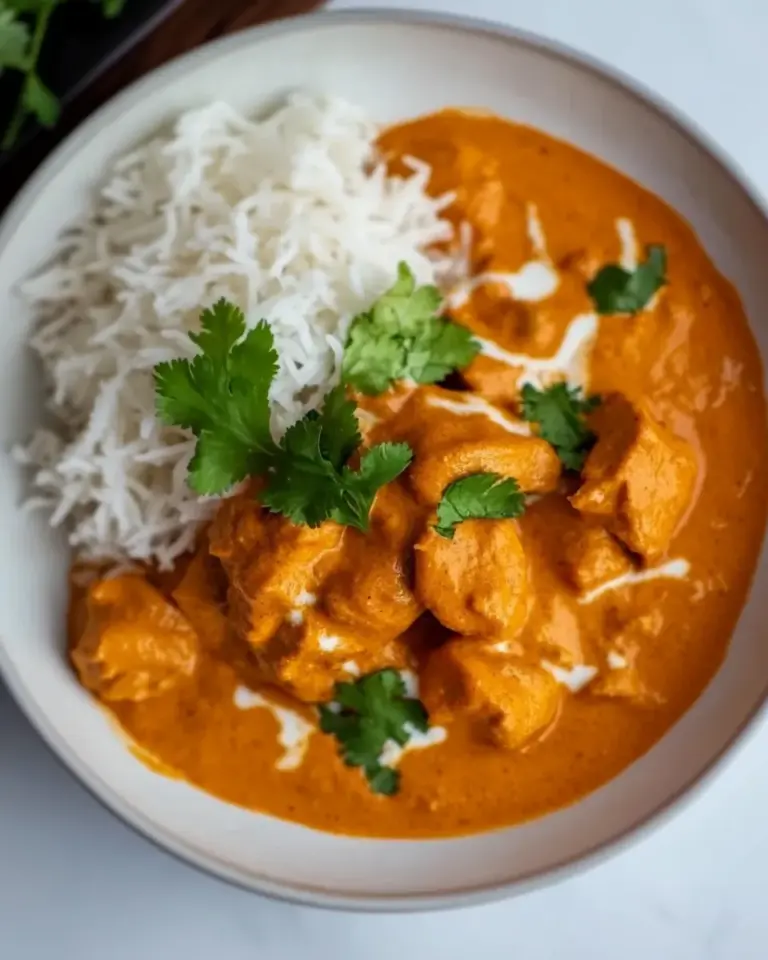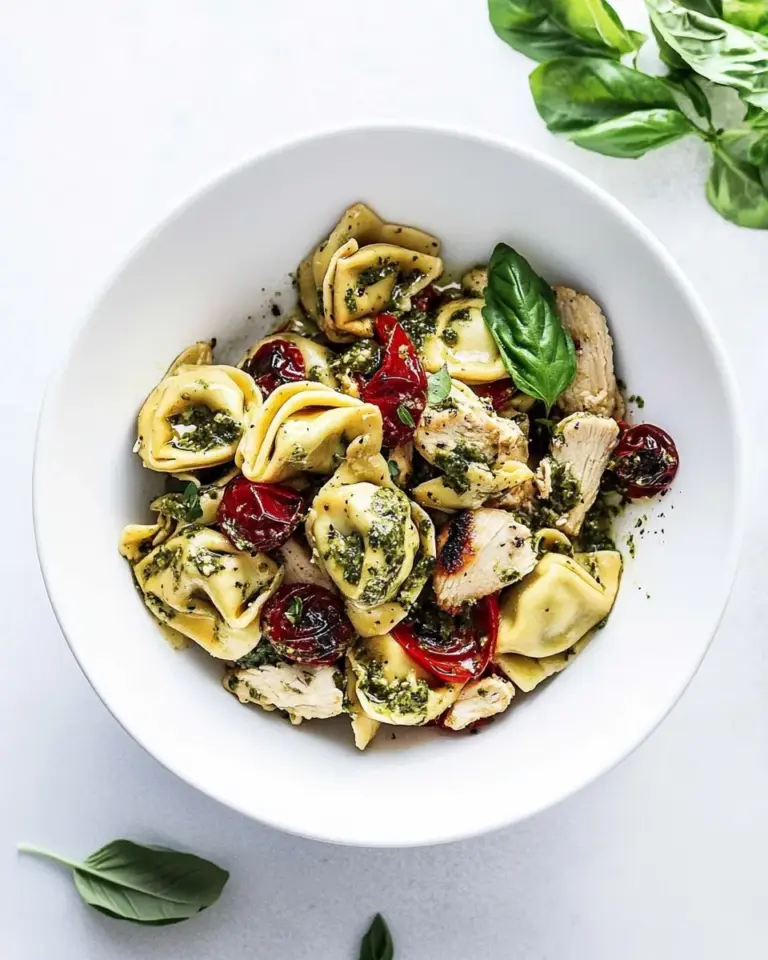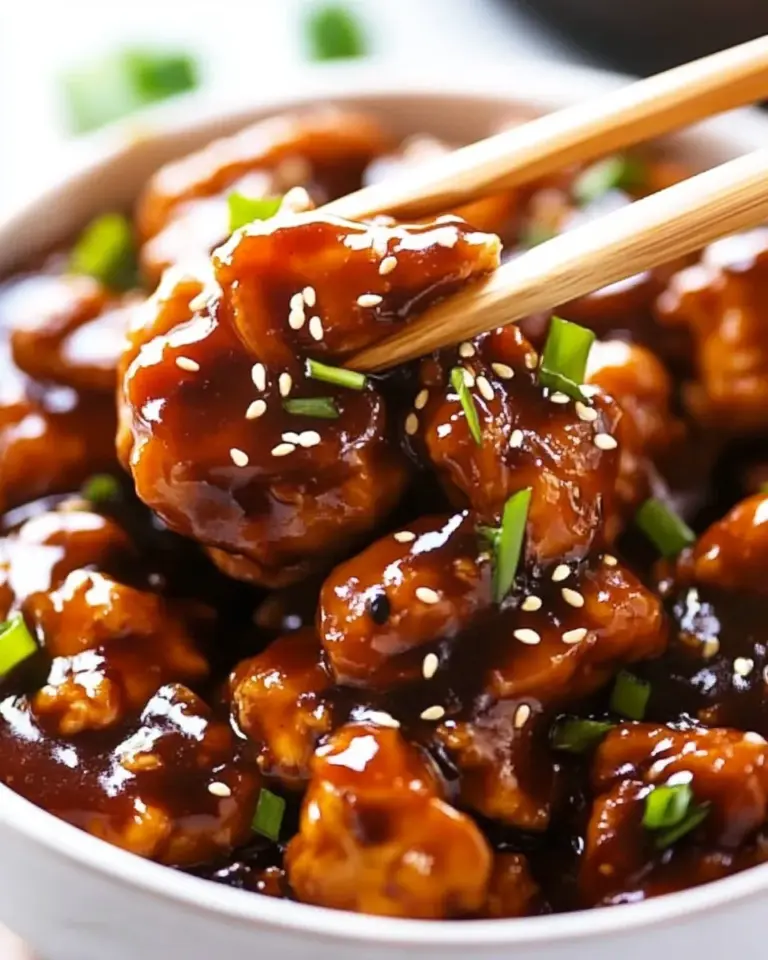
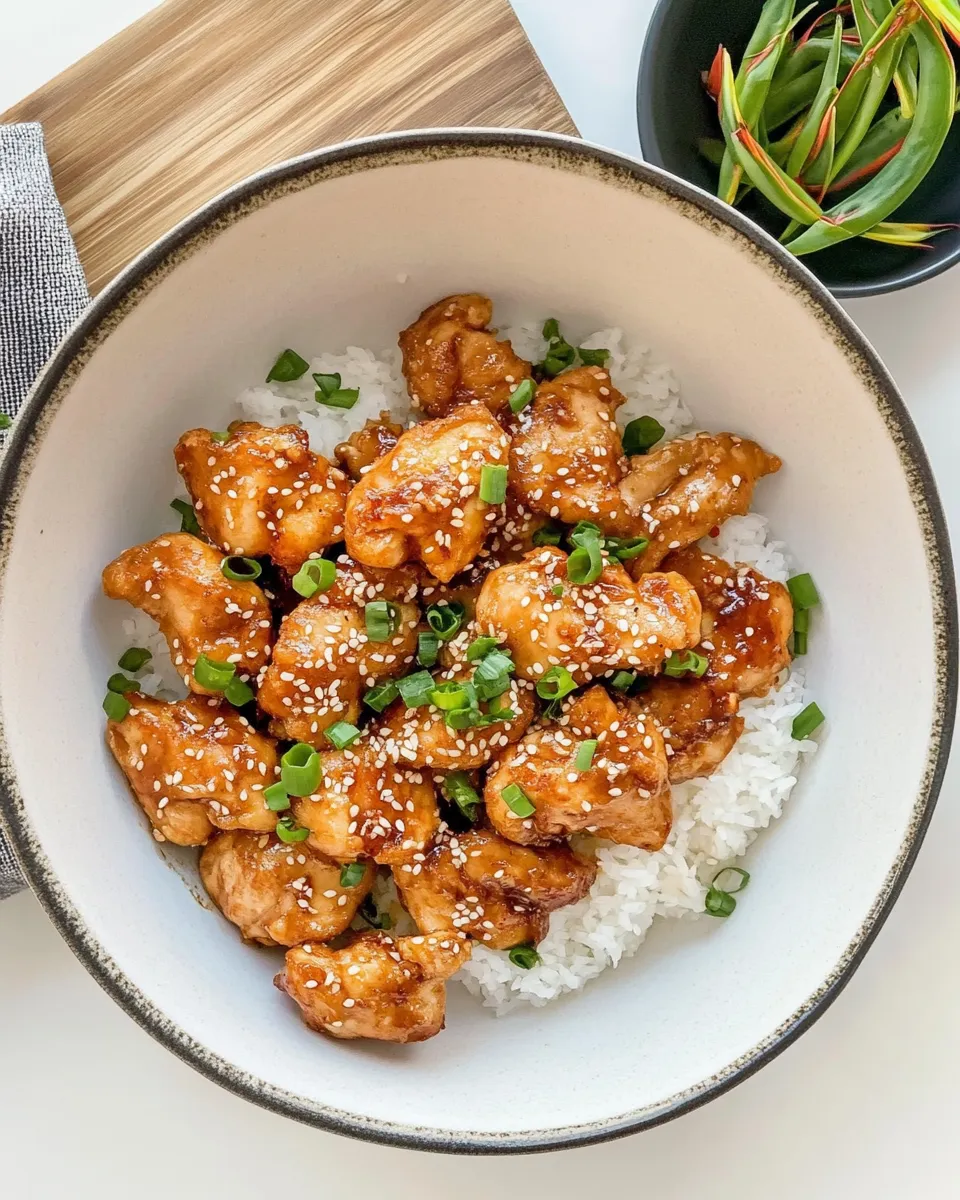
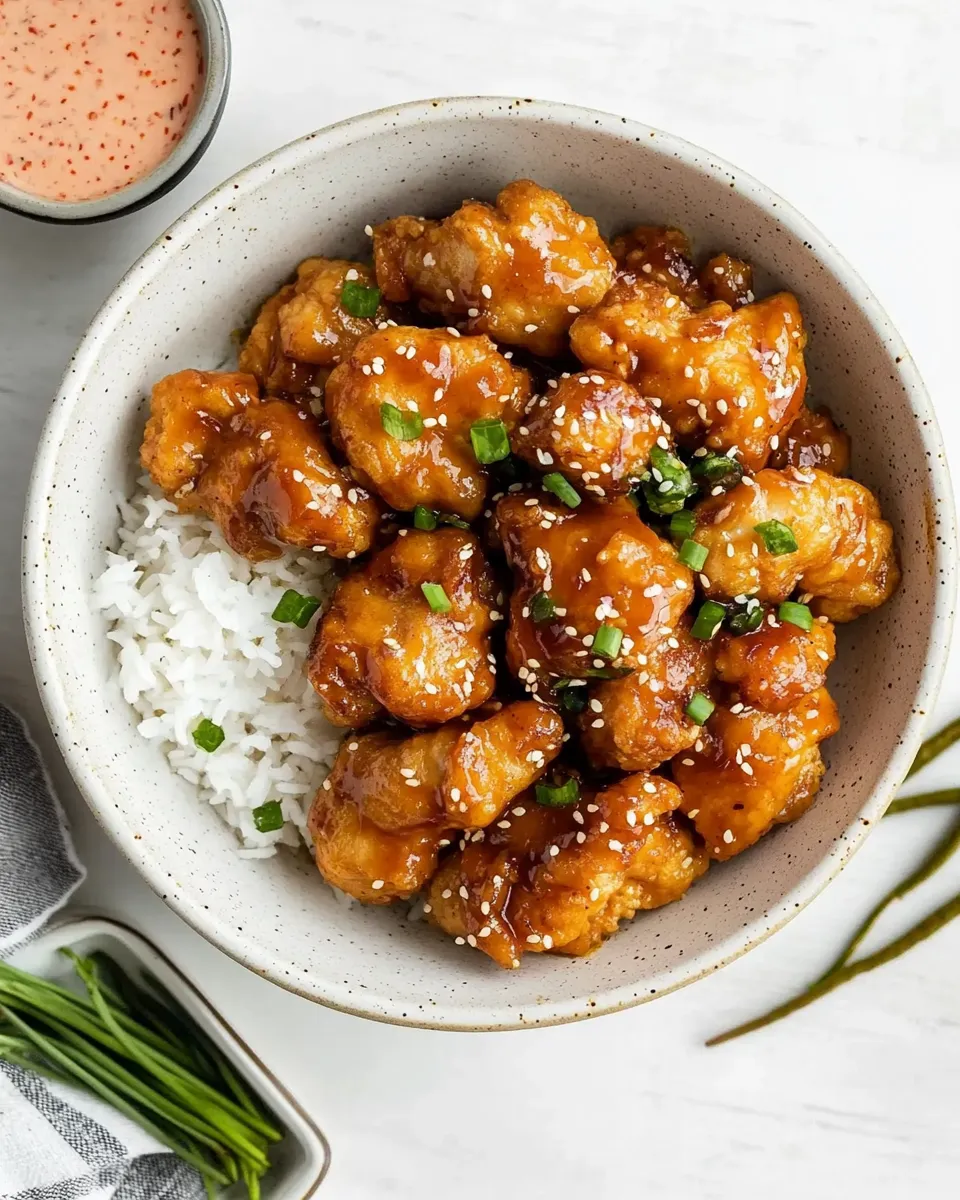
If you’ve ever craved something crisp on the outside, tender and juicy on the inside, and a little sweet-savory with a gentle sesame note, this Mochiko Chicken recipe will quickly become a weeknight hero. Inspired by the beloved Japanese-American classic, this version keeps things simple and achievable while delivering maximum comfort. It starts with bite-sized chicken thighs coated in a light, crisp batter made from mochiko (sweet rice flour) and cornstarch, then fried to golden perfection and tossed in a glossy, fragrant sauce. The end result is an addictive combination of textures and flavors that’s perfect over steamed rice, with a side of quick pickled cucumbers, or enjoyed on its own.
This post walks you through everything—from the ingredient lineup to step-by-step instructions—written so you can get straight to cooking. The recipe uses 2 pounds boneless skinless chicken thighs, cut into 2-inch strips, and calls for two large eggs and 1/3 cup mochiko flour for that signature tenderness. A simple sauce of 1/4 cup soy sauce, 3 tablespoons granulated sugar, and a touch of grated garlic ties all the flavors together, while sesame seeds and green onions add the final aromatic crunch.
Notes before you start: prep your chicken first so everything moves quickly when it’s time to fry. Use a neutral oil like canola for frying and keep a bowl of paper towels or a wire rack ready for draining. The recipe yields plenty for sharing, and it warms up well for leftovers.
Ingredients
- 2 pounds boneless skinless chicken thighs, cut into 2-inch strips
- 2 large eggs, beaten
- 1/3 cup mochiko flour, sweet rice flour
- 1/4 cup cornstarch
- 1/4 cup soy sauce
- 3 tablespoons granulated sugar
- 2 tablespoons sesame seeds
- 2 cloves garlic, grated
- 1/2 teaspoon salt
- 3 tablespoons chopped green onions, plus more for garnish
- Neutral oil, such as canola oil, for frying (about 1 1/2 cups)
Equipment you’ll need
- Large mixing bowls (at least two)
- Measuring cups and spoons
- Thermometer (optional, but helpful)
- Large skillet or deep frying pan
- Tongs or a slotted spoon
- Wire rack or paper towels for draining
- Small bowl for sauce
Prep work
Before you start frying, make sure your workspace is organized. Cut the chicken thighs into roughly 2-inch strips so they cook evenly. Beat the two large eggs in a bowl until smooth. Combine dry coating ingredients—1/3 cup mochiko flour and 1/4 cup cornstarch—in a separate bowl. Measure and mix the sauce ingredients—1/4 cup soy sauce, 3 tablespoons granulated sugar, 2 tablespoons sesame seeds, grated garlic, 1/2 teaspoon salt, and 3 tablespoons chopped green onions—in a small bowl so they’re ready to go when the chicken comes out of the oil.
Step-by-step instructions
- Cut and season the chicken: Trim any excess fat from the 2 pounds boneless skinless chicken thighs and cut into 2-inch strips. Place the strips in a large bowl and season lightly with the 1/2 teaspoon salt, tossing to distribute.
- Set up the coating station: In one shallow bowl, beat the 2 large eggs until smooth. In a second shallow bowl, whisk together 1/3 cup mochiko flour and 1/4 cup cornstarch until evenly combined. These two bowls will be your wet and dry dredges.
- Coat the chicken strips: Working in batches to avoid overcrowding, dip each chicken strip into the beaten eggs, letting excess drip off, then immediately dredge the strip in the mochiko-cornstarch mixture until lightly but evenly coated. Place the coated strips on a clean plate or tray while you finish the rest. Repeat until all the chicken is coated.
- Heat the oil: Pour about 1 1/2 cups neutral oil (such as canola) into a large skillet or deep frying pan. Heat the oil over medium-high heat until it reaches 350°F (175°C) if you’re using a thermometer; if not, test by dropping a small pinch of the mochiko mixture into the oil—if it sizzles immediately and browns slowly, the oil is ready.
- Fry the chicken: Fry the coated chicken strips in batches so the oil temperature stays steady. Carefully add strips to the hot oil without crowding the pan. Fry for 3–5 minutes per side, turning as needed, until the coating is golden brown and the internal temperature of the chicken reaches 165°F (74°C). Transfer the fried pieces to a wire rack set over a baking sheet or to a plate lined with paper towels to drain. Repeat with the remaining chicken.
- Make the sauce: While the chicken fries or once the last batch is draining, combine 1/4 cup soy sauce, 3 tablespoons granulated sugar, 2 tablespoons sesame seeds, 2 cloves grated garlic, and 3 tablespoons chopped green onions in a small bowl. Stir until the sugar begins to dissolve and the ingredients are well combined. The warmth of the freshly fried chicken will help the sauce cling when tossed.
- Toss the chicken in the sauce: Once all chicken pieces are fried and drained, place them in a large bowl. Pour the sauce mixture over the hot chicken and gently toss until each piece is evenly coated with the glossy, savory-sweet glaze.
- Garnish and serve: Transfer the coated chicken to a serving platter or individual plates. Sprinkle additional chopped green onions and a light scattering of sesame seeds over the top for color and crunch. Serve immediately over steamed rice, with a side salad, or on its own for a crunchy, saucy main.
Tips and variations
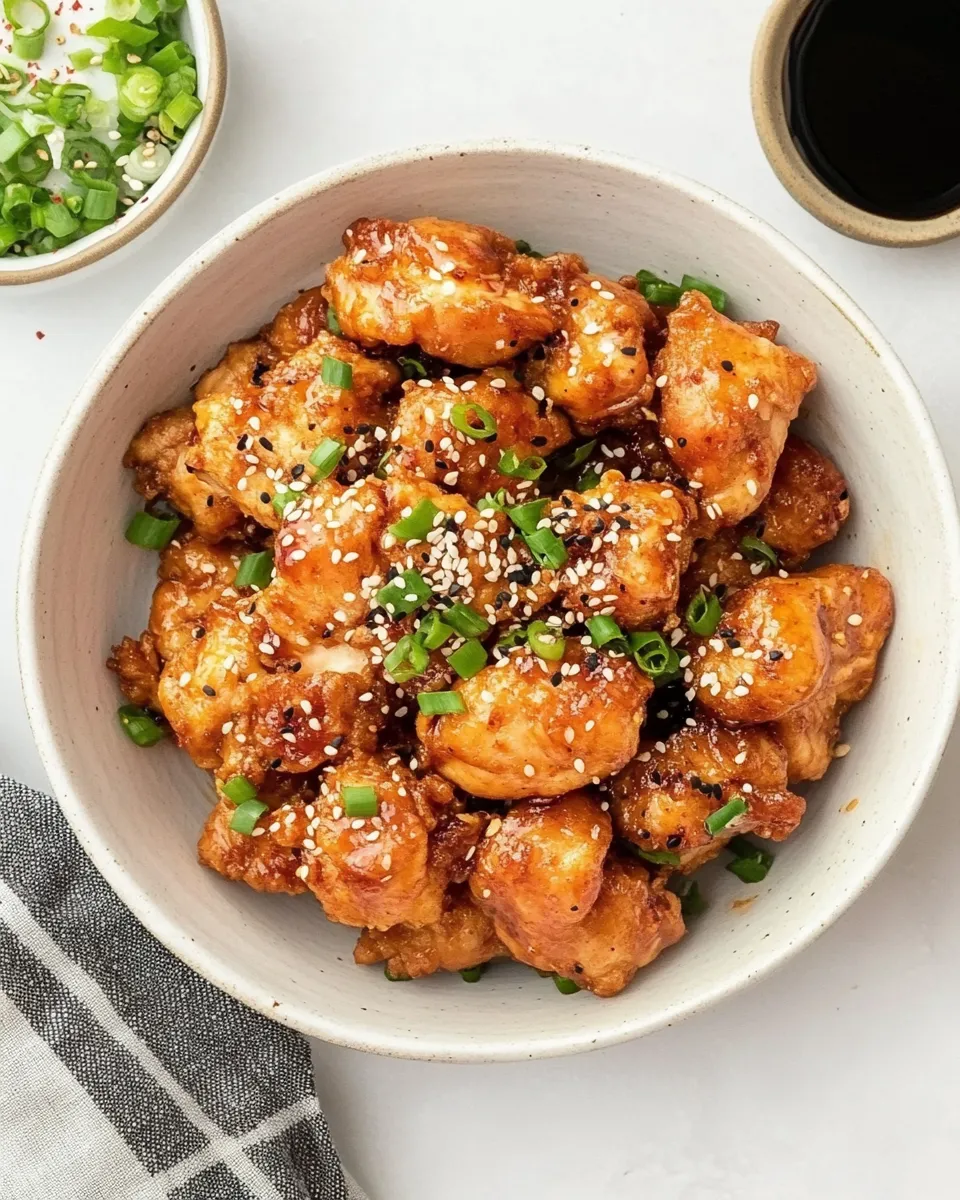
- Even pieces mean even cooking: Cut the chicken into uniform 2-inch strips so every piece finishes at the same time.
- Temperature control: Keep the oil between 325–350°F. If it’s too hot the outside will brown before the inside cooks; too cool and the coating will absorb oil and feel heavy.
- Make it extra-crispy: For an extra-crispy crust, let the coated chicken rest uncovered in the fridge for 15–20 minutes before frying. This helps the coating adhere and dry slightly for better crunch.
- Sauce adjustments: Prefer sweeter or saltier? Adjust the 3 tablespoons granulated sugar or 1/4 cup soy sauce to taste. Add a pinch of black pepper or a drizzle of sesame oil for more depth if desired.
- Air-fryer option: If you want to cut oil usage, you can air-fry the coated pieces at 400°F for 10–12 minutes, flipping halfway, though the texture will be slightly different than deep frying.
- Serving ideas: Serve with quick pickled cucumbers, steamed greens, or a side of kimchi-style vegetables for contrast. Leftovers are great in wraps or salads.
Make-ahead and storage
You can fry the chicken ahead and store it in an airtight container in the refrigerator for up to 3 days. Reheat in a 350°F oven on a wire rack for best texture—this helps maintain crispiness. The sauce keeps separately in the fridge for up to 4 days; reheat the chicken and toss with warm sauce just before serving.
Why this works
The success of this recipe comes down to a few simple principles. Mochiko flour — sweet rice flour — creates a batter that crisps beautifully and stays light rather than heavy. Cornstarch contributes an additional brittle crunch and helps the coating brown evenly. Beaten eggs act as a binding layer so the dry mixture clings to the meat. The sauce balances salty soy and sweet sugar with aromatic garlic and sesame seeds, and the chopped green onions add freshness and bite. Using boneless skinless chicken thighs is key: they remain juicy and forgiving in a quick fry, more so than leaner white meat.
Frequently asked questions
Can I use chicken breasts instead? Yes, you can use boneless skinless chicken breasts cut into 2-inch strips, but watch the cooking time closely. Breasts can dry out faster than thighs, so aim for an internal temperature of 165°F and avoid overcooking.
What is mochiko flour? Mochiko is a sweet rice flour that gives a unique chew and crispness when fried. It’s different from regular wheat flour and helps create the distinct texture of this dish.
Is it possible to make this gluten-free? Use a gluten-free tamari or gluten-free soy sauce in place of the soy sauce to keep the recipe free from wheat. The mochiko and cornstarch base is already gluten-free.
Final thoughts
This Mochiko Chicken recipe is a delightful balance of crunchy, tender, sweet, and savory. It’s straightforward enough for a weekday dinner but special enough to serve when friends drop by. The use of mochiko flour sets it apart from other fried chicken recipes—delivering a unique texture that keeps you reaching for one more piece. Try it as written first, then experiment with sauce tweaks and side dishes to make it your own.
Happy cooking, and enjoy that irresistible crunch!
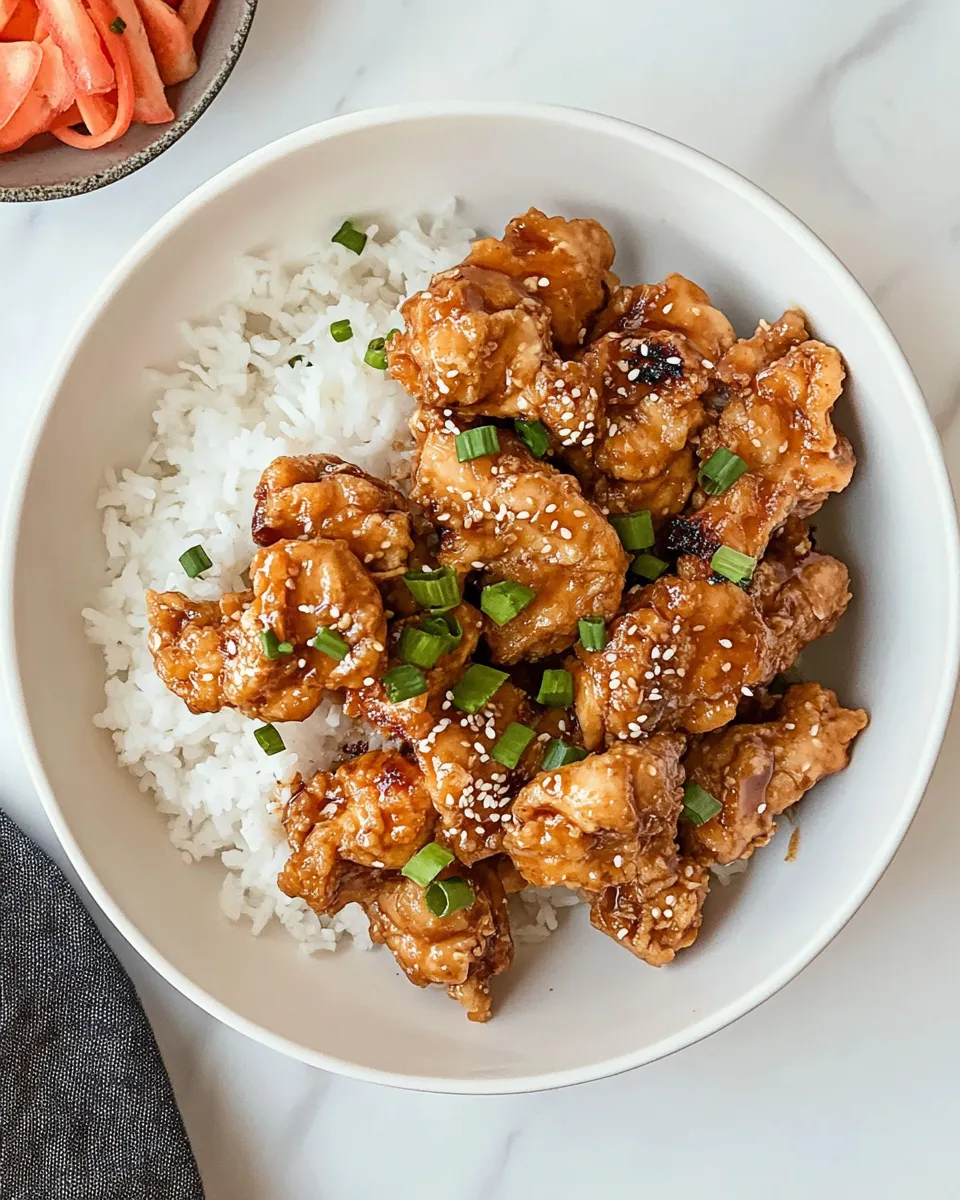
Mochiko Chicken
Equipment
- Large Bowl
- Whisk
- deep skillet or Dutch oven
- Tongs
- rack or paper towels
- Measuring cups and spoons
Ingredients
- 2 pounds boneless skinless chicken thighs cut into 2-inch strips
- 2 large eggs beaten
- 1/3 cup mochiko flour (sweet rice flour)
- 1/4 cup cornstarch
- 1/4 cup soy sauce
- 3 tablespoons granulated sugar
- 2 tablespoons sesame seeds
- 2 cloves garlic grated
- 1/2 teaspoon salt
- 3 tablespoons green onions chopped, plus more for garnish
- neutral oil (canola or similar) for frying, about 1 1/2 cups
Instructions
- Trim any excess fat and cut the chicken thighs into 2-inch strips; place the strips in a large bowl.
- In a separate bowl, whisk together the beaten eggs, mochiko (sweet rice) flour, cornstarch, soy sauce, granulated sugar, sesame seeds, grated garlic, salt, and chopped green onions until smooth.
- Pour the marinade over the chicken and toss until every piece is evenly coated. Cover and refrigerate for at least 4 hours or overnight.
- When ready to fry, heat about 1 1/2 cups neutral oil in a deep skillet or Dutch oven to 325°F (medium heat).
- Working in batches, add the marinated chicken pieces to the hot oil and fry until golden brown and cooked through, about 3–4 minutes per side (165°F internal temperature).
- Remove the fried chicken with tongs and drain on a rack or paper towels; repeat with remaining chicken.
- Arrange the crispy mochiko chicken on a platter, garnish with additional chopped green onions, and serve with steamed white rice if desired.
Notes
- Marinate at least 4 hours for best flavor.
- Do not overcrowd the pan when frying.
- Use a thermometer to ensure chicken reaches 165°F.
- Drain cooked chicken on a rack for crispiness.