If you’re craving a dessert that combines the rich, caramelized flavor of Biscoff cookie butter with the creamy coolness of ice cream, these Biscoff Ice Cream Sandwiches are exactly what you need. They’re easy to make, require just a handful of simple ingredients, and result in a decadent treat that’s perfect for any occasion—from summer gatherings to an indulgent after-dinner delight. Whether you’re a longtime fan of Biscoff or just curious about this luscious cookie butter, this recipe brings a dreamy new way to enjoy it.
Why This Recipe Is a Must-Try
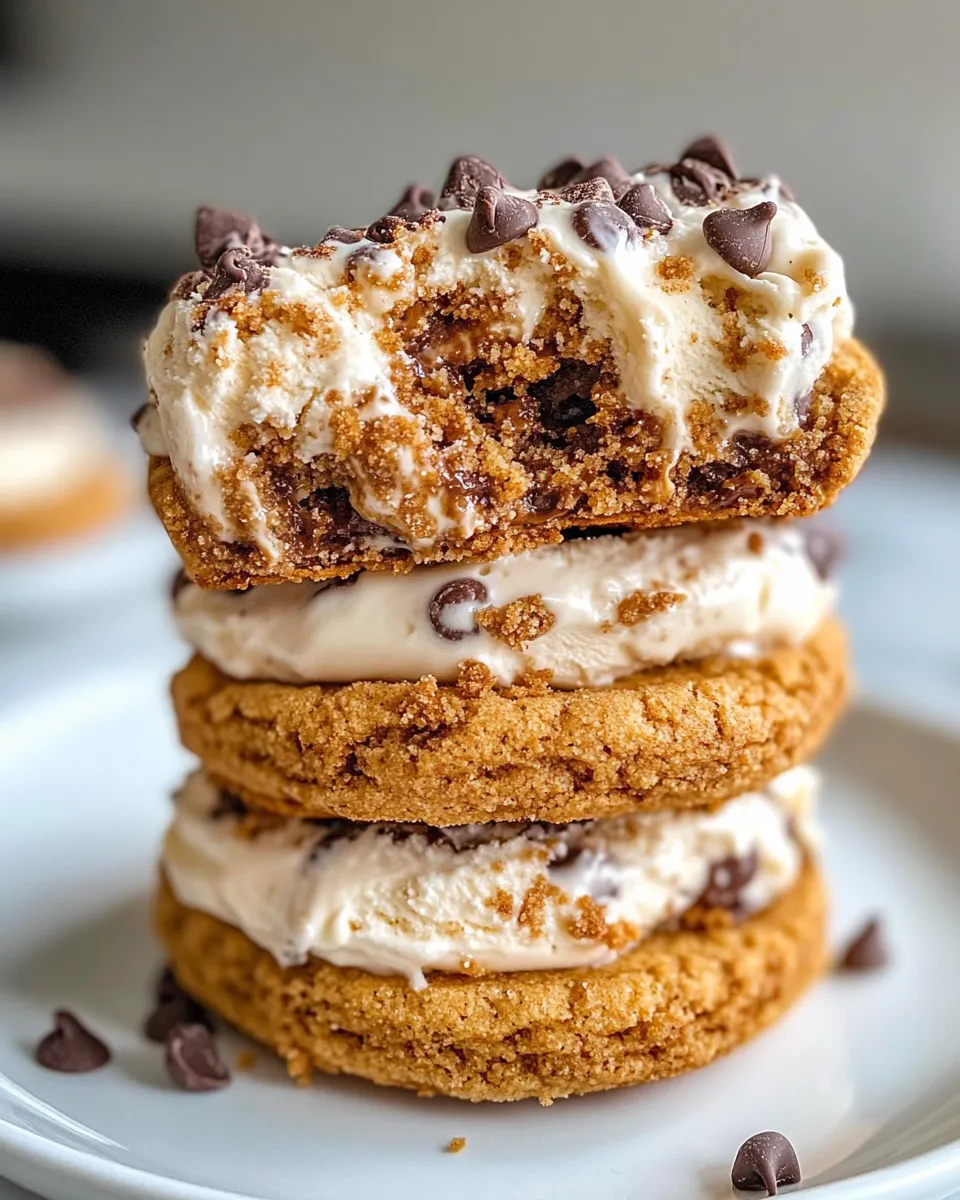
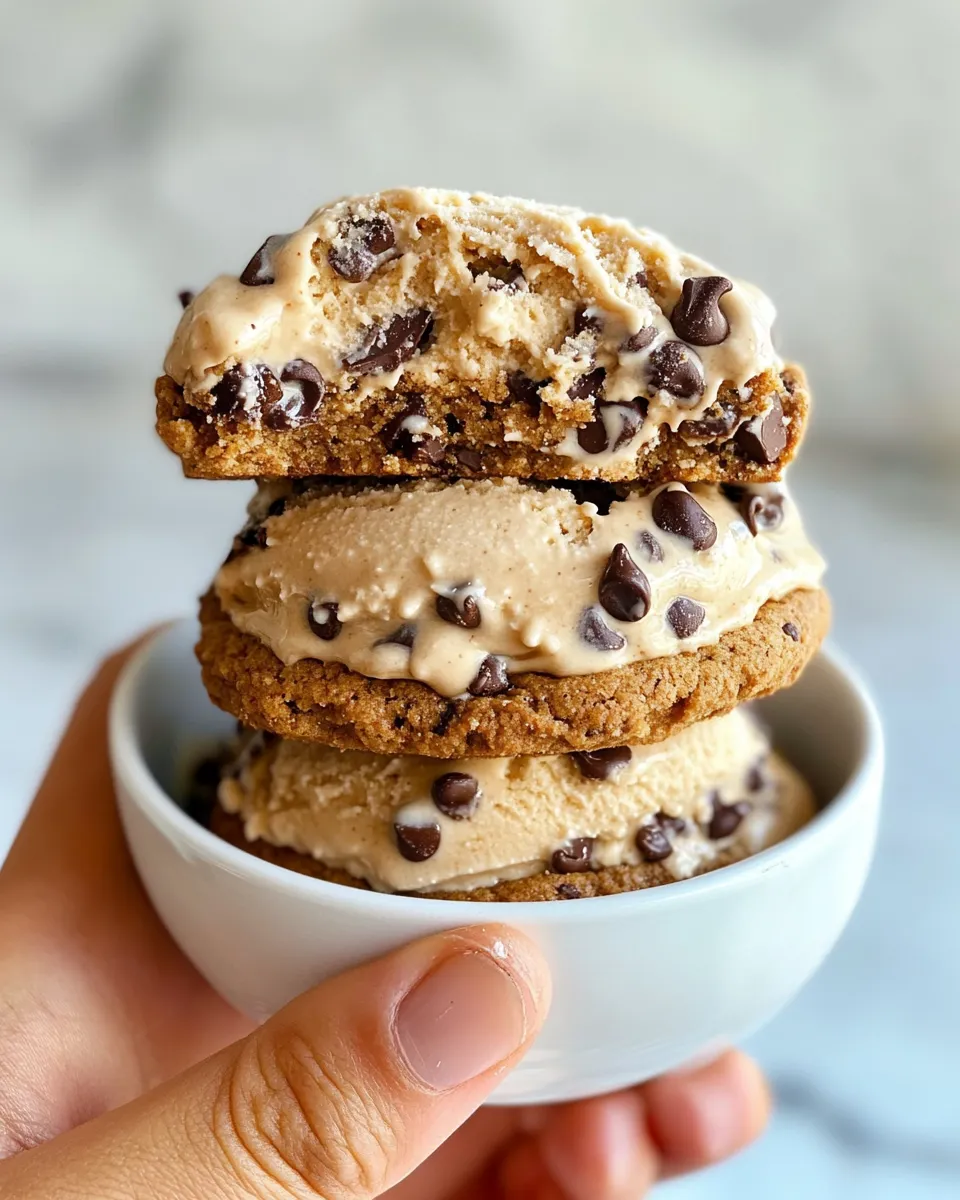
What makes these Biscoff Ice Cream Sandwiches a standout dessert is the perfect balance between the crunchy cookies and the smooth, velvety ice cream filling infused with the unmistakable spiced sweetness of Biscoff cookie butter. Unlike traditional ice cream sandwiches that rely on chocolate or vanilla flavors, this version brings a unique twist that’s both nostalgic and exciting.
By making your own Biscoff ice cream filling at home, you control the sweetness and texture, ensuring every bite melts in your mouth with a rich, caramel undertone. Plus, this recipe is incredibly versatile—you can swap out cookies or add toppings like chocolate chips to customize it to your liking. If you love making desserts from scratch, this is a fun and rewarding project that requires minimal equipment and no ice cream maker.
Looking for a soft cookie base? Try pairing this with a homemade batch of Toll House Cookie Bars for an extra indulgent sandwich that will wow your family and friends.
Ingredients
- 2 cups Biscoff cookie butter – the star ingredient that gives the filling its signature caramelized spice flavor.
- 1 cup heavy cream – helps create a rich and creamy texture.
- 1 cup sweetened condensed milk – adds sweetness and creaminess without needing an ice cream maker.
- 1 tablespoon vanilla extract – enhances the flavor and adds warmth.
- 8 large cookies – choose crunchy cookies like Biscoff cookies, gingersnaps, or any sturdy cookie that holds up well to ice cream.
- Chocolate chips (optional) – for a delightful chocolatey crunch when sprinkled on the ice cream filling.
How To Make Biscoff Ice Cream Sandwiches
Step 1: Prepare the Biscoff Ice Cream Filling
In a large mixing bowl, combine the Biscoff cookie butter, heavy cream, sweetened condensed milk, and vanilla extract. Using a hand mixer or stand mixer, beat the mixture on medium-high speed for about 3-5 minutes until it becomes thick and creamy. The texture should be smooth but firm enough to hold its shape when scooped.
Step 2: Assemble the Sandwiches
Lay out your 8 large cookies on a clean surface. If you like, you can warm the cookies slightly in the oven for a few minutes to make them easier to handle, but this is optional.
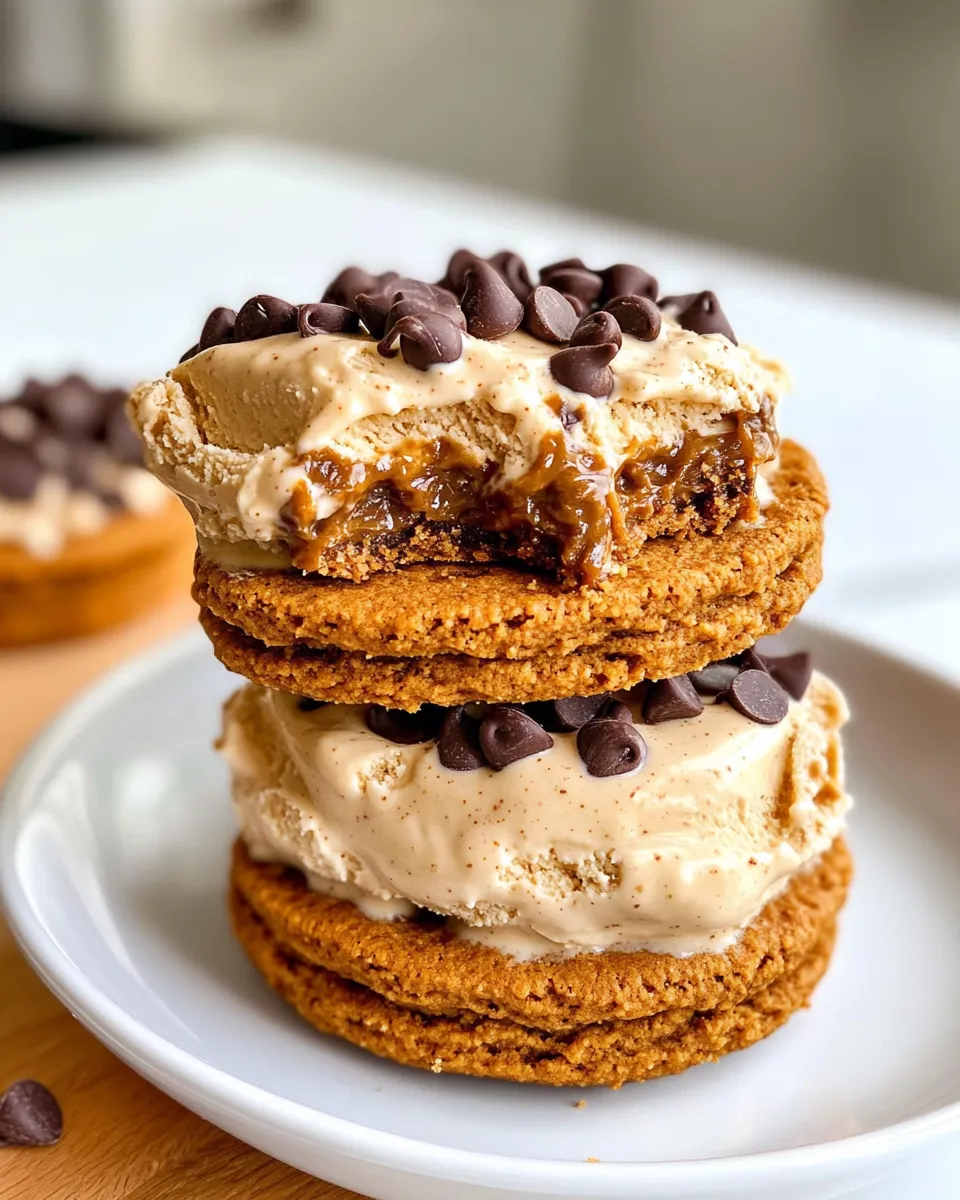
Using an ice cream scoop or a large spoon, dollop a generous amount of the Biscoff ice cream filling onto the flat side of one cookie. If you want to add some texture, sprinkle some chocolate chips over the filling before sandwiching it with another cookie. Press gently but firmly to form a sandwich.
Repeat this process until all the cookies and filling are used up, making 4 ice cream sandwiches in total.
Step 3: Freeze and Serve
Wrap each sandwich individually in plastic wrap or parchment paper to prevent freezer burn. Place them in the freezer for at least 2 hours or until the filling is firm.
When ready to serve, remove the sandwiches from the freezer and let them sit at room temperature for 3-5 minutes to soften slightly for easier biting. Enjoy immediately for the best texture.
Common Mistakes to Avoid
- Using soft or crumbly cookies – this can cause the sandwiches to fall apart when you bite in. Opt for crunchy cookies that hold their shape well.
- Skipping the chilling step – freezing the assembled sandwiches is crucial for the ice cream filling to firm up properly.
- Overbeating the filling – beat just until thick and creamy. Overmixing can cause the texture to become grainy or separate.
- Not wrapping sandwiches before freezing – this can lead to freezer burn and affect the flavor and texture.
Variations and Customizations
- Cookie options: Swap out the base cookies for chocolate wafers, gingersnaps, or even classic sugar cookies for a different flavor profile.
- Flavor twists: Add a pinch of cinnamon or cardamom to the filling to enhance the warm spice notes of Biscoff.
- Chocolate drizzle: Melt some dark or milk chocolate and drizzle over the sandwiches before freezing for an extra indulgent touch.
- Nutty crunch: Roll the edges of the ice cream filling in finely chopped nuts like toasted pecans or almonds for added texture.
- Mix-ins: Fold mini chocolate chips, crushed Biscoff cookies, or caramel swirls into the ice cream filling before assembling the sandwiches.
How to Store Leftovers
Leftover Biscoff Ice Cream Sandwiches should be kept wrapped tightly in plastic wrap or parchment paper and stored in an airtight container in the freezer. Properly stored, they will stay fresh and delicious for up to 2 weeks. When you want to enjoy them again, simply remove from the freezer and let them soften at room temperature for a few minutes before serving.
FAQ
Can I use a different type of cookie butter?
Absolutely! While Biscoff cookie butter has a unique flavor, you can use any similar spiced cookie butter or even peanut butter for a twist. Just keep in mind that the flavor will differ from traditional Biscoff.
Do I need an ice cream maker for this recipe?
No ice cream maker is required. The use of sweetened condensed milk and heavy cream allows you to whip up a creamy, no-churn ice cream filling that freezes well and has a smooth texture.
Can I make these ahead of time for a party?
Yes! These sandwiches can be made several days in advance and stored in the freezer. Just be sure to wrap each one well to maintain freshness and prevent freezer burn.
What if I want a dairy-free version?
For a dairy-free version, you can substitute the heavy cream with coconut cream and use a sweetened condensed coconut milk alternative. The texture and flavor will be slightly different but still delicious.
Conclusion
These Biscoff Ice Cream Sandwiches are a delightful and simple way to elevate your dessert game. By blending the beloved flavor of Biscoff cookie butter with a creamy homemade ice cream filling and crunchy cookies, you get a treat that’s both nostalgic and refreshingly new. Perfect for warm days or anytime you want a sweet indulgence, this recipe is versatile, easy to customize, and sure to impress your loved ones. Whether you keep it classic or experiment with add-ins, these sandwiches are guaranteed to become a favorite in your dessert repertoire.
Share on Pinterest
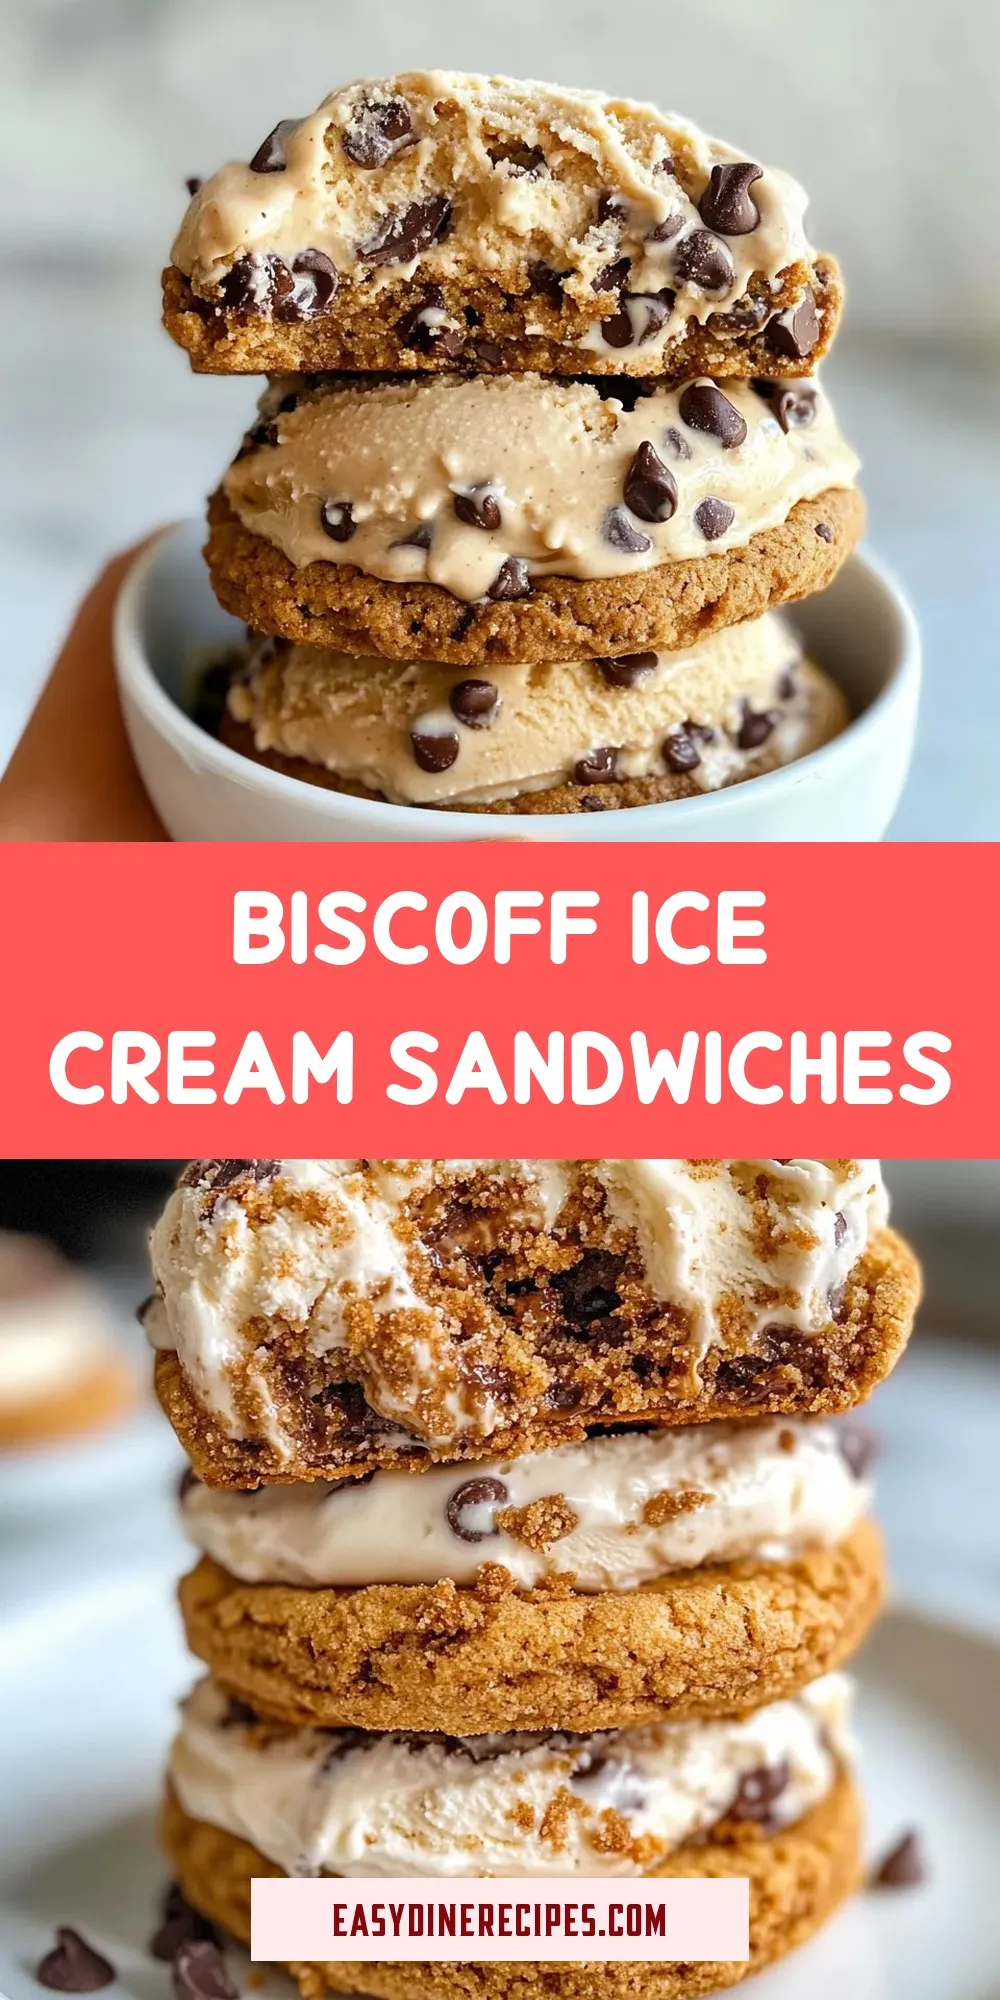
Biscoff Ice Cream Sandwiches
Equipment
- Large Mixing Bowl
- Hand Mixer or Stand Mixer
- Ice Cream Scoop
- Plastic Wrap or Parchment Paper
Ingredients
- 2 cups Biscoff cookie butter the star ingredient that gives the filling its signature caramelized spice flavor
- 1 cup heavy cream helps create a rich and creamy texture
- 1 cup sweetened condensed milk adds sweetness and creaminess without needing an ice cream maker
- 1 tablespoon vanilla extract enhances the flavor and adds warmth
- 8 large cookies choose crunchy cookies like Biscoff cookies, gingersnaps, or any sturdy cookie that holds up well to ice cream
- Chocolate chips optional, for a delightful chocolatey crunch when sprinkled on the ice cream filling
Instructions
Prepare the Biscoff Ice Cream Filling
- In a large mixing bowl, combine the Biscoff cookie butter, heavy cream, sweetened condensed milk, and vanilla extract. Using a hand mixer or stand mixer, beat the mixture on medium-high speed for about 3-5 minutes until it becomes thick and creamy.
Assemble the Sandwiches
- Lay out your 8 large cookies on a clean surface. Optionally warm the cookies slightly in the oven for a few minutes to make them easier to handle.
- Using an ice cream scoop or a large spoon, dollop a generous amount of the Biscoff ice cream filling onto the flat side of one cookie. Sprinkle chocolate chips over the filling if desired. Press gently but firmly to form a sandwich.
- Repeat until all cookies and filling are used, making 4 ice cream sandwiches total.
Freeze and Serve
- Wrap each sandwich individually in plastic wrap or parchment paper to prevent freezer burn. Freeze for at least 2 hours or until filling is firm.
- When ready to serve, let sandwiches sit at room temperature for 3-5 minutes to soften slightly before enjoying.
Notes
- Use crunchy cookies to prevent sandwiches from falling apart.
- Freeze sandwiches well wrapped to avoid freezer burn.
- Optional add-ins like chocolate chips or chopped nuts add texture and flavor.