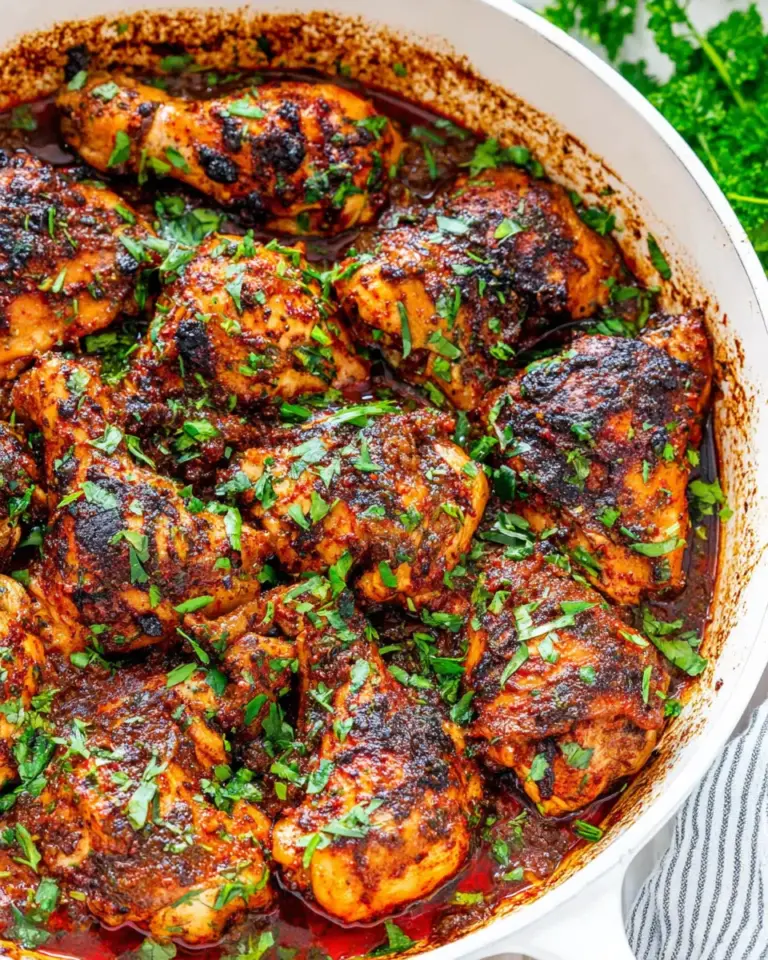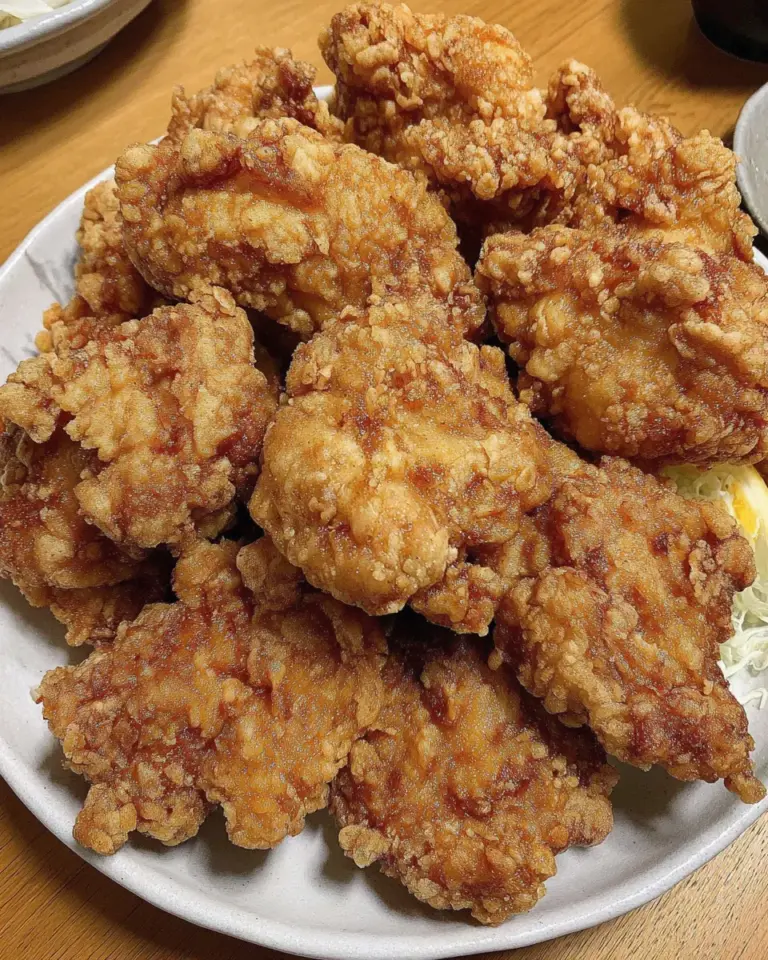
There’s something irresistible about a crisp, golden cutlet that flakes under the fork and stays juicy inside. This Baked Chicken Katsu recipe delivers that satisfying crunch without deep frying—perfect for weeknight dinners or a laid-back weekend meal. The panko crust bakes up airy and crisp while a tangy, slightly sweet sauce gives each bite wonderful balance. Serve it over steaming rice with shredded cabbage and green onions for classic presentation and texture contrast.
Why you’ll love this version
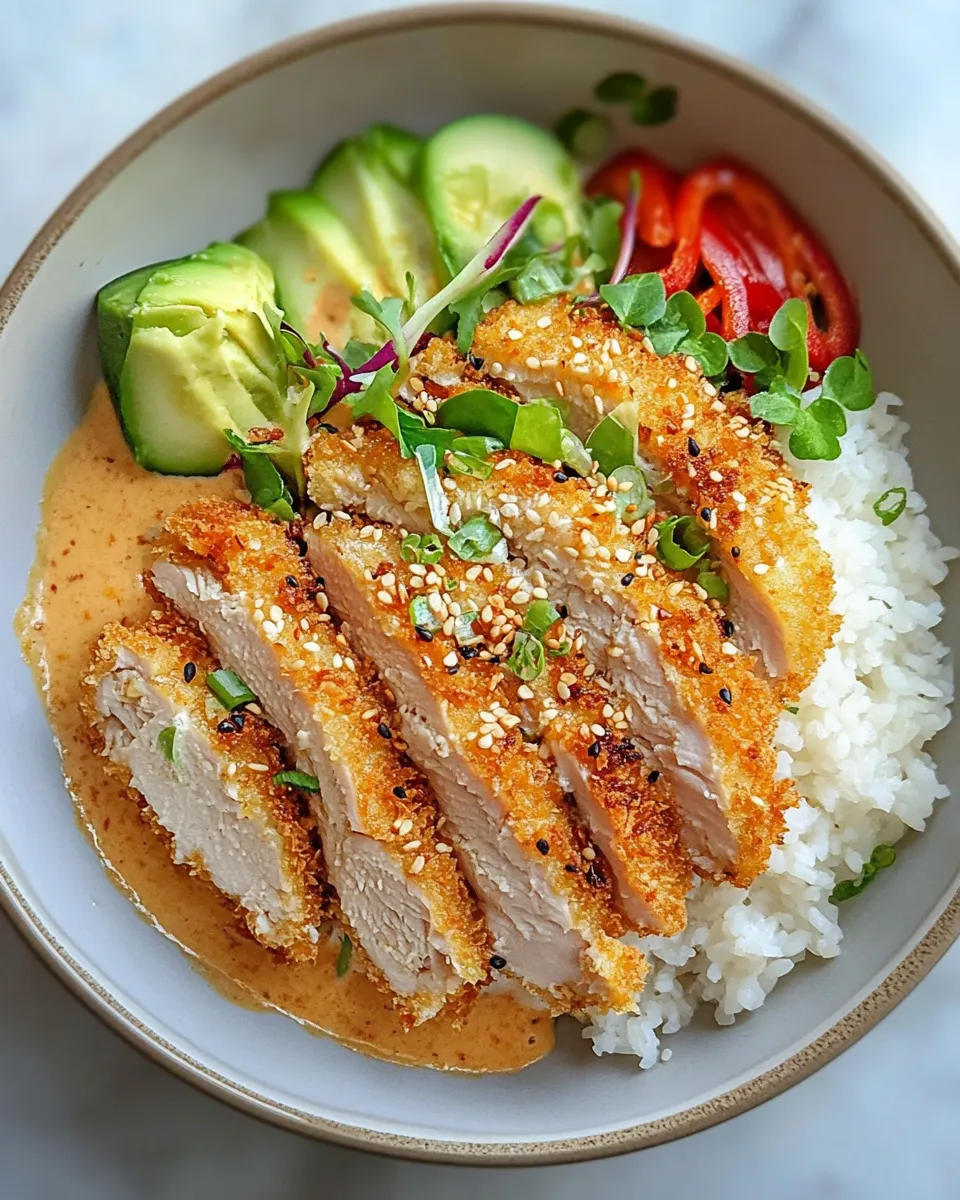
This Baked Chicken Katsu keeps the best parts of the classic: crunchy panko, tender chicken, and an addictive sauce. It swaps heavy frying for a quick bake that’s kinder on the kitchen and easier to manage. The sauce combines ketchup, Worcestershire sauce, molasses, soy, garlic, and fresh ginger for a sweet-savory finish that complements the crunchy exterior and juicy interior perfectly.
Ingredients
- ▢3 tablespoons ketchup
- ▢3 tablespoons Worcestershire sauce
- ▢1 tablespoon molasses
- ▢1 teaspoon low-sodium soy sauce
- ▢½ teaspoon garlic powder
- ▢⅛ teaspoon peeled, grated fresh ginger root
- ▢2 (8 oz) boneless, skinless chicken breasts, or 4 chicken cutlets
- ▢kosher salt + black pepper, to taste
- ▢1 teaspoon garlic powder, divided
- ▢½ cup all-purpose flour
- ▢2 large eggs, beaten
- ▢1 tablespoon water
- ▢1½ cups panko bread crumbs
- ▢cooking spray for baking
- ▢steamed rice
- ▢finely shredded cabbage
- ▢green onions
Equipment
- Baking sheet with a wire rack (or just a baking sheet and a light turn halfway through)
- Shallow bowls for dredging
- Meat mallet or rolling pin (for pounding chicken)
- Whisk and mixing spoon
- Sharp knife and cutting board
Prep and planning
Start by making the sauce and prepping your chicken. Pound the chicken breasts to an even thickness so they cook uniformly and the crust adheres well. Setting up a simple dredging station—flour, egg wash, and panko—makes the process quick and clean. The recipe quantities are balanced for two 8-ounce breasts or four thin cutlets, so adjust only if you scale the meal.
Sauce
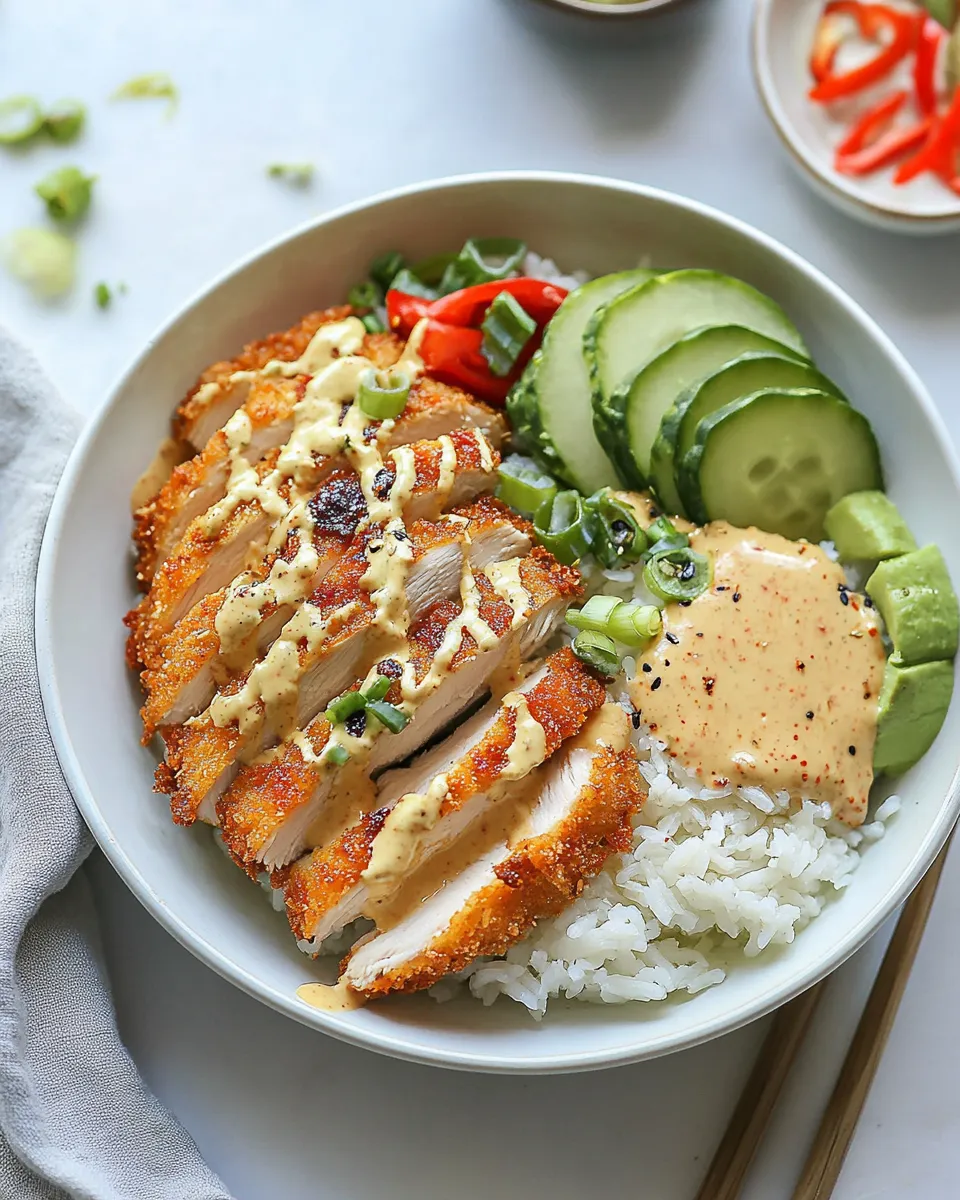
Make the sauce first so the flavors have a moment to meld while you bread the chicken. In a small bowl, whisk together 3 tablespoons ketchup, 3 tablespoons Worcestershire sauce, 1 tablespoon molasses, 1 teaspoon low-sodium soy sauce, ½ teaspoon garlic powder, and ⅛ teaspoon grated fresh ginger. Taste and set aside. This sticky-sweet-tangy sauce will be your finishing touch.
Step-by-step instructions
- Preheat your oven to 425°F (220°C). Position a rack in the center of the oven. Line a baking sheet with foil and set a wire rack on top if you have one. Lightly coat the rack with cooking spray so the chicken won’t stick.
- Prepare the chicken: If using two 8 oz chicken breasts, place them between two sheets of plastic wrap or inside a large zip-top bag. Gently pound with a meat mallet or rolling pin until each breast is about ½-inch thick. If you’re using four cutlets, gently flatten any uneven areas so all pieces are the same thickness.
- Season both sides of the chicken pieces with kosher salt and black pepper to taste. Sprinkle ½ of the 1 teaspoon garlic powder across the chicken evenly, reserving the other half for the breading step.
- Set up three shallow bowls or plates for dredging: one with ½ cup all-purpose flour, one with the beaten egg mixture, and one with 1½ cups panko bread crumbs. To make the egg wash, whisk together 2 large eggs and 1 tablespoon water until smooth.
- Working one piece at a time, dredge the chicken first in the flour. Shake off any excess flour so the egg will adhere. Then dip the chicken into the egg wash, coating it fully. Allow any excess egg to drip back into the bowl.
- Sprinkle the remaining ½ teaspoon garlic powder into the panko and mix to distribute. Press the egg-coated chicken firmly into the panko crumbs, pressing and patting so the panko adheres and forms an even layer. Turn the chicken and repeat so both sides are fully coated. Place each breaded cutlet on the prepared wire rack or on the lined baking sheet.
- Lightly mist the top of each breaded chicken piece with cooking spray. This helps the panko brown and become crispy in the oven. If you don’t have cooking spray, drizzle a scant teaspoon of neutral oil over each piece instead.
- Bake the chicken: Slide the baking sheet into the preheated oven and bake for about 15–18 minutes. If your pieces are thicker or you didn’t pound them fully thin, bake until the internal temperature reaches 165°F (74°C) and the panko is golden brown. If you’re not using a wire rack, flip the cutlets halfway through baking to ensure both sides crisp evenly.
- While the chicken bakes, re-whisk the reserved sauce in its bowl. Transfer a few spoonfuls to a small saucepan and warm gently over low heat if you prefer a warm sauce to drizzle. Otherwise, serve it at room temperature.
- Remove the chicken from the oven and let it rest for 3–4 minutes. This brief rest helps the juices redistribute and keeps the crust crisp. Slice each piece into strips if you like—this makes serving over rice easy and perfect for family-style plates.
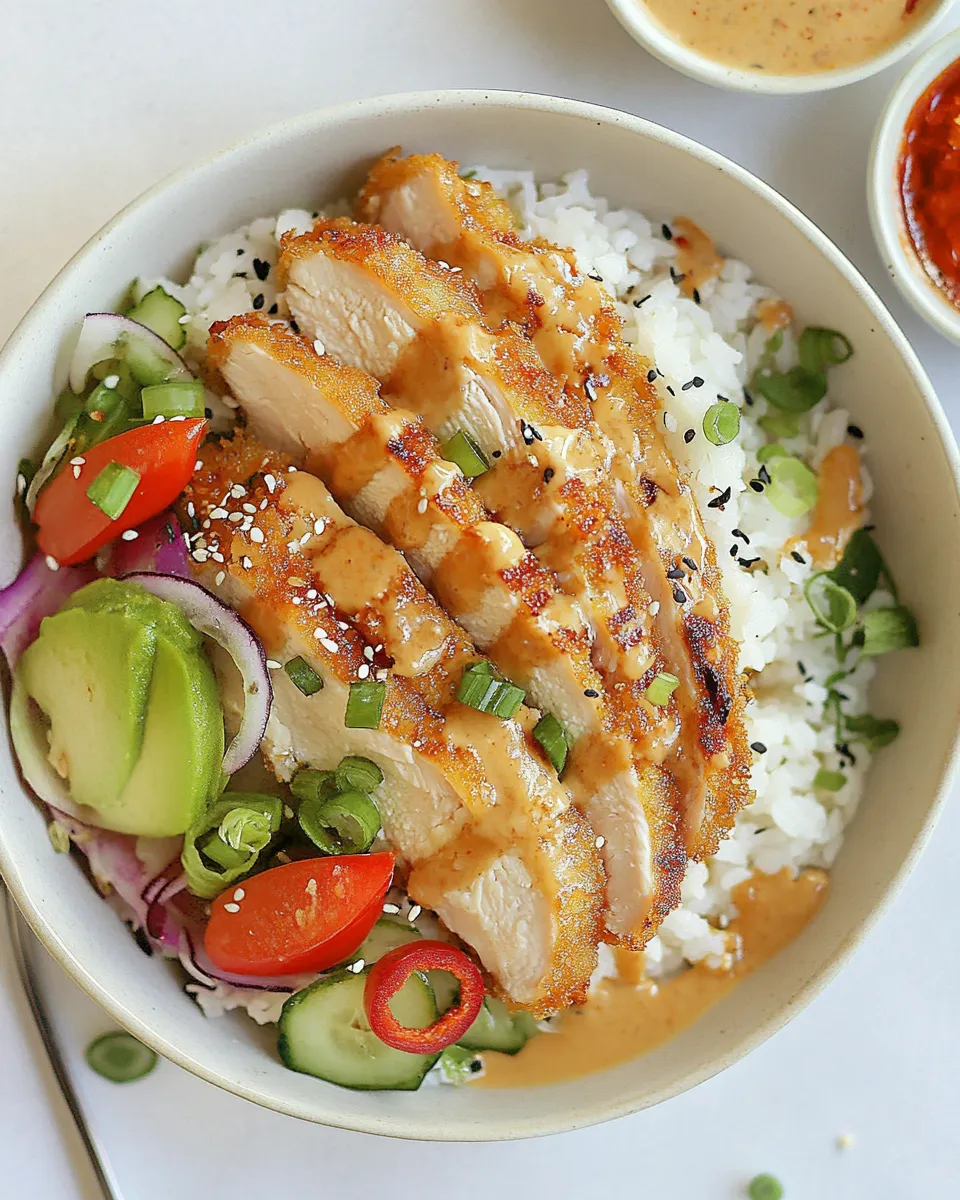
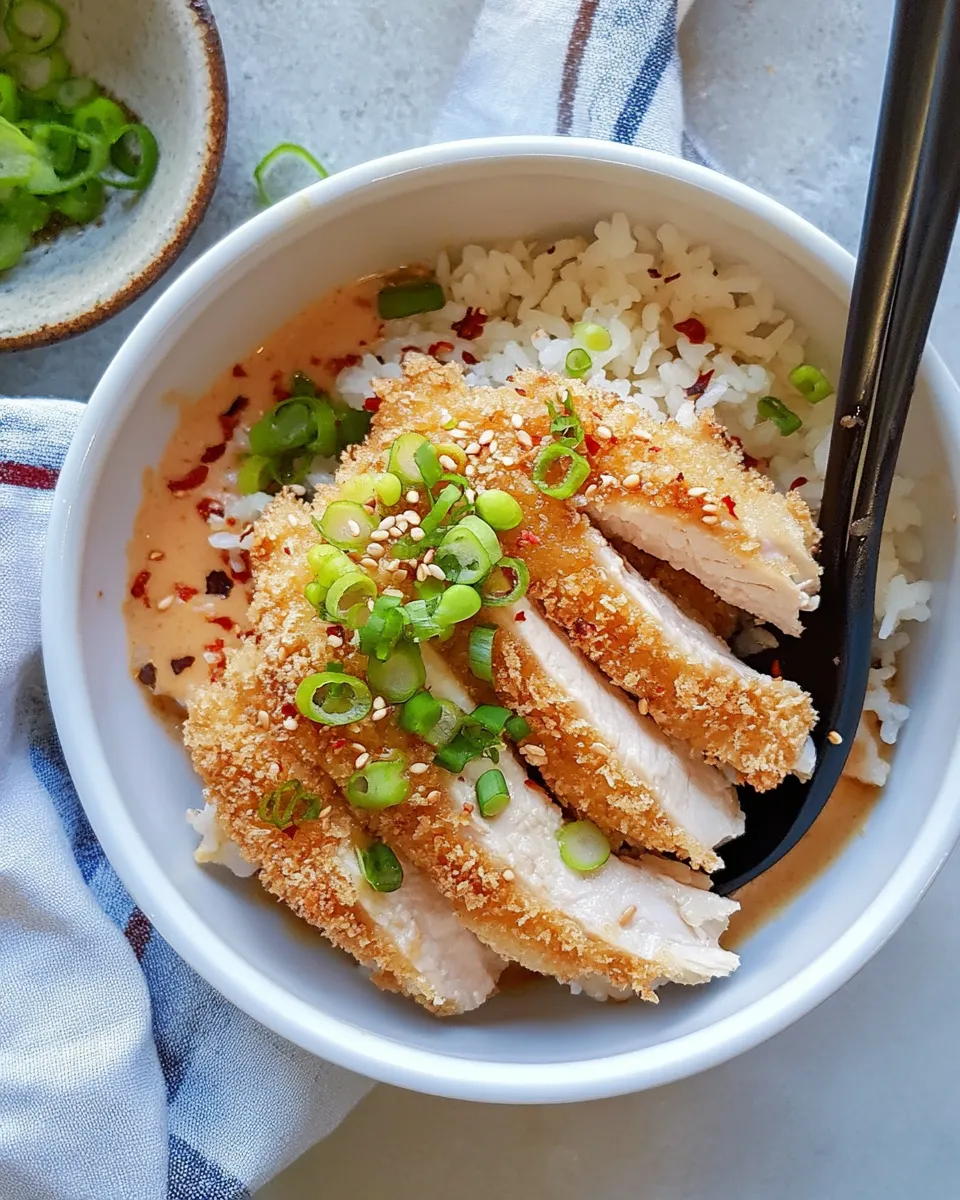
- To serve: Spoon steamed rice onto plates, add a mound of finely shredded cabbage alongside, and place the sliced or whole chicken katsu over the rice. Drizzle the prepared sauce over the chicken or serve it on the side for dipping. Garnish with sliced green onions for freshness and color.
Troubleshooting and tips
- If the panko isn’t browning enough, increase the oven temperature for the last 2–3 minutes or move the pan up one rack—but watch carefully to avoid burning.
- Make sure the chicken pieces are an even thickness. Uneven pieces will either overcook on the edges or remain underdone in the center.
- Press the panko firmly so it sticks; loose crumbs won’t form a cohesive crust. A thin layer of flour and egg is the secret to building a sturdy coating.
- Use a wire rack set over a baking sheet when possible. That allows hot air to circulate and crisps the bottom of the cutlets as well as the top.
- For an extra layer of flavor, add a pinch of smoked paprika or a little lemon zest to the panko before pressing the chicken into the crumbs.
Make-ahead and storage
You can bread the chicken ahead of time and refrigerate it on the tray for up to a day—cover loosely with plastic wrap. Bake just before serving for the best texture. Leftover Baked Chicken Katsu keeps well in an airtight container in the refrigerator for up to 3 days. Reheat in a 375°F (190°C) oven for about 8–10 minutes to help re-crisp the panko; a microwave will heat the chicken but will soften the crust.
Serving ideas
This chicken is wonderful over a bed of steamed rice with shredded cabbage and green onions as written. You can also slice it and add to a salad for crunch, tuck it into a sandwich or katsu sando with soft white bread and mayo, or cut it into strips for a donburi bowl with pickled vegetables.
Nutrition snapshot
Because the chicken is baked instead of fried, this version trims some of the excess oil but still delivers crispy texture and satisfying flavor. Serving with a simple cabbage slaw and steamed rice keeps the plate balanced and fresh.
One more thing
The combination of crunchy panko and sweet-tangy sauce is a crowd-pleaser. Whether you’re cooking for two or feeding a family, this Baked Chicken Katsu is straightforward, reliable, and delicious. It’s the kind of recipe that becomes a go-to because it looks and tastes like effort, but is actually fast and forgiving. Enjoy, and don’t forget the green onions for that last fresh pop of flavor.
Full recipe summary
Prep time: 15 minutes. Cook time: 15–18 minutes. Serves 2–4 depending on whether you use whole breasts or cutlets. Ingredients and steps above are complete—follow them in order for the best results. Serve over steamed rice with finely shredded cabbage and sliced green onions, and spoon or drizzle the sauce made from ketchup, Worcestershire, molasses, soy, garlic powder, and fresh grated ginger over the chicken. Enjoy your crunchy, juicy Baked Chicken Katsu.
Baked Chicken Katsu
Equipment
- rimmed baking sheet with oven-safe rack
Ingredients
- 3 tablespoons ketchup
- 3 tablespoons Worcestershire sauce
- 1 tablespoon molasses
- 1 teaspoon low-sodium soy sauce
- 1/2 teaspoon garlic powder
- 1/8 teaspoon fresh ginger, peeled and grated
- 2 boneless skinless chicken breasts (8 oz each) or 4 chicken cutlets
- kosher salt and black pepper to taste
- 1 teaspoon garlic powder divided
- 1/2 cup all-purpose flour
- 2 large eggs beaten
- 1 tablespoon water
- 1 1/2 cups panko bread crumbs
- cooking spray for baking
- steamed rice for serving
- finely shredded cabbage for serving
- green onions for serving
Instructions
- Whisk together 3 tablespoons ketchup, 3 tablespoons Worcestershire sauce, 1 tablespoon molasses, 1 teaspoon low-sodium soy sauce, 1/2 teaspoon garlic powder, and 1/8 teaspoon grated fresh ginger in a small bowl; cover and refrigerate until serving.
- Preheat the oven to 425°F (215°C). Place an oven-safe wire rack on a rimmed baking sheet and lightly spray the rack with nonstick spray.
- Trim any fat from the chicken breasts. If using whole breasts, cut crosswise to make 4 cutlets. Place each cutlet between plastic wrap and pound to 1/4 to 1/2-inch thickness.
- Season both sides of the pounded cutlets with kosher salt and black pepper to taste.
- In a shallow dish, combine 1/2 cup all-purpose flour, 1/2 teaspoon salt, and 1 teaspoon garlic powder.
- In a second shallow dish, whisk 2 large eggs with 1/2 teaspoon salt and 1 tablespoon water.
- Place 1 1/2 cups panko crumbs in a third shallow dish.
- Working one cutlet at a time, dredge in the seasoned flour, shake off excess, dip in the egg mixture, then press into the panko so the cutlet is evenly coated. Transfer to the prepared rack and repeat with remaining cutlets.
- Generously spray the breaded cutlets with cooking spray so the panko glistens, then bake on the rack for 15–18 minutes until golden and the internal temperature reaches 165°F (74°C).
- Slice the cutlets into thick strips and serve over steamed rice with the prepared sauce, shredded cabbage, and green onions alongside.
Notes
- Leftover tonkatsu sauce keeps up to 7 days refrigerated in an airtight container.
- For the crispiest chicken, serve immediately after baking.
- Leftover chicken can be reheated under the broiler or in a dry skillet for best texture.
- Use panko crumbs for a light, crispy coating; regular breadcrumbs will not give the same texture.