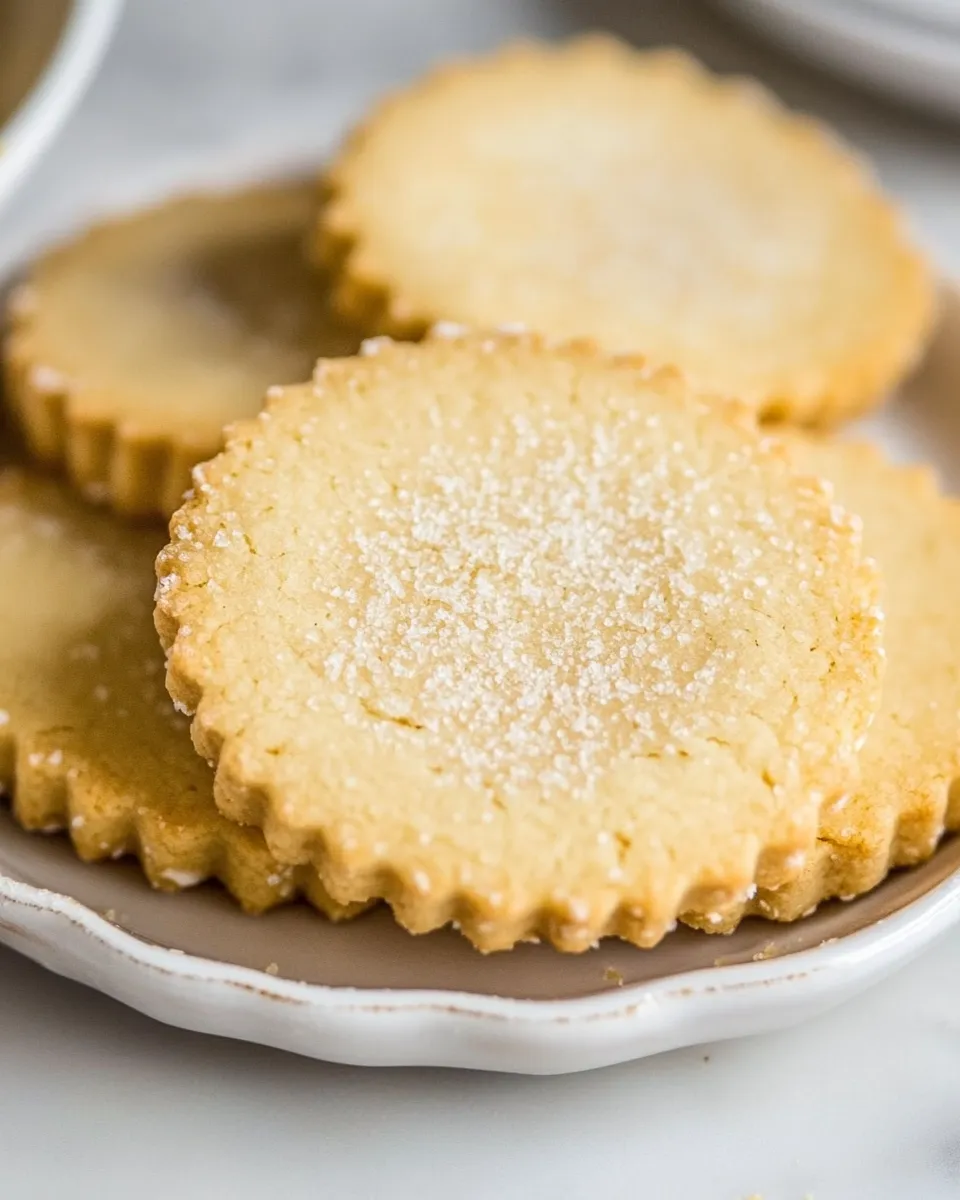
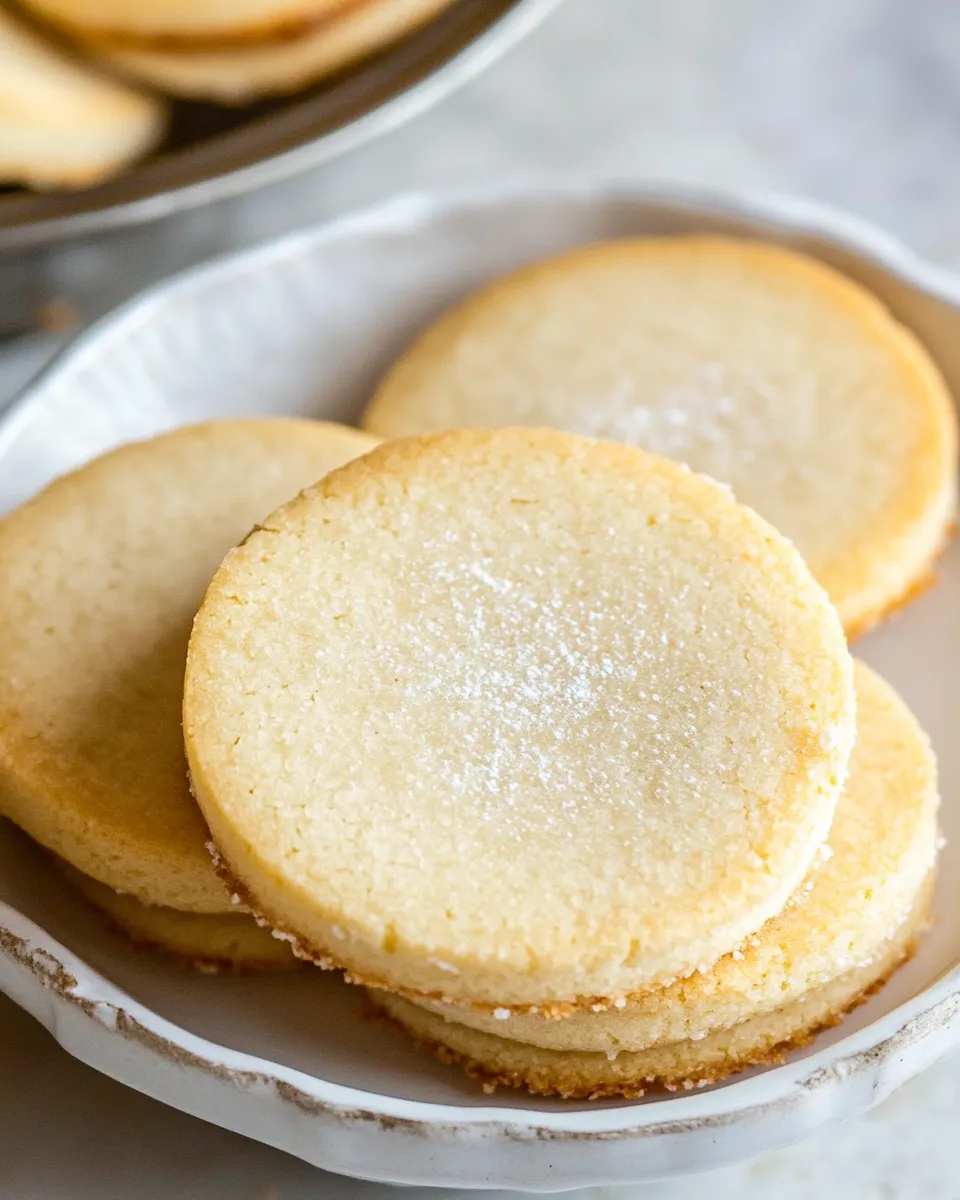
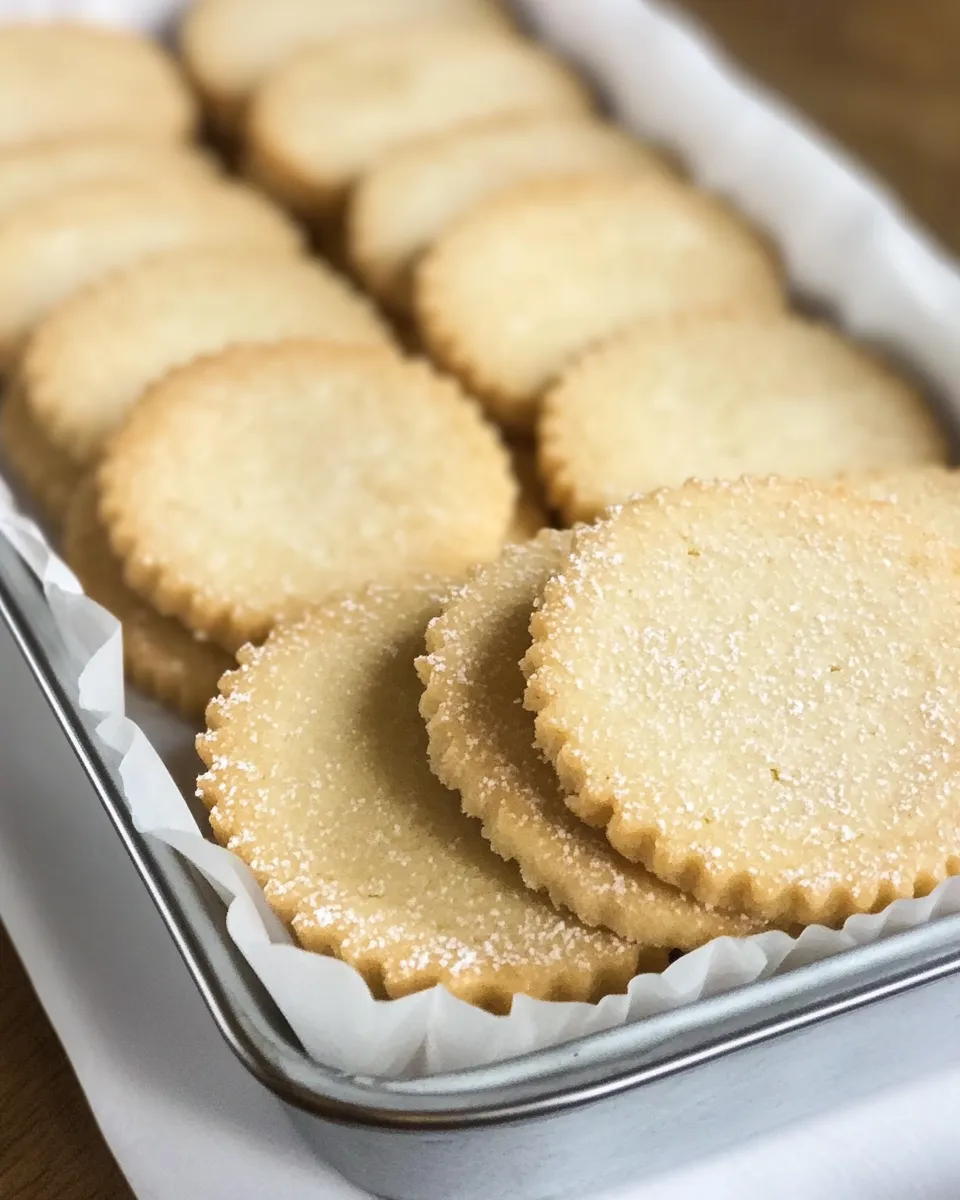
These butter cookies are the kind of simple, confident recipe I turn to when I want a reliable batch of crisp-edged, tender-centered cookies. They don’t ask for strange ingredients or specialized equipment—just good butter, a little sugar, an egg yolk, and basic pantry staples. The method is straightforward: cream, mix, chill, slice, and bake.
I like them because they deliver consistent texture and flavor with minimal fuss. You can roll the dough in sanding sugar for a festive sparkle or skip it for a clean, buttery finish. Either way, the result is a classic cookie that pairs beautifully with tea, coffee, or a quiet afternoon.
Below you’ll find the ingredient list, the exact step-by-step process, and practical notes from my kitchen so you can make these cookies confidently the first time and every time after.
Ingredients at a Glance

- 1 cup (226g) unsalted butter, softened — Provides the cookie’s rich flavor and tender texture; bring to room temperature for proper creaming.
- 2/3 cup (134g) granulated sugar — Sweetens and helps with structure and slight spread.
- 1 large egg yolk — Adds richness and helps bind the dough without adding excess moisture.
- 1/2 teaspoon baking powder — Gives a small lift so cookies are delicate, not flat.
- 1/2 teaspoon salt — Balances sweetness and enhances butter flavor.
- 1 teaspoon vanilla extract — Simple aromatics that round out the flavor.
- 2 cups (248g) all-purpose flour — The structure of the cookie; handle gently to avoid toughness.
- Sanding sugar — for rolling, optional — Adds a pretty crystalline finish and a little crunch if you choose to use it.
Cooking (Butter Cookies): The Process
- In a large bowl, beat the softened butter and granulated sugar with a hand mixer or stand mixer fitted with the paddle attachment until light and fluffy, about 1–2 minutes. Scrape down the bowl as needed.
- Add the egg yolk, baking powder, salt, and vanilla extract. Mix on low speed until combined and smooth.
- Add the all-purpose flour and mix on low speed just until a soft dough forms and there are no large streaks of flour. Do not overmix.
- Divide the dough into two equal portions. Shape each portion into a log about 6–7 inches long and approximately 1½ inches in diameter, smoothing seams so each log is uniformly cylindrical.
- If using sanding sugar: pour a layer of sanding sugar onto a large flat surface (a sheet of parchment or a baking sheet works). Roll each log in the sanding sugar, pressing gently so the sugar adheres evenly. If not using sanding sugar, skip this step.
- Wrap each log tightly in plastic wrap. Stand the wrapped logs upright in glasses if needed to keep them circular. Chill the logs in the refrigerator for at least 2 hours or up to overnight until firm.
- When ready to bake, preheat the oven to 350°F. Line cookie sheets with parchment paper or silicone baking mats.
- Unwrap a chilled log and, using a sharp knife, slice the log into rounds no more than 1/4 inch thick. Place the slices on the prepared cookie sheets, spacing them about 1 inch apart.
- Bake the cookies in the preheated oven for 16–18 minutes, or until the edges turn light golden and the tops are no longer glossy. Rotate the pans partway through baking if your oven heats unevenly.
- Let the cookies cool on the baking sheets for 5–10 minutes, then transfer them to a wire rack to cool completely.
- Store cooled cookies in an airtight container at room temperature for up to 5 days, or freeze for up to 3 months.
What Makes This Recipe Special
There’s an elegant simplicity to these butter cookies. The recipe leans on technique more than exotic ingredients. Properly softened butter and a brief creaming step create a light, tender crumb. The single egg yolk enriches without adding too much moisture so the cookies stay crisp at the edges and soft in the middle.
Another standout feature is the dough log method. Rolling and slicing delivers uniformly shaped cookies and minimal handling, which means less chance of overworking the dough. It also makes the whole process quicker when you want a neat, attractive cookie for a gathering.
If You’re Out Of…
If you’re missing one item, there are practical swaps you can use without changing the method.
- Unsalted butter — If you only have salted butter, use it. Taste the dough brieflly or reduce added salt slightly to avoid over-salting.
- Granulated sugar — Superfine (caster) sugar will blend even more smoothly; regular granulated works fine. Don’t replace with brown sugar unless you want a chewier, less classic texture.
- Egg yolk — In a pinch, you can use a whole egg, but the cookie will be slightly softer and may spread a bit more.
- Sanding sugar — If you don’t have sanding sugar, you can skip it or use a light dusting of granulated sugar, though it won’t look the same.
- Vanilla extract — Other extracts like almond or a small scrape of citrus zest can be used, but keep quantities modest so they don’t overpower the butter.
Prep & Cook Tools
- Stand mixer with paddle attachment or a hand mixer — for creaming butter and sugar.
- Large mixing bowl — roomy enough to scrape down and mix comfortably.
- Measuring cups and scales — scales give the most consistent results, especially for flour and butter.
- Sharp knife — for clean, even slices of the chilled dough log.
- Plastic wrap — to keep logs airtight while chilling.
- Baking sheets lined with parchment paper or silicone mats — for even baking and easy cleanup.
- Wire rack — to cool cookies fully without sweating.
Problems & Prevention
Here are the most common issues and how I avoid them.
- Soggy or flat cookies — Often caused by overly soft butter or too much creaming. Use properly softened (not melted) butter and stick to the 1–2 minute creaming guideline. Chill the logs thoroughly before slicing.
- Tough cookies — Overmixing after adding flour develops gluten. Mix only until the dough comes together and no large streaks of flour remain.
- Uneven browning — Rotate pans halfway through baking. If your oven has hot spots, bake one sheet at a time or switch positions partway through.
- Cracked or misshapen slices — Use a very sharp knife and wipe it between cuts for neat, even rounds. Chilling the logs until firm makes slicing clean.
- Cookies spread too much — Make sure the dough is cold going into the oven; thin slices can also cause excessive spread, so keep slices no more than 1/4 inch thick as instructed.
Nutrition-Minded Tweaks
If you want to slightly adjust these cookies without losing the character, consider a few measured changes.
- Cut a little sugar — Reducing sugar by about 10–15% can lower calories but expect a tiny change in texture and browning. Don’t cut too much or the structure will change.
- Use part-whole wheat flour — Substitute up to 25% whole-wheat flour for a nuttier flavor and more fiber. The cookies will be denser; handle gently and don’t overwork the dough.
- Swap in a neutral oil? — This recipe relies on butter for flavor and structure, so replacing butter with oil is not recommended if you want the classic texture and taste.
Flavor Logic
Understanding why each ingredient is there helps you adapt without breaking the recipe.
- Butter — The backbone of flavor and texture. When creamed with sugar, it traps air that contributes to a light crumb.
- Sugar — Sweetness aside, it helps with spread and browning. Granulated sugar keeps the texture crisp.
- Egg yolk — Concentrated fat and emulsifiers add richness and cohesion without thinning the dough like a whole egg might.
- Baking powder — A gentle lift so the cookies are not dense; you don’t want a lot of rise here, just a delicate lift.
- Flour — Provides structure. Handling the dough minimally keeps the cookies tender rather than chewy.
- Vanilla and salt — Small amounts that significantly enhance and balance flavors; don’t skip them.
Shelf Life & Storage
Store completely cooled cookies in an airtight container at room temperature for up to 5 days. Keep the container in a cool, dry place away from direct sunlight to preserve texture. For longer storage, freeze the baked cookies in a single layer on a sheet tray until solid, then transfer to a freezer-safe bag or container for up to 3 months.
If you freeze the dough logs instead of baked cookies, slice from frozen and add a minute or two to the baking time. I usually thaw a few slices on the sheet while the oven preheats to avoid raw centers.
Handy Q&A
Q: Can I roll these into shapes instead of logs?
A: Yes. If you prefer shaped cookies, chill the dough until firm, then roll between sheets of parchment to about 1/4 inch thick and use cutters. Keep an eye on baking time; shaped cookies may bake a minute or two faster.
Q: My cookies browned too dark on the edges. What went wrong?
A: Your oven may run hot or your slices were thicker than 1/4 inch. Also check rack position; bake in the center for the most even heat. Rotate pans if needed.
Q: Will these cookies hold a decoration or icing?
A: They will support simple glazes or a thin layer of icing once cooled. Because they’re not overly soft, you can dip them or pipe a modest decoration.
Q: Can I make this dough ahead?
A: Yes. Wrapped logs will keep in the refrigerator overnight or in the freezer for longer storage. Thaw in the refrigerator before slicing if frozen solid.
Ready to Cook?
These butter cookies are intentionally approachable: few ingredients, straightforward steps, and a reliable result. Follow the method, keep the dough cold before slicing, and watch the bake time closely. You’ll end up with buttery, lightly golden cookies that are crisp around the edges and tender inside.
Make a batch today. Roll one log in sanding sugar for an elegant sparkle, and leave the other plain to enjoy the pure butter flavor. Then store extras in an airtight container or freeze for a quick treat later.
Butter Cookies Recipe
Equipment
- Large Bowl
- Hand Mixer or Stand Mixer
- paddle attachment
- Plastic Wrap
- Parchment paper or silicone baking mats
- Baking Sheets
- Sharp Knife
- Wire Rack
Ingredients
Ingredients
- 1 cup 226 g unsalted butter, softened
- 2/3 cup 134 g granulated sugar
- 1 large egg yolk
- 1/2 teaspoonbaking powder
- 1/2 teaspoonsalt
- 1 teaspoonvanilla extract
- 2 cups 248 g all-purpose flour
- Sanding sugarfor rolling optional
Instructions
Instructions
- In a large bowl, beat the softened butter and granulated sugar with a hand mixer or stand mixer fitted with the paddle attachment until light and fluffy, about 1–2 minutes. Scrape down the bowl as needed.
- Add the egg yolk, baking powder, salt, and vanilla extract. Mix on low speed until combined and smooth.
- Add the all-purpose flour and mix on low speed just until a soft dough forms and there are no large streaks of flour. Do not overmix.
- Divide the dough into two equal portions. Shape each portion into a log about 6–7 inches long and approximately 1½ inches in diameter, smoothing seams so each log is uniformly cylindrical.
- If using sanding sugar: pour a layer of sanding sugar onto a large flat surface (a sheet of parchment or a baking sheet works). Roll each log in the sanding sugar, pressing gently so the sugar adheres evenly. If not using sanding sugar, skip this step.
- Wrap each log tightly in plastic wrap. Stand the wrapped logs upright in glasses if needed to keep them circular. Chill the logs in the refrigerator for at least 2 hours or up to overnight until firm.
- When ready to bake, preheat the oven to 350°F. Line cookie sheets with parchment paper or silicone baking mats.
- Unwrap a chilled log and, using a sharp knife, slice the log into rounds no more than 1/4 inch thick. Place the slices on the prepared cookie sheets, spacing them about 1 inch apart.
- Bake the cookies in the preheated oven for 16–18 minutes, or until the edges turn light golden and the tops are no longer glossy. Rotate the pans partway through baking if your oven heats unevenly.
- Let the cookies cool on the baking sheets for 5–10 minutes, then transfer them to a wire rack to cool completely.
- Store cooled cookies in an airtight container at room temperature for up to 5 days, or freeze for up to 3 months.
Notes
Use a high quality butter (such as Challenge). I know butter is expensive but when making a cookie so dependent on butter flavor, it’s worth it to get a good brand, not generic.
You can easilydouble the recipe! Just double all the ingredients and cut the dough into four parts when chilling.