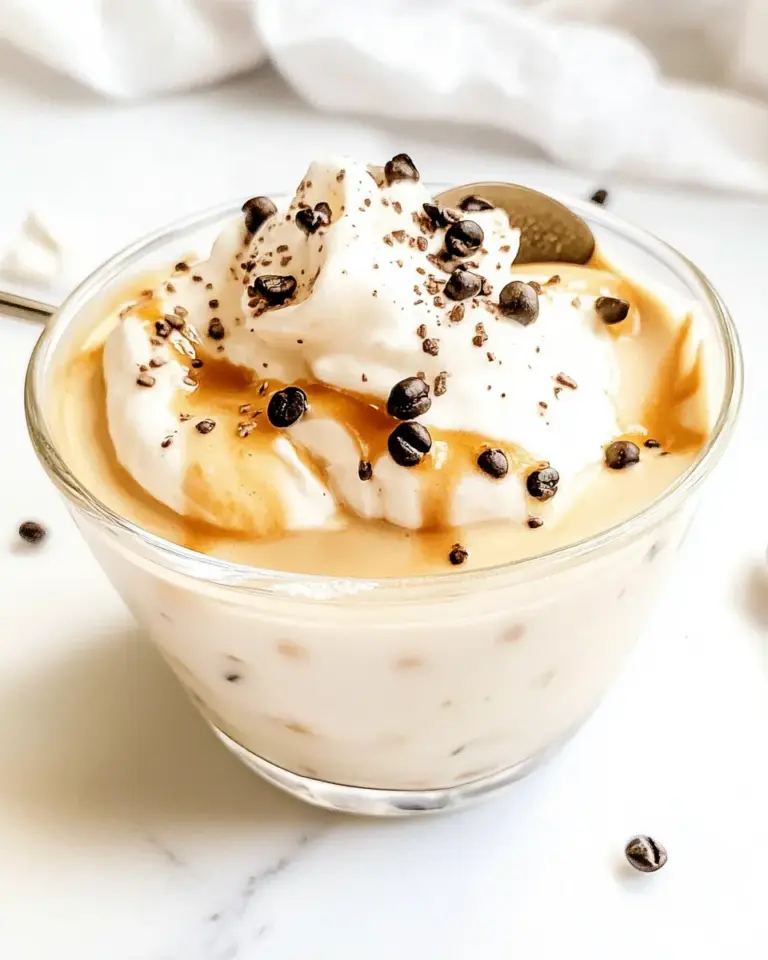
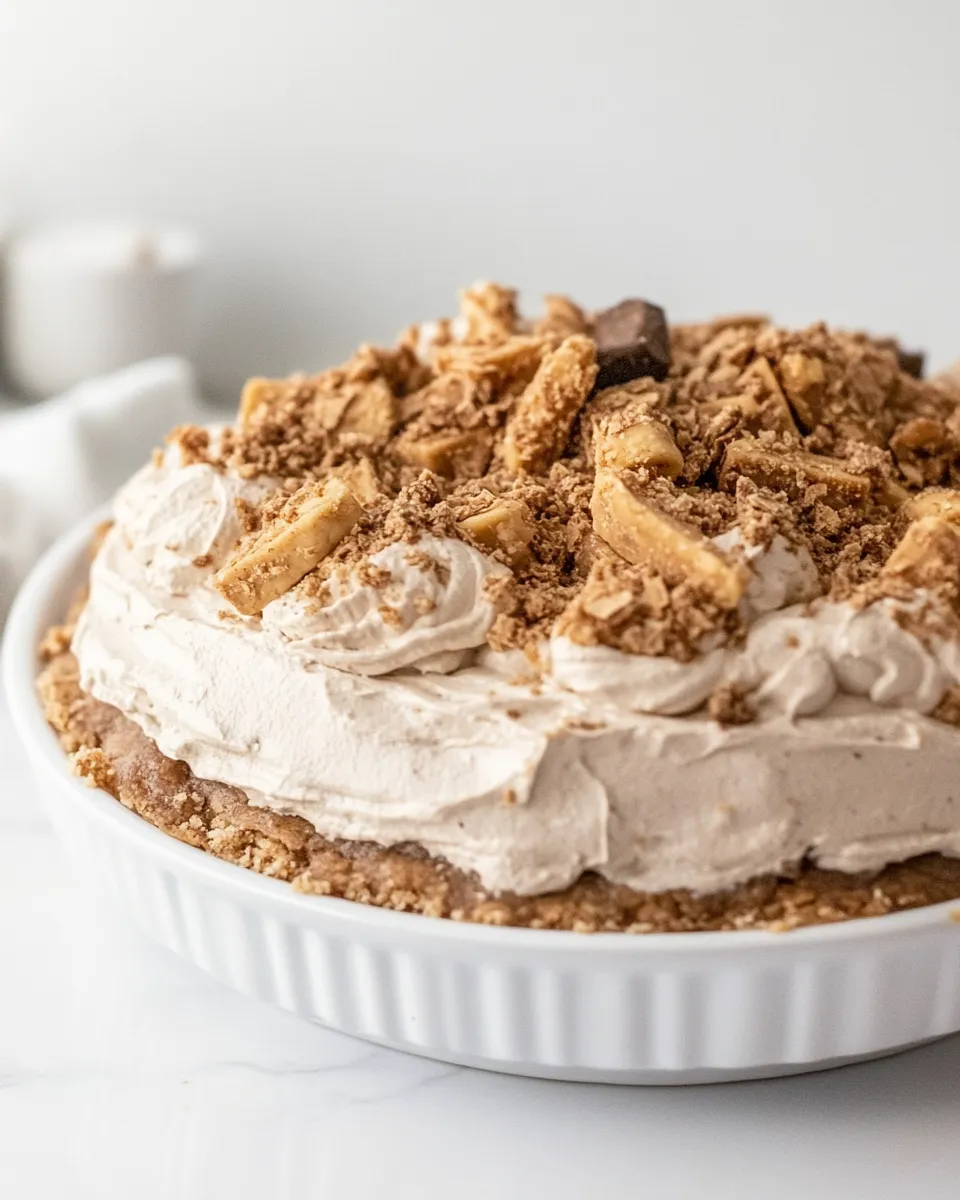
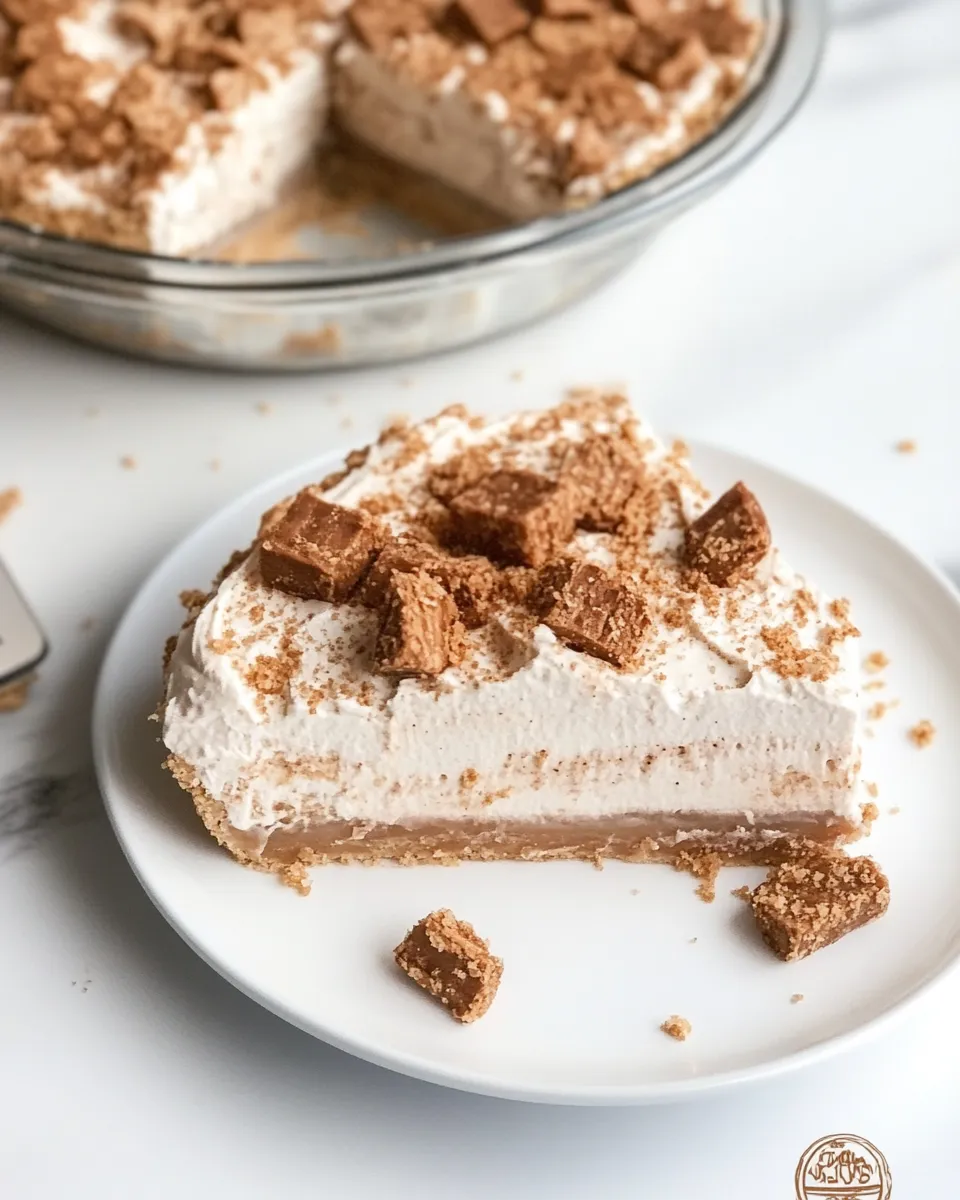
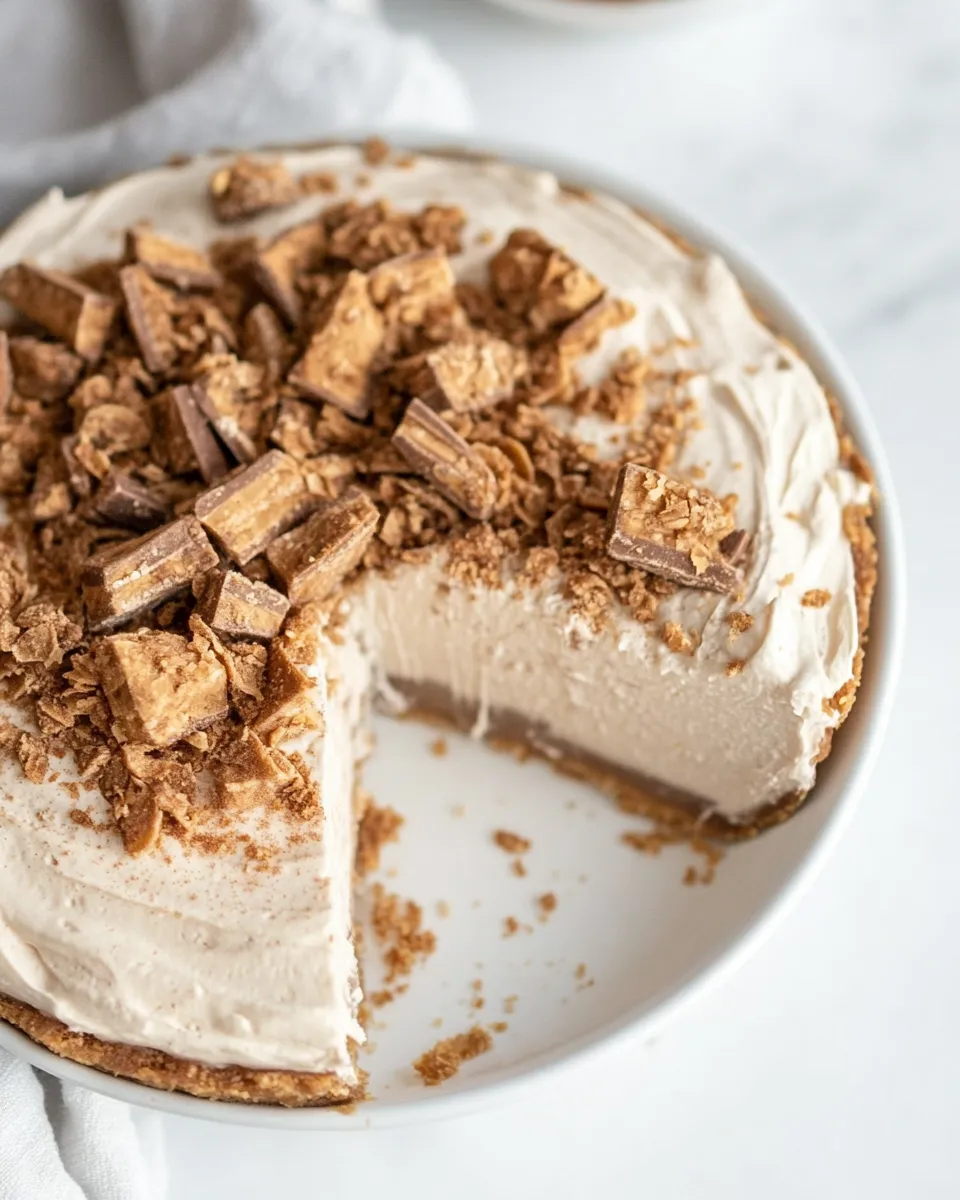
This pie is a celebration of textures: an Oreo crust, a silky peanut-butter custard, a chocolaty middle, and clouds of whipped cream studded with Butterfinger crunch. It looks impressive but follows straightforward steps. I make it when I want something festive without fuss—friends think it took longer than it did.
The trick is sequencing: bake and cool the crust, temper the yolks, split the Butterfinger crumbs for layers, and give each layer time to set. The recipe below walks you through that exact order so the pie sets cleanly and slices well.
What’s in the Bowl
Below you’ll find the ingredient list taken directly from the recipe and practical notes about why each item matters. The quantities are the source of truth—use them as written for the intended texture and balance.
Ingredients
- 14 Oreo cookies — ground to make a sturdy, chocolatey crust; the filling in Oreos helps bind the crumbs.
- 4 tablespoons butter — melts into the crumbs so the crust presses and holds together after baking.
- 15 ounces Butterfingers (23 fun-size), divided — processed and folded into layers for candy crunch and toffeed peanut flavor; some are reserved chopped for topping.
- 1/2 cup granulated white sugar — sweetens and helps stabilize the custard when cooked with cornstarch.
- 2 tablespoons cornstarch — thickens the milk mixture into a pudding-like custard without adding an eggy texture.
- 2 cups whole milk — provides richness and body for the custard base; skim will thin the filling.
- 2 large egg yolks — add silkiness and structure when tempered into the hot milk mixture.
- 1/2 cup creamy peanut butter — folded into the hot custard for the peanut-butter layer and flavor backbone.
- 1/2 cup milk chocolate chips — melted into the remaining peanut butter custard to form a glossy chocolate-Butterfinger layer.
- 1½ cups whipping cream — whipped and folded into the cooled peanut-butter mixture to make the light mousse layer.
- 2 cups heavy whipping cream — whipped and folded with reserved Butterfinger crumbs for the final airy topping.
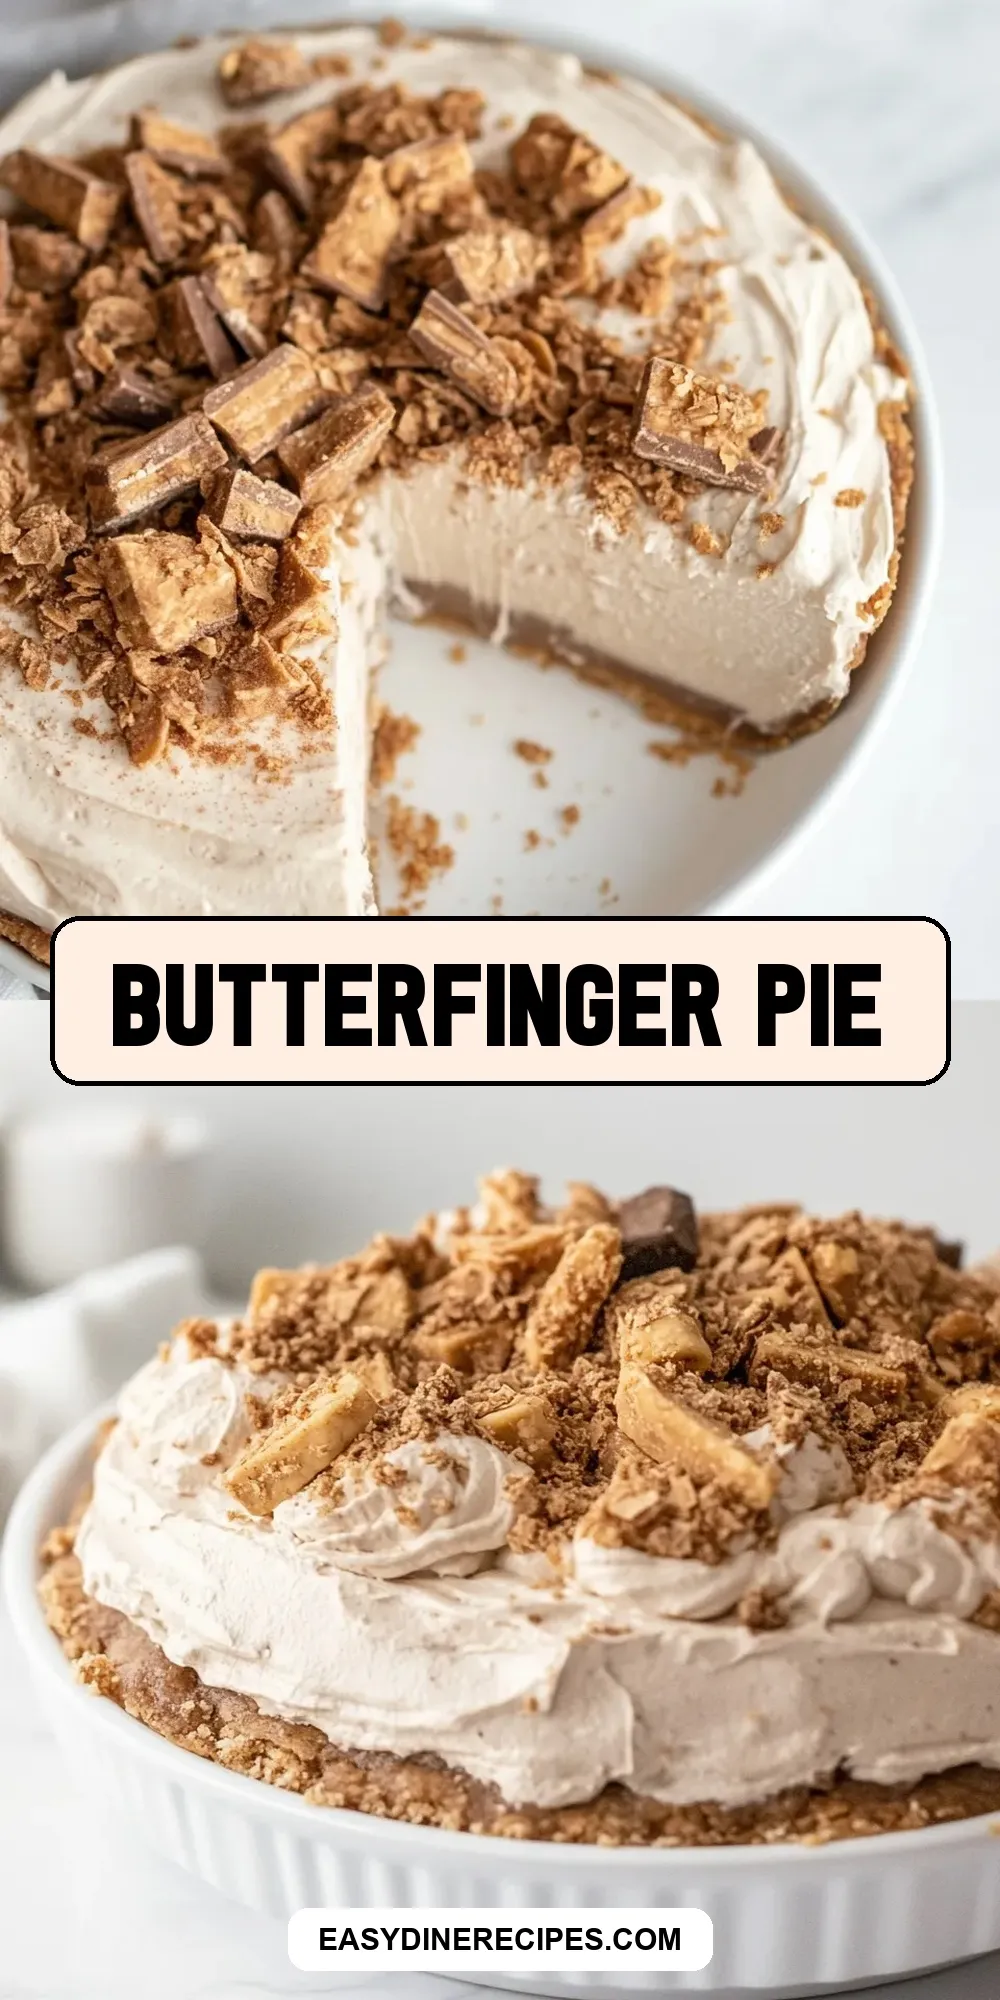
Butterfinger Pie, Made Easy
- Preheat the oven to 375°F.
- Put all 14 Oreo cookies in a food processor and process into fine crumbs. Melt the 4 tablespoons butter and add it to the cookie crumbs; process until evenly combined. Press the mixture into a 9-inch pie pan, covering the bottom and up the sides. Bake the crust for 8 minutes. When it comes out of the oven the crust may puff and shrink; use the flat bottom of a drinking glass to gently press it back into an even layer. Cool the crust completely.
- In the food processor, process 20 of the fun-size Butterfinger bars into fine crumbs. Divide those crumbs into three portions: two 1/2-cup portions and one 1-cup portion; set them aside. Chop the remaining 3 fun-size Butterfinger bars and set the chopped pieces aside for the topping.
- In a medium saucepan, whisk together 1/2 cup granulated sugar, 2 tablespoons cornstarch, and 2 cups whole milk until smooth. Cook over medium heat, stirring constantly, until the mixture comes to a gentle boil and begins to thicken.
- While the milk mixture is hot, beat the 2 large egg yolks in a small bowl. Whisk about 1 tablespoon of the hot milk mixture into the yolks at a time until the yolks are warmed and tempered. Pour the tempered yolks back into the saucepan with the remaining milk mixture and return to medium heat. Stir constantly and cook until the mixture thickens to a pudding-like consistency (bring to a brief boil while stirring). Remove from heat.
- Whisk 1/2 cup creamy peanut butter into the hot custard until smooth. Scoop out 1 cup of this peanut butter mixture into a medium bowl and set that bowl aside to cool completely (this will become the peanut butter mousse layer).
- To the remaining peanut butter mixture in the saucepan, add 1/2 cup milk chocolate chips and one of the reserved 1/2-cup Butterfinger-crumb portions. Stir until the chocolate chips are fully melted and the mixture is smooth. Pour this chocolate-Butterfinger mixture into the cooled Oreo crust and spread evenly. Refrigerate the pie while you prepare the next layer so the chocolate layer can set slightly.
- Use an electric mixer to whip 1½ cups whipping cream to stiff peaks. Fold the whipped cream into the cooled 1 cup peanut butter mixture (from step 6) until smooth, then fold in the other reserved 1/2-cup Butterfinger-crumb portion.
- Remove the pie from the refrigerator and spread (or mound) the peanut butter-whipped cream mixture evenly over the chilled chocolate layer, smoothing to the edges.
- Whip 2 cups heavy whipping cream to stiff peaks. Fold in the reserved 1-cup Butterfinger-crumb portion. Spoon this whipped cream mixture over the top of the pie, mounding slightly in the center.
- Sprinkle the chopped 3 fun-size Butterfinger pieces over the top of the pie. Cover loosely and refrigerate until ready to serve.
The Upside of Butterfinger Pie
This pie is layered contrast: crunchy candy, silky custard, creamy peanut-mousse, and soft whipped cream. It’s rich but balanced—the chocolate-Butterfinger layer anchors the pie while the whipped layers keep it from feeling dense. Make it for holidays, potlucks, or when you want an impact dessert without complicated pastry techniques.
It’s also forgiving. The Oreo crust is sturdy and tolerates a little over- or under-pressing. Chilling between layers helps ensure clean slices. And because multiple textures come from the same candy, you get a cohesive flavor without juggling many different components.
What to Use Instead
- Oreo cookies — any chocolate sandwich cookie will work if you prefer a different brand; dark chocolate cookies deepen the chocolate flavor.
- Butterfinger bars — if you can’t find Butterfingers, use another crunchy peanut-toffee candy, but expect subtle flavor differences.
- Whole milk — 2% can be used, but the custard will be slightly less rich; avoid skim for best texture.
- Creams — whipping cream and heavy whipping cream are listed separately for specific layers; you can interchange in a pinch but the final topping may be a touch less stable if you skimp on fat.
Recommended Tools
- 9-inch pie pan — for the crust and to hold the layered filling.
- Food processor — grinds Oreos and Butterfingers to even crumbs quickly.
- Medium saucepan — for cooking the custard base.
- Electric mixer — speeds whipping cream to stiff peaks consistently.
- Flat-bottomed glass — handy to press the crust back into an even layer if it puffs while baking.
- Rubber spatula — for folding whipped cream into custard without deflating it.
Pitfalls & How to Prevent Them
Custard curdles or becomes grainy
Don’t add the egg yolks directly to the hot milk—temper them slowly by whisking in a little hot milk at a time. Keep stirring while you return the yolks to the saucepan and bring to a brief boil; constant movement prevents scrambling.
Crust puffs or shrinks when baked
The crust may puff slightly during the 8-minute bake. Press it gently back into place with a flat-bottomed glass while it’s still warm. Cool completely before adding filling so the chocolate layer sets on a stable surface.
Whipped cream deflates when folding
Fold gently with a rubber spatula, using wide strokes and turning the bowl as you go. Stop as soon as the mixture is uniform; over-folding removes air and produces a denser layer.
Seasonal Spins
Think about presentation and small flavor nudges for holidays: a dusting of cocoa or finely grated chocolate over the top for winter, or a sprinkle of sea salt for a salted-chocolate contrast. For a spring or summer twist, top slices with fresh strawberries to cut the richness and add acidity.
For Halloween or candy-centric gatherings, use whole fun-size Butterfingers as an extra garnish or press a few halves into the top mounding layer for a playful look. The basic structure of the pie handles seasonal tweaks well.
If You’re Curious
Why separate the Butterfinger crumbs into three portions? Dividing them lets you layer crunch throughout the pie: a mix in the chocolate layer, a bit folded into the peanut-mousse, and more in the whipped topping. That way every bite has texture.
Also, the recipe relies on two different chocolate/peanut stages—one cooked and glossy, one whipped and airy—so the pie reads as complex while being assembled from a limited set of techniques.
Prep Ahead & Store
Assemble the pie up to the final topping and keep it covered in the refrigerator for up to 48 hours. The textures hold nicely, though the top chopped Butterfinger pieces may soften slightly over time; add a few extra chopped pieces just before serving for fresh crunch.
Leftovers keep for 3–4 days refrigerated in an airtight container or wrapped pie plate. For transport, place the pie in a shallow container and keep it chilled until serving. Freezing is possible but not recommended—whipped textures change on thawing.
FAQ
- Can I make this without a food processor? — You can crush Oreos in a sealed bag with a rolling pin and finely chop Butterfingers by hand, but the texture will be less uniform.
- Can I use a store-bought crust? — Yes, though a homemade Oreo crust is quick and reinforces the candy-chocolate theme.
- Why two different whipped creams? — One whipped cream is folded into the peanut-butter custard to lighten it; the second is folded with Butterfinger crumbs to create a distinct final topping that’s airy and textured.
- How do I get clean pie slices? — Chill the pie thoroughly (a few hours) and wipe your knife clean between slices. A hot knife (dip in hot water and dry) also helps.
See You at the Table
This Butterfinger Pie is a showstopper without a lot of fuss. Follow the steps in order, chill between layers, and respect the timing on whipping cream—those small details are what let the layers shine. If you make it, let the first slice be served with a simple fork and wide smiles. Happy baking, and I’ll see you at the table.
Butterfinger Pie
Equipment
- Food Processor
- 9-inch pie pan
- Oven
- Saucepan
- Electric Mixer
- Mixing Bowls
- drinking glass
Ingredients
Ingredients
- 14 Oreo cookies
- 4 tablespoonsbutter
- 15 ouncesButterfingers 23 fun-size, divided
- 1/2 cupgranulated white sugar
- 2 tablespoonscornstarch
- 2 cupswhole milk
- 2 largeegg yolks
- 1/2 cupcreamy peanut butter
- 1/2 cupmilk chocolate chips
- 1 1/2 cupswhipping cream
- 2 cupsheavy whipping cream
Instructions
Instructions
- Preheat the oven to 375°F.
- Put all 14 Oreo cookies in a food processor and process into fine crumbs. Melt the 4 tablespoons butter and add it to the cookie crumbs; process until evenly combined. Press the mixture into a 9-inch pie pan, covering the bottom and up the sides. Bake the crust for 8 minutes. When it comes out of the oven the crust may puff and shrink; use the flat bottom of a drinking glass to gently press it back into an even layer. Cool the crust completely.
- In the food processor, process 20 of the fun-size Butterfinger bars into fine crumbs. Divide those crumbs into three portions: two 1/2-cup portions and one 1-cup portion; set them aside. Chop the remaining 3 fun-size Butterfinger bars and set the chopped pieces aside for the topping.
- In a medium saucepan, whisk together 1/2 cup granulated sugar, 2 tablespoons cornstarch, and 2 cups whole milk until smooth. Cook over medium heat, stirring constantly, until the mixture comes to a gentle boil and begins to thicken.
- While the milk mixture is hot, beat the 2 large egg yolks in a small bowl. Whisk about 1 tablespoon of the hot milk mixture into the yolks at a time until the yolks are warmed and tempered. Pour the tempered yolks back into the saucepan with the remaining milk mixture and return to medium heat. Stir constantly and cook until the mixture thickens to a pudding-like consistency (bring to a brief boil while stirring). Remove from heat.
- Whisk 1/2 cup creamy peanut butter into the hot custard until smooth. Scoop out 1 cup of this peanut butter mixture into a medium bowl and set that bowl aside to cool completely (this will become the peanut butter mousse layer).
- To the remaining peanut butter mixture in the saucepan, add 1/2 cup milk chocolate chips and one of the reserved 1/2-cup Butterfinger-crumb portions. Stir until the chocolate chips are fully melted and the mixture is smooth. Pour this chocolate-Butterfinger mixture into the cooled Oreo crust and spread evenly. Refrigerate the pie while you prepare the next layer so the chocolate layer can set slightly.
- Use an electric mixer to whip 1½ cups whipping cream to stiff peaks. Fold the whipped cream into the cooled 1 cup peanut butter mixture (from step 6) until smooth, then fold in the other reserved 1/2-cup Butterfinger-crumb portion.
- Remove the pie from the refrigerator and spread (or mound) the peanut butter-whipped cream mixture evenly over the chilled chocolate layer, smoothing to the edges.
- Whip 2 cups heavy whipping cream to stiff peaks. Fold in the reserved 1-cup Butterfinger-crumb portion. Spoon this whipped cream mixture over the top of the pie, mounding slightly in the center.
- Sprinkle the chopped 3 fun-size Butterfinger pieces over the top of the pie. Cover loosely and refrigerate until ready to serve.
Notes
*When preparing the filling, if you add the eggs to the pan before they're warmed up properly, you'll end up with scrambled eggs. Warm them up slowly by adding the milk mixture a little at a time until they're quite warm.