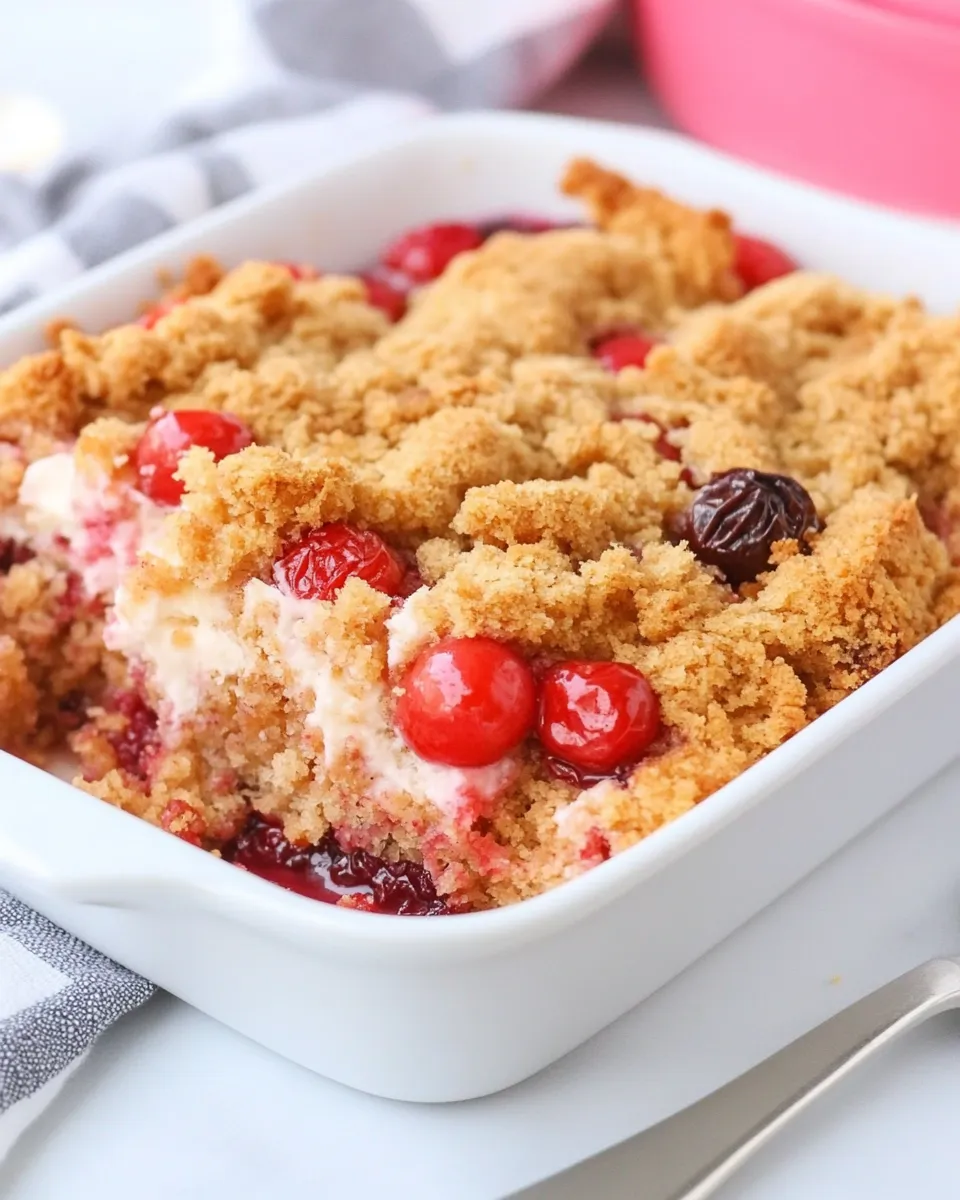
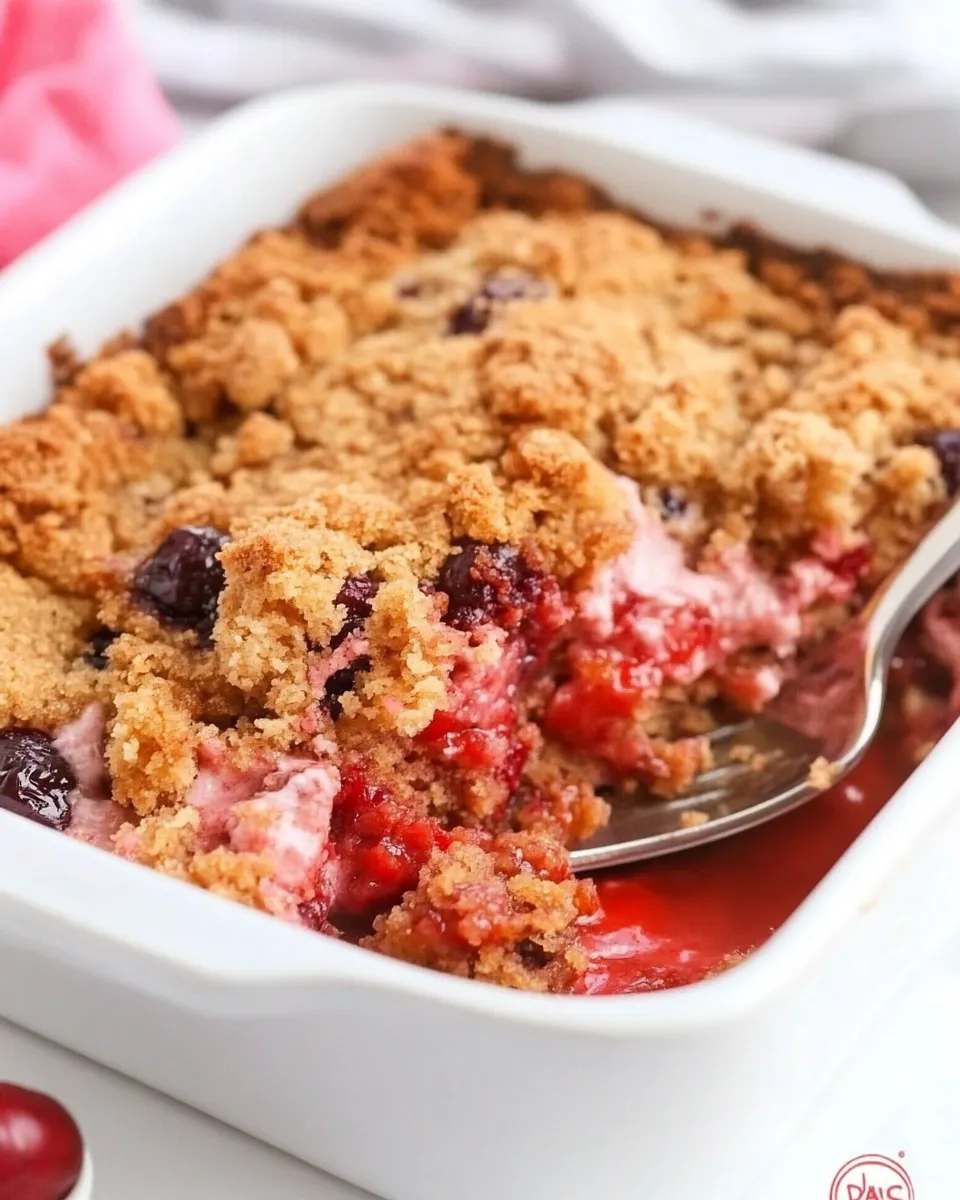
This Cherry Dump Cake Recipe is a true crowd-pleaser, perfect for any occasion, whether it’s a weekend family gathering, a summer barbecue, or a cozy holiday dinner. With just a few simple ingredients, you can whip up a delicious dessert that captures the essence of nostalgia with every bite. The beauty of this recipe lies not only in its simplicity but also in its delightful combination of flavors and textures. Imagine a warm, gooey cherry and pineapple filling topped with a buttery, crunchy layer of cake mix and nuts. It’s comfort food at its finest!
Why This Recipe Belongs in Your Rotation
Cherry Dump Cake is the epitome of easy and delicious home baking. The allure of this dessert is not just its taste but also its straightforward preparation. You literally dump the ingredients into a baking dish, and let the oven do the rest. This makes it an ideal choice for novice bakers or anyone looking for a quick dessert solution. Plus, it’s incredibly versatile; the flavor combinations are endless, and it can be enjoyed warm, at room temperature, or even cold.
Shopping List
- 1 (21-ounce) can cherry pie filling
- 1 (15-ounce) can crushed pineapple, plus juice
- 1 (15.25-ounce) package yellow cake mix
- 6 ounces chopped walnuts (or your favorite nuts)
- 1 cup butter (melted)
Cook’s Kit
- 9×13-inch baking dish – This is the perfect size for a dump cake.
- Mixing bowl – For combining the filling ingredients.
- Spatula – To spread the mixture evenly in the baking dish.
- Oven mitts – Safety first when handling hot dishes!
Step-by-Step: Cherry Dump Cake Recipe
Step 1: Preheat the Oven
Preheat your oven to 350°F (175°C). This ensures that your cake bakes evenly and rises perfectly.
Step 2: Prepare the Baking Dish
Grease your 9×13-inch baking dish lightly with cooking spray or butter to prevent sticking.
Step 3: Dump the Cherry Filling
Open the can of cherry pie filling and spread it evenly across the bottom of the prepared baking dish.
Step 4: Add the Pineapple
Next, pour the crushed pineapple, along with its juice, over the cherry filling. This adds a beautiful fruity layer and moisture to the cake.
Step 5: Sprinkle the Cake Mix
Take the yellow cake mix and sprinkle it evenly over the fruit layers. Make sure to cover the entire surface for a uniform bake.
Step 6: Add the Nuts
Sprinkle the chopped walnuts (or your choice of nuts) over the cake mix layer. This will provide a delightful crunch to the topping.
Step 7: Pour the Butter
Finally, drizzle the melted butter evenly over the top. This will help the cake mix to brown and form a delicious crust.
Step 8: Bake
Place the baking dish in the preheated oven and bake for 45-50 minutes, or until the top is golden brown and bubbly. You’ll know it’s done when the edges start to crisp up.
Step 9: Cool and Serve
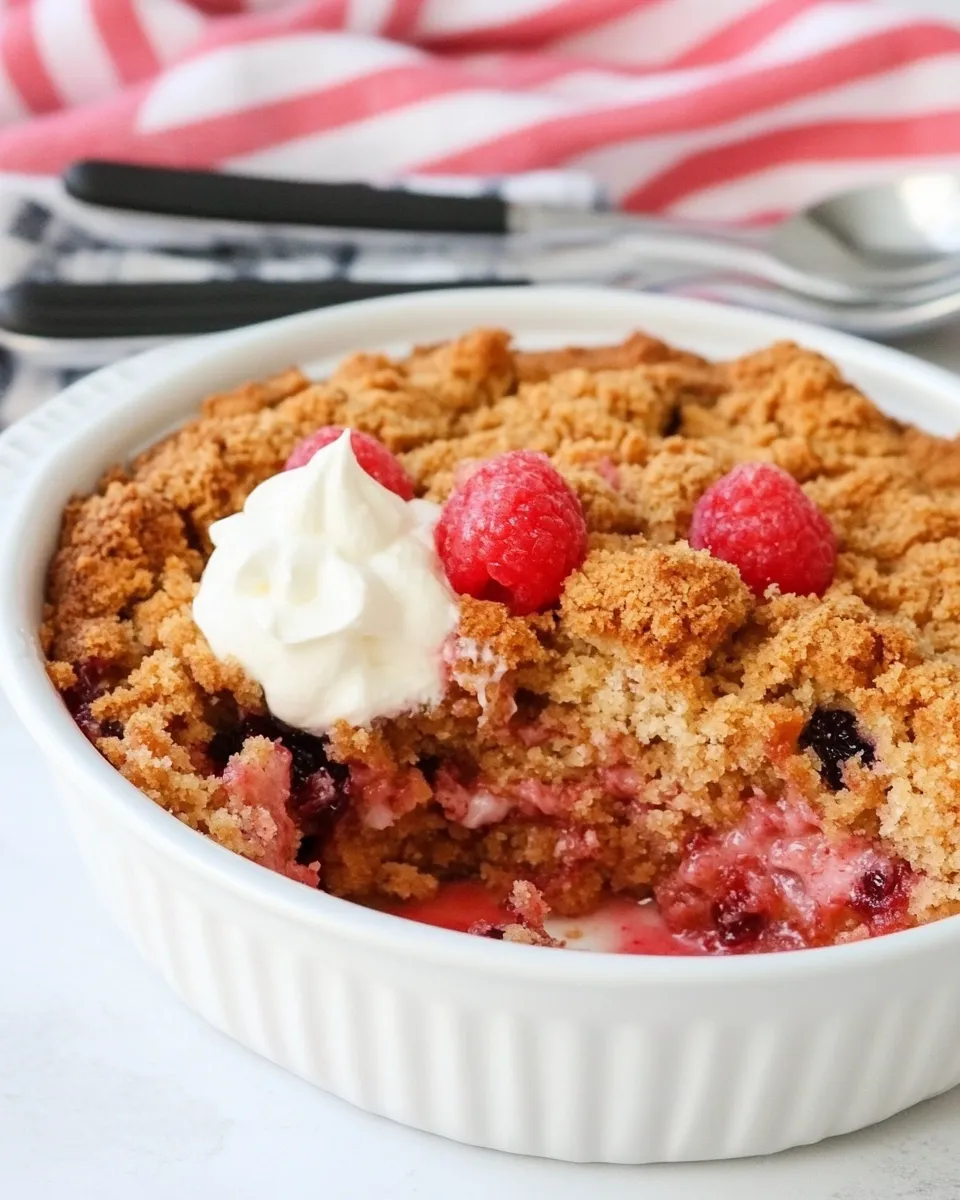
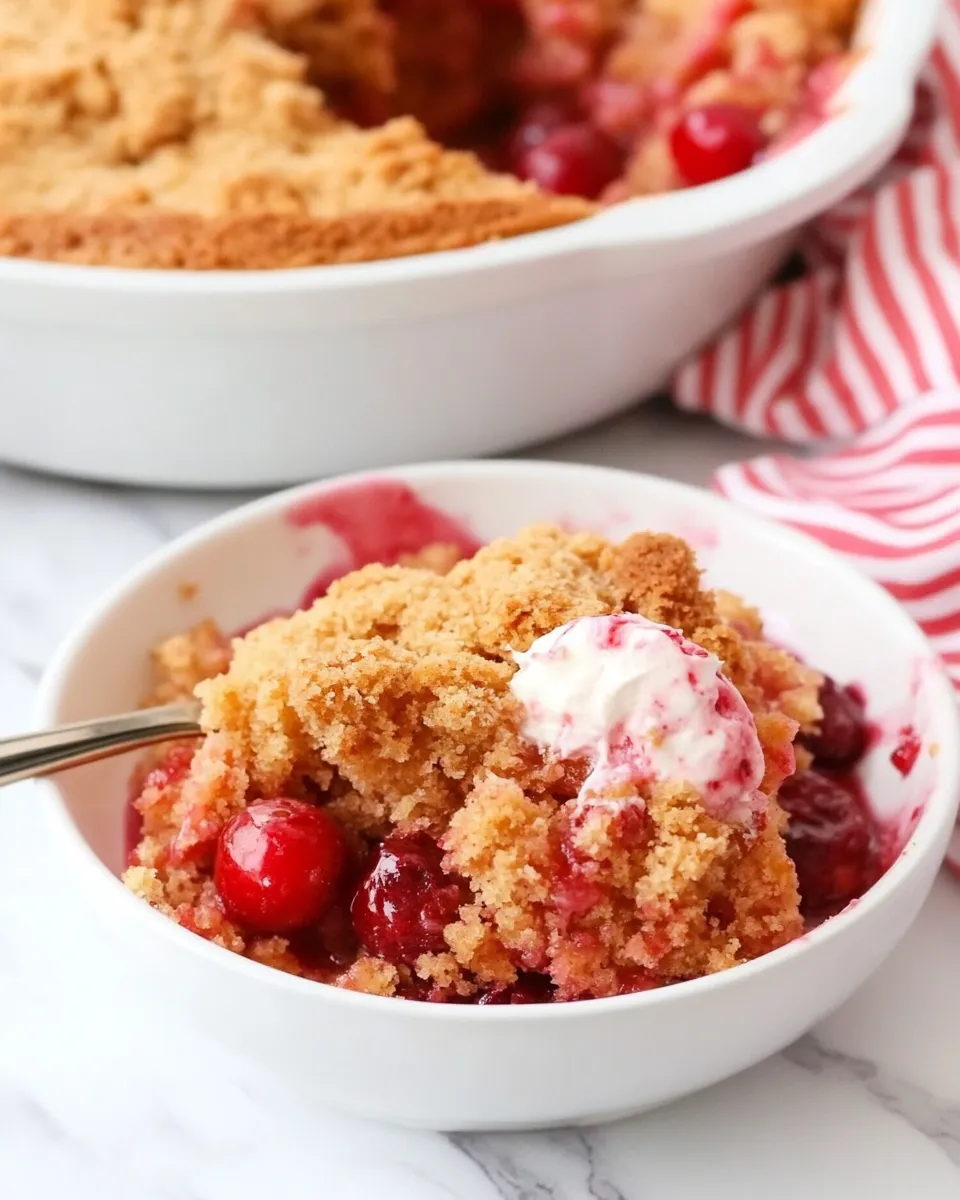
Once baked, remove from the oven and allow it to cool for a few minutes. Serve warm, perhaps with a scoop of vanilla ice cream or a dollop of whipped cream!
Year-Round Variations
- Use blueberry or peach pie filling for a different fruit flavor.
- Add shredded coconut for a tropical twist.
- Incorporate chocolate chips for a chocolate-cherry delight.
- Replace the walnuts with pecans or almonds for a nutty variation.
Watch Outs & How to Fix
- If your cake seems too dry, consider adding a little more juice from the crushed pineapple.
- To avoid burning, cover the dish with foil for the first 30 minutes of baking, then remove it to allow browning.
- Ensure that you spread the cake mix evenly to avoid uneven baking.
- If the cake is undercooked in the center, return it to the oven for an additional 5-10 minutes.
Make-Ahead & Storage
This Cherry Dump Cake can be made ahead of time and stored in the refrigerator for up to 3 days. Just reheat in the oven before serving for the best experience. You can also freeze leftovers for up to 3 months. Just make sure to wrap it tightly with plastic wrap and then aluminum foil to prevent freezer burn. When ready to enjoy, thaw in the fridge overnight and reheat as needed.
Questions People Ask
Can I use fresh cherries instead of canned?
Absolutely! If using fresh cherries, you’ll need to pit and slice them. You may also want to add a bit of sugar to balance the tartness, as canned cherries are usually sweetened.
Is it necessary to use yellow cake mix? Can I use another flavor?
While yellow cake mix provides a classic flavor, you can certainly experiment with other flavors such as white or even chocolate cake mix for a different twist.
Can I make this recipe gluten-free?
Yes! You can substitute the yellow cake mix with a gluten-free cake mix. Just make sure to check that all other ingredients, especially the pie filling, are also gluten-free.
What can I serve with Cherry Dump Cake?
This dessert pairs wonderfully with whipped cream, vanilla ice cream, or a drizzle of chocolate sauce. You can also serve it with a side of fresh fruit for a refreshing contrast.
Time to Try It
This Cherry Dump Cake Recipe is not just a dessert; it’s an experience filled with wonderful flavors and memories. The joy of making it, the aroma while it bakes, and the satisfaction of sharing it with loved ones make it a must-try. So go ahead, gather your ingredients, and bring a piece of warmth and sweetness to your table today!
Cherry Dump Cake Recipe
Equipment
- 9x13 inch Baking Dish
- Mixing Bowl
- Spatula
- Oven mitts
Ingredients
- 1 (21-ounce) can cherry pie filling
- 1 (15-ounce) can crushed pineapple plus juice
- 1 (15.25-ounce) package yellow cake mix
- 6 ounces chopped walnuts or your favorite nuts
- 1 cup butter melted
Instructions
- Preheat your oven to 350°F (175°C). This ensures that your cake bakes evenly and rises perfectly.
- Grease your 9x13-inch baking dish lightly with cooking spray or butter to prevent sticking.
- Open the can of cherry pie filling and spread it evenly across the bottom of the prepared baking dish.
- Pour the crushed pineapple, along with its juice, over the cherry filling. This adds a beautiful fruity layer and moisture to the cake.
- Take the yellow cake mix and sprinkle it evenly over the fruit layers. Make sure to cover the entire surface for a uniform bake.
- Sprinkle the chopped walnuts (or your choice of nuts) over the cake mix layer. This will provide a delightful crunch to the topping.
- Drizzle the melted butter evenly over the top. This will help the cake mix to brown and form a delicious crust.
- Place the baking dish in the preheated oven and bake for 45-50 minutes, or until the top is golden brown and bubbly. You'll know it’s done when the edges start to crisp up.
- Once baked, remove from the oven and allow it to cool for a few minutes. Serve warm, perhaps with a scoop of vanilla ice cream or a dollop of whipped cream!
Notes
- Cover the dish with foil for the first 30 minutes to avoid burning, then remove foil to brown the top.
- If the cake seems dry, add more juice from the crushed pineapple for moisture.
- This cake can be stored in the refrigerator for up to 3 days or frozen for up to 3 months.
- Experiment with different pie fillings like blueberry or peach for variety.
- Use gluten-free cake mix to make this recipe gluten-free.