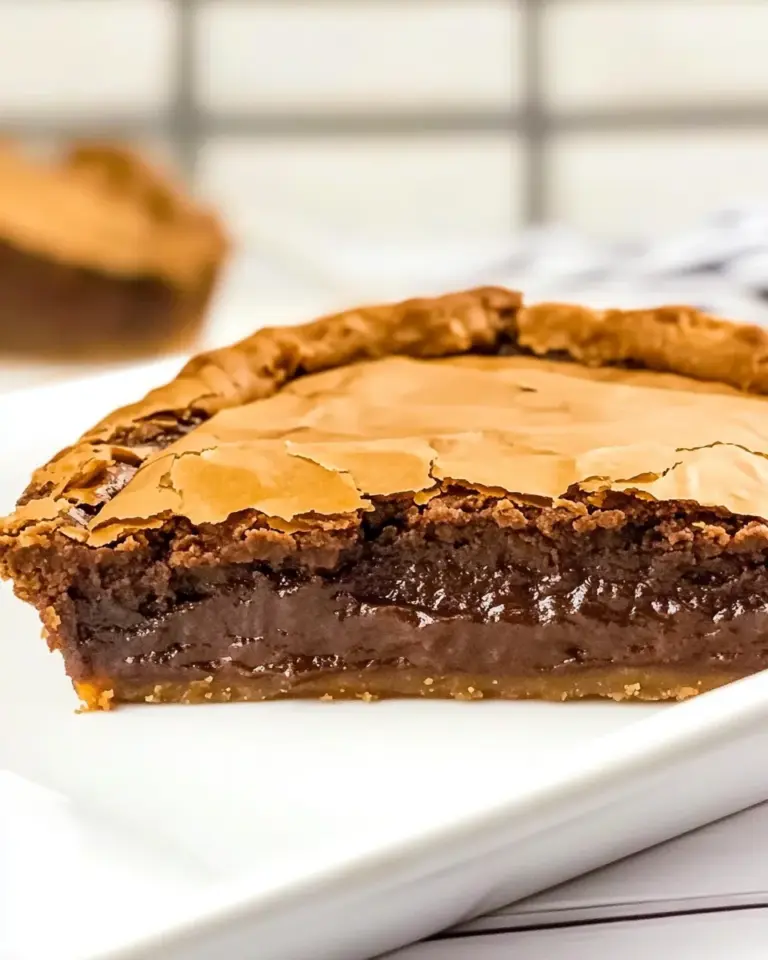
There are recipes that make you feel clever for serving them and ones that make you feel smart while you’re making them. This pie does both. It’s a no-fuss, crowd-pleasing slice of chocolate-and-peanut-butter comfort that’s mostly assembly and a few gentle folds. I turn to it when I want something impressive without standing over a hot oven.
What I love about this pie is how forgiving it is. The filling comes together in a bowl, the premade chocolate crust does the heavy lifting, and a quick freeze sets everything into a sliceable, glossy finish. Little hands and busy weeknights both approve.
Below you’ll find the exact ingredient list and step-by-step directions I used while testing this recipe, plus practical tips for swaps, storage, and troubleshooting. Read through once, gather what you need, and you’ll be slicing before your guests finish asking what’s in it.
Ingredients
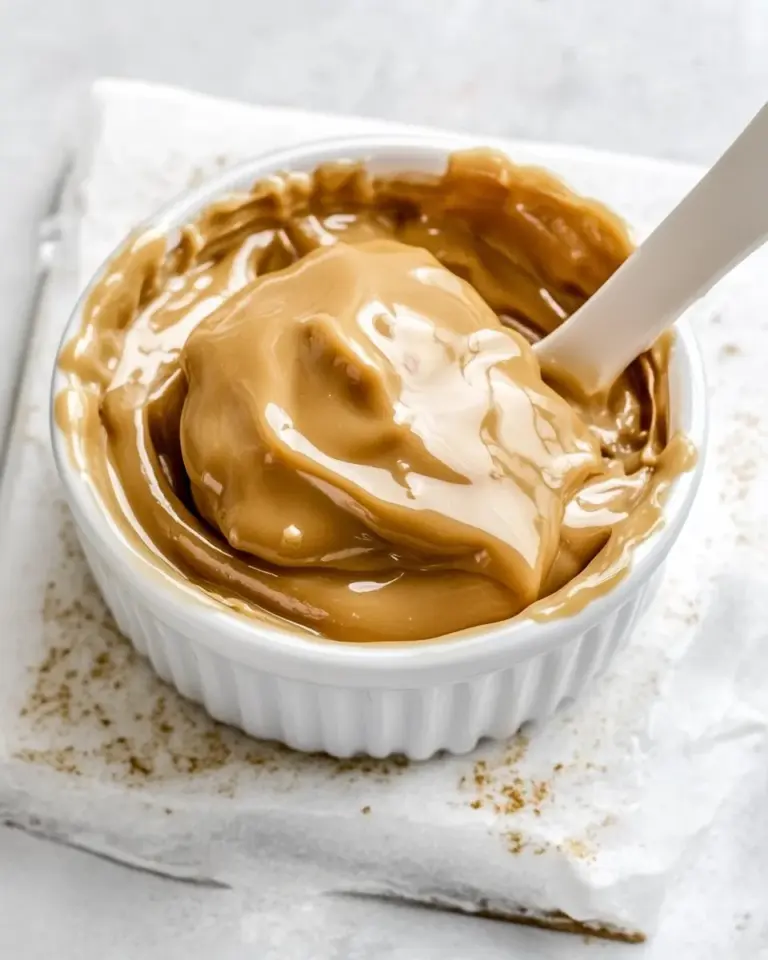
- ⅔ cup peanut butter — provides the peanut-forward flavor and structure for the filling; use creamy for a smoother texture.
- 4 ounces cream cheese — adds tang and stabilizes the filling; soften it before mixing so it blends without lumps.
- 1 cup powdered sugar — sweetens and helps firm the filling; sift if your powdered sugar has lumps.
- ½ cup milk — thins the filling to a spreadable consistency; add slowly so it doesn’t get too loose.
- 1 premade chocolate crust — the base layer; a graham-esque chocolate crust works perfectly and saves time.
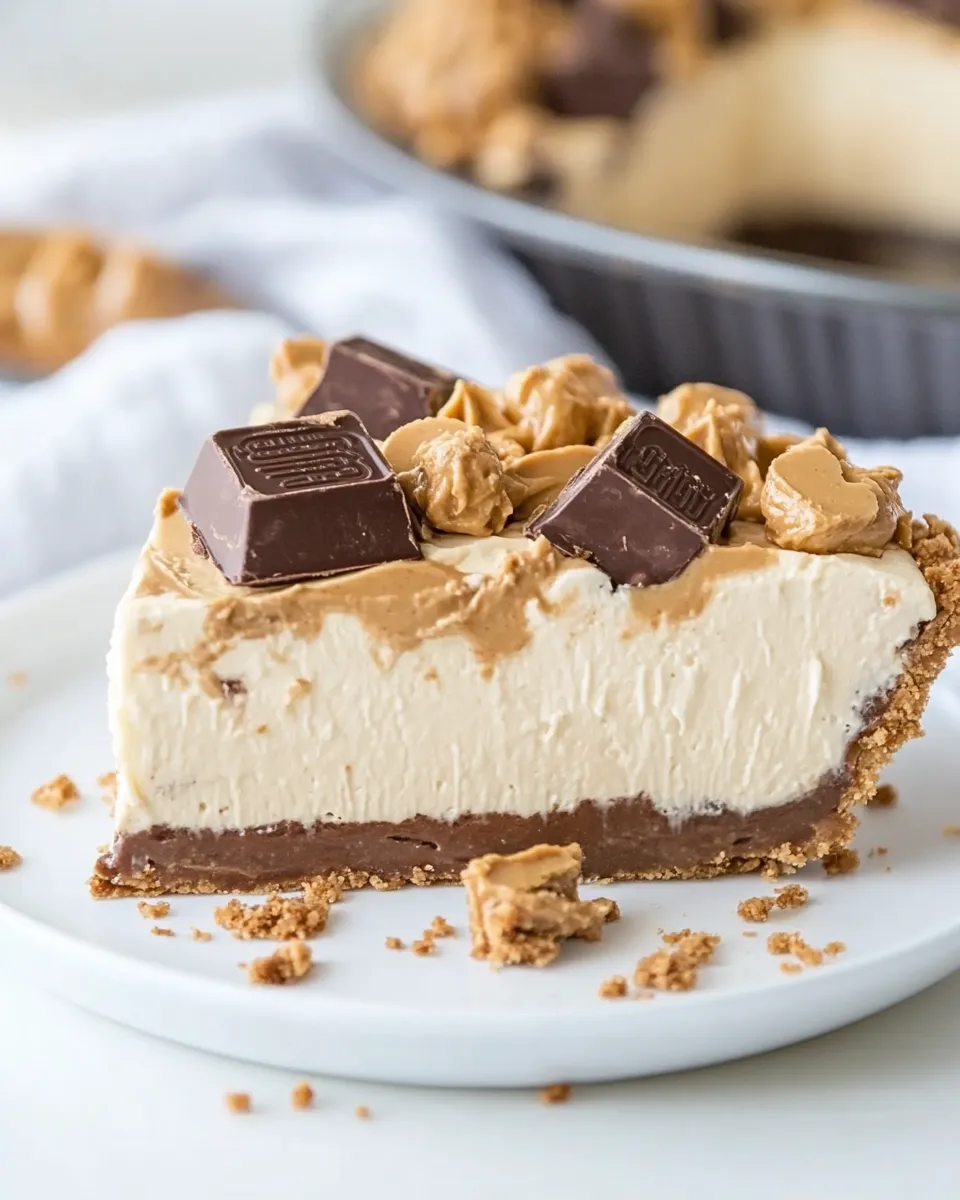
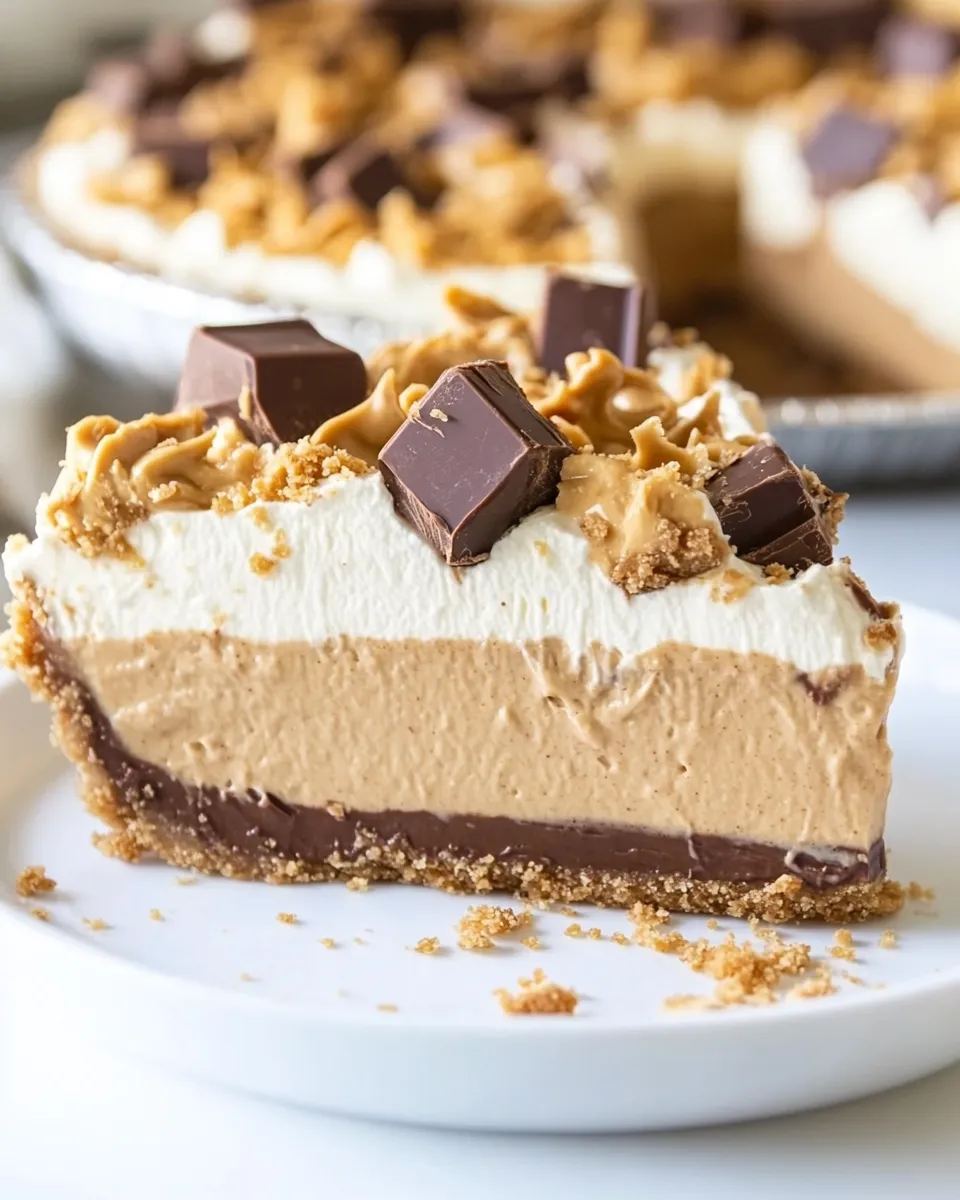
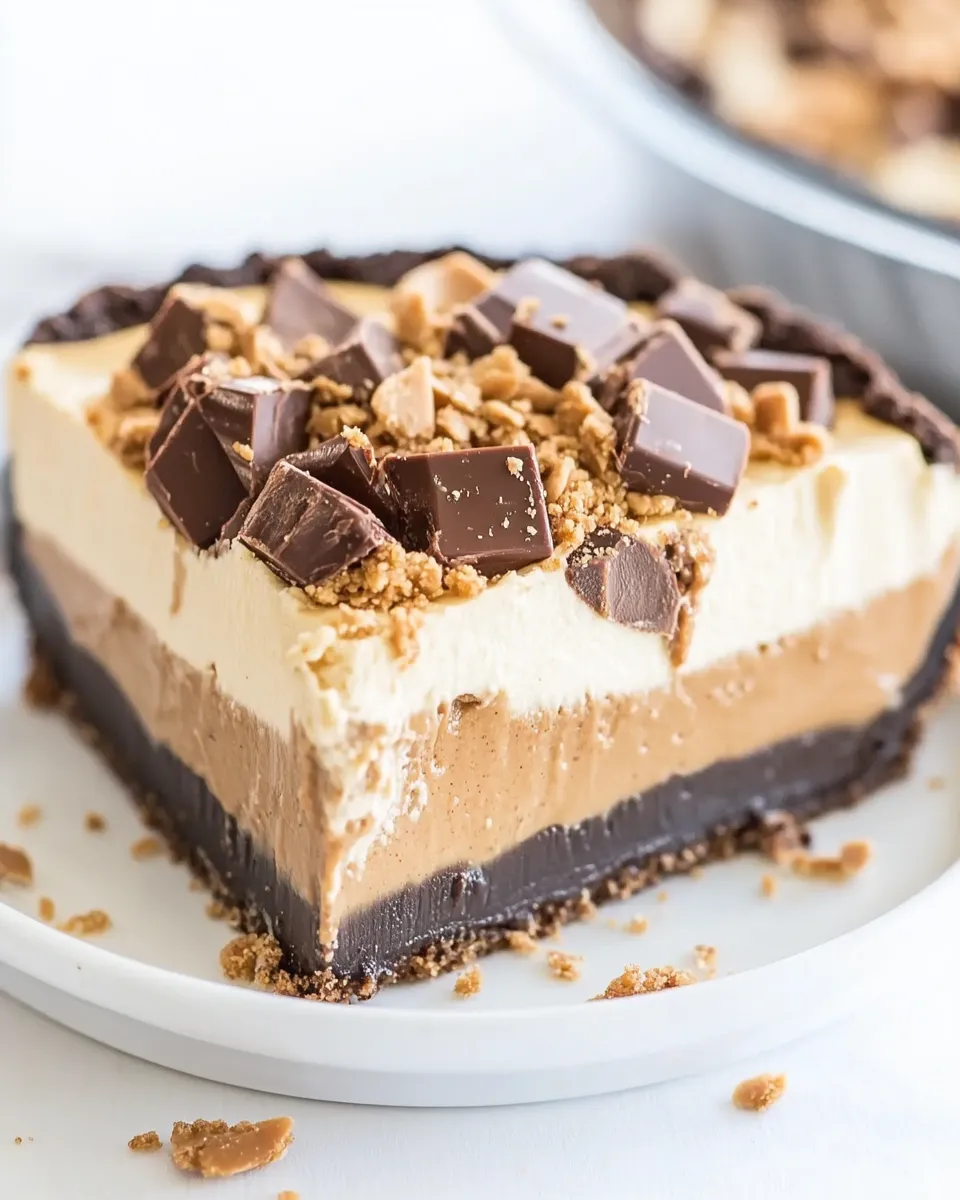
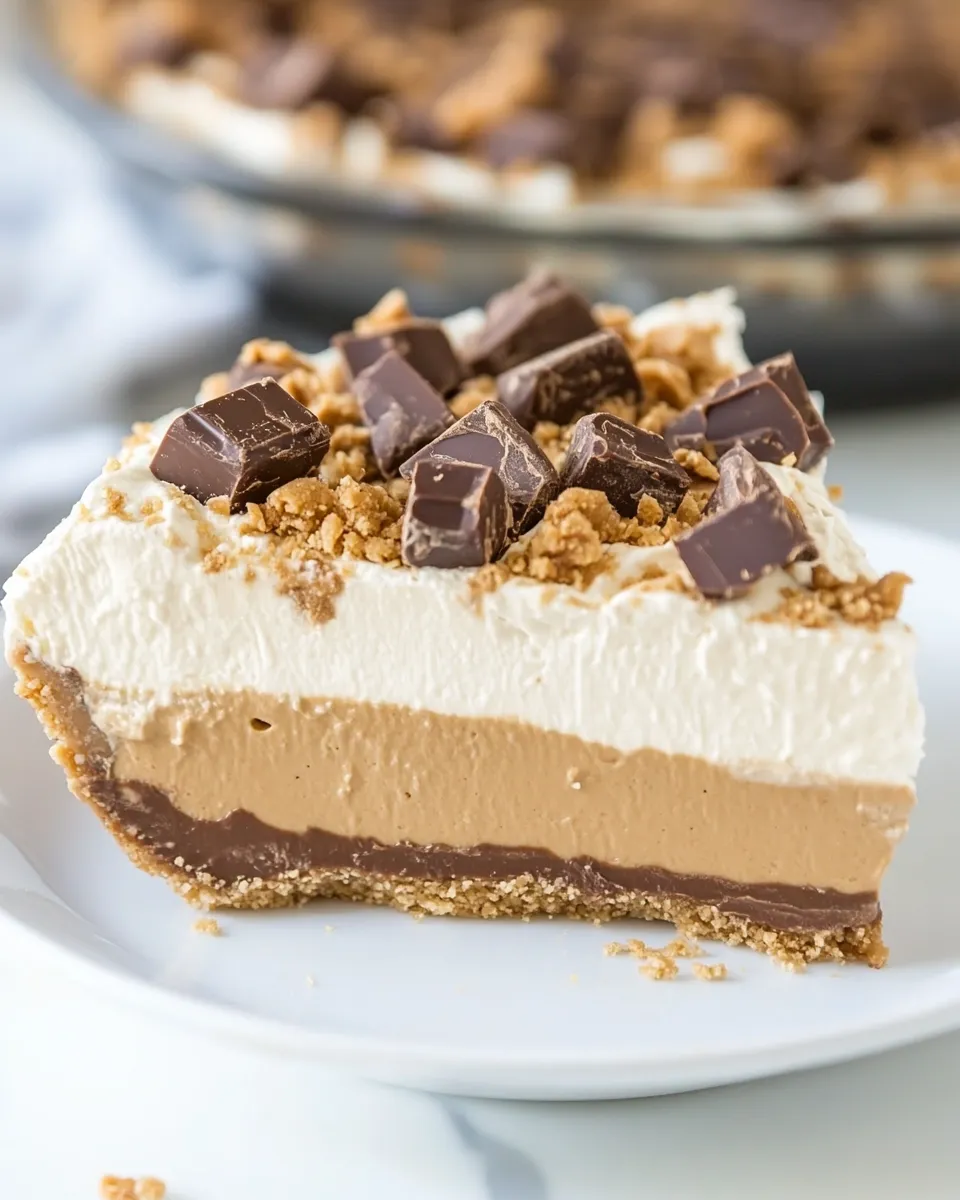
- 8 ounces Cool Whip — lightens and tops the pie; spread evenly for a clean finish.
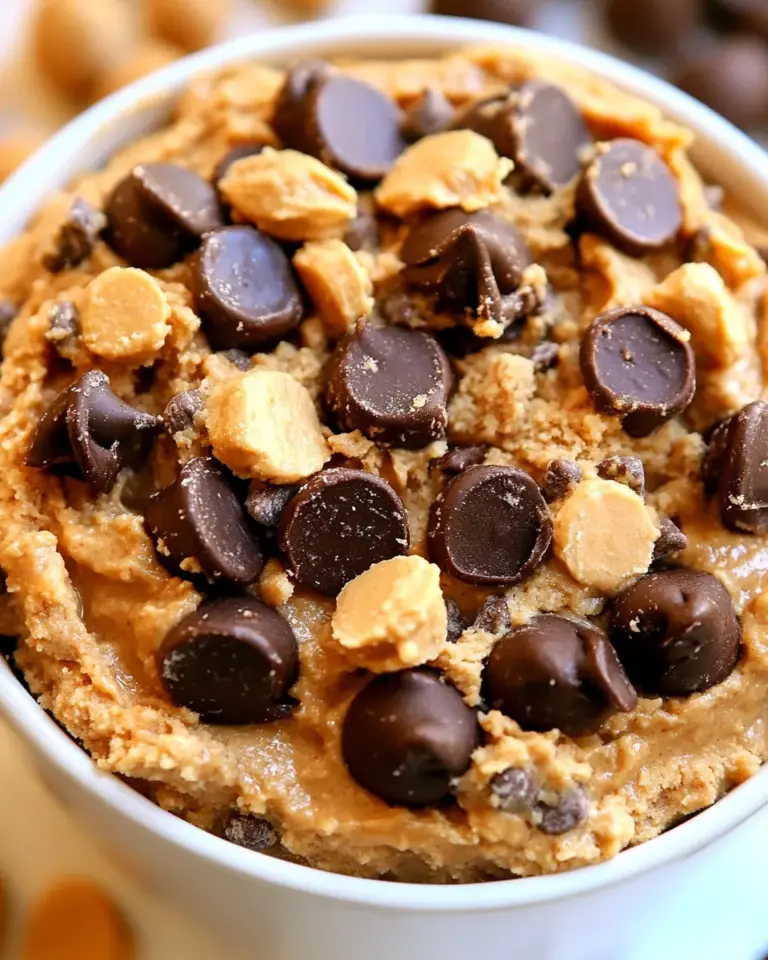
- chopped peanut butter cups (optional garnish) — adds texture and extra peanut-chocolate flavor on top; optional but delightful.
What We’re Using
For this pie I favor pantry staples and one reliable convenience item: the premade chocolate crust. It cuts prep time sharply and gives that glossy, deep-chocolate finish that pairs well with peanut butter. The Cool Whip keeps the filling airy and makes the pie easy to slice after freezing.
When I test, I keep things simple: creamy peanut butter for consistent texture, full-fat cream cheese for body and flavor, and powdered sugar for clean sweetness. Milk adjusts the consistency, and the optional chopped peanut butter cups are my little nod to indulgence. You don’t need specialty equipment or ingredients to get a great result.
Mastering No-Bake Chocolate Peanut Butter Pie: How-To
- If the 4 ounces cream cheese is cold, let it sit at room temperature about 20–30 minutes so it softens and is easy to mix.
- In a medium bowl, combine the ⅔ cup peanut butter, the softened 4 ounces cream cheese, and 1 cup powdered sugar. Beat with an electric mixer or whisk until the mixture is smooth and homogenous, scraping the bowl sides as needed.
- With the mixer running on low, add the ½ cup milk a little at a time until the filling is smooth and spreadable.
- Spoon or pour the filling into the premade chocolate crust and smooth it into an even layer.
- Spread all of the 8 ounces Cool Whip evenly over the filling.
- Sprinkle chopped peanut butter cups on top, if desired.
- Freeze the pie for 3 hours, then remove it from the freezer about 10 minutes before cutting to make slicing easier.
Top Reasons to Make No-Bake Chocolate Peanut Butter Pie
This pie wins for speed, flavor, and approachability. You don’t need to babysit an oven and a freezer does most of the work. The flavor profile — salty-sweet peanut butter with chocolate — is familiar and widely loved. It’s a reliable option for potlucks, weeknight treats, and last-minute guests.
It’s also flexible. The premade crust and Cool Whip are set up to let you improvise with toppings: chopped candy, toasted nuts, a drizzle of melted chocolate, or a dusting of cocoa powder. Because the structure comes from cream cheese and powdered sugar, the texture holds up well for slicing once it’s chilled.
No-Store Runs Needed
One of my favorite advantages of this recipe is that it’s friendly to what you already have. Most kitchens that keep basics stocked have peanut butter, powdered sugar, and milk. If you don’t have a premade chocolate crust, a quick substitute is to pulse chocolate cookies into crumbs and press them into a pan — but only if you already have those cookies on hand.
If you’re missing Cool Whip, plain whipped cream (stabilized or fresh) can work in a pinch, though the texture changes slightly. The goal is to avoid a last-minute grocery run — this pie tolerates small substitutions.
Essential Tools for Success
- Electric mixer or a sturdy whisk — to make the filling smooth and lump-free.
- Medium mixing bowl — roomy enough to mix without splatters.
- Spatula — for scraping the bowl and smoothing the filling into the crust.
- Pie dish or the premade crust pan — a standard 9-inch works for most store-bought crusts.
- Plastic wrap or an airtight container — to protect the pie in the freezer from absorbing odors.
Avoid These Traps
Warm cream cheese or overly-thin filling can ruin the texture. If the cream cheese is completely cold, it won’t incorporate smoothly; if it’s too warm, the filling can become runny. Aim for softened but still cool cream cheese.
Another common misstep: rushing the freeze time. Three hours is the recommended minimum so the filling sets properly and you get clean slices. Cutting straight from the freezer leads to shattering; letting the pie sit 10 minutes at room temperature before slicing makes for neat pieces.
Nutrition-Minded Tweaks
If you’re lightening things up, small adjustments can help without losing the essence of the pie. Choose a reduced-fat cream cheese if you need fewer calories, or swap Cool Whip for a lighter whipped topping. Use a natural peanut butter with no added sugar to reduce refined sugar content, but note it will affect sweetness and texture slightly.
For portion control, freeze the pie for a firmer set and slice smaller pieces. The filling is rich, so a modest slice goes a long way. If someone needs a dairy-free version, try a plant-based cream cheese and a dairy-free whipped topping — the structure will differ, so test a small version first.
What I Learned Testing
During testing I found that timing and patience are everything. Let the cream cheese come to room temperature just long enough to be soft, and add the milk slowly. I cracked one first attempt because I mixed too much milk at once. When the filling is properly emulsified, it spreads beautifully into the crust.
I also learned that the Cool Whip is more than garnish — it balances the density of the peanut butter-cream cheese filling and makes the pie slice cleaner. The chopped peanut butter cups on top are optional, but they provide a textural contrast that turns a simple pie into something worth photographing.
Best Ways to Store
Keep the pie in the freezer for long-term storage, wrapped loosely with plastic wrap and then placed in an airtight container or pie carrier to prevent freezer burn. It stores well for up to 2 weeks with minimal loss of quality.
If you prefer to serve cold but not frozen, move the pie to the refrigerator after the initial 3-hour freeze and keep it chilled. It will soften over time; for the best texture, serve within 24–48 hours when refrigerated. Always let slices come to room temperature for about 10 minutes before serving to get clean cuts.
No-Bake Chocolate Peanut Butter Pie Q&A
Q: Can I make this ahead?
A: Yes. Freeze it for the three-hour minimum and up to two weeks. Take it out about 10 minutes before serving so it slices easily.
Q: What if my filling is grainy?
A: That usually means the powdered sugar hasn’t been fully incorporated or the cream cheese was too cold. Beat longer, scraping sides, or let the mixture sit a few minutes and re-whip. Sifting powdered sugar beforehand helps.
Q: Can I use crunchy peanut butter?
A: You can. Crunchy will add texture but also change the spreadability of the filling. If you use crunchy, mix a touch more thoroughly and consider adding milk more slowly to reach the right consistency.
Q: Do I need to thaw the pie before serving?
A: Not fully. Remove it from the freezer about 10 minutes before cutting to make slicing easier. If you like a softer texture, transfer it to the fridge for a few hours before serving.
Save & Share
This recipe is a keeper because it’s reliable, fast, and universally enjoyed. If you make it, save a note on what garnish you used and any timing tweaks — small changes can make a big difference for your household. Share a photo and tag a friend who loves peanut butter and chocolate; they’ll thank you.
If you try different toppings or make a tweak that works well for you, save that version as your go-to. The base is simple and forgiving, and once you’ve dialed in your favorite balance of sweet and salty, this pie becomes a dependable favorite in your rotation.
No-Bake Chocolate Peanut Butter Pie
Equipment
- Medium Bowl
- Electric Mixer
- Spatula
- Freezer
Ingredients
Ingredients
- 2/3 cuppeanut butter
- 4 ouncescream cheese
- 1 cuppowdered sugar
- 1/2 cupmilk
- 1 premade chocolate crust
- 8 ouncesCool Whip
- chopped peanut butter cups optional garnish
Instructions
Instructions
- If the 4 ounces cream cheese is cold, let it sit at room temperature about 20–30 minutes so it softens and is easy to mix.
- In a medium bowl, combine the ⅔ cup peanut butter, the softened 4 ounces cream cheese, and 1 cup powdered sugar. Beat with an electric mixer or whisk until the mixture is smooth and homogenous, scraping the bowl sides as needed.
- With the mixer running on low, add the ½ cup milk a little at a time until the filling is smooth and spreadable.
- Spoon or pour the filling into the premade chocolate crust and smooth it into an even layer.
- Spread all of the 8 ounces Cool Whip evenly over the filling.
- Sprinkle chopped peanut butter cups on top, if desired.
- Freeze the pie for 3 hours, then remove it from the freezer about 10 minutes before cutting to make slicing easier.
Notes
Refrigerating peanut butter cups for 10 minutes makes them much easier to chop.
If your crust is in a foil tin, pop it in a glass pie plate to give you added stability when transferring it in and out of the freezer.