There’s nothing fancy about a jar of marinated olives, and that’s exactly why I love them. They’re fast to assemble, keep well, and make every weeknight snack feel a little more deliberate. A good marinated olive jar is about balance: bright lemon zest, warm garlic, aromatic herbs, and oil that carries all of it together so every olive tastes like an intentional bite.
I make this recipe when I want something that travels well to a potluck, looks pretty on the table, and doesn’t demand last-minute faffing. The work is mostly assembly and a short warm-infusing step. Leave the jar to rest in the fridge and the oil will pull the flavors in. Serve at room temperature so the oil loosens and coats the olives.
Below I’ll walk you through what to buy, exactly how to make these marinated olives, and simple swaps if you’re missing an ingredient. I’ll also share practical tips from the test kitchen so your jar is flavorful and foolproof.
Your Shopping Guide
When you shop for this recipe, start with olives you genuinely like to eat straight from the jar. The marinating enhances what’s already there; it won’t fix a poor-quality olive. Look for brined, whole olives with pits if you prefer the presentation and texture—pitted will work too if you want convenience.
Extra virgin olive oil is the carrier of flavor here, so choose something you’d enjoy on bread. Fresh herbs—rosemary and thyme—are worth it; they give an immediate lift during the warm-infuse step and a fresh note in the final jar. A lemon for zest and whole peppercorns add the finishing spark.
Buy a clean quart jar with a tight lid. You want something glass that seals well because the olives will be submerged and stored in the refrigerator. If you’re prepping as a gift or for a party, plan for at least 30 minutes of resting time, though longer is better.
Ingredients
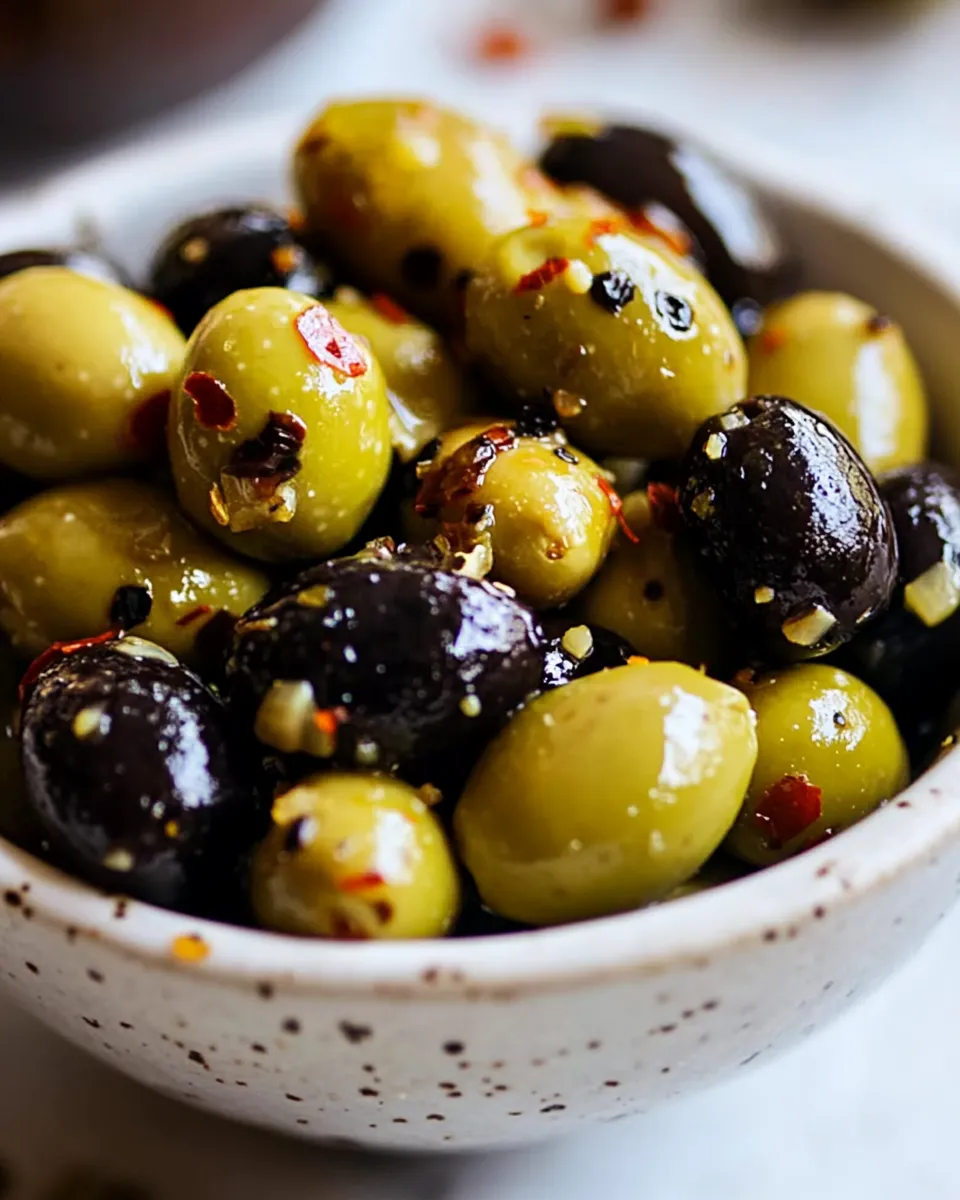
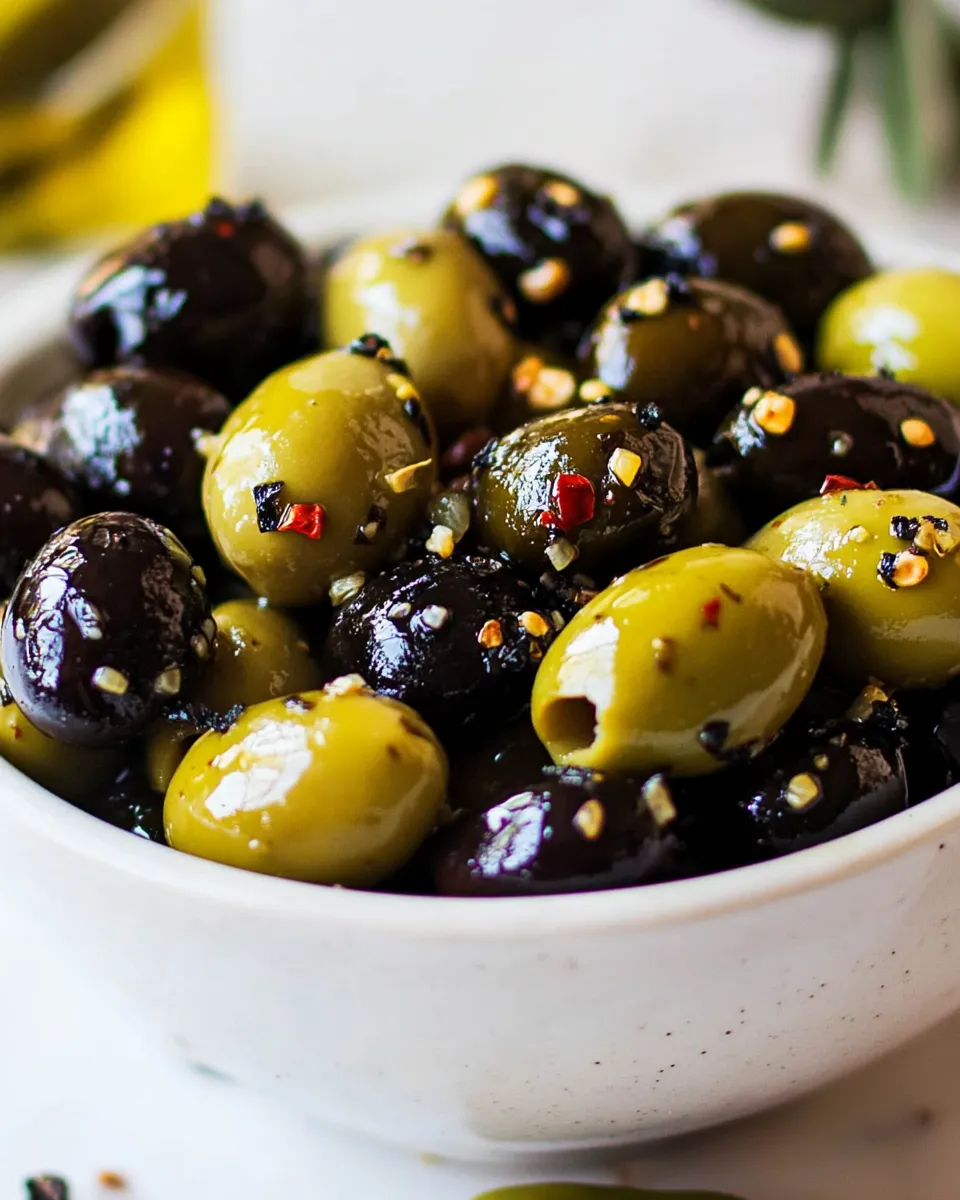
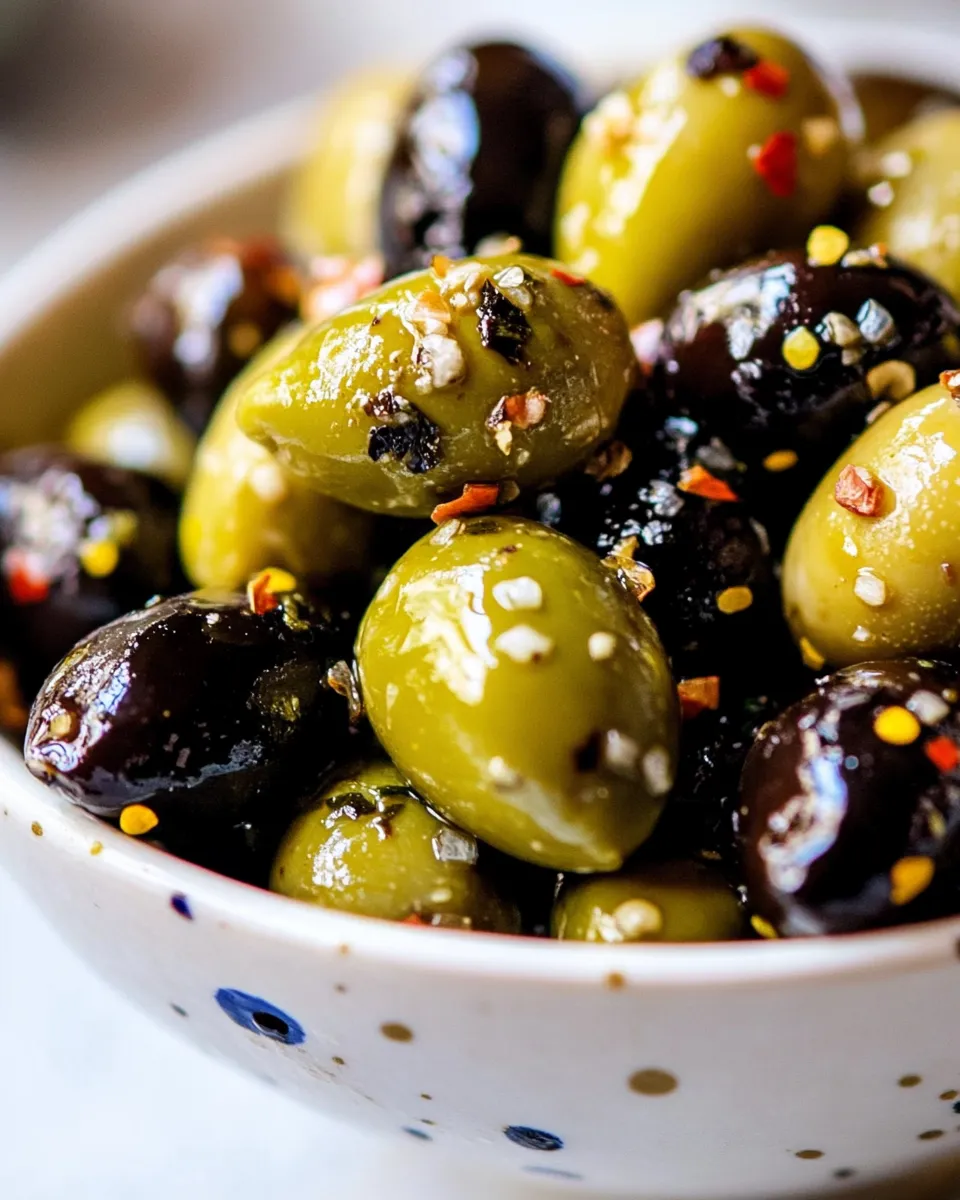
- 5.3ouncesDeLallo Castelvetrano olives — mild, buttery green olives that bring a creamy texture and balance to the mix.
- 5.3ouncesDeLallo Calamata olives — briny, dark olives that add depth and a savory counterpoint to the Castelvetrano.
- 1cupDeLallo extra virgin olive oil — the flavor carrier; choose a fruity, good-quality oil you’d drizzle on bread.
- 5clovesgarlic, peeled and smashed — smashed garlic releases flavor quickly when warmed in the oil.
- 4sprigsfresh rosemary — aromatic and piney; split between infusing and the jar for maximum aroma.
- 4sprigsfresh thyme — lemony and subtle; also split between the warm oil and the jar.
- 6-8black peppercorns — whole peppercorns give gentle heat and a pleasant crunchy bite.
- ½teaspoonred chile flakes — adds background heat; adjust to taste but do not change the measured amount in the recipe steps.
- ¼teaspoonkosher salt — helps balance the flavors in the warmed oil; olives are briny, so a small amount is enough.
- zest of 1 lemon — bright, citrusy lift that keeps the jar tasting fresh.
The Method for Marinated Olives
- Drain both 5.3 ounces DeLallo Castelvetrano olives and 5.3 ounces DeLallo Calamata olives in a colander and rinse under cool running water. Set the olives aside to finish draining.
- In a medium skillet, combine 1 cup DeLallo extra virgin olive oil, 5 cloves garlic (peeled and smashed), half of the fresh herbs (reserve the rest for the jar — that is, use 2 sprigs fresh rosemary and 2 sprigs fresh thyme now and set aside 2 sprigs rosemary and 2 sprigs thyme), the zest of 1 lemon, ½ teaspoon red chile flakes, and 6–8 black peppercorns. Heat over medium heat and cook, gently swirling the herbs in the oil, for 3–4 minutes until the garlic is fragrant and the herbs begin to sizzle. Remove the skillet from the heat, stir in ¼ teaspoon kosher salt, and let the oil cool for a few minutes (it should be warm, not piping hot).
- In a clean quart jar with a fitted lid, layer the drained olives and the cooked garlic and herbs from the skillet. Add the reserved fresh herbs (the 2 sprigs rosemary and 2 sprigs thyme you set aside). Pour the warm flavored oil over the olives, ensuring the olives are submerged; press down gently to pack if needed.
- Cover the jar and refrigerate for at least 30 minutes before serving. The olives will develop more flavor the longer they sit in the oil, up to 3 days refrigerated.
Why Cooks Rave About It
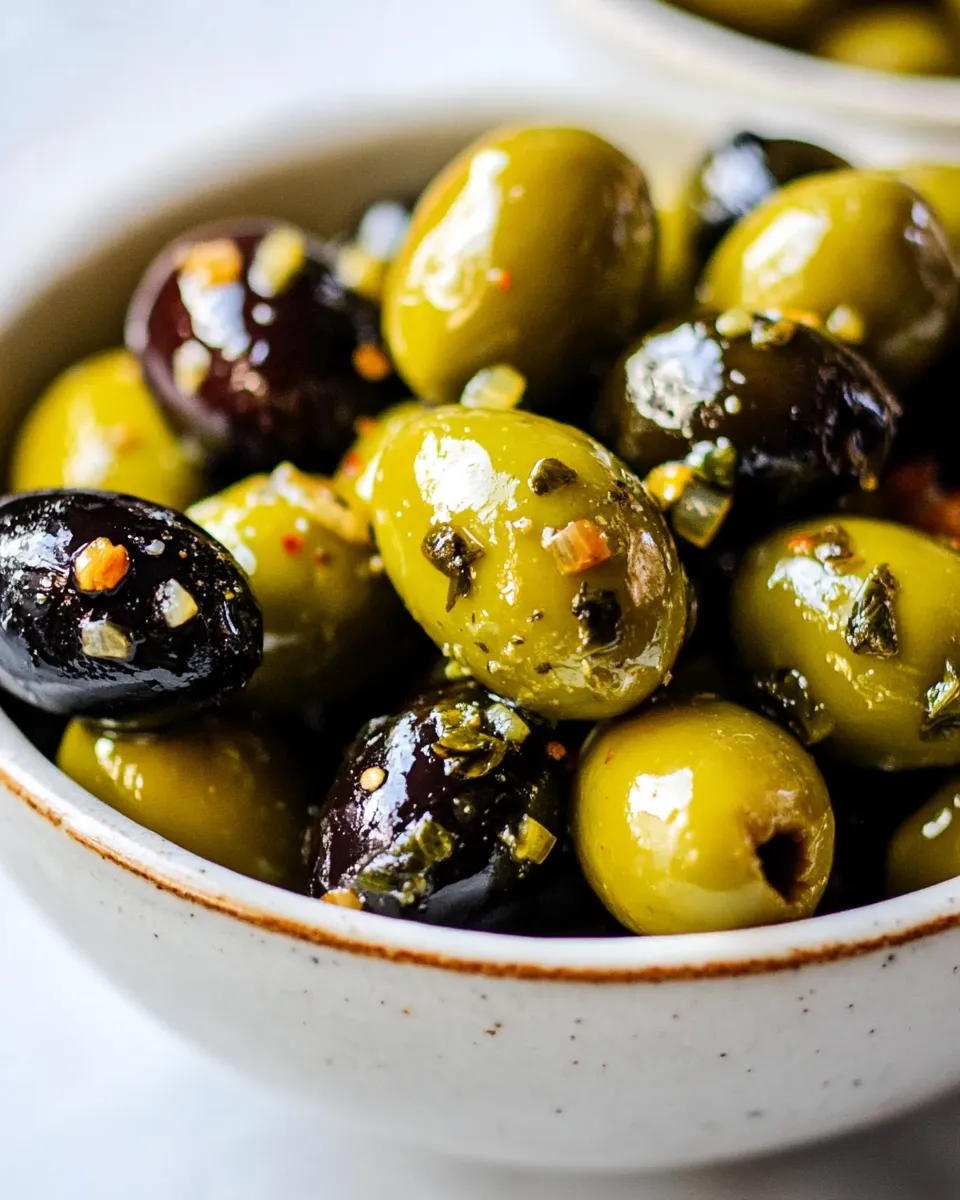
Two things make this recipe sing: a brief warm infusion and the oil as a flavor carrier. Heating the garlic and herbs in oil draws out their volatile oils and aromas quickly without cooking the olives. The lemon zest lifts the brine and prevents the blend from feeling heavy. Finally, the combination of two olive varieties gives contrast—creamy green and tangy dark—so every mouthful has interest.
It’s also flexible. This jar can sit on the counter for service (bring it to room temperature first) and makes a reliable snack that pairs well with cheese, bread, or a glass of wine. Cooks love how high-impact it feels for the minimal time invested.
Quick Replacement Ideas
If you don’t have every listed item, here are simple swaps that keep the spirit of the recipe without inventing precise new measurements:
- Olives: Use any brined green and dark olive pair you like—one mild and one tangy works well.
- Oil: A good-quality neutral or olive oil will work; a more peppery extra virgin gives more bite.
- Herbs: If fresh rosemary or thyme aren’t available, use other fresh woody herbs in small amounts or keep extra zest to brighten the jar.
- Heat: Adjust red chile flakes to taste. If you prefer no heat, omit them entirely.
Tools & Equipment Needed
Must-haves
- Medium skillet — for warming the oil and infusing the garlic and herbs.
- Quart jar with fitted lid — a clean, airtight glass jar for marinating and storing.
- Colander — to drain and rinse the olives.
Nice-to-have
- Citrus zester or microplane — for fine lemon zest that distributes evenly.
- Tongs or a slotted spoon — to layer olives and herbs neatly in the jar.
Avoid These Traps
Common mistakes are easy to avoid. First: don’t overheat the oil. It should be warm to the touch, not smoking. Overhot oil will cook the garlic into bitterness and dull the herbs. Second, don’t skip rinsing the olives if they’re in a heavy brine; rinsing tames excess saltiness and lets the marinade come through.
Also, don’t assume the jar will taste its best immediately. A 30-minute chill is the minimum; for a fully rounded flavor, plan for a few hours or even overnight. Finally, avoid using an inferior oil. Because oil carries all the aromatics, a cheap or off-flavored oil will show up in every bite.
How to Make It Lighter
If you want a lighter final plate without changing the recipe’s balance, serve smaller portions and pair the olives with lots of fresh vegetables, citrus segments, or lightly dressed greens. Let the jar come to room temperature before serving; the oil will loosen and coat the olives more thinly, which can make the experience feel less heavy on the palate.
Another trick is to spoon off a little of the oil before serving and use that oil on bread or salad—stretching the flavor and making the plate feel more balanced without adding more fat to each olive.
Notes from the Test Kitchen
I tested this several ways to learn what changes mattered. The warm-infuse step at medium heat for 3–4 minutes is the sweet spot: enough to wake up the garlic and herbs but not so long that garlic browns. Whole peppercorns added a subtle pop; cracked pepper delivers more immediate heat. I kept the herb split (half warmed, half added fresh) because it preserves a bright note and a slow-developing herb flavor.
Also test-room tip: press the olives gently in the jar so oil surrounds each olive. If any olives peek above the oil, they’ll dry out and oxidize. A small weight (like a folded piece of clean parchment) can help keep them submerged if your jar is tall or the oil volume is low.
Storing Tips & Timelines
Refrigerate the sealed jar. The recipe states the olives develop more flavor the longer they sit in the oil, up to 3 days refrigerated. Use within that window for the best balance of freshness and infused flavor. After three days the herbs begin to decline and the olive texture changes.
When you’re ready to serve, let the jar sit out for 20–30 minutes so the oil loosens and the flavors bloom. Always use a clean utensil to remove olives from the jar to avoid introducing bacteria. If you want to keep the marinade longer the safest approach is to reheat the oil to gently warm (not boil) and freshen it, or to prepare smaller jars and consume them within the recommended time frame.
Reader Questions
Q: Can I use pitted olives?
A: Yes. Pitted olives are absolutely fine and convenient. The texture will be slightly different but the infusion works the same way.
Q: Can I serve these at room temperature?
A: Yes—bring the jar to room temperature for 20–30 minutes before serving. The oil will loosen and the flavors will be more pronounced.
Q: How spicy will this be for people sensitive to heat?
A: The recipe uses ½ teaspoon red chile flakes; the warming step mellows the heat slightly. If you want no heat, simply omit the chile flakes. If you like mild heat, keep the amount as written.
Bring It Home
This is one of those small, high-impact recipes that rewards a little patience. The steps are simple, the equipment is basic, and the result feels intentional. Make a batch when friends come over, tuck a jar into a picnic basket, or keep one in the fridge for weeknight nibbling. The balanced, herb-forward oil keeps the olives interesting and shareable.
If you try it, take a photo, and tell me whether you liked the balance of herbs and lemon zest. Tiny tweaks—more lemon, fewer peppercorns—will make it your signature jar. Enjoy it with good bread and company.
Marinated Olives
Equipment
- Colander
- Medium Skillet
- quart jar with lid
Ingredients
Ingredients
- 5.3 ouncesDeLallo Castelvetrano olives
- 5.3 ouncesDeLallo Calamata olives
- 1 cupDeLallo extra virgin olive oil
- 5 clovesgarlic peeled and smashed
- 4 sprigsfresh rosemary
- 4 sprigsfresh thyme
- 6-8 black peppercorns
- 1/2 teaspoonred chile flakes
- 1/4 teaspoonkosher salt
- zest of 1 lemon
Instructions
Instructions
- Drain both 5.3 ounces DeLallo Castelvetrano olives and 5.3 ounces DeLallo Calamata olives in a colander and rinse under cool running water. Set the olives aside to finish draining.
- In a medium skillet, combine 1 cup DeLallo extra virgin olive oil, 5 cloves garlic (peeled and smashed), half of the fresh herbs (reserve the rest for the jar — that is, use 2 sprigs fresh rosemary and 2 sprigs fresh thyme now and set aside 2 sprigs rosemary and 2 sprigs thyme), the zest of 1 lemon, ½ teaspoon red chile flakes, and 6–8 black peppercorns. Heat over medium heat and cook, gently swirling the herbs in the oil, for 3–4 minutes until the garlic is fragrant and the herbs begin to sizzle. Remove the skillet from the heat, stir in ¼ teaspoon kosher salt, and let the oil cool for a few minutes (it should be warm, not piping hot).
- In a clean quart jar with a fitted lid, layer the drained olives and the cooked garlic and herbs from the skillet. Add the reserved fresh herbs (the 2 sprigs rosemary and 2 sprigs thyme you set aside). Pour the warm flavored oil over the olives, ensuring the olives are submerged; press down gently to pack if needed.
- Cover the jar and refrigerate for at least 30 minutes before serving. The olives will develop more flavor the longer they sit in the oil, up to 3 days refrigerated.
Notes
In choosing olives for this recipe, look for brine-packed olives. Don’t use oil-packed olives because they are typically already flavored.
I also chose pitted olives because they’re easier to eat (especially in salads), but olives with the pit lend even more flavor.