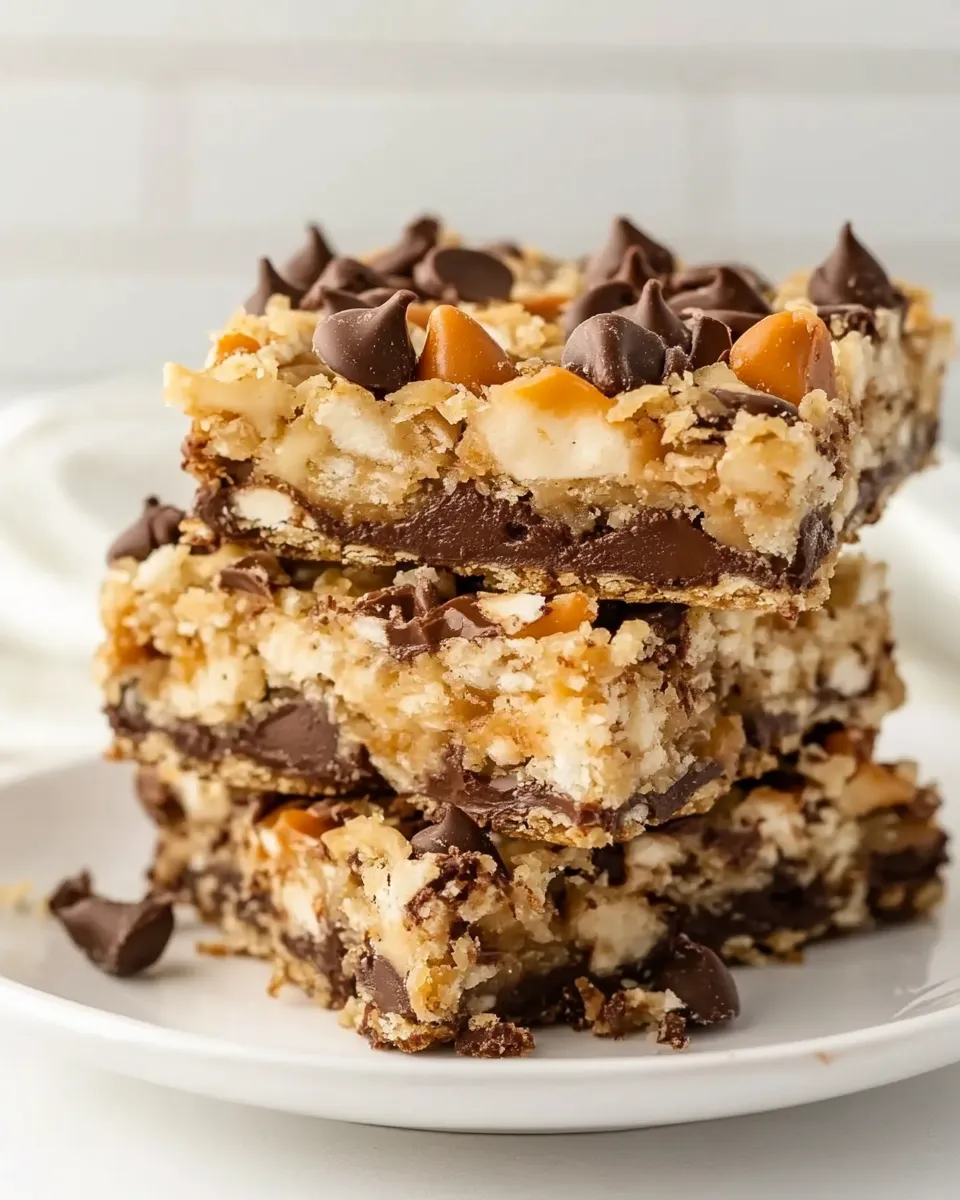
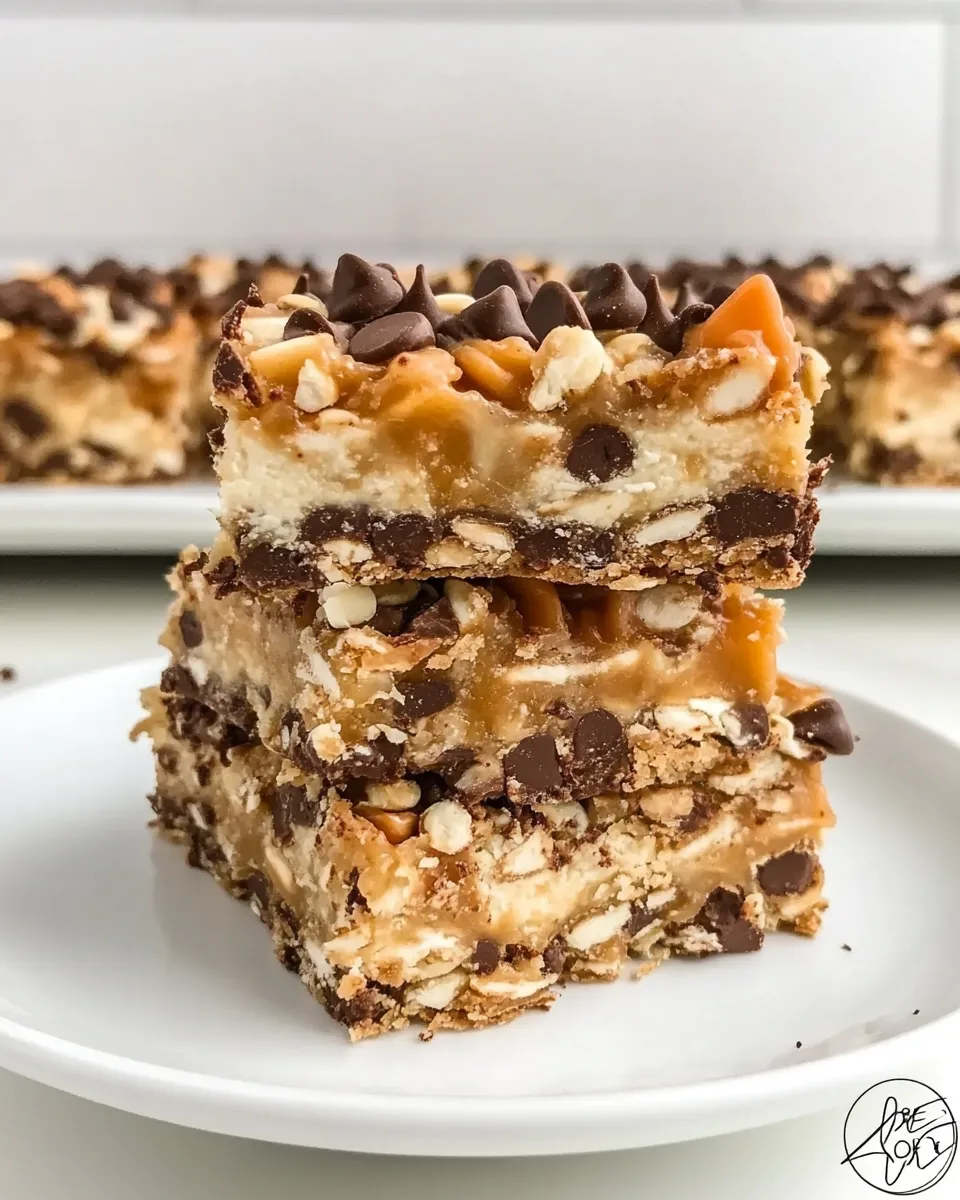
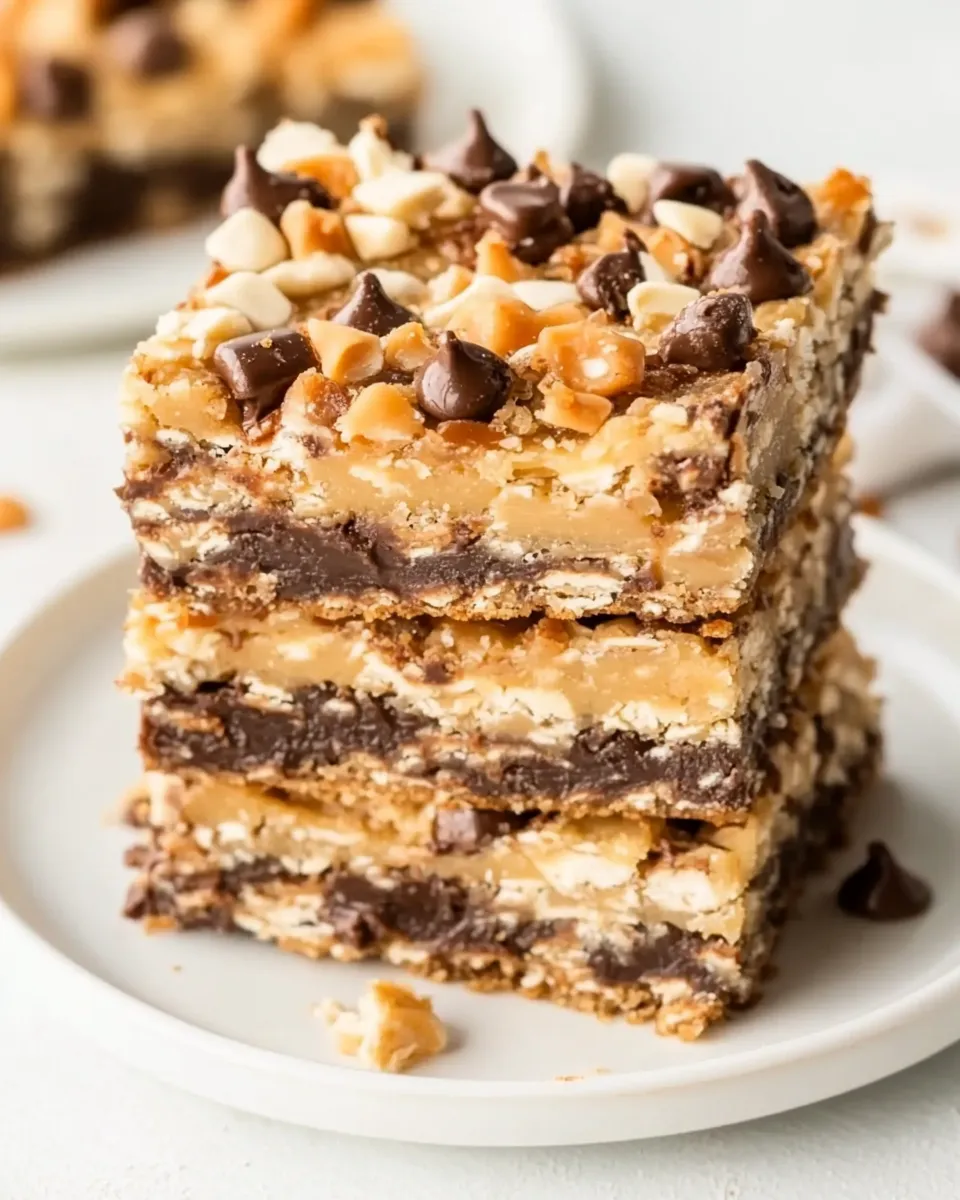
These bars are the kind of thing I make when I want a reliable, handheld dessert that travels well and disappears even faster than I expect. They have a compact graham cracker base, a glossy ribbon of sweetened condensed milk that binds everything together, and the satisfying chew and crunch you want from a seven-layer bar—minus the gluten. No fancy steps, no unusual equipment, just good pantry ingredients and predictable results.
I wrote this recipe because people often ask for treats that are both indulgent and simple to pull together for potlucks, school lunches, or an afternoon coffee break. The layers—chocolate, butterscotch, coconut, and nuts—play off each other: sweet, toasty, nutty, and slightly salty. And since the crumbly crust and the condensed milk do the heavy lifting, these bars hold together beautifully without fuss.
If you’re short on time, you can still make these on a weeknight. The biggest wait is the cooling time, when the bars firm up. Follow the steps, mind the oven time, and you’ll have clean slices with a chewy center and a tender edge. Below you’ll find the ingredient list, the exact steps to follow, troubleshooting tips, tool suggestions, and ideas for dietary swaps and serving.
Ingredient List
- 1 ½ cups gluten-free graham cracker crumbs — Forms the base and gives structure; press firmly for a compact crust.
- ½ cup melted butter, salted or unsalted — Binds the crumbs and adds richness; use salted if you want a touch more savory contrast.
- 1 cup shredded sweetened coconut — Adds chew and a toasty note when baked; distributes sweetness and texture.
- 1 cup semi-sweet chocolate chips — A classic layer for chocolate flavor and melty pockets throughout.
- 1 cup butterscotch chips — Adds caramel-like sweetness and pairs nicely with the coconut.
- 1 cup chopped walnuts or pecans — Provides crunch and a toasty, nutty background; chop to bite-size pieces for even distribution.
- 14 oz. can sweetened condensed milk — The glue: pours over the layers and caramelizes lightly while baking, creating the chewy texture.
- ¼ teaspoon salt — Balances the sweetness and lifts the flavors of the chips and nuts.
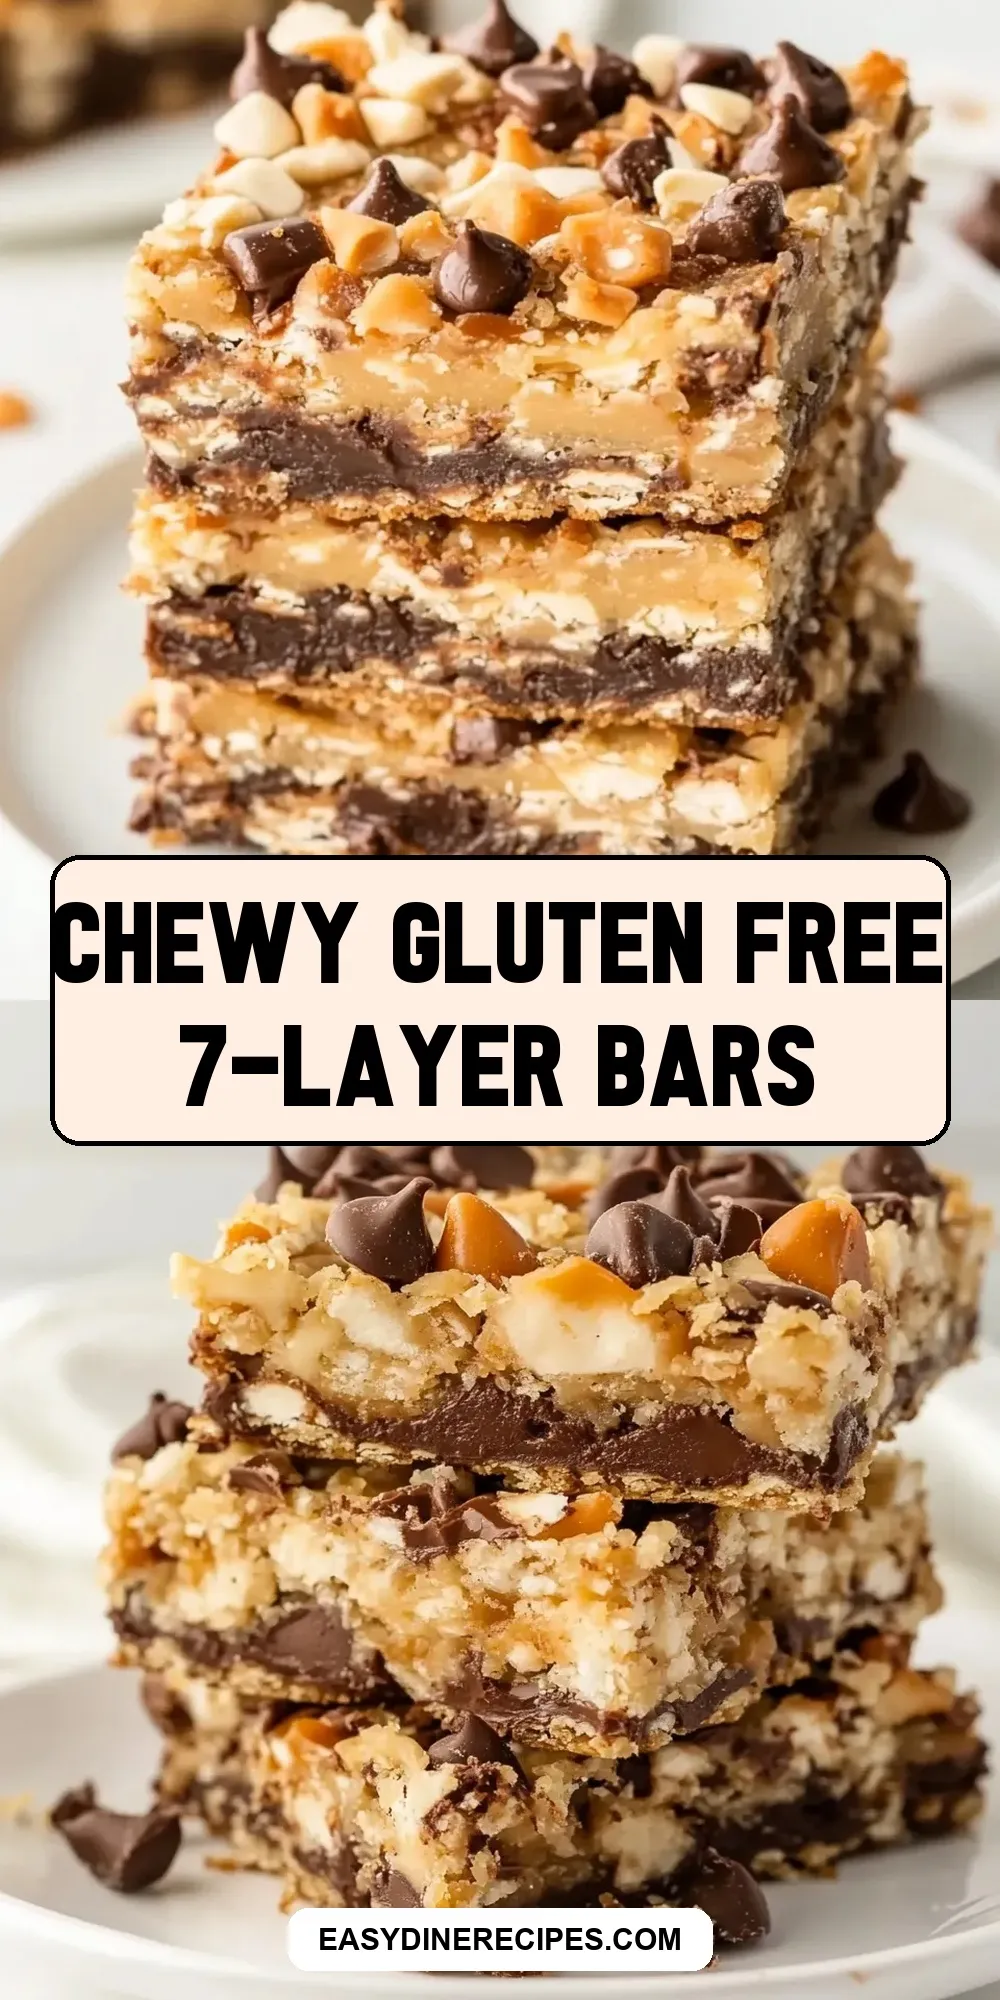
Chewy Gluten Free 7-Layer Bars, Made Easy
- Preheat oven to 350°F (175°C). Position a rack in the center of the oven. Line a 9×13‑inch baking dish with parchment paper, leaving an overhang on two opposite sides for easy removal.
- In a small bowl, combine 1 ½ cups gluten-free graham cracker crumbs and ½ cup melted butter (salted or unsalted). Stir until the crumbs are evenly moistened.
- Press the graham cracker mixture firmly and evenly into the bottom of the prepared baking dish, pressing into the corners to form a compact crust.
- Evenly sprinkle the following over the crust: 1 cup semi-sweet chocolate chips, 1 cup butterscotch chips, 1 cup shredded sweetened coconut, 1 cup chopped walnuts or pecans, and ¼ teaspoon salt.
- Pour the 14 oz. can sweetened condensed milk evenly over the layered toppings. Gently tilt the pan or use the back of a spoon to help the condensed milk reach the edges and corners so the toppings are well coated.
- Bake on the center rack at 350°F for 25–30 minutes, until the edges are set and the top is beginning to brown.
- Remove the pan from the oven and place it on a wire rack. Let the bars cool in the pan for 30 minutes.
- Using the parchment overhang, lift the bars from the pan and transfer to the wire rack. Allow to cool to room temperature (or until firm) before cutting into bars. Cut into pieces and enjoy.
Why This Recipe is a Keeper
There are recipes that are exciting and recipes that are reliable; this is solidly the latter with a quiet, dependable magic. The chewy interior comes from the condensed milk sealing the layers together while roasting slightly at the edges to give a hint of caramel. The crust is intentionally compact, so each bar holds together without needing frosting or a second binding step.
What makes it a keeper in my kitchen is its forgiving nature. The components are common pantry items for many bakers, and the method is straightforward: press, layer, pour, bake. Because the bars are sturdy, they travel well and are easy to portion for lunches or picnics. They also hit a broad set of flavors—chocolate, nutty, sweet coconut, and butterscotch—so most people find something to like.
What to Use Instead
- For the crust: If you don’t have gluten-free graham crumbs, other gluten-free cookie crumbs will do—just press until compact.
- For the nuts: Walnuts or pecans are specified; use whichever you prefer or omit if you need nut-free (see FAQs for tips on keeping texture).
- For the chips: Semi-sweet and butterscotch chips can be interchanged proportionally if you prefer more chocolate or more caramel flavor.
- For the coconut: If you dislike coconut, leave it out and add an extra ¼ cup of chips or more chopped nuts to maintain the layer thickness.
Toolbox for This Recipe

Essentials
- 9×13‑inch baking dish — the correct size ensures the right thickness and bake time.
- Parchment paper — makes lifting and cutting neat and easy.
- Measuring cups and spoons — accurate measures give consistent texture.
- Mixing bowls and a spatula or spoon — for combining and pressing the crust and arranging layers.
- Wire rack — for cooling the pan and finishing the bars.
Nice to Have
- Offset spatula — for spreading and smoothing the crust and toppings.
- Bench scraper or sharp knife — for clean cuts once bars are fully cooled.
Pitfalls & How to Prevent Them
Soggy center: If the bars feel underdone in the center after the recommended bake time, the most likely causes are an oven that runs cool or a heavier pan that affects heat distribution. Use an oven thermometer to verify temperature, and bake on the center rack. If the top browns early but the center is soft, tent loosely with foil and continue baking in 3–5 minute increments until set.
Edges overbrowning: Watch the last five minutes of baking. If edges are getting too dark, rotate the pan and reduce the oven temperature by 10–15°F for a gentler finish next time.
Toppings sliding or not binding: Make sure the condensed milk is poured slowly and spread to the edges so it wets all components. If it pools in one area, the concentrated weight can push chips to the side. A gentle tilt or the back of a spoon will help distribute it evenly before baking.
Crumbly slices: Press the crust firmly into the corners and edges. If the crust is loose when you try to cut, the crumb layer wasn’t compacted enough before baking. Tight, even pressure when forming the base is simple and crucial.
Make It Diet-Friendly
Gluten-free: This recipe is already designed for a gluten-free diet because it starts with gluten-free graham cracker crumbs. Check labels to ensure all chips and nuts are processed in gluten-free facilities if cross-contact is a concern.
Dairy-free / vegan: The structure relies on sweetened condensed milk and typical chocolate/butterscotch chips. To make a dairy-free or vegan version, substitute plant-based sweetened condensed milk and dairy-free chocolate and butterscotch chips, and use a vegan butter alternative. Note that textures will vary slightly; plant-based condensed milk tends to be a bit thinner, so press the toppings gently into the crust before pouring to help retention.
Nut-free: Omit the walnuts or pecans and replace that layer with extra shredded coconut, additional chips, or toasted sunflower seeds if tolerated. Keep an eye on texture; adding another crunchy element helps maintain contrast.
Chef’s Rationale
I layer the chips, coconut, and nuts over the tight graham crust because it keeps the heavier components from sinking. The condensed milk acts as both a sweetener and a binder; poured over the top, it soaks into gaps and caramelizes at the edges, knitting the layers into one cohesive whole.
The 9×13 pan size is intentionally chosen: it yields bars that are neither too thick nor too thin when baked for the specified time. If you change pan size, the baking time and the structural balance will change. Pressing the crust firmly is another deliberate step—without it the bars will crumble when sliced.
Leftovers & Meal Prep
Storage: Store cut bars in an airtight container at room temperature for up to 3 days. If your kitchen is warm or you prefer firmer bars, store them in the refrigerator for up to 7 days. Bring chilled bars back to room temperature for 20–30 minutes before serving for the best chew.
Freezing: These freeze well. Cut into bars, wrap each piece in plastic wrap and place in a freezer bag or airtight container for up to 3 months. Thaw overnight in the refrigerator or at room temperature for a couple of hours. Reheat briefly (5–10 seconds) in the microwave if you want the chips to soften.
Make-ahead: You can prepare the bars through step 5 (pouring the condensed milk) and refrigerate, tightly covered, for a few hours before baking. Allow for an extra minute or two of bake time if starting from chilled.
Frequently Asked Questions
Are these bars truly gluten-free?
Yes—provided you use certified gluten-free graham cracker crumbs and confirm that the chips and other packaged ingredients are labeled gluten-free. Cross-contact in shared facilities is the usual concern, so check packaging if you’re cooking for someone with celiac disease.
Can I omit the nuts or swap them?
Yes. Omit nuts for a nut-free version or swap between walnuts and pecans as the recipe states. If you omit nuts entirely, add an extra ¼–½ cup of chips or coconut to keep the layer balance similar.
Can I use fresh shredded coconut instead of sweetened?
You can, but the texture and sweetness will change. Sweetened shredded coconut contributes chew and sweetness; unsweetened will be less sweet and less cohesive. If using unsweetened, taste the overall sweetness before serving and consider adding a little more butterscotch or chocolate if desired.
How do I get clean slices?
Chill the fully cooled bars for at least 30 minutes before cutting. Use a sharp knife and wipe it between cuts. If the bars are very sticky, refrigerate until firmer for cleaner edges.
Bring It to the Table
These bars present well on a simple platter or in a lined box for gifting. If you want a little extra polish, dust a few pieces lightly with powdered sugar right before serving or press a few extra chips on top after cutting to make each piece look deliberate. They pair beautifully with coffee, milk, or a scoop of plain vanilla ice cream for a simple dessert.
Serve them at room temperature for the best chew; chilled bars will be firmer. Because they’re portable and slice cleanly when cooled, they’re an excellent choice for bake sales, classroom events, or a weekend cookie swap. Keep a stack wrapped individually for quick, grab-and-go treats—the texture and flavor hold up well even after a day or two.
Chewy Gluten Free 7-Layer Bars
Equipment
- 9x13 inch Baking Dish
- Parchment Paper
- Oven
- Wire Rack
- Small Bowl
- Spoon
Ingredients
Ingredients
- 1 1/2 cupsgluten-free graham cracker crumbs
- 1/2 cupmelted butter salted or unsalted
- 1 cupshredded sweetened coconut
- 1 cupsemi-sweet chocolate chips
- 1 cupbutterscotch chips
- 1 cupchopped walnutsor pecans
- 14 oz.can sweetened condensed milk
- 1/4 teaspoonsalt
Instructions
Instructions
- Preheat oven to 350°F (175°C). Position a rack in the center of the oven. Line a 9×13‑inch baking dish with parchment paper, leaving an overhang on two opposite sides for easy removal.
- In a small bowl, combine 1 ½ cups gluten-free graham cracker crumbs and ½ cup melted butter (salted or unsalted). Stir until the crumbs are evenly moistened.
- Press the graham cracker mixture firmly and evenly into the bottom of the prepared baking dish, pressing into the corners to form a compact crust.
- Evenly sprinkle the following over the crust: 1 cup semi-sweet chocolate chips, 1 cup butterscotch chips, 1 cup shredded sweetened coconut, 1 cup chopped walnuts or pecans, and ¼ teaspoon salt.
- Pour the 14 oz. can sweetened condensed milk evenly over the layered toppings. Gently tilt the pan or use the back of a spoon to help the condensed milk reach the edges and corners so the toppings are well coated.
- Bake on the center rack at 350°F for 25–30 minutes, until the edges are set and the top is beginning to brown.
- Remove the pan from the oven and place it on a wire rack. Let the bars cool in the pan for 30 minutes.
- Using the parchment overhang, lift the bars from the pan and transfer to the wire rack. Allow to cool to room temperature (or until firm) before cutting into bars. Cut into pieces and enjoy.