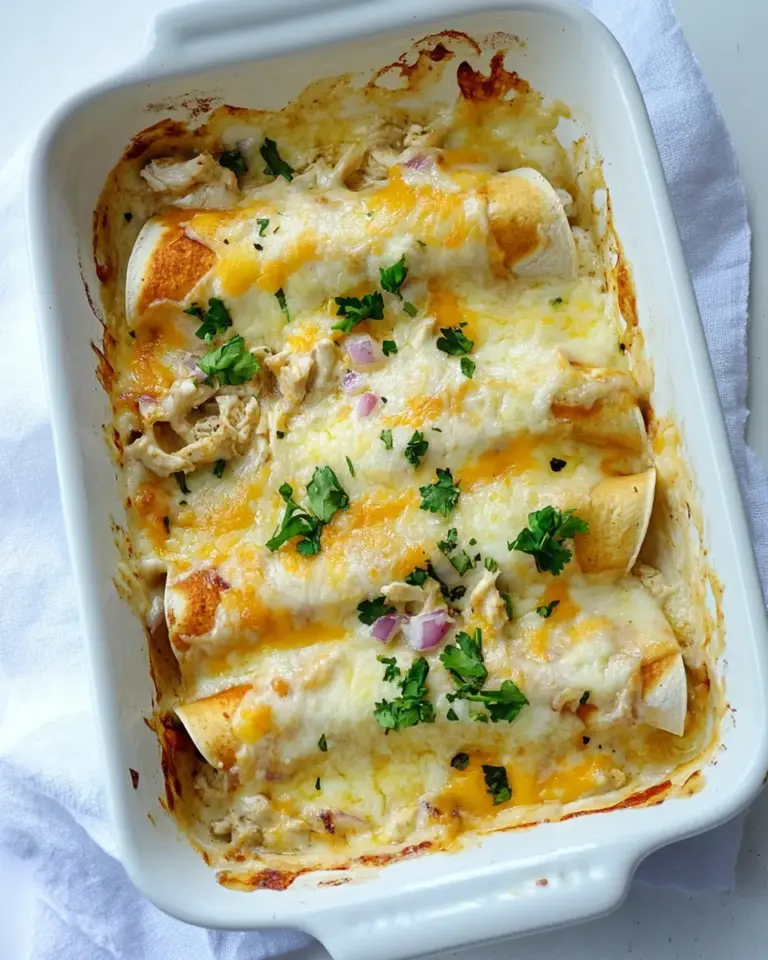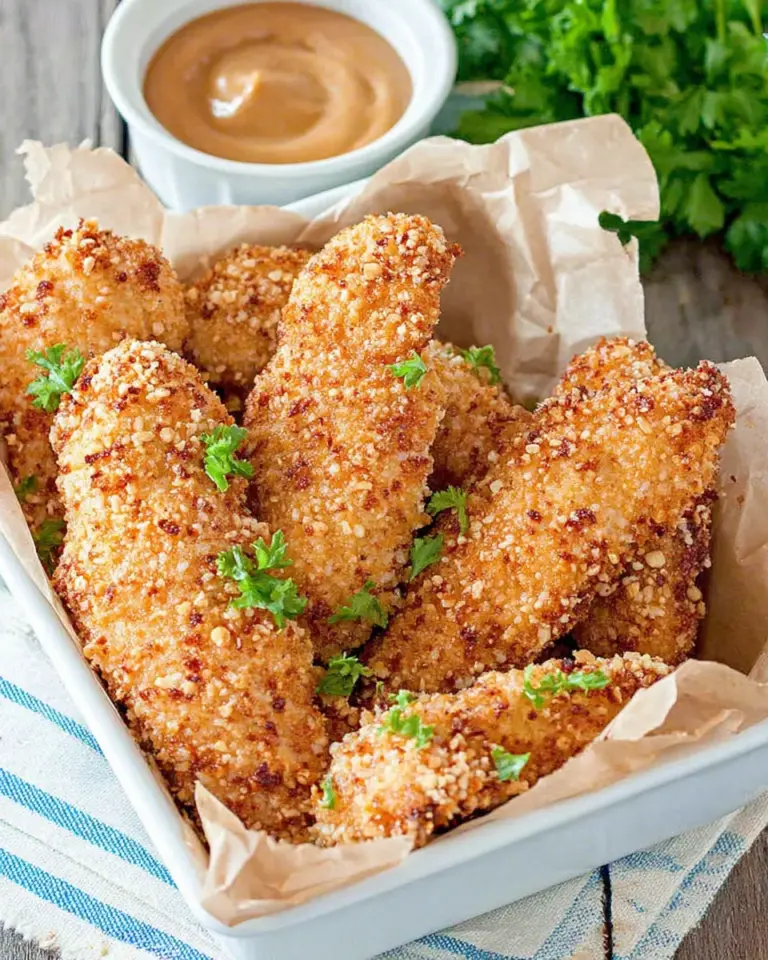
I love a recipe that’s both comforting and dependable—the kind you can make on a weeknight and also serve to guests without breaking a sweat. These Chicken Tenders hit that sweet spot: crisp, golden, wildly flavorful on the outside and juicy on the inside. The buttermilk brine adds tang and tenderness, while the seasoned flour and cornstarch give an irresistible crunch. Serve them with a simple green salad and your favorite dipping sauce for an easy, crowd-pleasing meal.
Why this recipe works
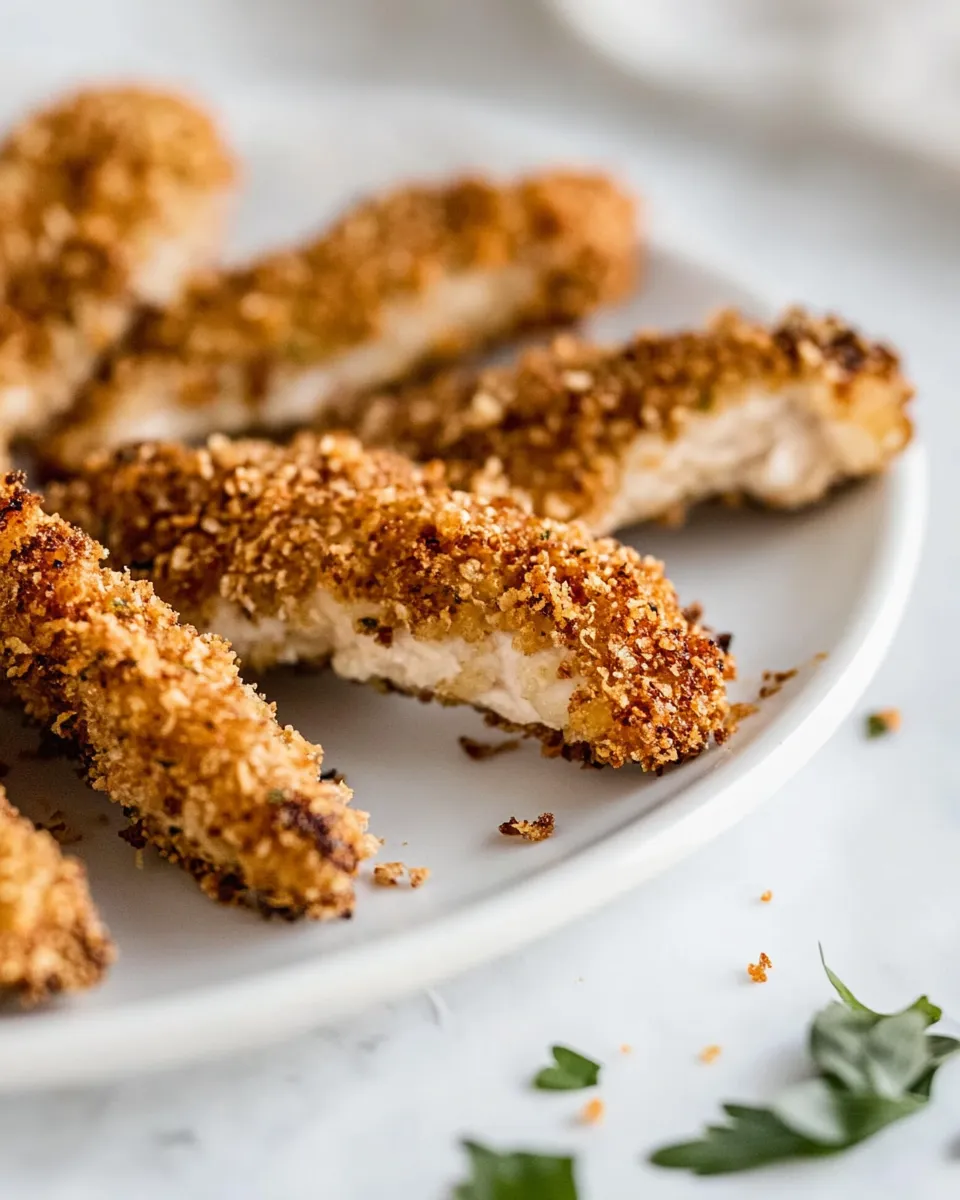
There are a few little tricks that make these Chicken Tenders stand out. First, soaking the chicken in a spiced buttermilk lets the meat relax and absorb moisture, which means tender bites every time. Second, adding cornstarch to the flour mix creates a crunchier crust without making the breading taste heavy. Third, a small amount of baking soda in the flour helps with browning and texture. Finally, frying at the right temperature keeps the exterior crisp while cooking the interior perfectly through.
Ingredients
- 2 cups buttermilk
- 1 teaspoon sriracha
- 2 pounds boneless skinless chicken breast tenders (or 4 medium-size boneless skinless chicken breasts sliced into tenders)
- 2 cups all-purpose flour (spooned and leveled)
- 2 tablespoons cornstarch
- 2 teaspoons kosher salt
- 1 teaspoon cracked black pepper
- 1 teaspoon onion powder
- 1/2 teaspoon baking soda
- 1/2 teaspoon smoked paprika
- 4 large eggs (room temperature)
- 6 cups vegetable oil
- dipping sauce of your choice (optional – try our copycat Chick Fil A sauce)
Make-ahead and serving tips
These Chicken Tenders can be brined up to 24 hours ahead—just keep them covered in the refrigerator. If you want the crispiest texture, fry them just before serving. They’re great on sandwiches, tossed in a sauce like buffalo or honey-Sriracha, or served with fries and coleslaw. For a quick family meal, pair with steamed green beans and mashed potatoes.
Equipment
- Large bowl for brining
- Medium bowl for dredging
- Shallow dish for beaten eggs
- Heavy-bottomed pot or deep fryer
- Instant-read thermometer (helpful for oil and chicken temperature)
- Wire rack or paper towels for draining
Step-by-step instructions
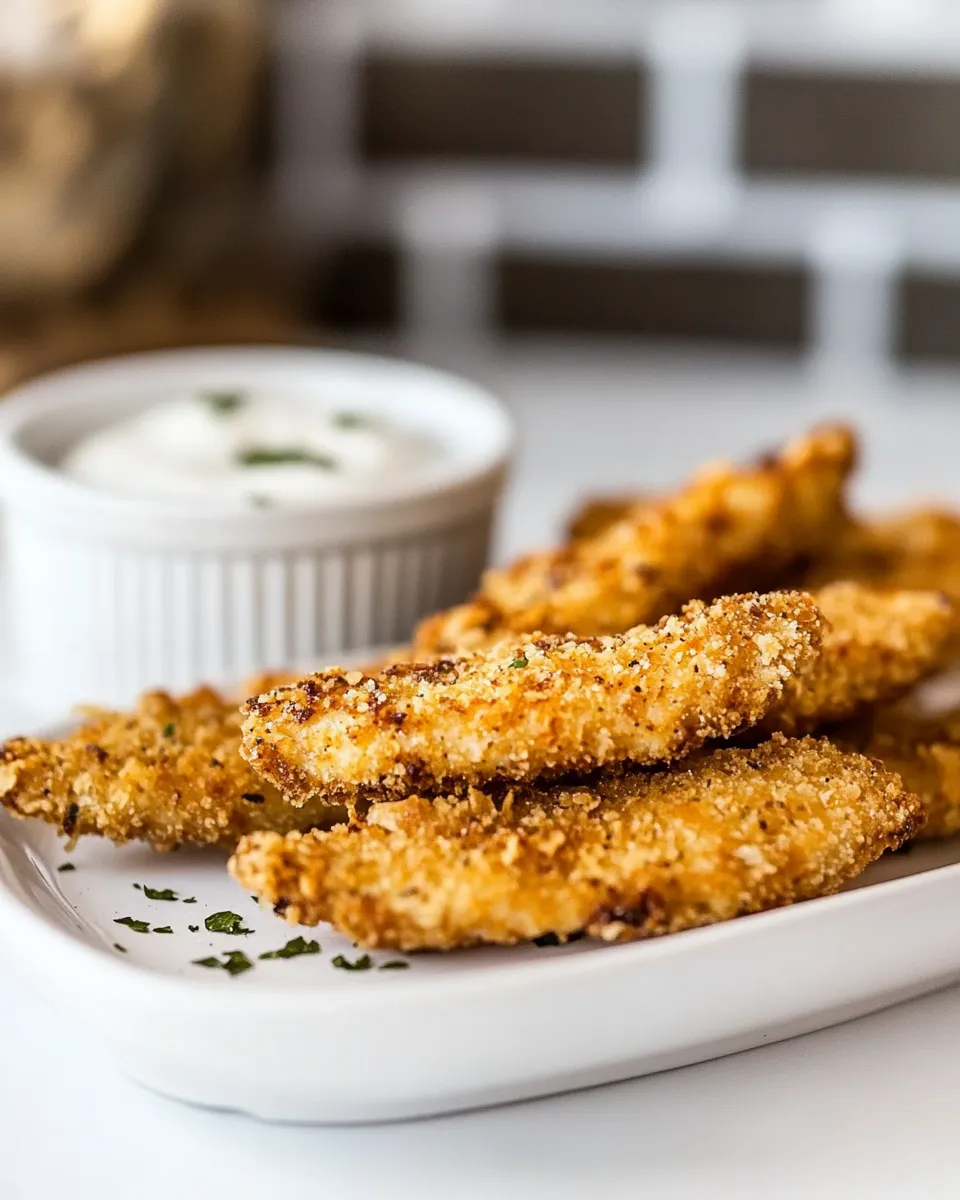
Below are clear, numbered steps to make the recipe simple to follow. Read through once before starting so you have everything prepped and ready.
- Mix the buttermilk brine: In a large bowl, whisk together 2 cups buttermilk and 1 teaspoon sriracha until smooth. The sriracha gives a subtle heat and tang—adjust the amount if you want it milder.
- Brine the chicken: Add 2 pounds boneless skinless chicken breast tenders (or 4 medium-size boneless skinless chicken breasts sliced into tenders) to the buttermilk mixture, ensuring each piece is coated. Cover the bowl and refrigerate for at least 30 minutes, up to 24 hours. This is where the chicken soaks up flavor and becomes tender.
- Prepare the dry dredge: In a medium bowl, combine 2 cups all-purpose flour (spooned and leveled), 2 tablespoons cornstarch, 2 teaspoons kosher salt, 1 teaspoon cracked black pepper, 1 teaspoon onion powder, 1/2 teaspoon baking soda, and 1/2 teaspoon smoked paprika. Whisk the dry ingredients until evenly mixed. The cornstarch and baking soda help deliver a crunch that stays crisp.
- Beat the eggs: In a shallow dish, lightly beat 4 large eggs (room temperature) until smooth. Having the eggs at room temperature helps the coating adhere consistently.
- Heat the oil: Pour 6 cups vegetable oil into a heavy-bottomed pot or deep fryer and heat over medium heat. Use an instant-read thermometer to bring the oil to 350°F (175°C). If you don’t have a thermometer, test by dropping a small pinch of the flour mixture into the oil—if it sizzles and rises steadily, the oil is ready.
- Dredge the chicken—first coat: Remove a few tenders from the buttermilk, allowing excess to drip back into the bowl. Dredge each piece in the flour mixture, pressing lightly so the flour adheres and forms an even coating. Shake off any excess flour.
- Dip in egg: After the initial flour coat, dip each tender into the beaten eggs, coating completely. Let excess egg drip off so the next layer of flour sticks rather than pools.
- Dredge the chicken—second coat: Return each egg-coated tender to the flour mixture, pressing the flour onto the surface to build a substantial crust. This double-coating method ensures a crunchy exterior that clings to the chicken.
- Fry in batches: Carefully lower a few tenders into the hot oil without crowding the pot. Fry in batches so the oil temperature remains steady. Cook for about 3 to 5 minutes per side, turning as needed, until the crust is deep golden brown and an instant-read thermometer inserted into the thickest part reads 165°F (74°C).
- Drain and rest: Using a slotted spoon or tongs, transfer the cooked tenders to a wire rack set over a baking sheet or to paper towels to drain. Let them rest for a minute or two—this helps the crust set and stay crunchy.
- Finish remaining tenders: Repeat the dredging and frying process with the remaining chicken, making sure the oil returns to 350°F (175°C) between batches. Maintain consistent temperature for even cooking and a non-greasy crust.
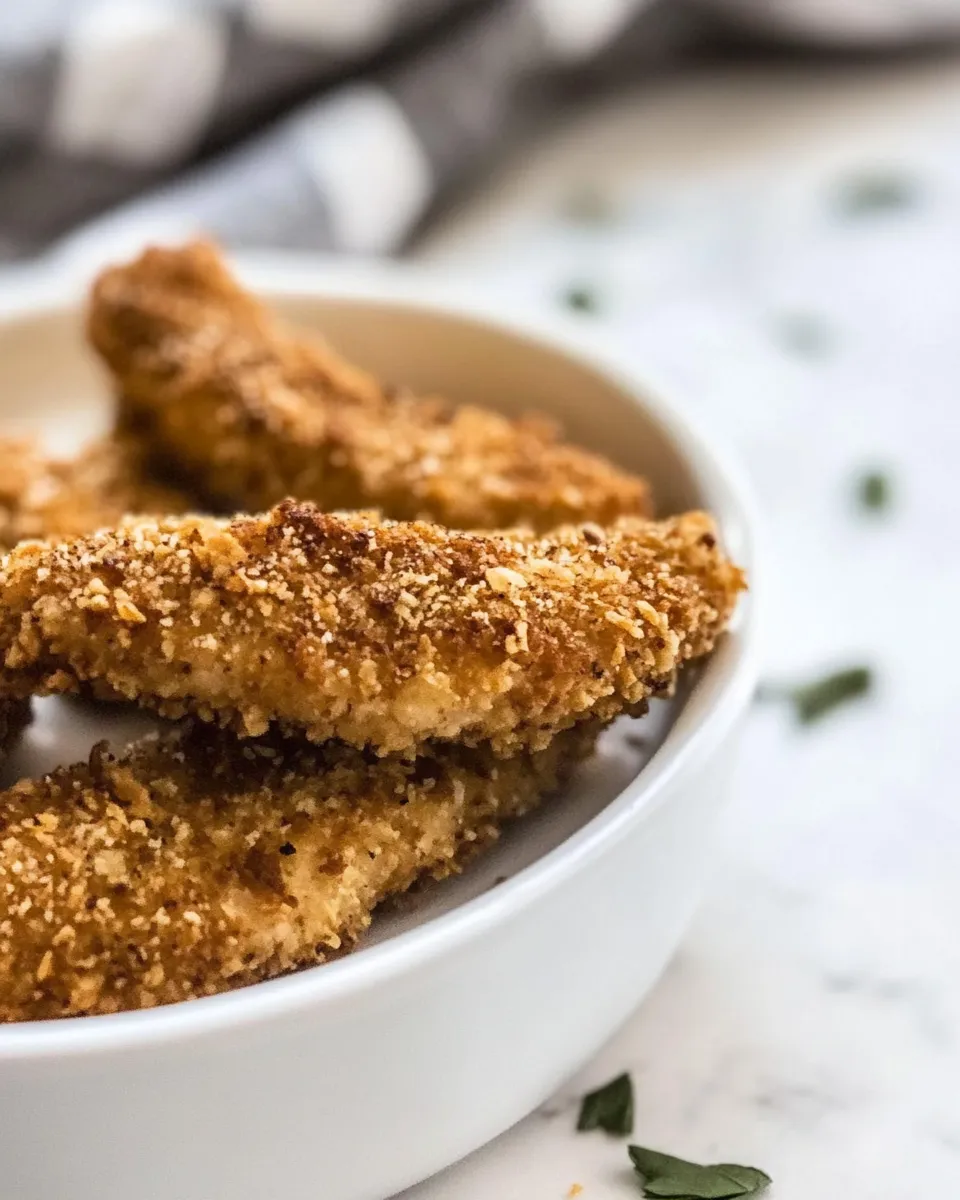
- Serve immediately: Plate the Chicken Tenders with your desired dipping sauce and sides. For an extra touch, sprinkle a little extra cracked black pepper or a pinch of smoked paprika over the hot tenders. They’re best enjoyed warm and crispy.
Copycat dipping sauce idea
If you love a tangy-sweet dip, try the copycat Chick Fil A-style sauce: mix equal parts mayonnaise and barbecue sauce, then stir in a small amount of Dijon mustard and honey to taste. Adjust quantities to your preference. This sweet-savory sauce pairs beautifully with the spiced crust of the Chicken Tenders.
Recipe notes and troubleshooting
- Too greasy? If your tenders come out greasy, your oil temperature was likely too low. Let the oil climb back to 350°F (175°C) between batches and avoid overcrowding the pot.
- Underbrowned outside, raw inside? That’s often caused by oil that’s too hot on the surface or by tenders that are very thick. Maintain 350°F and consider pounding thicker pieces slightly to even thickness before brining.
- Make it spicier: Increase the sriracha in the buttermilk or add cayenne pepper to the flour mix for a stronger kick.
- Make it milder: Reduce the sriracha or omit it from the buttermilk for a gentler tang while keeping the crisp crust.
- Storage: Store leftovers in an airtight container in the refrigerator for up to 3 days. Re-crisp in a 425°F oven for 8–10 minutes or until heated through.
Why the ingredients matter
Each ingredient plays a specific role. Buttermilk tenderizes and imparts a subtle tang. Sriracha adds depth without overwhelming. The combination of flour and cornstarch produces an enviable crunch, while baking soda encourages a pleasing color and texture. Kosher salt and cracked black pepper form the seasoning backbone, and smoked paprika gives a hint of warmth and smokiness. Eggs act as the binding layer between the two flour coatings, keeping the crust intact as the tenders fry.
Final thoughts
These Chicken Tenders are the kind of recipe that becomes a family favorite: straightforward to prepare, reliably delicious, and endlessly adaptable. Use the double-dredge technique for maximum crunch, keep an eye on oil temperature, and don’t skip the buttermilk soak. Whether you’re serving them for a cozy dinner, a weekend cookout, or an easy party platter, they’re guaranteed to disappear fast.
Happy cooking—and enjoy those perfectly crispy, tender bites!
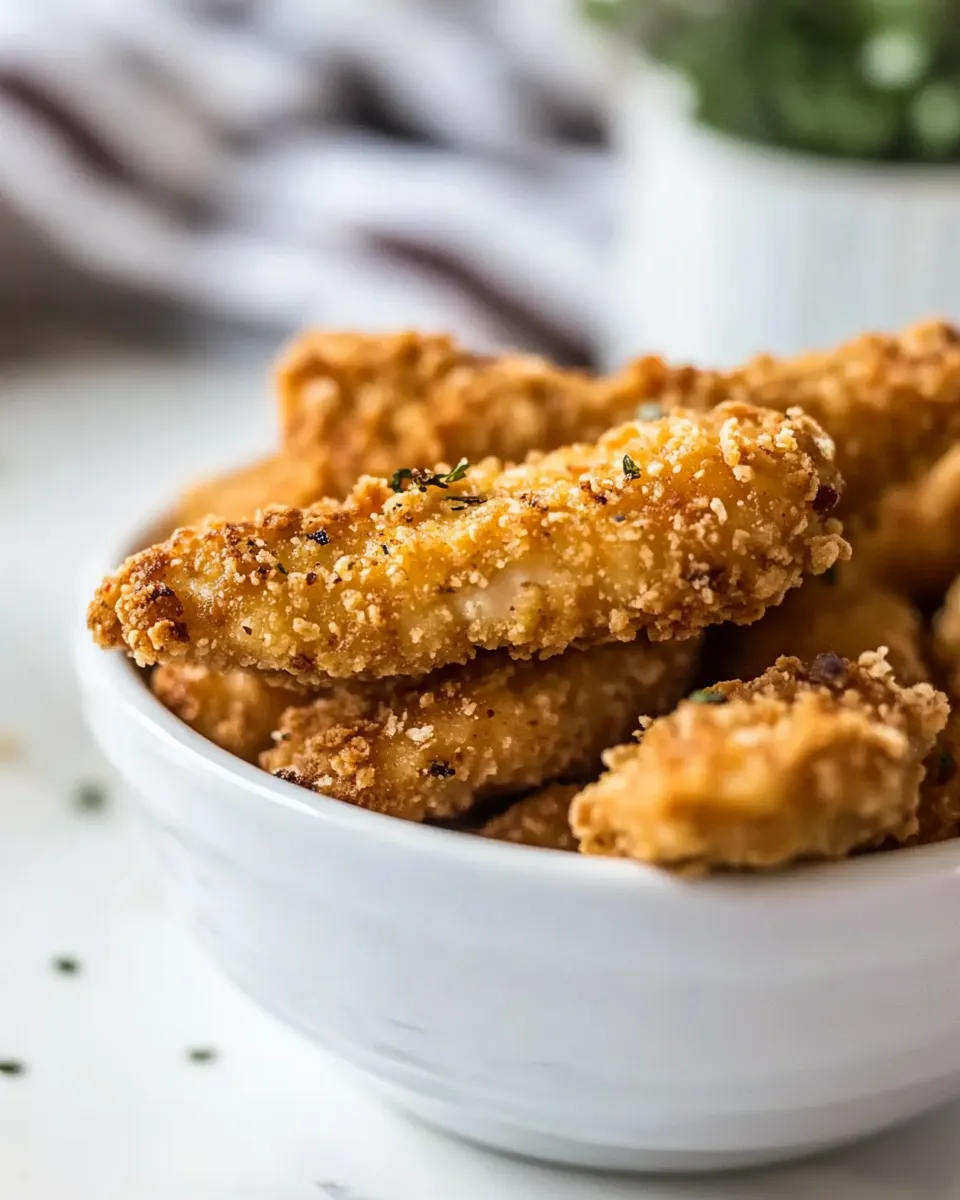
Chicken Tenders
Equipment
- gallon-size resealable bag or 1-gallon container with lid
- Small Mixing Bowl
- large shallow mixing bowl
- medium shallow mixing bowl
- 5–6 quart Dutch oven or deep heavy pot
- candy or deep-fry thermometer
- Tongs
- paper towels and baking dish or platter
Ingredients
- 2 cups buttermilk
- 1 teaspoon sriracha
- 2 pounds boneless skinless chicken breast tenders or 4 medium boneless skinless chicken breasts sliced into tenders
- 2 cups all-purpose flour spooned and leveled
- 2 tablespoons cornstarch
- 2 teaspoons kosher salt
- 1 teaspoon cracked black pepper
- 1 teaspoon onion powder
- 1/2 teaspoon baking soda
- 1/2 teaspoon smoked paprika
- 4 large eggs room temperature, beaten
- 6 cups vegetable oil for frying
- dipping sauce of your choice optional
Instructions
- In a small bowl, whisk together 2 cups buttermilk and 1 teaspoon sriracha until smooth.
- Place chicken tenders (about 2 lb) in a gallon-size resealable bag or 1‑gallon container and pour in the buttermilk mixture to coat. Seal and refrigerate for 1 hour.
- In a large shallow bowl, whisk together 2 cups all-purpose flour, 2 tablespoons cornstarch, 2 teaspoons kosher salt, 1 teaspoon cracked black pepper, 1 teaspoon onion powder, 1/2 teaspoon baking soda, and 1/2 teaspoon smoked paprika.
- In a medium shallow bowl, beat 4 large eggs with a fork until combined.
- Pour about 6 cups vegetable oil into a 5–6 quart Dutch oven and heat over medium-high until it reaches 350°F on a thermometer.
- Line a baking dish or platter with paper towels for draining the cooked tenders.
- Using tongs, remove one marinated tender at a time, dredge in the flour mixture, then dip in the beaten eggs, and dredge again in the flour mixture to fully coat. Repeat with remaining tenders and discard the used marinade.
- Carefully add 3–4 tenders to the hot oil without crowding and fry for 4–5 minutes, turning if needed, until golden brown and cooked through.
- Transfer cooked tenders to the paper towel–lined dish to drain. Continue frying remaining tenders, keeping an eye on oil temperature and adjusting heat to maintain 350°F.
- Serve the chicken tenders hot with your favorite dipping sauce or white gravy.
Notes
- Use a thermometer to keep oil at 350°F for best results.
- Do not reuse the buttermilk marinade.
- Fry in batches to avoid crowding the pot.
- Drain cooked tenders on paper towels before serving.