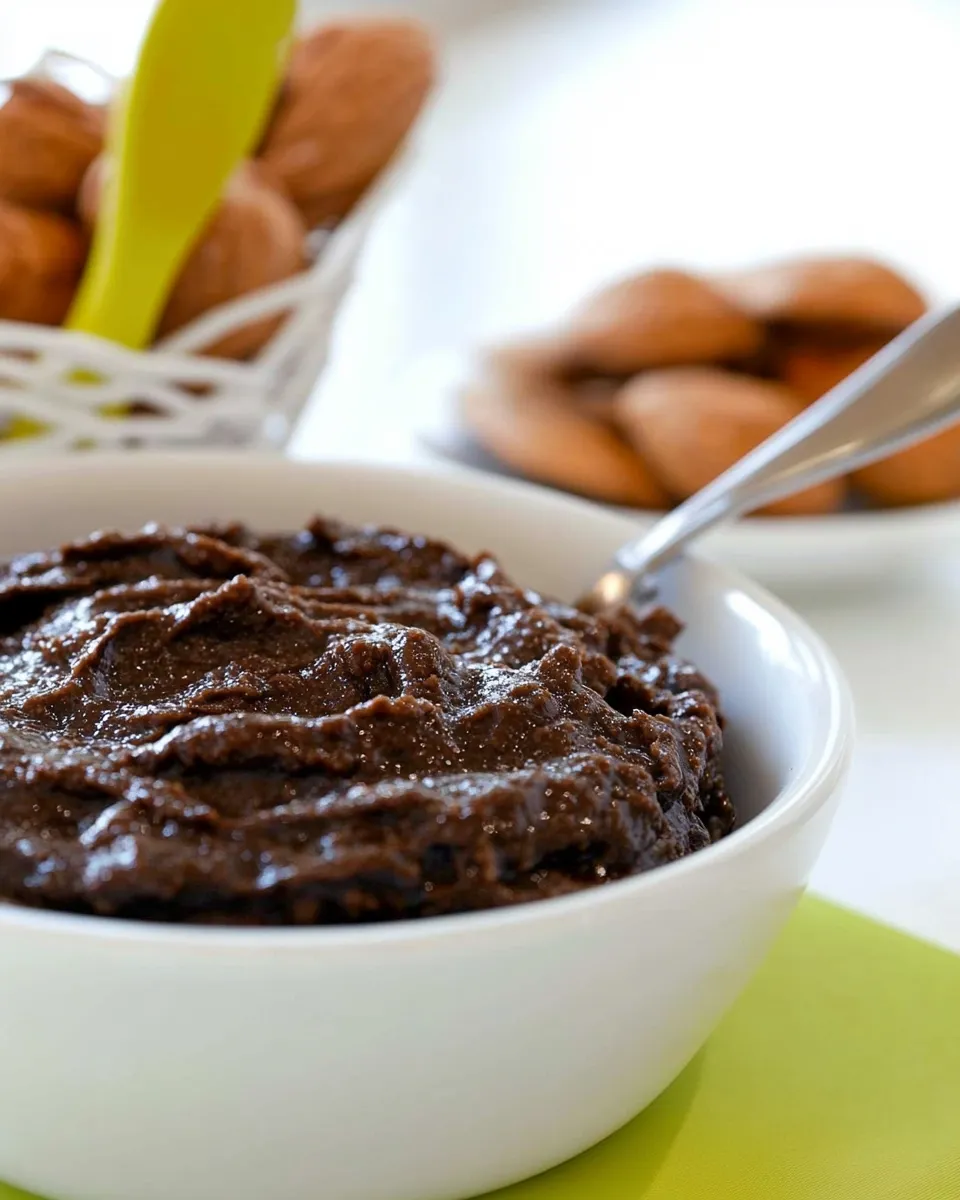
I make this Chocolate-Hazelnut Spread when I want something honest and chocolatey without the cloying sweetness of commercial spreads. It’s built from roasted cocoa nibs and a whisper of hazelnut oil—simple ingredients that pack a lot of flavor. The result is a spread with real chocolate crunch and a toasty, nutty finish.
There’s no tempering, no long cooking. The technique leans on toasting and a short grind so you keep texture and flavor front and center. It’s perfect on warm toast, stirred into oatmeal, or dolloped on fruit. Small batch, fast payoff.
I’ll walk you through the precise steps, the gear that makes the job easier, and how to avoid the few pitfalls this recipe presents. If you want a lighter version or allergy-friendly swaps, I include workable options so you can adapt without losing character.
The Essentials

This recipe gets its personality from three things: correctly toasted cocoa nibs, the right amount of coarse sugar for contrast, and minimal hazelnut oil to bring everything together. Keep the process short and controlled—heat the nibs just long enough to awaken their aroma and stop immediately to avoid bitterness.
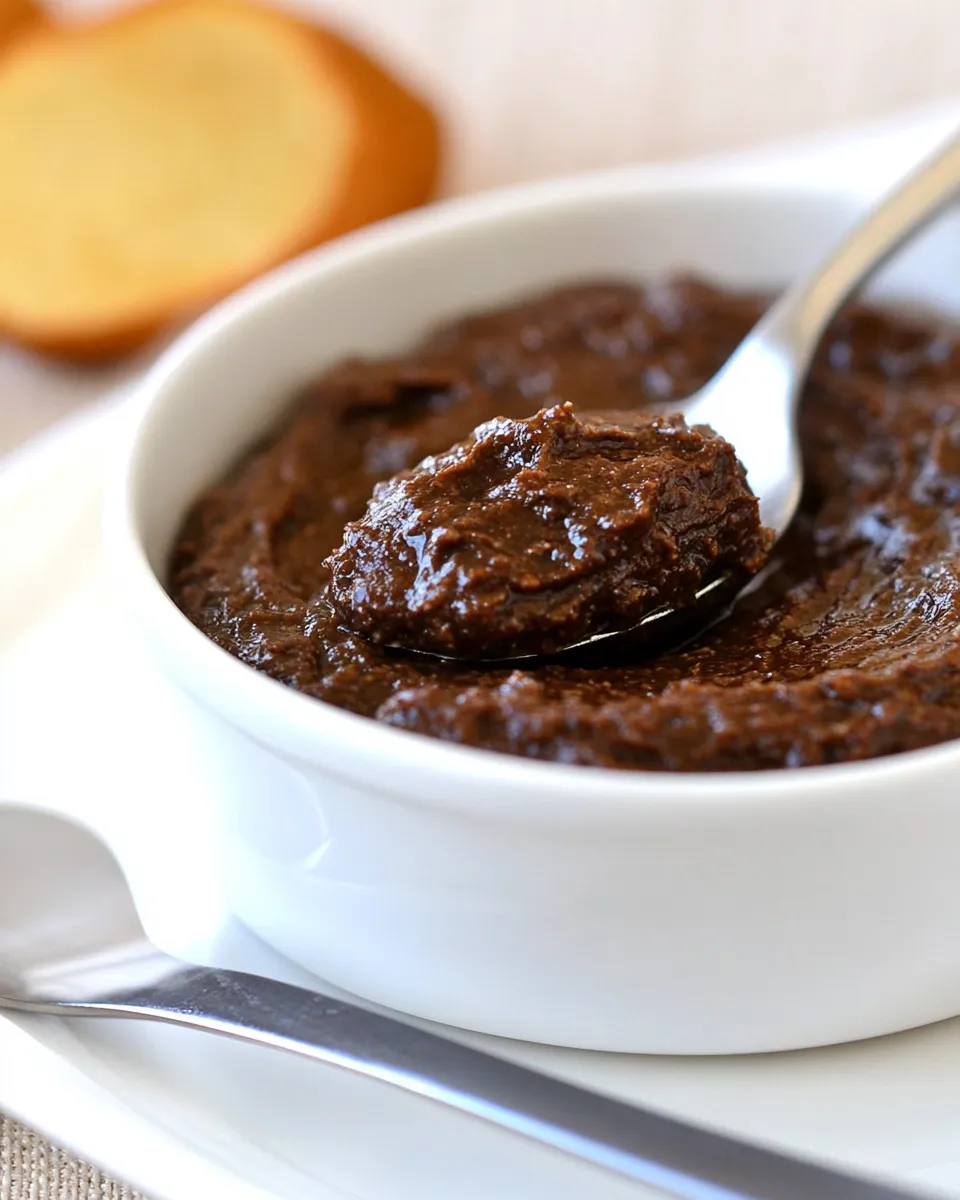
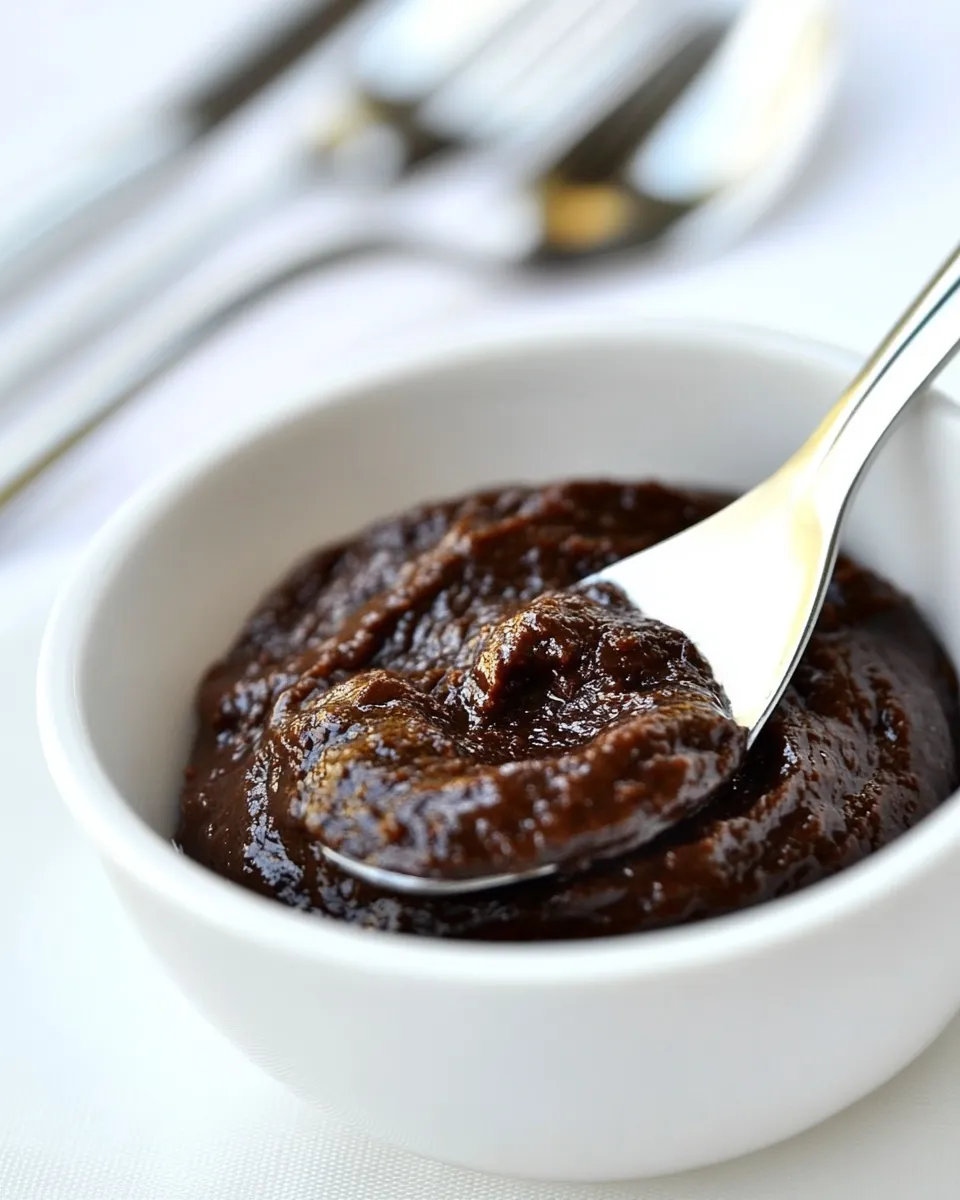
Texture matters. The goal is a shiny paste that remains noticeably crunchy, not a silky nut butter. That balance makes it more interesting on toast and keeps the cocoa nibs’ chocolate presence obvious. Work in short pulses while processing and be ready to add a tiny extra amount of oil only if the mixture refuses to bind.
Ingredients
- 1 cup (120 g) roasted cocoa nibs — the chocolate backbone; use roasted nibs for immediate flavor and toast briefly to deepen aroma.
- 2 tablespoons plus 1 1/2 teaspoons coarse-grained granulated sugar (such as free-flowing cassonade or Hawaiian washed sugar) — coarse sugar gives crunch and a caramel edge; split it so some is toasted with the nibs and some finished in by hand.
- 2 to 3 teaspoons pure hazelnut oil — adds nutty lift and helps bind; start with 2 tsp and add up to 3 tsp only if needed for cohesion.
- flaky sea salt — finish with a few flakes to brighten the chocolate and highlight complexity.
Mastering Chocolate-Hazelnut Spread: How-To
- Place the 1 cup (120 g) roasted cocoa nibs in a dry skillet and toast over low heat, stirring continuously, until the nibs are warm, fragrant, and shiny, about 3 minutes. Remove from heat immediately to avoid burning.
- Transfer the toasted nibs to a blender or mini food processor. Add 2 tablespoons of the coarse-grained granulated sugar, 2 teaspoons of the hazelnut oil, and a pinch of flaky sea salt.
- Grind/process the mixture, stopping every 20–30 seconds to scrape down the sides, until it forms a shiny paste. This will take about 1–3 minutes; the paste should be cohesive but still noticeably crunchy, not a smooth puree. If the mixture stays dry and will not come together, add up to 1 additional teaspoon hazelnut oil (for a total of 3 teaspoons) and continue processing until it holds together.
- Transfer the paste to a bowl and stir in the remaining 1 1/2 teaspoons granulated sugar by hand until evenly distributed.
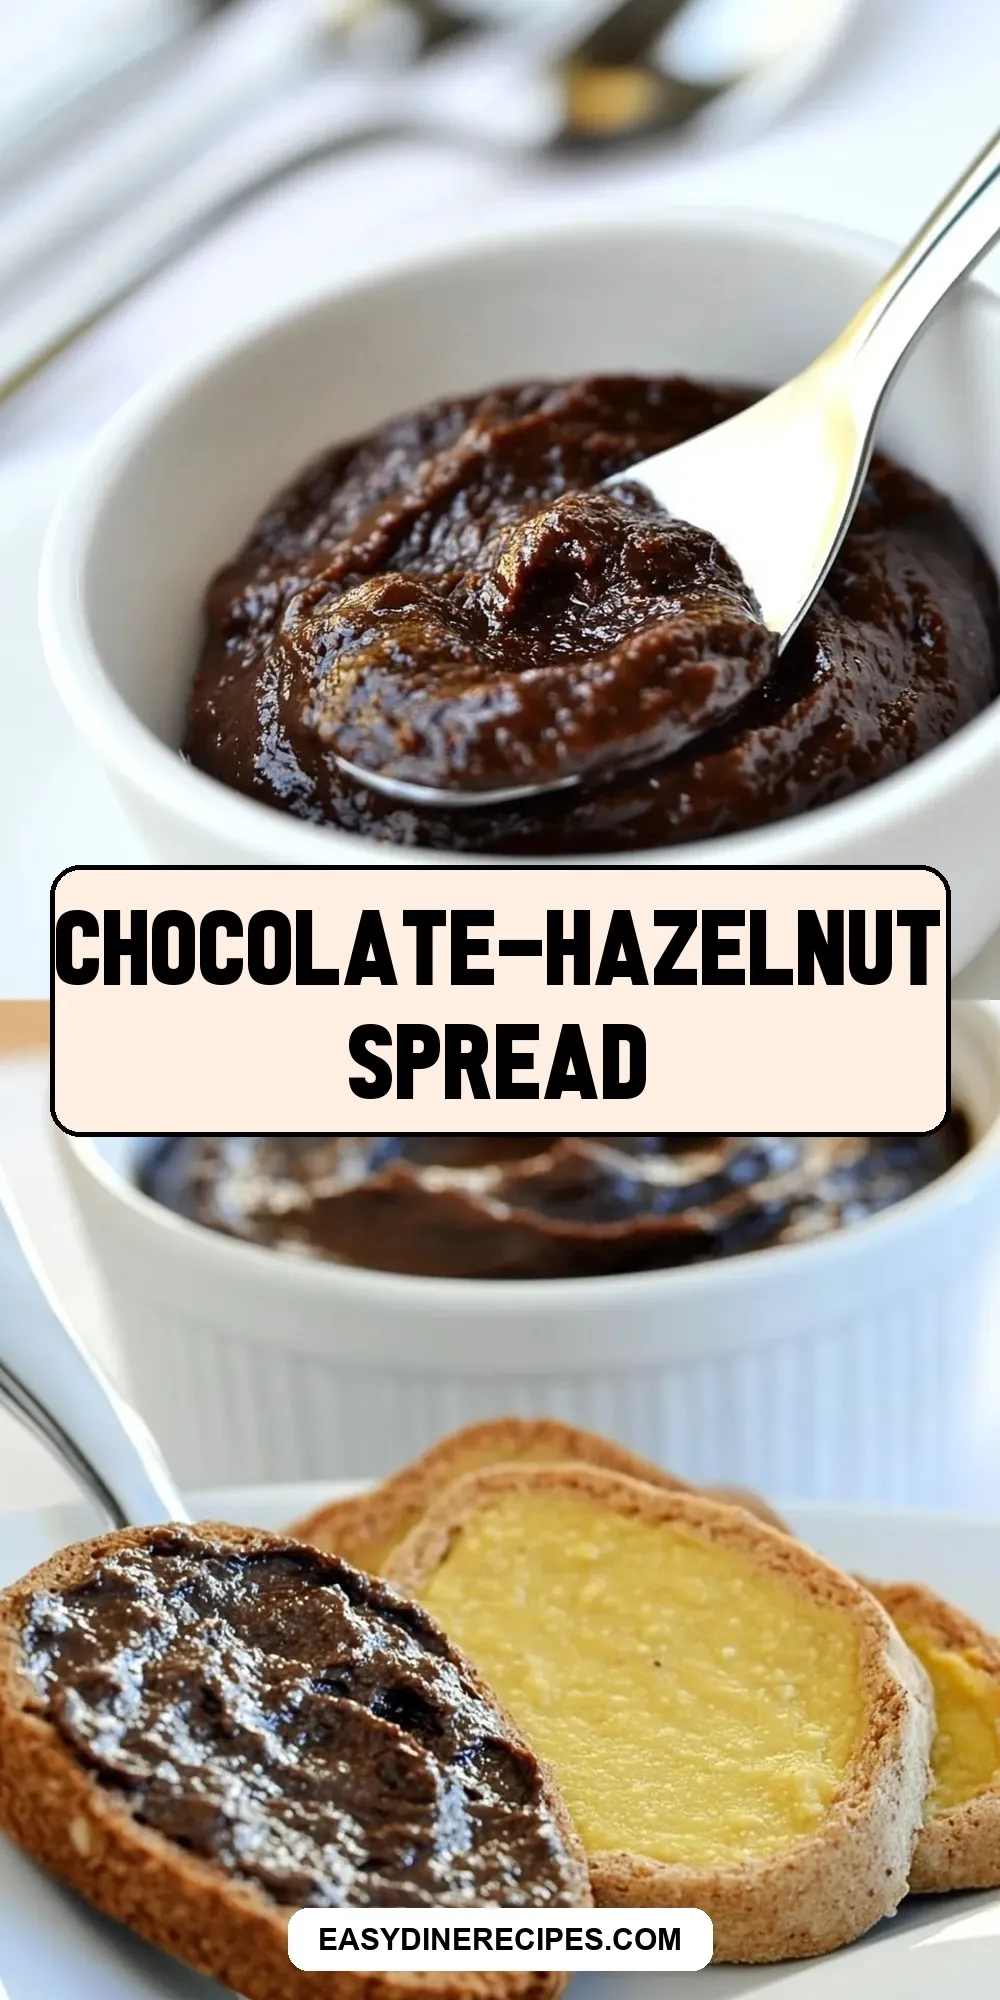
- Spread the chocolate-hazelnut mixture on warm toast and sprinkle with a few flakes of flaky sea salt to finish.
Why You’ll Love This Recipe
This spread delivers chocolate intensity without overwhelming sweetness. The roasted nibs give clear cocoa notes—bitter, nutty, slightly smoky—while that coarse sugar gives fleeting pockets of crunch and caramel flavor. It’s not a clone of store-bought spreads; it’s more direct, more chocolate-first, and far less sweet.
It’s quick. You can have it ready in under ten minutes from start to finish if your nibs are pre-roasted. It’s also forgiving: small changes in processing time change texture only slightly. If you prefer a chunkier feel, stop earlier. Want a looser spread for drizzling? Add the final teaspoon of oil and pulse longer.
Finally, it’s versatile. Use it as a snack topping, stirred into yogurt, or spooned over baked apples. It elevates simple breakfasts and makes an accessible, very small-batch gift.
Allergy-Friendly Substitutes
If hazelnut oil is a problem, you can substitute a neutral oil with a gentle toasted note, but be aware that will change the flavor profile. Here are options framed around keeping the recipe intact as much as possible:
- Neutral oil — light olive oil or avocado oil can replace hazelnut oil in texture, but they won’t add the nutty aromatics; use the minimum 2 teaspoons and taste before adding more.
- Nut-free approach — omit hazelnut oil entirely and add 1 teaspoon neutral oil only if needed to bind; the spread will be less round but still chocolate-forward.
- Sensitivity to caffeine/theobromine — cocoa nibs are concentrated chocolate. There’s no direct substitute that keeps the same character; using cacao nib alternatives alters the recipe significantly, so I don’t recommend swapping them if you need to avoid stimulants.
What’s in the Gear List
You don’t need a lot of specialized equipment, but a few tools make the process smooth and predictable:
- Dry skillet — for toasting the cocoa nibs evenly without oil.
- Blender or mini food processor — the motorized tool that breaks down the nibs into a paste; a mini processor works best for small batches.
- Heatproof spatula — to scrape the sides and transfer the paste cleanly.
- Small bowl — to finish and fold in the remaining sugar and salt.
Learn from These Mistakes
Several small mistakes can knock this recipe off course. I’ve made them, so you don’t have to.
First, overheating the nibs. Cocoa nibs can turn bitter fast. Keep the heat low, stir constantly, and listen to the change in aroma. When they get warm and glossy, stop. That three-minute target is a guideline—trust smell and shimmer over the clock.
Second, over-processing. If you keep running the blender until it’s perfectly smooth, you lose the signature crunch and the spread becomes a puree. Pulse, scrape, pulse. Stop when the paste is cohesive but still offers texture.
Third, adding too much oil. It’s tempting to add more oil to speed up blending. Start with 2 teaspoons and add the extra teaspoon only if the mixture refuses to come together. Too much oil makes the spread thin and flabby; too little keeps it crumbly but that’s fixable with the sanctioned extra teaspoon.
How to Make It Lighter
If you want a spread with less perceived richness or fewer calories per tablespoon, here are practical approaches that preserve flavor:
- Use 2 teaspoons hazelnut oil only and resist adding the optional third teaspoon. The spread will be thicker and feel lighter because you’re not increasing fat content.
- Stir in a spoonful of plain low-fat yogurt when serving, not during processing. It lightens the mouthfeel without changing storage or shelf life significantly; use immediately.
- Serve a thinner smear on toast and bulk it up with sliced fruit or a smear of ricotta so you use less spread per bite.
Author’s Commentary
I started making a version of this because I wanted the chocolate edge of nibs without a heavy nut paste base. Cocoa nibs give that clean, slightly bitter chocolate flavor that stands up to the restrained sugar and the faint hazelnut oil. The technique—toast, pulse, finish—keeps things fast and very hands-on, which I enjoy after busy days.
I also like that this recipe highlights a small-batch mindset. Commercial spreads are engineered for stretch and sweetness; this is designed for presence. If you love big chocolate flavor and appreciate texture, you’ll find it satisfying in a different way.
Best Ways to Store
Because the spread contains no preservatives and only a small amount of oil, store it in a clean, airtight jar in the refrigerator. It will keep for up to two weeks. Chill firms the texture; bring it to room temperature for 15–20 minutes before serving to soften slightly.
If you plan to keep it longer, it freezes well in small containers for up to 3 months. Thaw overnight in the refrigerator and bring to room temperature before using. Do not double or triple batches in one vessel; small jars cool and thaw more predictably.
Troubleshooting Q&A
Q: My paste never came together—what went wrong?
A: It’s usually a sign you need a touch more oil or longer processing. Add up to the extra 1 teaspoon hazelnut oil (for a total of 3 teaspoons) as the recipe allows, and continue pulsing. Also make sure you’re using a machine that can handle gritty nibs; a weak motor may struggle.
Q: The nibs tasted bitter after toasting.
A: That happens if they overheat. Toast over low heat, stir continuously, and remove them the moment they smell warm and become glossy. A quick transfer to a cool bowl stops residual cooking.
Q: It’s too gritty for me—can I make it smooth?
A: Yes, but you’ll need to process longer and add a bit more oil. Expect a loss of the crunchy character that defines this spread. If you want smoothness without adding oil, try a higher-powered blender and extra processing time, but proceed slowly to avoid warming the mixture too much.
Q: Can I use raw cocoa nibs?
A: You can, but the flavor will be less developed. The toasting step is minimal and designed to coax out aroma and roundness from roasted nibs. If you start with raw nibs, toast them carefully as directed to develop flavor.
The Last Word
This Chocolate-Hazelnut Spread is straightforward and honest. It’s not a copy of anything on the grocery shelf; it’s a small-batch, chocolate-forward spread that celebrates roasted nibs and a touch of hazelnut oil. Keep the process short, respect the toasting step, and aim for a paste that’s cohesive but still has crunch. Spread it on warm toast, finish with a few flakes of sea salt, and enjoy a pure chocolate moment that feels homemade in the best way.
Chocolate-Hazelnut Spread
Equipment
- Dry skillet
- blender or mini food processor
- Bowl
Ingredients
Ingredients
- 1 cup 120 groasted cocoa nibs
- 2 tablespoonsplus 1 1/2 teaspoons coarse-grained granulated sugar (such asfree-flowing cassonadeor Hawaiian washed sugar)
- 2 to 3 teaspoonspure hazelnut oil
- flaky sea salt
Instructions
Instructions
- Place the 1 cup (120 g) roasted cocoa nibs in a dry skillet and toast over low heat, stirring continuously, until the nibs are warm, fragrant, and shiny, about 3 minutes. Remove from heat immediately to avoid burning.
- Transfer the toasted nibs to a blender or mini food processor. Add 2 tablespoons of the coarse-grained granulated sugar, 2 teaspoons of the hazelnut oil, and a pinch of flaky sea salt.
- Grind/process the mixture, stopping every 20–30 seconds to scrape down the sides, until it forms a shiny paste. This will take about 1–3 minutes; the paste should be cohesive but still noticeably crunchy, not a smooth puree. If the mixture stays dry and will not come together, add up to 1 additional teaspoon hazelnut oil (for a total of 3 teaspoons) and continue processing until it holds together.
- Transfer the paste to a bowl and stir in the remaining 1 1/2 teaspoons granulated sugar by hand until evenly distributed.
- Spread the chocolate-hazelnut mixture on warm toast and sprinkle with a few flakes of flaky sea salt to finish.