I grew up thinking green beans were something you bought at the market and vaguely hoped would be good with dinner. Turns out, a couple of pantry cans plus a tiny bit of technique gives you a side dish that’s bright, garlicky, and satisfying in minutes. This version leans on butter and Parmesan for richness while the garlic gives it lift — simple, reliable, and exactly the sort of weeknight win I turn to again and again.
There’s no long prep, no soaking, and no last-minute panic about what to serve with roast chicken or a quick pork chop. If you want crisp-tender beans with a savory finish, this recipe is what I reach for. Keep it as written the first time; once you’re comfortable you can nudge the garlic, swap the cheese, or add a splash of lemon to make it your own.
The Essentials
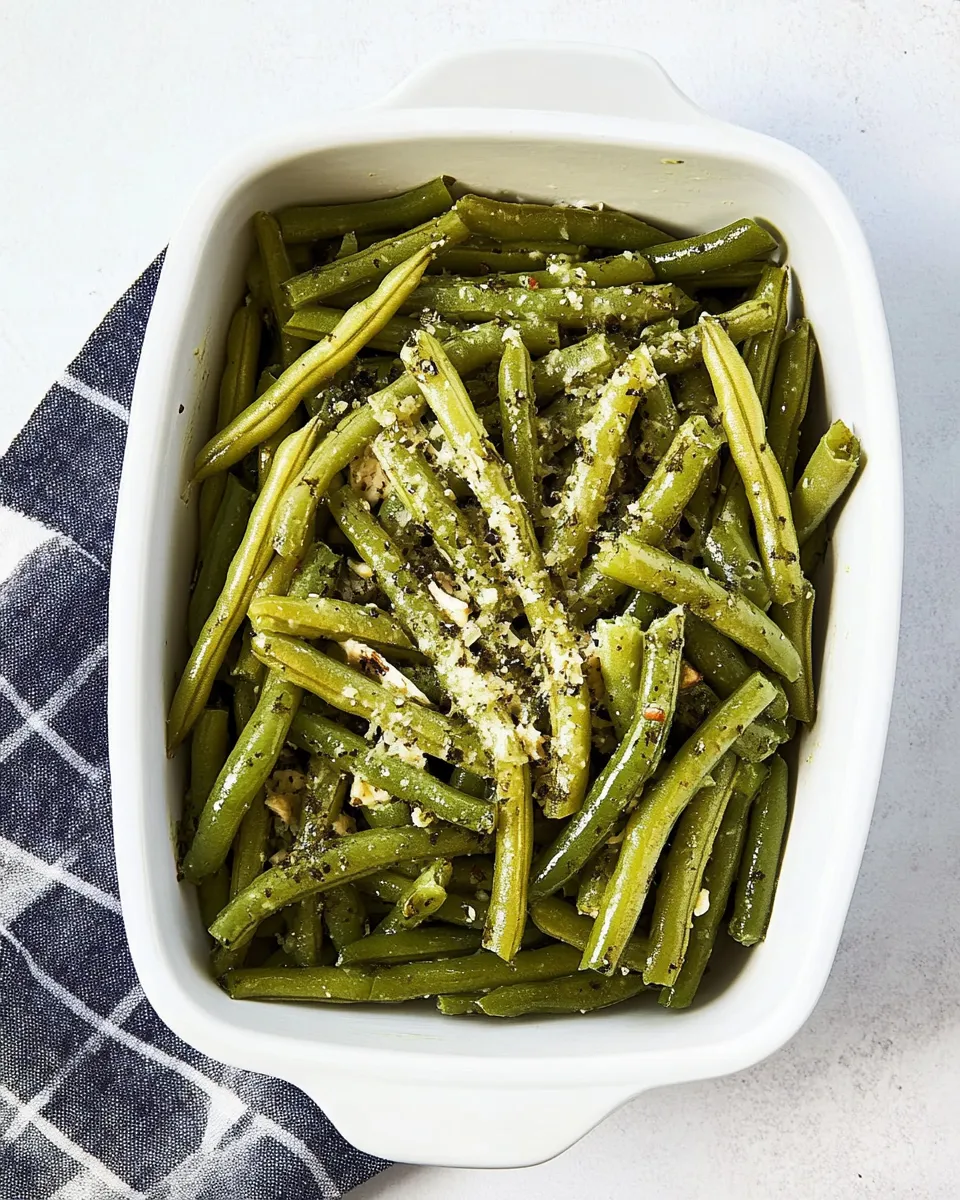
Why this works: canned green beans are already cooked and consistently tender, so the job is to warm them through without turning them to mush while building flavor. A bit of butter gives silkiness, olive oil protects the butter at medium heat, and garlic infuses the pan. A final shower of Parmesan adds salt, umami, and a hint of nuttiness.
Timing is short — plan for roughly 10–12 minutes from open-can to table. You don’t need stellar knife skills, and the equipment list is basic: a skillet, a knife, and a spatula. Keep salt and pepper handy for finishing, and consider a fresh lemon or red pepper flakes on standby if you like to tweak flavors.
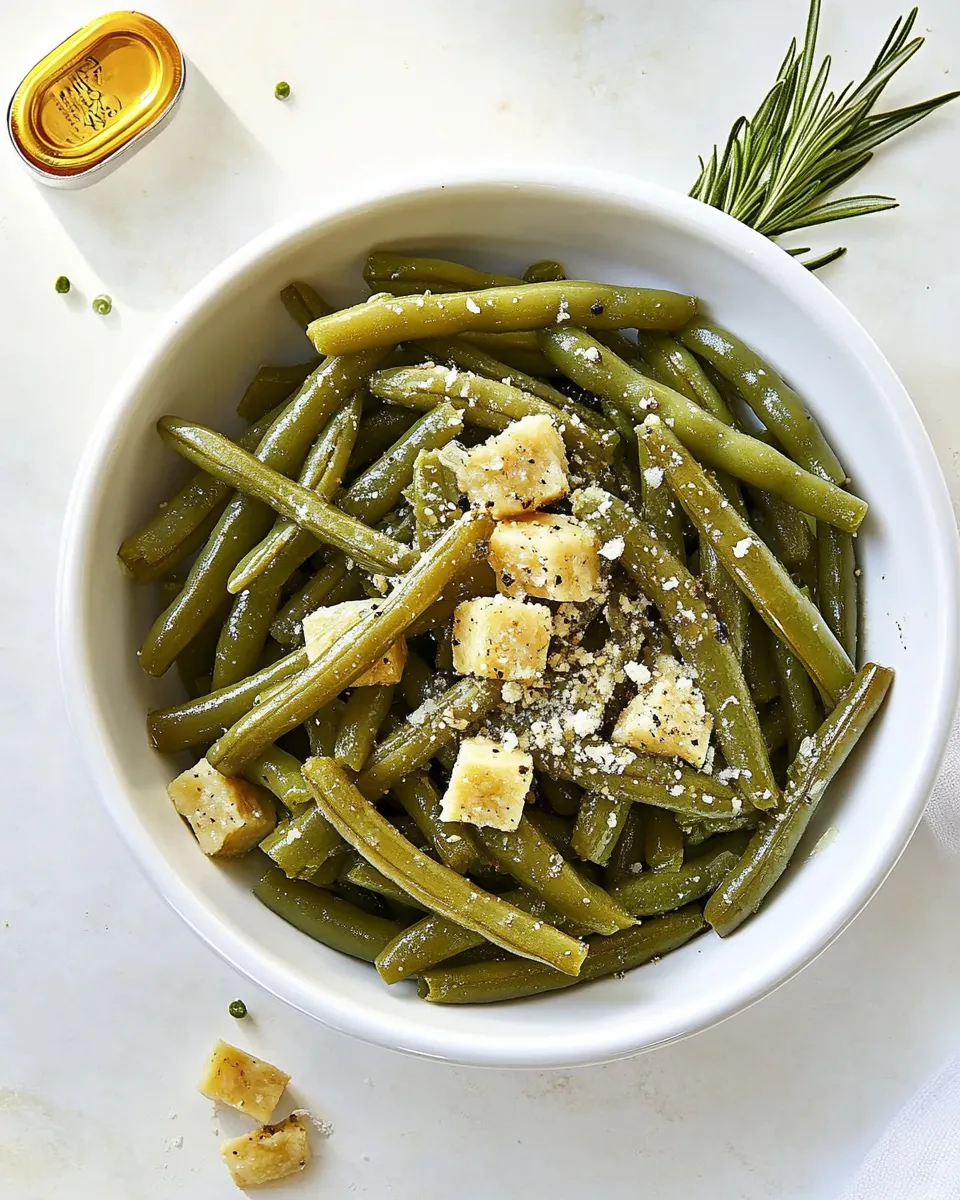
Ingredients
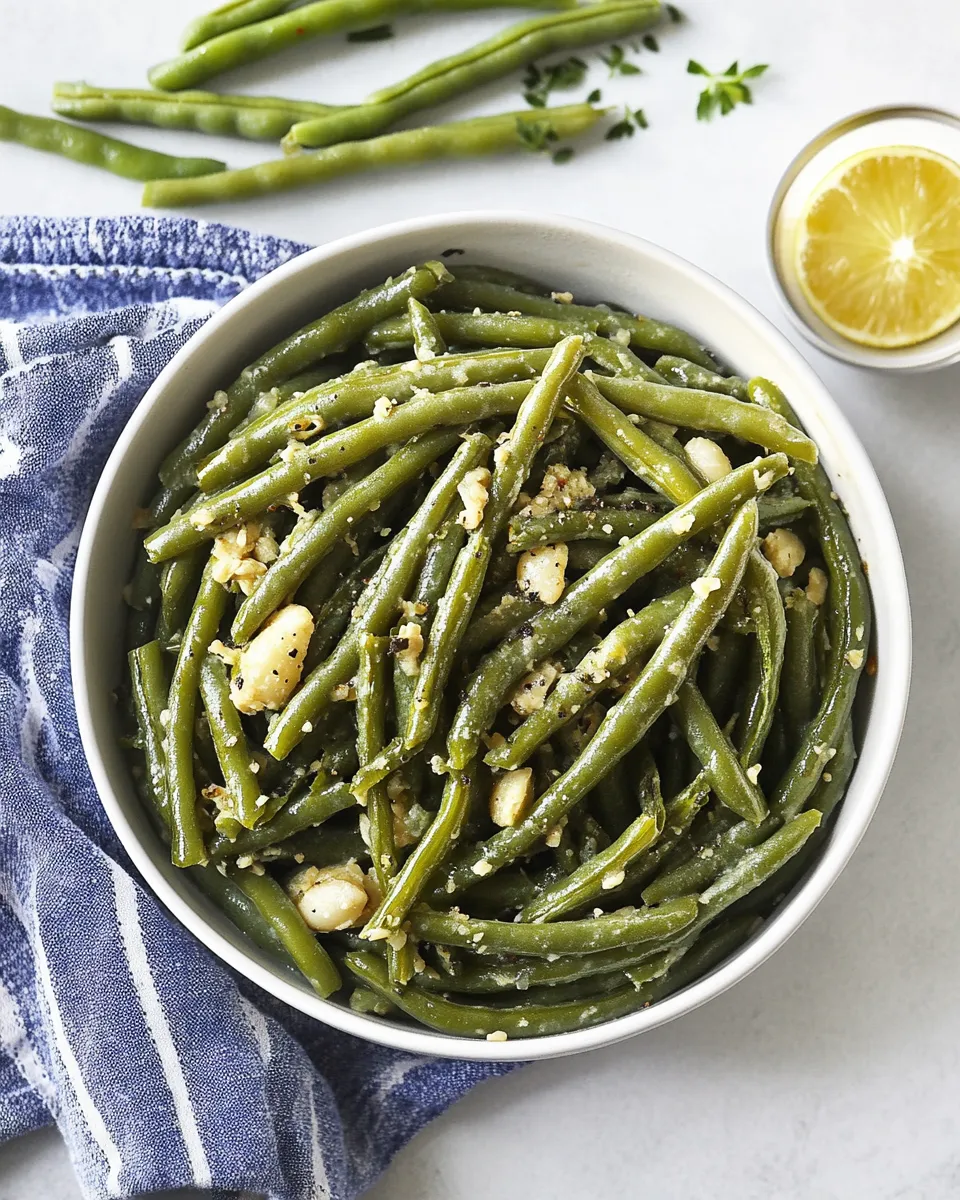
- 2 (14.5-ounce) cans green beans, drained — Canned beans are the base: already cooked and consistent in texture; draining well prevents watery results.
- 1 tablespoon butter — Adds richness and helps the garlic flavor carry; butter also gives the beans a glossy finish.
- 2 teaspoons olive oil — Raises the smoke point and keeps the butter from browning too quickly while carrying garlic flavor.
- 4 cloves garlic, thinly sliced — The aromatic backbone; slicing (rather than mincing) gives brief bursts of garlicky sweetness without overpowering.
- 1/3 cup Parmesan cheese, shredded — Finishing cheese that brings salt, umami, and a touch of creaminess when tossed with the hot beans.
- Salt and pepper, to taste — Simple seasonings; add gradually and taste before serving.
Mastering Canned Green Beans Recipe: How-To
- Open and drain the 2 (14.5-ounce) cans of green beans; drain well (you may rinse and drain again if desired).
- Heat a large skillet over medium heat. Add 1 tablespoon butter and 2 teaspoons olive oil and heat until the butter is melted.
- Add 4 cloves thinly sliced garlic to the skillet and sauté, stirring, about 1 minute, until fragrant and just beginning to soften (do not let it brown).
- Add the drained green beans to the skillet, season with salt and pepper to taste, and toss to coat with the garlic-butter-oil.
- Cook, stirring or tossing occasionally, until the beans are heated through and slightly tender, about 6–8 minutes.
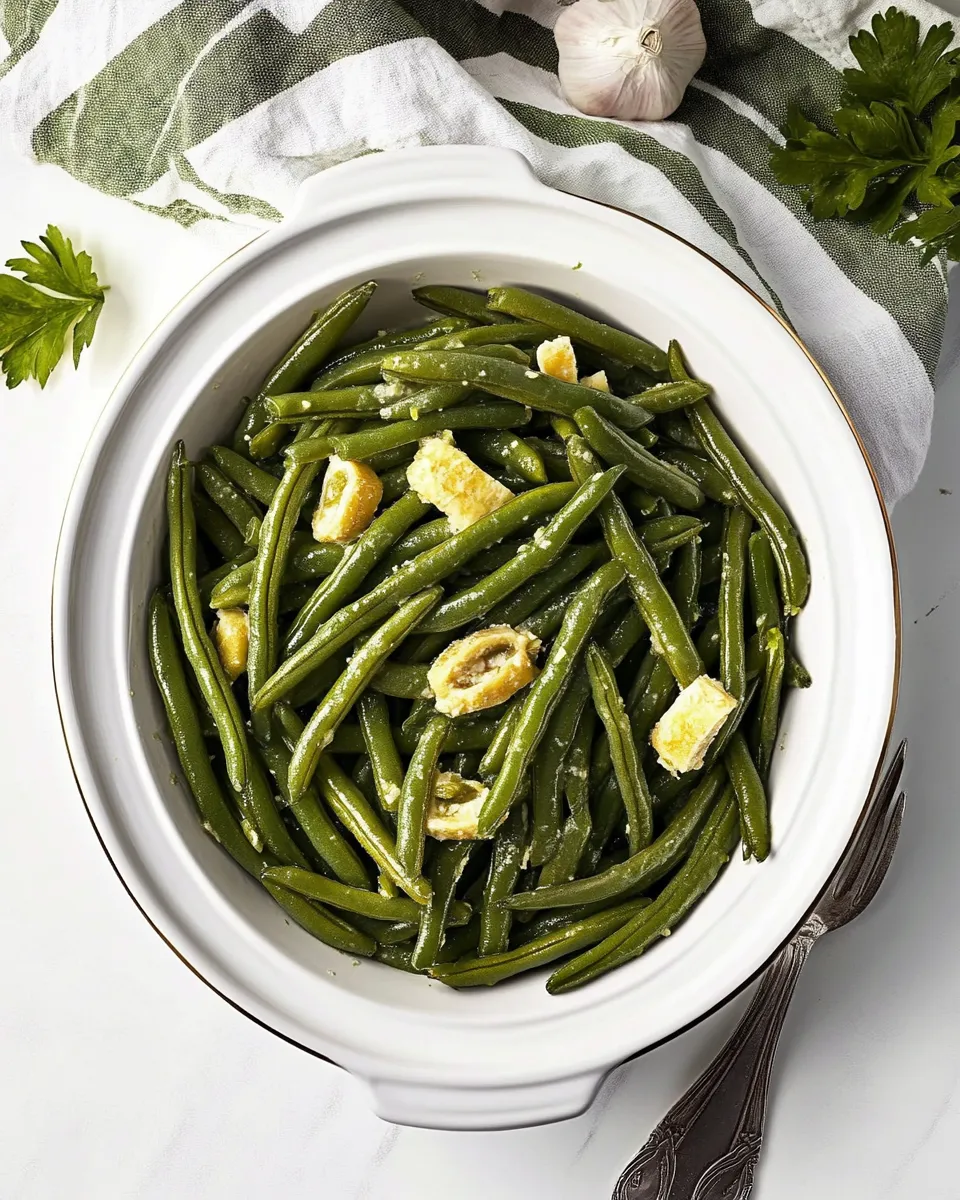
- Remove the skillet from the heat, sprinkle 1/3 cup shredded Parmesan cheese over the beans, gently toss to combine, and serve immediately.
Top Reasons to Make Canned Green Beans Recipe
- Speed: From can to table in about 10–12 minutes. Ideal for nights when you want a flavorful vegetable without fuss.
- Consistency: Canned beans give predictable texture and timing every time, which makes weeknight cooking less stressful.
- Budget-friendly: The pantry-friendly ingredients keep cost and waste low, while delivering a side dish that feels elevated.
- Minimal cleanup: One skillet, one cutting board, and you’re done — great for small kitchens or busy evenings.
Swap Guide
Want to change the profile without straying from the original method? Here are practical swaps that keep the technique the same:
- Butter: Use ghee for a slightly nuttier flavor and higher heat tolerance, or swap half the butter for extra olive oil if you want less dairy richness.
- Parmesan: Substitute with Pecorino for a sharper tang, or skip it and finish with a squeeze of lemon and a drizzle of extra-virgin olive oil for a fresher finish.
- Garlic form: If you prefer a milder garlic suggestion, use garlic powder sprinkled with the salt. If you love big garlic hits, mince instead of slice, but watch closely to avoid browning.
- Beans: Fresh or frozen green beans can be used — blanch or steam them until just tender before finishing in the skillet; cooking time will vary.
Essential Tools for Success
- Large skillet — Gives enough surface area for the beans to heat evenly and for the garlic to flavor the oil.
- Can opener — A reliable one makes draining and opening uncomplicated.
- Knife and cutting board — For slicing the garlic thinly; thin slices soften quickly and release aroma without burning.
- Spatula or tongs — For tossing and stirring so the beans heat through without breaking apart.
- Measuring spoons and cup — To keep the butter, oil, and cheese proportions consistent.
What Not to Do
- Don’t overcrowd the pan — Even though the beans are cooked, crowding can trap steam and make them soggy instead of slightly tender.
- Don’t let the garlic brown — Burned garlic tastes bitter; remove the pan from heat if the slices start to darken unexpectedly.
- Don’t skip draining properly — Excess liquid from the cans will dilute the butter and oil, leading to a watery finish and less flavorful beans.
- Don’t add the Parmesan too early — Heat the cheese briefly off the direct heat so it melts delicately without clumping or becoming stringy.
Dietary Swaps & Alternatives
Making this dish fit specific diets is straightforward because the method is flexible.
- Vegan: Replace the butter with extra olive oil or a plant-based butter and omit the Parmesan, or finish with nutritional yeast for a cheesy note.
- Low-sodium: Choose low-sodium canned beans and taste before adding salt; the Parmesan adds a salty element, so you may need less additional salt.
- Low-fat: Use just the olive oil in place of butter and reduce the cheese, or skip it entirely and add a squeeze of lemon for brightness.
- Dairy-free: Swap the Parmesan for a sprinkle of toasted breadcrumbs or omit it and finish with toasted sesame seeds for texture.
Recipe Notes & Chef’s Commentary
Texture
The goal is slightly tender beans — not mushy, not crisp raw. Because canned green beans are already cooked, the 6–8 minute finish in the skillet warms and seasons them while allowing them to pick up a little caramelization at the edges. Stir gently to preserve shape.
Flavor balancing
Butter and Parmesan add umami and body, but you can brighten the dish with acid. A squeeze of lemon or a splash of white wine vinegar right after you remove the pan from heat lifts the flavors and cuts through richness. If you like heat, add a pinch of red pepper flakes when you add the garlic.
Presentation
A scatter of freshly cracked black pepper and a few shavings of Parmesan just before serving make the dish look intentional. If you have fresh herbs on hand, a few snips of parsley or chives add color and freshness without changing the technique.
Storing Tips & Timelines
- Refrigerator: Store leftovers in an airtight container for up to 3–4 days. The texture will soften over time, so reheat gently.
- Freezing: I don’t recommend freezing this finished dish — creaminess and texture degrade with freezing. If you must, expect softer beans after thawing.
- Reheating: Warm on the stovetop over low to medium-low heat with a splash of water or a drizzle of olive oil to loosen any congealed butter. Avoid the microwave if you want to keep texture intact, but if you use it, heat in 30-second bursts and stir.
Top Questions & Answers
- Can I use fresh green beans instead? Yes. Blanch or steam them until just tender, then finish in the skillet using the same butter, oil, and garlic technique. Fresh beans will need a bit more time to cook through than canned.
- Can I skip the Parmesan? Absolutely. Skip it for dairy-free diners, or replace it with a sprinkle of toasted nuts or seeds for crunch and flavor.
- What if my garlic browns? If it browns slightly, remove the pan from heat and add the beans; if it burns, discard the garlic and start the garlic step again — burnt garlic will impart a bitter taste.
- How do I keep the beans from getting mushy? Drain thoroughly and heat over medium, not high. Stirring occasionally and keeping the cooking time to the recommended 6–8 minutes preserves a pleasant texture.
Make It Tonight
This is a true weeknight hero: quick, forgiving, and surprisingly elegant for how little effort it takes. Keep pantry staples like canned green beans and Parmesan on hand and you’ll always have a dependable side dish that pairs with roasted meats, simple pastas, or a grain bowl.
If you’re heading to the store, pick up the ingredients listed above and a fresh lemon if you think you’ll want an optional bright finish. In less than 15 minutes you’ll have a dish that looks and tastes like you put in far more time than you did — and that, for me, is the whole point of a good pantry recipe.
Canned Green Beans Recipe
Equipment
- Large Skillet
Ingredients
Ingredients
- 2 can14.5 ounces each green beansdrained
- 1 tablespoonbutter
- 2 teaspoonsolive oil
- 4 clovesgarlicthinly sliced
- 1/3 cupParmesan cheeseshredded
- Salt and pepper to taste
Instructions
Instructions
- Open and drain the 2 (14.5-ounce) cans of green beans; drain well (you may rinse and drain again if desired).
- Heat a large skillet over medium heat. Add 1 tablespoon butter and 2 teaspoons olive oil and heat until the butter is melted.
- Add 4 cloves thinly sliced garlic to the skillet and sauté, stirring, about 1 minute, until fragrant and just beginning to soften (do not let it brown).
- Add the drained green beans to the skillet, season with salt and pepper to taste, and toss to coat with the garlic-butter-oil.
- Cook, stirring or tossing occasionally, until the beans are heated through and slightly tender, about 6–8 minutes.
- Remove the skillet from the heat, sprinkle 1/3 cup shredded Parmesan cheese over the beans, gently toss to combine, and serve immediately.