Hummus is one of those recipes I reach for when I want something reliable, fast, and universally liked. It’s a pantry-friendly dip that plays well with snacks, weeknight dinners, and party platters. The fewer shortcuts you take with the basics, the better the texture and flavor—especially when you care about creaminess and balance.
In this post I walk you through a straightforward, dependable method that honors traditional ratios and small techniques that make a measurable difference. I’ll cover the ingredients, the exact step-by-step build, troubleshooting for texture and flavor, and a handful of practical variations for holiday spreads. No fluff—just clear, usable guidance so you get a silky hummus every time.
Keep your food processor ready and plan for a little hands-on time if you choose to peel the chickpeas. Small steps—like reserving a few whole chickpeas for garnish and finishing with a steady drizzle of extra virgin olive oil—lift the result from “good” to “crowd-pleasing.”
Ingredient Breakdown

- 3 1/2 cups canned OR soaked and cooked chickpeas/garbanzo beans — the base: drained and rinsed; reserve 15–20 whole chickpeas for garnish.
- 1 tablespoon baking soda — optional; helps loosen skins for ultra-creamy hummus (will be rinsed away if used).
- 1/3 cup tahini paste — provides the nutty, rich backbone and helps emulsify the dip.
- 8 roasted garlic cloves, or more to taste (you may substitute 1-3 fresh garlic cloves if you prefer a stronger sharper flavor) — roasted garlic gives mellow sweetness; fresh garlic gives a sharper bite.
- 1/4 cup fresh lemon juice, or more to taste — brightens the whole mixture and balances richness.
- 1 tablespoon extra virgin olive oil, plus more for garnish — a finishing oil and part of the blended fat for silkiness.
- 3/4 teaspoon cumin — warms the flavor without taking over; adjust as you prefer.
- 1/2 teaspoon salt, or more to taste — essential for bringing out all flavors; always taste and adjust.
- Pinch cayenne pepper — subtle heat that lifts the profile; optional but nice.
- Paprika and fresh minced parsley for garnish — optional; paprika adds color and mild smokiness, parsley adds fresh herb lift.
Build (Classic Hummus) Step by Step
- Drain and rinse the 3 1/2 cups canned OR soaked and cooked chickpeas/garbanzo beans. Reserve 15–20 whole chickpeas for garnish and set them aside.
- If you want an ultra-creamy hummus, peel the chickpeas (optional). To use the baking soda method: place the remaining chickpeas in a skillet, sprinkle with the optional 1 tablespoon baking soda, and stir to coat. Heat over medium, stirring constantly, for 2–3 minutes until the chickpeas are hot and the skins begin to separate.
- Immediately pour the hot chickpeas into a large bowl and immerse them in cold water. Agitate by hand and repeat with 3–4 changes of cold water, removing and discarding the loose skins that float to the surface. Drain the chickpeas and rinse thoroughly to remove any baking soda residue.
- (Alternative to step 2–3) If you prefer not to use baking soda, you can remove skins by gently squeezing each chickpea to slip off the skin. This is slower but works; then proceed with the peeled or unpeeled chickpeas as desired.
- Fit a food processor with the blade attachment. Add the peeled (or unpeeled) chickpeas (excluding the reserved 15–20), 1/3 cup tahini paste, 8 roasted garlic cloves (or 1–3 fresh garlic cloves if you prefer a sharper flavor), 1/4 cup fresh lemon juice, 1 tablespoon extra virgin olive oil, 1/2 teaspoon salt, 3/4 teaspoon cumin, and a pinch of cayenne pepper.
- Process until the mixture is smooth and creamy, stopping to scrape down the sides of the bowl as needed.
- Taste and adjust seasoning: add more salt, lemon juice, or garlic to taste, then process again to incorporate any additions.
- If the hummus is too thick, add lukewarm water a little at a time and process until you reach your desired consistency.
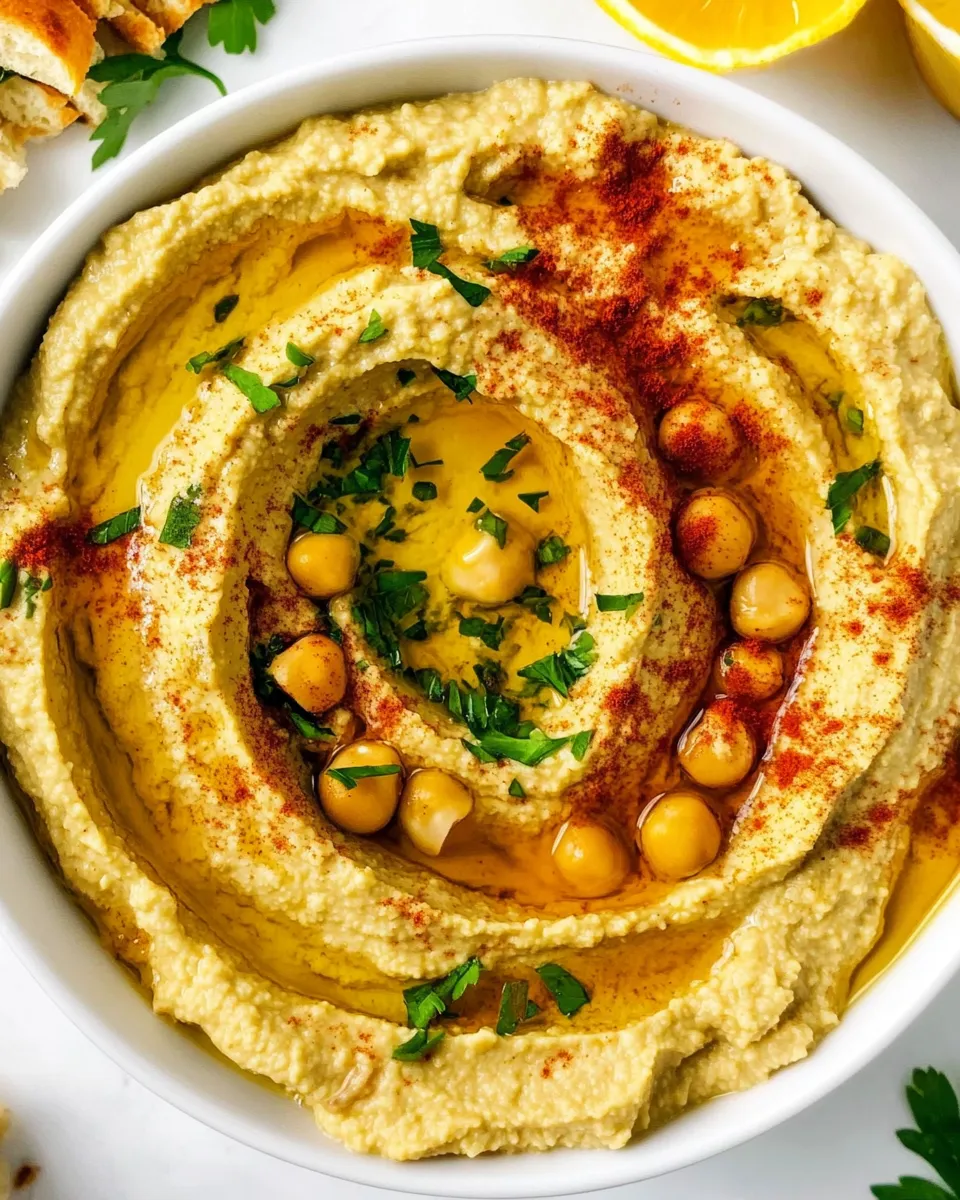
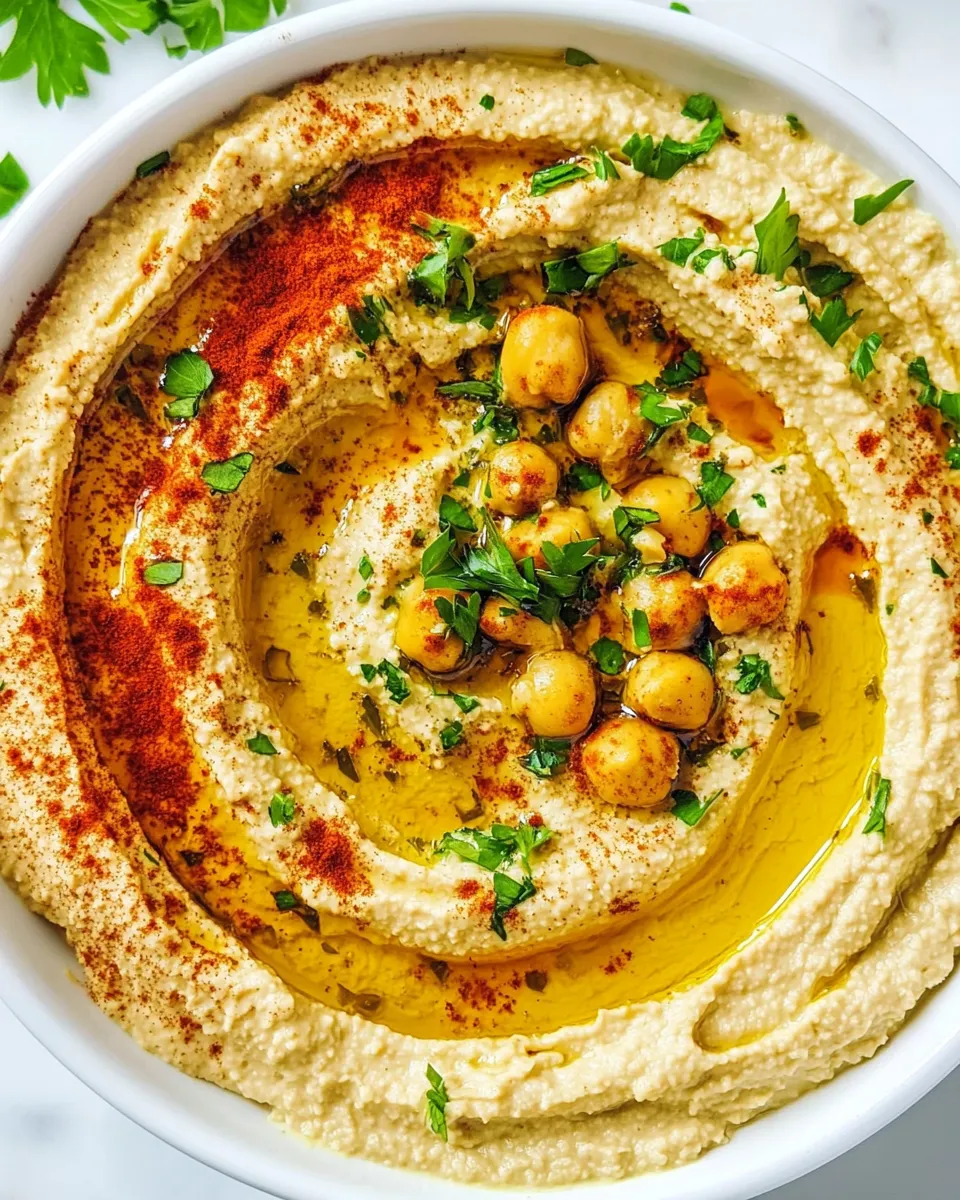
- Transfer the hummus to a shallow bowl, create a well in the center with a spoon, and garnish with the reserved 15–20 chickpeas. Drizzle with additional extra virgin olive oil and sprinkle with paprika and fresh minced parsley if using. Serve.
Why It’s Crowd-Pleasing
Classic hummus hits a lot of universal notes: creamy texture, balanced acidity, and a savory, nutty base. The tahini and lemon establish a gentle tang, while the garlic and cumin give enough character that the dip doesn’t taste one-dimensional. Most people respond to familiar, approachable flavors, and this recipe intentionally leans into them.
There’s also versatility. It works as a dip, a spread, or a component in layered platters. Visually, the simple finish—olive oil, paprika, and a few chickpeas—makes the bowl inviting. Practically, you can scale it up for a party or make a small batch for a weeknight snack.
If You’re Out Of…
If you don’t have canned chickpeas on hand, use your cooked-from-dry chickpeas—the recipe already allows soaked and cooked beans. If you don’t have roasted garlic, the recipe explicitly allows 1–3 fresh garlic cloves for a sharper result; adjust to taste. If you’re missing garnish items like paprika or parsley, the hummus will still taste complete with just olive oil and the reserved chickpeas.
If you’re out of extra virgin olive oil for garnish, use the 1 tablespoon in the blend and finish with none; the texture and flavor will still be fine though less glossy on top. If tahini is missing, note that tahini is core to the classic flavor and texture—consider picking some up or expect a different result without it.
Gear Checklist
- Food processor with blade attachment — the most important tool for smooth hummus.
- Large skillet — for the baking soda method to loosen skins if you choose that route.
- Large bowl with cold water — for shocking chickpeas and removing skins.
- Measuring cups and spoons — the recipe benefits from accurate lemon and tahini amounts.
- Spoon and shallow serving bowl — to create the well and present the hummus attractively.
Troubleshooting Tips
Texture issues
If the hummus is grainy, check these spots: were the chickpeas sufficiently peeled or well-processed? Removing skins (either via baking soda method or by hand) makes a huge difference. If it’s too thick, drizzle lukewarm water in small increments while the processor runs until you reach a creamy, spreadable texture.
Flavor problems
If the hummus tastes flat, add a touch more lemon juice and salt—acid and salt are the final balancing agents. If it’s overly sharp from fresh garlic, a small extra spoonful of tahini or a quick pulse through the processor can tame the bite.
Bitterness from tahini
Tahini can sometimes bring a slight bitterness. Offset that with additional lemon and salt, and blend well to integrate the flavors. Roasted garlic can also help round the profile.
Holiday-Friendly Variations
Keep the base intact and tweak the finishing touches for a festive table. These variations use ingredients already present in the recipe to stay simple and consistent.
- Extra-roasted garlic finish — double the roasted garlic in the blend for a mellow, aromatic hummus that warms a crowd without being harsh.
- Spiced crown — finish with a generous drizzle of olive oil and a heavier dusting of paprika; a sprinkle of extra cayenne at the edge of the bowl adds visual contrast and gentle heat.
- Herb-forward — stir a tablespoon or two of finely minced parsley into the top layer after transferring to the serving bowl for a bright, green finish that signals “holiday” on the platter.
Pro Tips & Notes
- Reserve the 15–20 whole chickpeas for garnish before processing the rest; they make the hummus look deliberate and homemade.
- If you choose the baking soda route, be thorough with the rinsing after skin removal to eliminate any residual baking soda taste.
- Process longer than you think necessary. Modern food processors benefit from sustained runs with periodic scraping; patience here pays off in silkiness.
- Add lukewarm water, not cold, when thinning. Warm water blends more readily and preserves the emulsified texture.
- Taste as you go. Salt and lemon are the two things you’ll likely adjust after the initial process.
Leftovers & Meal Prep

Hummus keeps well in an airtight container in the refrigerator for about 4–5 days. Press a piece of plastic wrap onto the surface to limit browning and keep the top glossy. If it thickens after refrigeration, stir in a little lukewarm water and a small drizzle of olive oil to revive the texture.
For meal prep, portion into small jars for easy snacking or pack as a sandwich spread. The lemony brightness lasts, but if you plan to serve it at a later party, adjust salt and lemon right before serving if needed.
Troubleshooting Q&A
Q: My hummus is gritty—how do I fix it?
A: Process longer and add small amounts of lukewarm water. If you didn’t peel chickpeas and want silkier texture next time, consider the baking soda method or hand-peeling a smaller batch to test the difference.
Q: It tastes bland—what now?
A: Add more salt and lemon juice. These two elements brighten and sharpen the overall profile. Re-process after additions.
Q: The hummus is too runny—how do I thicken it?
A: Stop adding water. You can thicken slightly by adding more tahini in small increments and processing to integrate; be cautious—tahini adds richness and can alter flavor balance.
Wrap-Up
This Classic Hummus method focuses on doing a few simple things very well: clean chickpeas (peel if you want ultra-smooth texture), the right tahini-to-chickpea ratio, bright lemon, and balanced salt. The optional baking soda step is a small extra effort that pays off if your priority is the silkiest hummus you can make at home. Follow the step-by-step build, taste as you go, and use the garnishes to make the bowl look intentional.
Make a batch. Tweak small things—more lemon here, an extra roasted clove there—until it feels like yours. Then invite people over, put out crudités or warm pita, and watch how fast it disappears. Enjoy.
Classic Hummus
Equipment
- Skillet
- Large Bowl
- Food Processor
- Spoon
Ingredients
Ingredients
- 3 1/2 cupscanned OR soaked and cooked chickpeas/garbanzo beans
- 1 tablespoonbaking soda optional - to help skin the chickpeas, then rinsed away - see instructions below
- 1/3 cuptahini paste
- 8 roasted garlic cloves or more to taste (you may substitute 1-3 fresh garlic cloves if you prefer a stronger sharper flavor)
- 1/4 cupfresh lemon juice or more to taste
- 1 tablespoonextra virgin olive oil plus more for garnish
- 3/4 teaspooncumin
- 1/2 teaspoonsalt or more to taste
- Pinchcayenne pepper
- Paprika and fresh minced parsley for garnishoptional
Instructions
Instructions
- Drain and rinse the 3 1/2 cups canned OR soaked and cooked chickpeas/garbanzo beans. Reserve 15–20 whole chickpeas for garnish and set them aside.
- If you want an ultra-creamy hummus, peel the chickpeas (optional). To use the baking soda method: place the remaining chickpeas in a skillet, sprinkle with the optional 1 tablespoon baking soda, and stir to coat. Heat over medium, stirring constantly, for 2–3 minutes until the chickpeas are hot and the skins begin to separate.
- Immediately pour the hot chickpeas into a large bowl and immerse them in cold water. Agitate by hand and repeat with 3–4 changes of cold water, removing and discarding the loose skins that float to the surface. Drain the chickpeas and rinse thoroughly to remove any baking soda residue.
- (Alternative to step 2–3) If you prefer not to use baking soda, you can remove skins by gently squeezing each chickpea to slip off the skin. This is slower but works; then proceed with the peeled or unpeeled chickpeas as desired.
- Fit a food processor with the blade attachment. Add the peeled (or unpeeled) chickpeas (excluding the reserved 15–20), 1/3 cup tahini paste, 8 roasted garlic cloves (or 1–3 fresh garlic cloves if you prefer a sharper flavor), 1/4 cup fresh lemon juice, 1 tablespoon extra virgin olive oil, 1/2 teaspoon salt, 3/4 teaspoon cumin, and a pinch of cayenne pepper.
- Process until the mixture is smooth and creamy, stopping to scrape down the sides of the bowl as needed.
- Taste and adjust seasoning: add more salt, lemon juice, or garlic to taste, then process again to incorporate any additions.
- If the hummus is too thick, add lukewarm water a little at a time and process until you reach your desired consistency.
- Transfer the hummus to a shallow bowl, create a well in the center with a spoon, and garnish with the reserved 15–20 chickpeas. Drizzle with additional extra virgin olive oil and sprinkle with paprika and fresh minced parsley if using. Serve.
Notes
You will also need: food processor