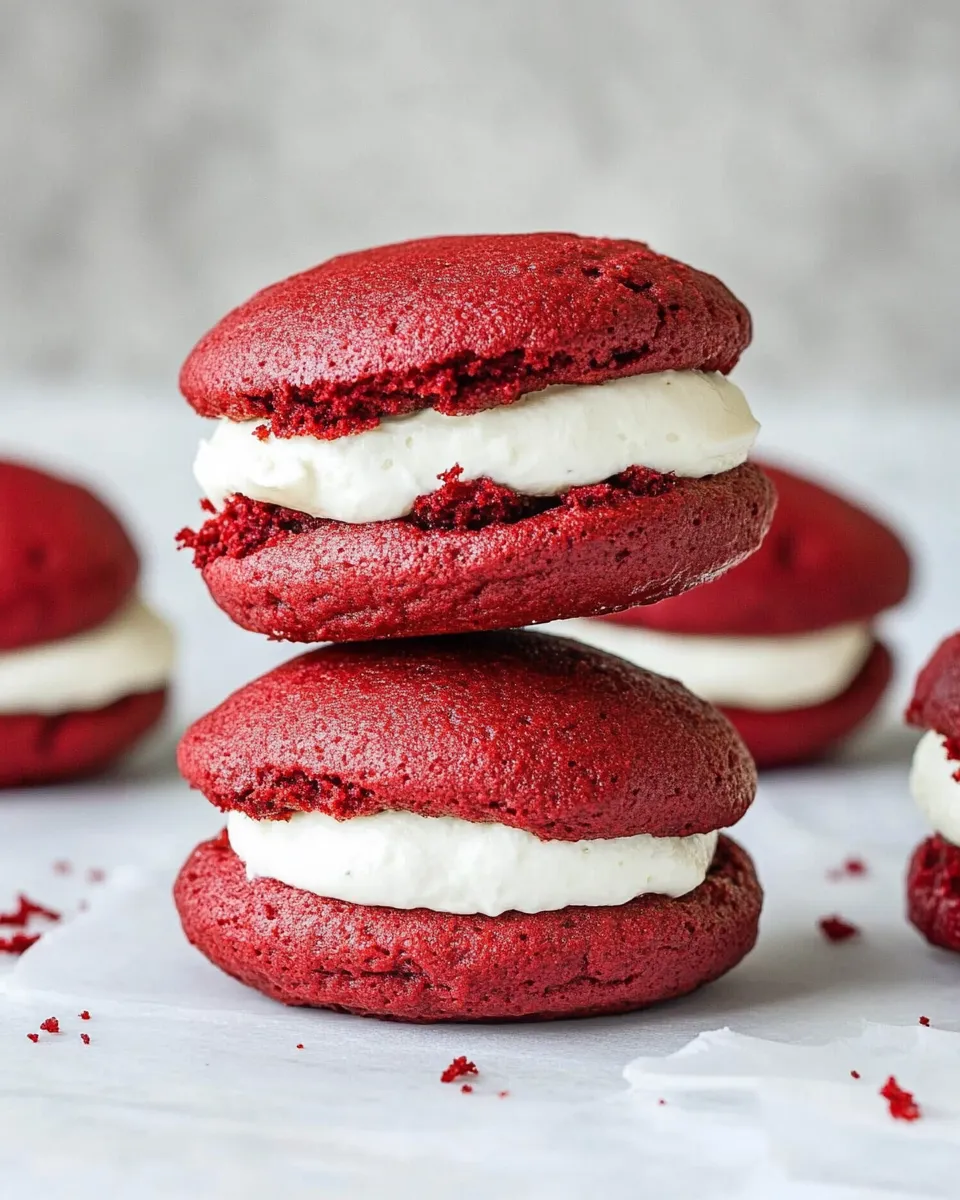
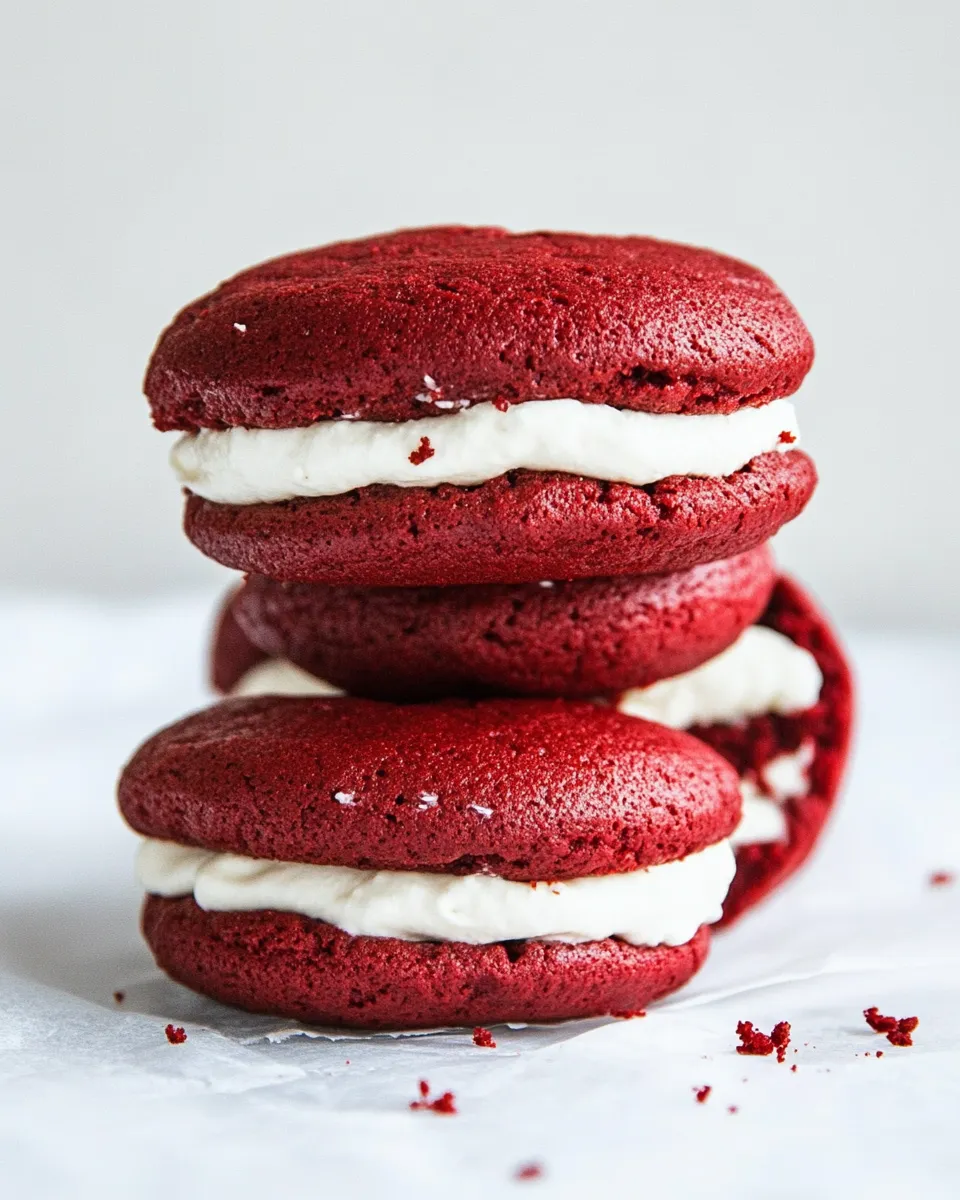
These Red Velvet Whoopie Pies with Cream Cheese Filling are the kind of treat I make when I want something nostalgic but not fussy. The cakes are soft and marshmallowy, and the cream cheese filling keeps them bright and tangy. They feel celebratory without demanding a lot of technique.
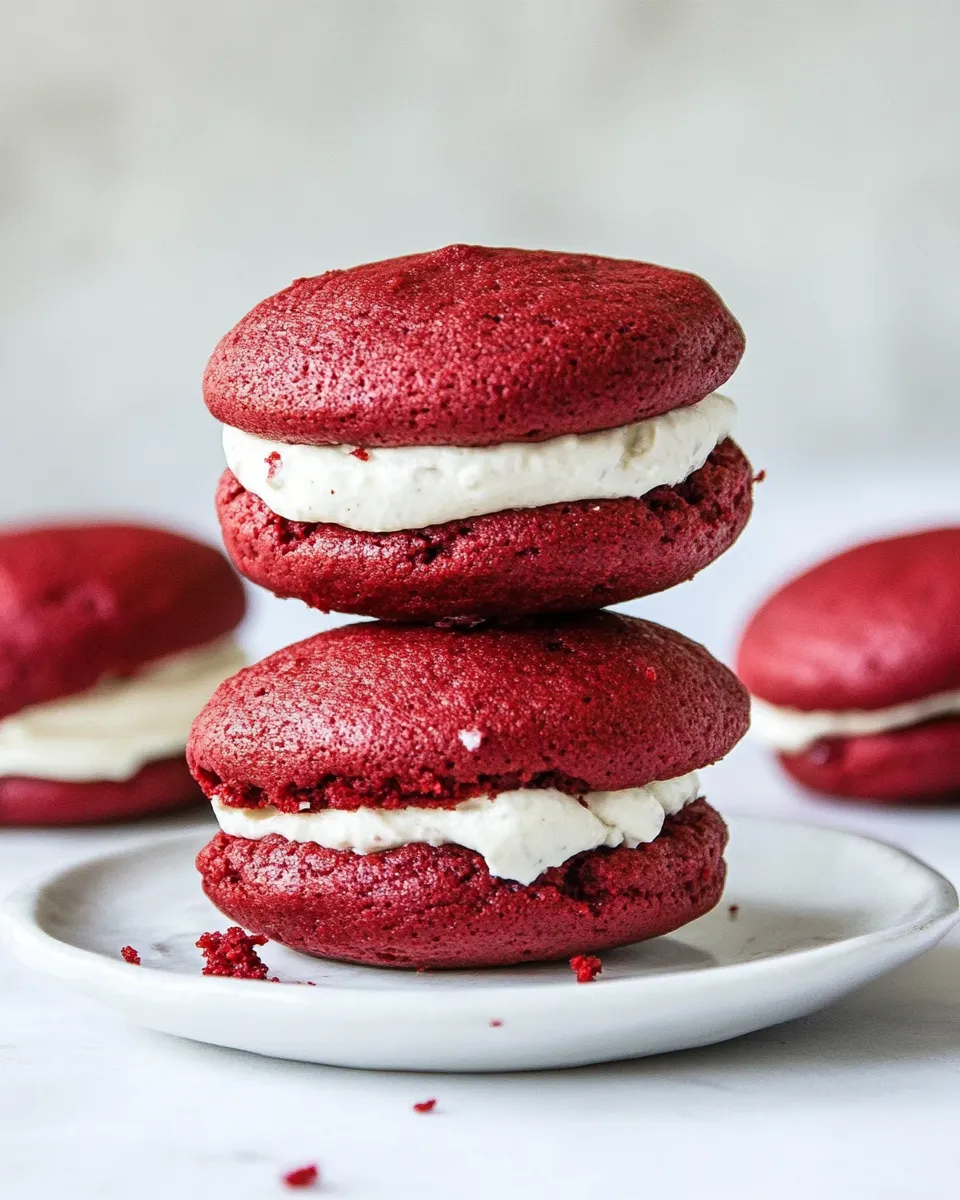
I like making them in batches, one sheet at a time, and assembling when the cakes are fully cool. They travel well, they hold up on a platter, and they always disappear fast at parties. Below you’ll find the ingredient lineup, the exact method, troubleshooting tips, and variations that keep this recipe useful year-round.
Read through the method before you start. The batter is straightforward, but a few small steps—like room-temperature dairy and careful mixing—make a big difference in texture. Let’s get into it.
The Ingredient Lineup
Ingredients
- 3 cups (375g) all-purpose flour — provides structure; measure by spooning into the cup and leveling for consistency.
- 1/3 cup (28.67g) unsweetened cocoa powder — gives that subtle chocolate note that defines red velvet.
- 1 teaspoon baking powder — a lift agent for lightness.
- 1/2 teaspoon (0.5 teaspoon) baking soda — reacts with buttermilk for tenderness and rise.
- 1/2 teaspoon (0.5 teaspoon) salt — balances sweetness and enhances flavor.
- 1/2 cup (113.5g) unsalted butter, at room temperature — adds flavor and richness; room temp ensures smooth creaming.
- 1/2 cup (102.5g) vegetable shortening — contributes to a soft, tender crumb and helps the cakes hold shape.
- 1/2 cup (110g) light brown sugar — brings a hint of molasses depth and moistness.
- 1 cup (200g) granulated sugar — sweetness and structure; creamed with fats for aeration.
- 2 eggs — binders and structure; add one at a time as directed.
- 2 teaspoons vanilla extract — flavor support for the cake batter.
- 3 teaspoons red food coloring — signature red velvet color; adjust intensity slightly if desired.
- 1 cup (240ml) buttermilk — acidity for tenderness and to react with baking soda.
- 4 ounces (113.4g) cream cheese, at room temperature — base of the filling; room temperature yields a silky texture.
- 1/4 cup (56.75g) unsalted butter, at room temperature — added to the filling for stability and flavor.
- 3 1/2 cups (420g) powdered sugar — sweetens and thickens the filling to a pipeable consistency.
- 1 teaspoon vanilla extract — flavoring for the filling.
The Method for Red Velvet Whoopie Pies with Cream Cheese Filling
- Position a rack in the center of the oven and preheat the oven to 350°F (175°C). Line two baking sheets with parchment paper and set them aside.
- In a medium bowl, whisk together the 3 cups all-purpose flour, 1/3 cup unsweetened cocoa powder, 1 teaspoon baking powder, 1/2 teaspoon baking soda, and 1/2 teaspoon salt. Set the dry mixture aside.
- In the bowl of a stand mixer fitted with the paddle attachment (or using a hand mixer), combine 1/2 cup unsalted butter (room temperature), 1/2 cup vegetable shortening, 1/2 cup light brown sugar, and 1 cup granulated sugar. Beat on low just to combine, then increase to medium and beat until the mixture is light and fluffy, about 4–5 minutes.
- Add the 2 eggs one at a time, beating well after each addition. Add 2 teaspoons vanilla extract and 3 teaspoons red food coloring and beat on low until just blended.
- With the mixer on low speed, add half of the dry flour mixture, then add half of the 1 cup buttermilk. Mix just until the ingredients are incorporated. Scrape down the sides and bottom of the bowl with a spatula.
- Add the remaining half of the dry flour mixture and the remaining half of the buttermilk. Mix on low until the batter is completely combined and smooth, taking care not to overmix.
- Using a tablespoon or a medium cookie scoop, drop portions of batter onto a prepared baking sheet, spacing them at least 2 inches apart. (Work on one sheet at a time if you prefer to bake individually.)
- Bake one sheet at a time on the center rack for about 10 minutes, or until the cake rounds spring back lightly when pressed in the center. Remove the sheet from the oven and let the cake rounds rest on the sheet for 5 minutes, then use a spatula to transfer them to a wire rack to cool completely. Repeat with the second sheet.
- While the cakes cool, make the cream cheese filling. In the bowl of a stand mixer with the paddle attachment (or using a hand mixer), beat 4 ounces cream cheese (room temperature) and 1/4 cup unsalted butter (room temperature) on medium speed until smooth.
- With the mixer on low, gradually add 3 1/2 cups powdered sugar until combined. Add 1 teaspoon vanilla extract, then increase the speed to medium-high and beat until the filling is creamy and smooth, about 3–4 minutes. Scrape the bowl as needed.
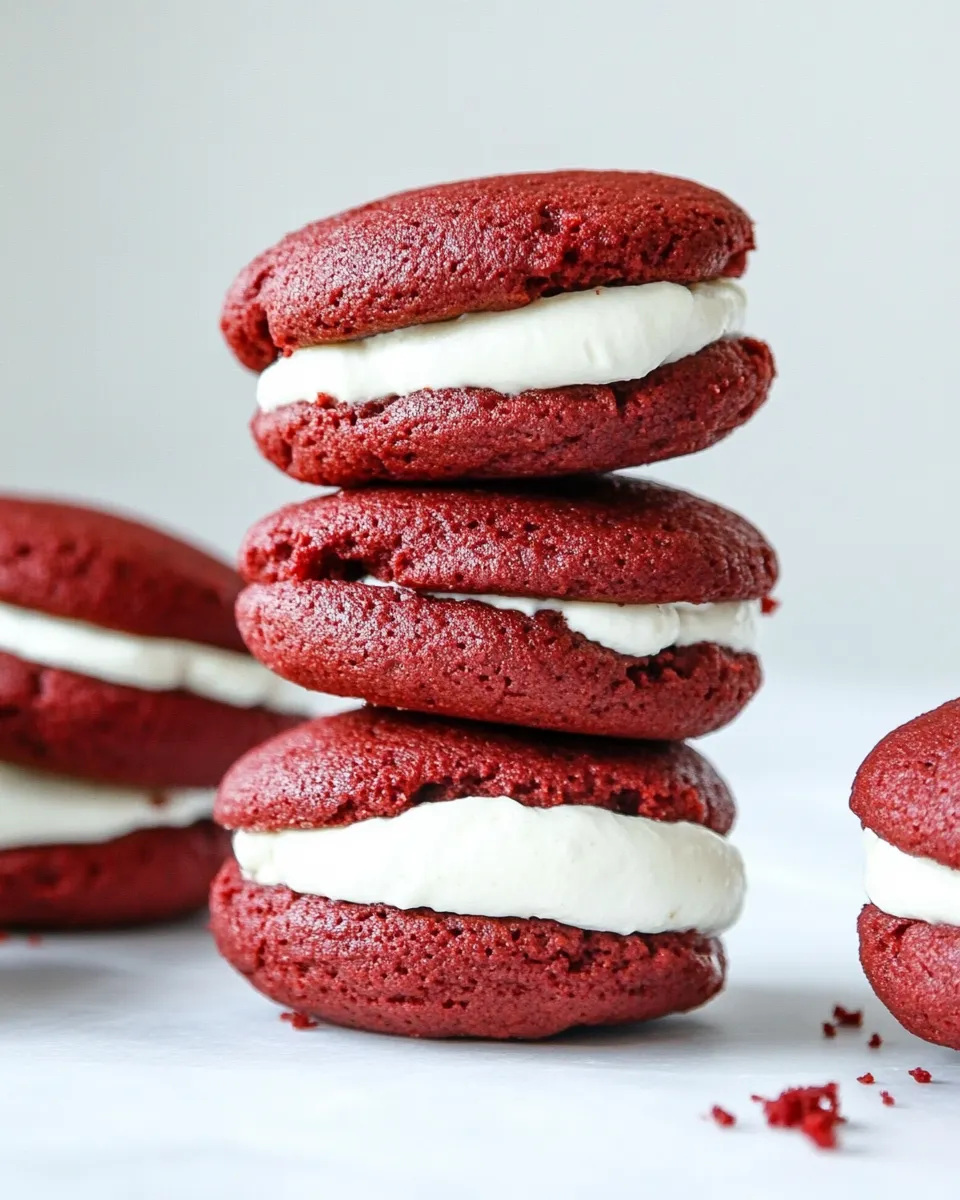
- Assemble the whoopie pies by spreading or piping the filling onto the flat side of one cooled cake round, then topping with a second cake round, flat-side down, to form a sandwich. Repeat until all cakes and filling are used.
- Store assembled whoopie pies in an airtight container at room temperature for up to 3 days. If you need to stack them, place a piece of wax paper between layers.
Why This Red Velvet Whoopie Pies with Cream Cheese Filling Stands Out
It’s the balance of texture and tang. The cake rounds are tender and slightly cake-like rather than cookie-like; the combination of butter and shortening yields a soft crumb that still holds when sandwiched. The cocoa is subtle, letting the color and faint chocolate note shine without overpowering the cream cheese filling.
The filling is intentionally creamy and just sweet enough to complement the cake. Using room-temperature cream cheese and butter, then beating in powdered sugar slowly, gives a smooth, pipeable filling that doesn’t weep or become grainy. Overall, the result is both nostalgic and refined—simple components that work together in a dependable way.
Ingredient Swaps & Substitutions
- Unsalted butter — If you only have salted butter, you can use it; taste the batter if possible and reduce any added salt elsewhere (the recipe’s salt amount is small). Room-temperature butter is key.
- Vegetable shortening — Some bakers swap with an equal volume of additional butter for more flavor; expect slightly softer edges and more buttery flavor if you do.
- Buttermilk — If you don’t have buttermilk, you can make a quick substitute by adding 1 tablespoon of vinegar or lemon juice to a cup of milk and letting it sit for 5–10 minutes. The acidity is what matters for tender crumb and reaction with baking soda.
- Red food coloring — Liquid, gel, or powder colorings will work. Gel concentrates more color with less liquid; adjust visually for the depth you prefer.
- Cream cheese — Full-fat cream cheese gives the best texture for the filling. Low-fat varieties tend to be softer and can change consistency.
Must-Have Equipment
- Stand mixer with paddle attachment or hand mixer — speeds up creaming and yields a consistent filling.
- Mixing bowls — at least two: one for dry ingredients and one for wet.
- Baking sheets lined with parchment paper — prevents sticking and makes transfer easy.
- Wire rack — cools cakes evenly and prevents sogginess.
- Tablespoon or medium cookie scoop — for consistent cake sizes so filling and bake times match.
- Offset spatula or piping bag — for even filling application.
Common Errors (and Fixes)
- Cakes sink in the center — likely overmixing or opening the oven door too soon. Mix until just combined and resist checking until the minimum bake time.
- Dry, crumbly rounds — oven too hot or overbaked. Test by a gentle press; they should spring back lightly. Also ensure accurate measuring of flour; spoon and level instead of scooping.
- Runny filling — filling wasn’t beaten long enough or ingredients were too cold. Beat until fully smooth and fluffy. Using room-temperature cream cheese and butter is important.
- Uneven sizes — use a cookie scoop or measure by spoon to keep rounds uniform so assembly looks clean and they bake evenly.
Fresh Takes Through the Year
These whoopie pies are easy to dress for seasons. For Valentine’s Day, keep the red and swap star sprinkles or dust the edges with finely crushed freeze-dried raspberries for extra tang. For fall, add a pinch of cinnamon or allspice to the batter for warmth. For holiday platters, assemble and place a few on a serving tray lined with wax paper for a tidy presentation.
Think about simple finishing touches like a dusting of powdered sugar on top, a drizzle of dark chocolate, or rolling the filling edges in finely chopped toasted nuts for texture. Small additions change the look without complicating the bake.
Cook’s Commentary
When I make these, I pay attention to the little things: room-temperature ingredients, gentle folding at the end, and transferring the rounds carefully after a short rest on the pan. Parchment backs are a lifesaver—no scraping delicate bottoms. I also like to pipe the filling because it creates a neat edge and speeds up assembly.
One piece of practical advice: work on one baking sheet at a time, as the method suggests. It keeps the bake times consistent and lets you focus on transferring the warm rounds without crowding the workspace.
Prep Ahead & Store
Follow the assembly instructions and store the assembled whoopie pies in an airtight container at room temperature for up to 3 days. If you need to stack them, place a piece of wax paper between layers to prevent sticking. If you prefer to assemble closer to serving time, keep the cooled cake rounds and filling stored separately—cakes at room temperature in a covered container, filling chilled—then assemble just before you need them.
Popular Questions
- Can I make the rounds ahead of time? — Yes. Bake, cool completely, and store the rounds in a single layer in an airtight container for a day or two before filling.
- Will the red fade? — The vibrancy depends on the colorant used. Gel and powder colorings tend to keep color better than liquid versions. The cocoa will mute the hue slightly, but the red remains visible.
- How do I get even-sized whoopie pies? — Use a medium cookie scoop or tablespoon measure and space them evenly on the sheet. Rotate the sheet if your oven browns unevenly.
- Can I pipe the filling? — Yes. The filling is designed to be pipeable after beating; fit a piping bag with a plain round tip for quick, neat assembly.
Ready, Set, Cook
These Red Velvet Whoopie Pies with Cream Cheese Filling are straightforward to make and pleasingly forgiving. Read the method through, line your sheets, and measure the dry ingredients in advance. Work methodically—cream the fats and sugars, add eggs, alternate dry and wet ingredients, and bake one sheet at a time. Cool fully, whip the filling to a silky texture, and assemble. They’re a great make-ahead dessert for gatherings or a lovely surprise on a weekday afternoon.
Enjoy the baking—and the sharing.
Red Velvet Whoopie Pies with Cream Cheese Filling
Equipment
- Oven
- Stand mixer
- paddle attachment
- Hand Mixer
- Mixing Bowl
- Whisk
- Spatula
- Baking Sheets
- Parchment Paper
- Cookie scoop or tablespoon
- Wire Rack
Ingredients
Ingredients
- 3 cups 375 gall-purpose flour
- 1/3 cup 28.67 gunsweetened cocoa powder
- 1 teaspoonbaking powder
- 1/2 teaspoon 0.5 teaspoonbaking soda
- 1/2 teaspoon 0.5 teaspoonsalt
- 1/2 cup 113.5 gunsalted butter, at room temperature
- 1/2 cup 102.5 gvegetable shortening
- 1/2 cup 110 glight brown sugar
- 1 cup 200 ggranulated sugar
- 2 eggs
- 2 teaspoonsvanilla extract
- 3 teaspoonsred food coloring
- 1 cup 240 mlbuttermilk
- 4 ounces 113.4 gcream cheese, at room temperature
- 1/4 cup 56.75 gunsalted butter, at room temperature
- 3 1/2 cups 420 gpowdered sugar
- 1 teaspoonvanilla extract
Instructions
Instructions
- Position a rack in the center of the oven and preheat the oven to 350°F (175°C). Line two baking sheets with parchment paper and set them aside.
- In a medium bowl, whisk together the 3 cups all-purpose flour, 1/3 cup unsweetened cocoa powder, 1 teaspoon baking powder, 1/2 teaspoon baking soda, and 1/2 teaspoon salt. Set the dry mixture aside.
- In the bowl of a stand mixer fitted with the paddle attachment (or using a hand mixer), combine 1/2 cup unsalted butter (room temperature), 1/2 cup vegetable shortening, 1/2 cup light brown sugar, and 1 cup granulated sugar. Beat on low just to combine, then increase to medium and beat until the mixture is light and fluffy, about 4–5 minutes.
- Add the 2 eggs one at a time, beating well after each addition. Add 2 teaspoons vanilla extract and 3 teaspoons red food coloring and beat on low until just blended.
- With the mixer on low speed, add half of the dry flour mixture, then add half of the 1 cup buttermilk. Mix just until the ingredients are incorporated. Scrape down the sides and bottom of the bowl with a spatula.
- Add the remaining half of the dry flour mixture and the remaining half of the buttermilk. Mix on low until the batter is completely combined and smooth, taking care not to overmix.
- Using a tablespoon or a medium cookie scoop, drop portions of batter onto a prepared baking sheet, spacing them at least 2 inches apart. (Work on one sheet at a time if you prefer to bake individually.)
- Bake one sheet at a time on the center rack for about 10 minutes, or until the cake rounds spring back lightly when pressed in the center. Remove the sheet from the oven and let the cake rounds rest on the sheet for 5 minutes, then use a spatula to transfer them to a wire rack to cool completely. Repeat with the second sheet.
- While the cakes cool, make the cream cheese filling. In the bowl of a stand mixer with the paddle attachment (or using a hand mixer), beat 4 ounces cream cheese (room temperature) and 1/4 cup unsalted butter (room temperature) on medium speed until smooth.
- With the mixer on low, gradually add 3 1/2 cups powdered sugar until combined. Add 1 teaspoon vanilla extract, then increase the speed to medium-high and beat until the filling is creamy and smooth, about 3–4 minutes. Scrape the bowl as needed.
- Assemble the whoopie pies by spreading or piping the filling onto the flat side of one cooled cake round, then topping with a second cake round, flat-side down, to form a sandwich. Repeat until all cakes and filling are used.
- Store assembled whoopie pies in an airtight container at room temperature for up to 3 days. If you need to stack them, place a piece of wax paper between layers.
Notes
Nutritional values are based on one whoopie pie