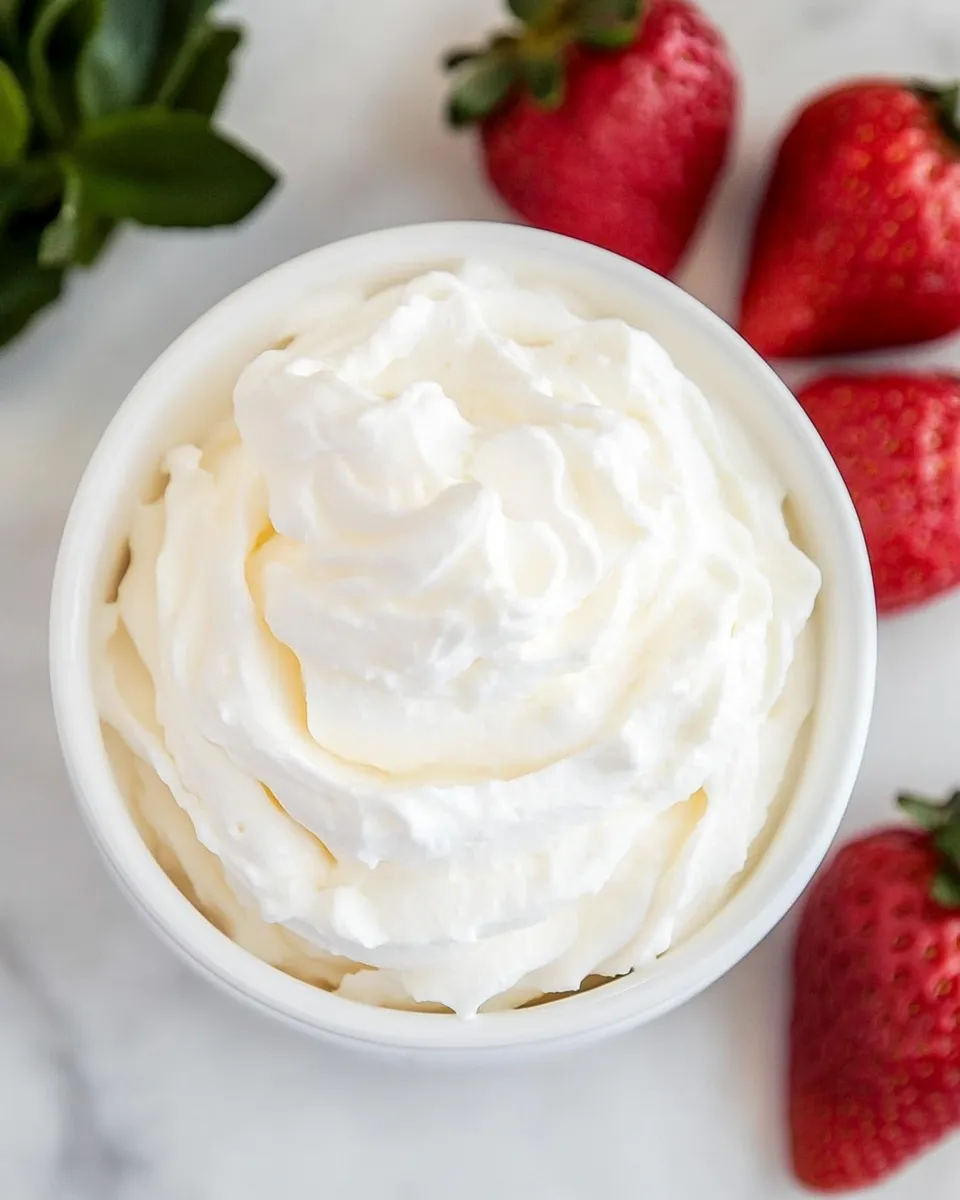
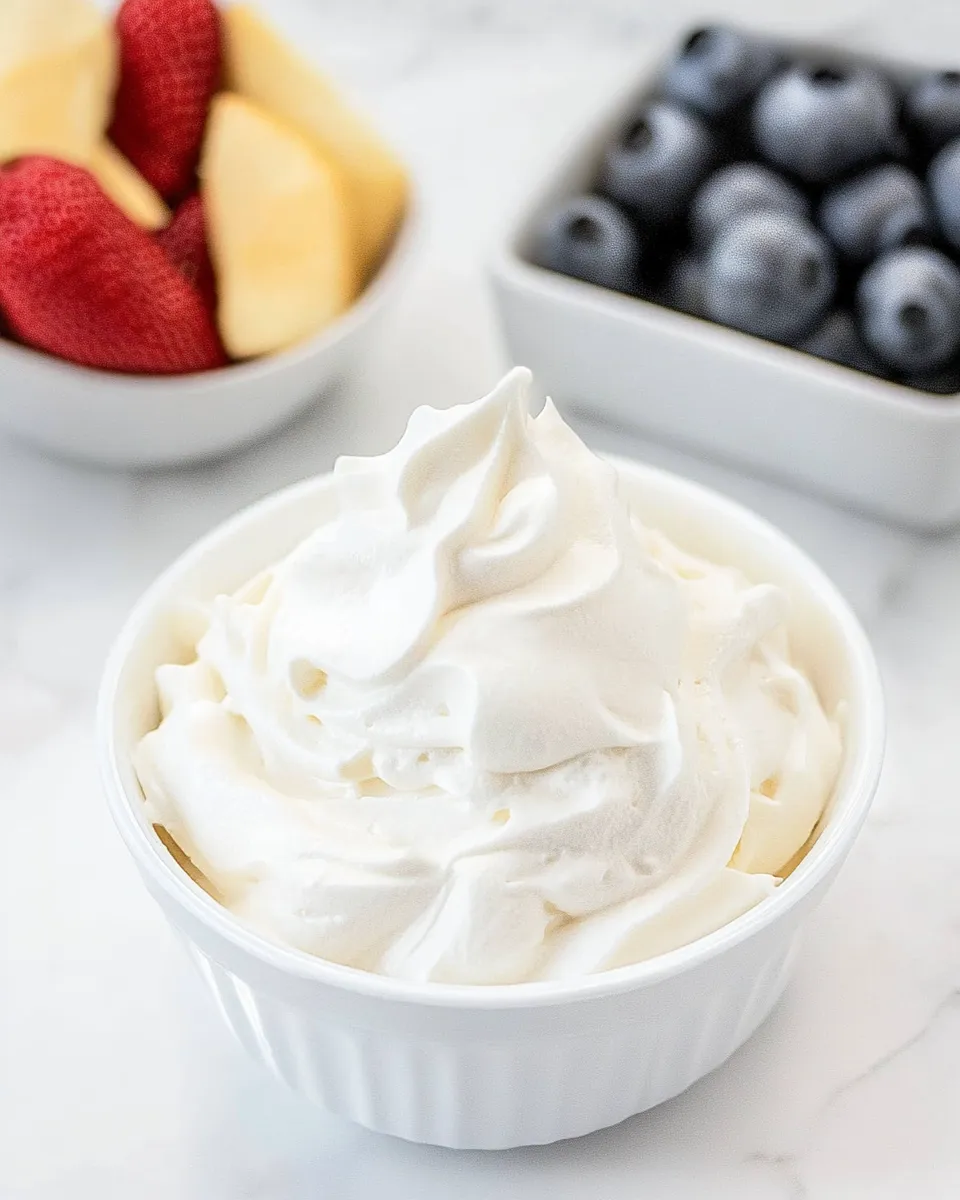
This is the whipped cream you reach for when you want something a little richer and more stable than plain whipped cream. It blends the airy lift of whipped cream with the tang and body of cream cheese, so it holds shape better and adds a pleasant, slightly tangy backbone to desserts. It’s fast, forgiving, and useful for piping, dolloping, or serving alongside fruit.
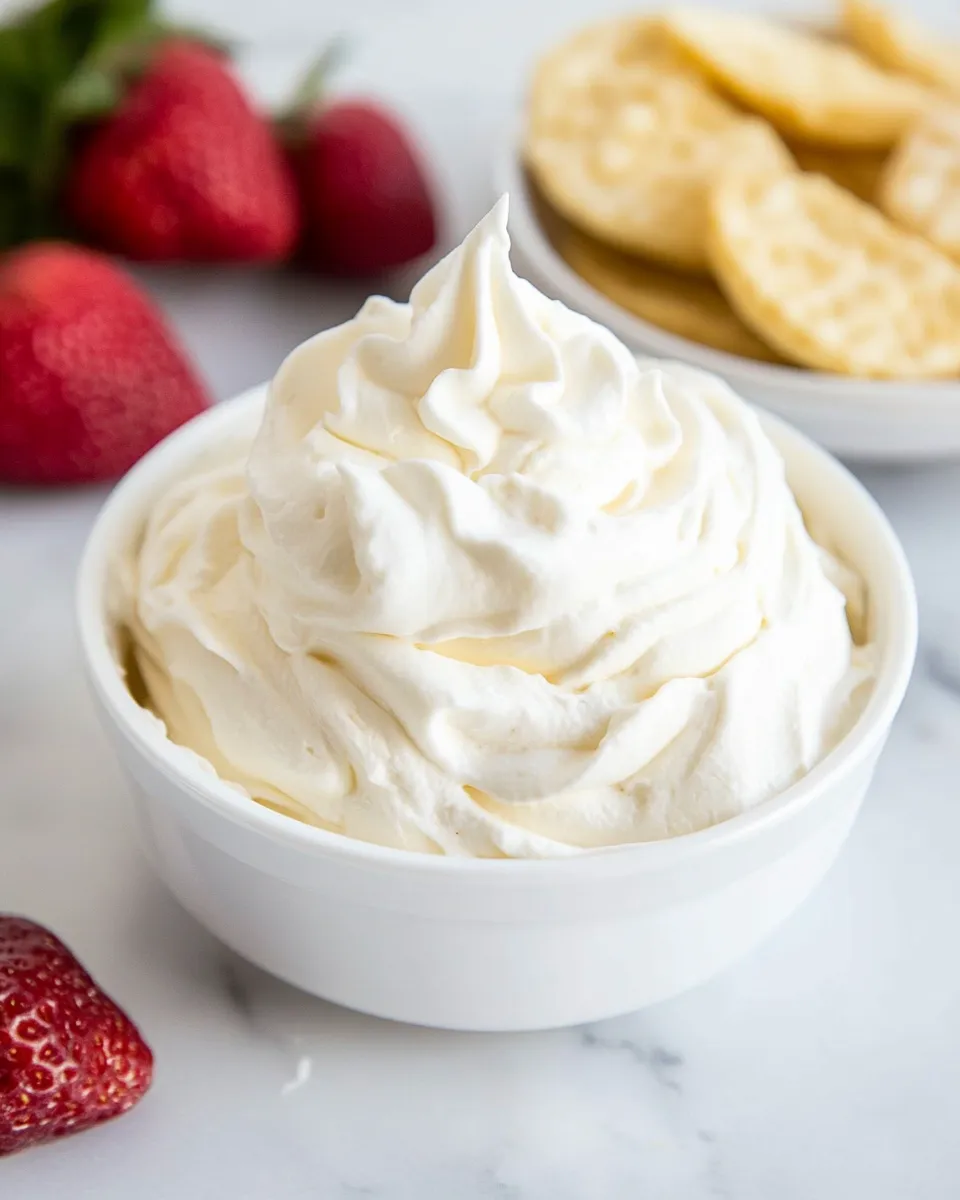
I use this version when I want a topping that won’t weep or flatten within minutes. There’s a main batch for volume and a small, thicker batch for piping or decorative dollops. The technique is straightforward: whip cream, beat cream cheese with sugar and flavor, then fold gently so the mixture stays light.
Below I’ll walk you through exactly what you’ll gather, the step-by-step directions, why it works, common mistakes, and practical tips for making this at home — and making it look like you meant to be that polished. No fluff. Just reliable results.
What You’ll Gather
You’ll need two mixing bowls (or one if you transfer whipped cream out), a mixer (hand or stand), a spatula for folding, and a small bowl for the decorative batch. I list the ingredients in the next section exactly as used in the recipe — keep them to hand and start cold for the best whip.
Ingredients
- 1 cup heavy whipping cream — provides the airy base and volume; chill for better whipping.
- 4 ounces cream cheese, softened — adds stability and tang to the main mixture; soften but keep cool.
- ½ cup (60 g) powdered sugar, sifted* — sweetens and helps stabilize; sifting prevents graininess.
- 1 teaspoon lemon juice or vanilla extract — brightens flavor; choose one to complement your dessert.
- 2 tablespoons heavy whipping cream — used in the small decorative batch to adjust consistency for piping.
- ½ ounce cream cheese, softened — for the small batch; creates a firmer peak for decoration.
- 1 tablespoon (8 g) powdered sugar, sifted — sweetens the small batch without overpowering.
- ⅛ teaspoon lemon juice or vanilla extract — mirrors the main flavor choice in the decorative batch.
Cream Cheese Whipped Cream: From Prep to Plate
- Place 1 cup heavy whipping cream in a large bowl or the bowl of a stand mixer and beat on medium-high until stiff peaks form. If using a stand mixer and you will use the same bowl for the next step, transfer the whipped cream to another bowl and set aside.
- In a second bowl, add 4 ounces softened cream cheese, ½ cup (60 g) powdered sugar (sifted), and 1 teaspoon lemon juice or vanilla extract. Beat on medium until smooth, scraping down the sides of the bowl as needed.
- Use a spatula to gently fold the whipped cream from step 1 into the cream cheese mixture from step 2 until uniform and light, stopping when no white streaks remain. Be careful not to overfold or deflate the whipped cream.
- In a small bowl, combine ½ ounce softened cream cheese, 2 tablespoons heavy whipping cream, 1 tablespoon (8 g) powdered sugar (sifted), and 1/8 teaspoon lemon juice or vanilla extract. Beat until smooth and holding soft–medium peaks (thick enough for piping or dolloping).
- Transfer the main cream cheese whipped cream to your serving dish or piping bag. Use the small mixture from step 4 to pipe or dollop decorative tops, or serve it alongside the main mixture.
- Serve immediately, or refrigerate briefly if you prefer a firmer texture before serving.
Why This Recipe Works

Two textures working together are the secret here. The whipped cream is all air and lightness; the cream cheese brings body and an emulsified network that traps air more reliably. Folding the whipped cream into the cream cheese-sugar base preserves the aeration while dispersing the stabilizer evenly.
Sifting the powdered sugar removes lumps that would otherwise show in a smooth cream. The small decorative batch uses a higher proportion of cream cheese to cream, so it holds softer peaks and pipes without collapsing — perfect for rosettes or a tailored dollop on each serving.
Textural balance
Stiff peaks on the base whipped cream give volume; moderate whipping on the small batch gives structure. Together they create a topping that’s light yet pipeable, and that resists weeping for longer than plain whipped cream.
Ingredient Flex Options
- Flavor choice: the recipe lists “lemon juice or vanilla extract.” Use whichever complements your dessert — lemon for brightness, vanilla for warmth.
- Sweetness: the powdered sugar amounts are specified; you can taste as you go and reduce slightly if you prefer less sweet, but keep in mind texture may shift with less sugar.
- Temperature: keep dairy cold until whipping. Warm ingredients will not whip properly and will affect final hold.
Hardware & Gadgets
- Stand mixer or hand mixer — either works; a stand mixer frees your hands and is especially helpful for the first whipping step.
- Two mixing bowls — one for the whipped cream and one for the cream cheese base; if you only have one, transfer whipped cream to a temporary container before using the same bowl.
- Rubber spatula — essential for gentle folding without deflating the mixture.
- Small bowl and piping bag (optional) — for the decorative small batch; you can also dollop with a spoon.
- Sifter or fine mesh sieve — for the powdered sugar to avoid lumps and ensure smooth texture.
Mistakes That Ruin Cream Cheese Whipped Cream
- Overwhipping the cream in step 1 — if you go beyond stiff peaks you’ll get grainy, butter-like curds that won’t fold smoothly into the cream cheese.
- Under-softened cream cheese — too cold and you’ll get lumps; too warm and the mixture becomes loose. Aim for softened but still cool cream cheese.
- Rough folding — vigorous mixing flattens the whipped cream. Use a gentle cutting-and-folding motion until no white streaks remain.
- Not sifting the powdered sugar — lumps make the texture gritty and can show in pipework.
- Using warm bowls or beaters — chilled metal bowls and beaters give faster, more consistent whipping.
Nutrition-Minded Tweaks
If you want to trim calories or fat without changing the character completely, control portions and frequency rather than radically altering ingredients. This recipe relies on real cream and cream cheese for its texture and structure; replacing them will change how it whips and holds.
Practical tweaks that don’t require new ingredients:
- Use smaller dollops or thinner spreads. The same volume garnishes more servings if you present it as a thin layer or a light smear rather than big peaks.
- Reduce the powdered sugar slightly to lower added sugars; taste as you go so the tang of the cream cheese still balances the sweetness.
- Keep chilled until service; a colder cream feels lighter and more satisfying, so smaller amounts can feel indulgent enough.
Recipe Notes & Chef’s Commentary
Timing
This recipe is quick. From chilled ingredients to finished topping you’re looking at roughly 10–15 minutes active time. If you want a firmer texture, refrigerate the main batch for 15–30 minutes before serving.
Appearance
The small batch is designed to give you clean edges and stable peaks for decorating. If you’re piping rosettes, make sure your piping tip is chilled and that the small batch holds soft–medium peaks before you start.
Tasting notes
The cream cheese adds a subtle tang that anchors the sweetness. If you choose lemon, expect a brighter finish; vanilla will read as more classic and comforting. Both work well in different contexts — lemon with fruit-forward desserts, vanilla with chocolate or spice.
Leftovers & Meal Prep
Store leftover cream cheese whipped cream in an airtight container in the refrigerator. It keeps best for 24–48 hours; after that the texture may soften and separate slightly. Rewhipping briefly with a whisk can revive some structure, but expect some loss of volume.
Freezing is not recommended. Freeze-thaw cycles break the emulsion and result in watery separation when thawed.
Reader Questions
- Can I make this ahead? — Yes. Make it up to a day ahead and keep chilled. For piped decorations, make the small batch shortly before service for the best peaks.
- Will it hold on a cake? — It will hold better than plain whipped cream, especially if chilled, but it’s not as stable as buttercream for long room-temperature displays. For short-term serving or refrigerated desserts, it’s excellent.
- Can I skip the small batch? — You can, but you’ll lose the firmer piping option. The main batch is softer and won’t pipe as cleanly for decorative work.
- What if my cream doesn’t whip? — Check temperature: cream, bowl, and beaters should be cold. Also confirm the cream is labeled heavy whipping cream with at least 30–36% fat.
Let’s Eat
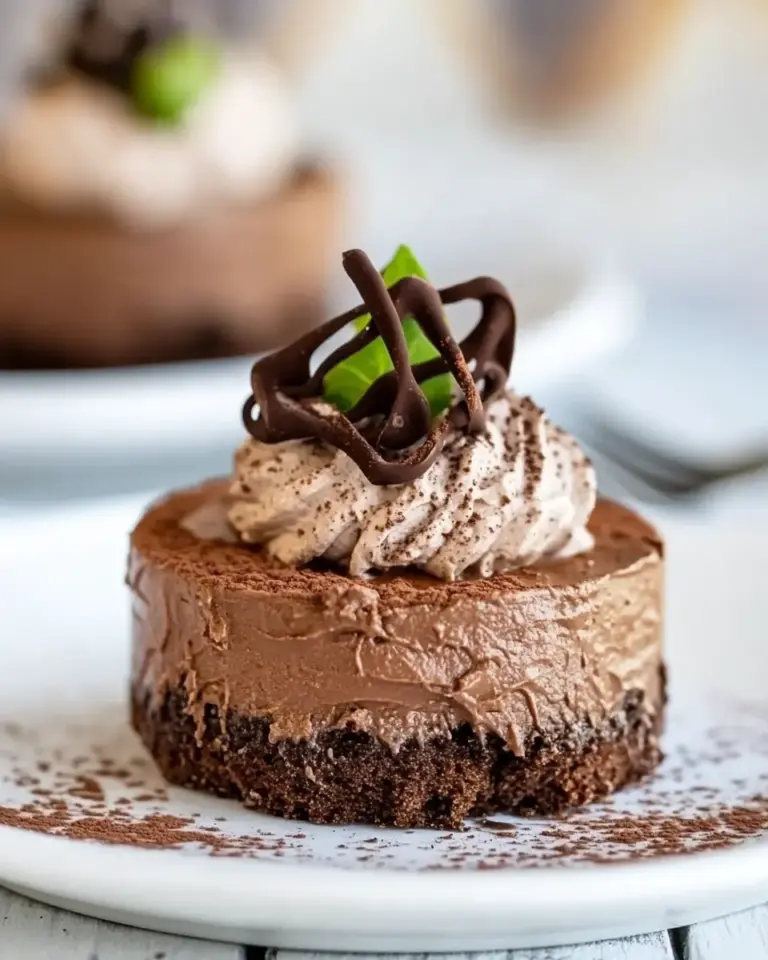
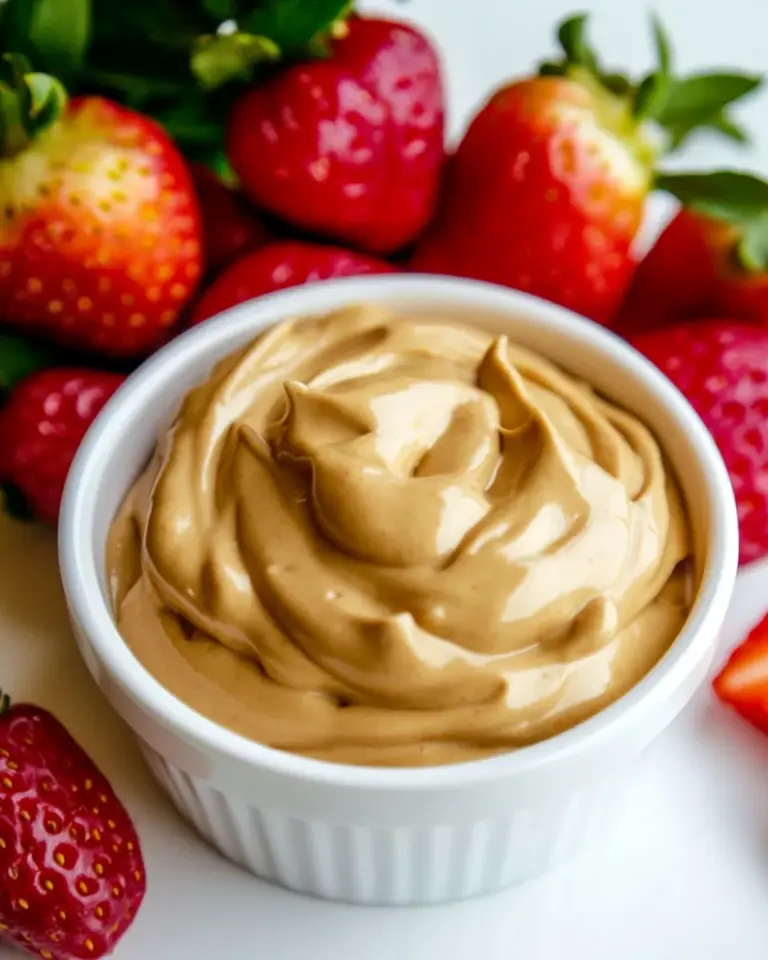
Use this Cream Cheese Whipped Cream to finish off pies, layer cakes, cupcakes, parfaits, or to serve beside fresh fruit. The main batch gives light, luxurious coverage; the small batch lets you decorate like you planned it that way. Aim for chilled service, a confident fold, and clean piping — and you’ll get a topping that looks and tastes like attention to detail, without the fuss.
Happy topping: a little extra attention to temperature and folding goes a long way. If you try it, tell me how you used it — I like hearing about simple finishes that make a dessert feel special.
Cream Cheese Whipped Cream
Equipment
- Stand Mixer or Hand Mixer
- Mixing Bowls
- Spatula
- Piping Bag (optional)
Ingredients
Ingredients
- 1 cupheavy whipping cream
- 4 ouncescream cheesesoftened
- 1/2 cup 60 g powdered sugarsifted*
- 1 teaspoonlemon juice or vanilla extract
- 2 tablespoonsheavy whipping cream
- 1/2 ouncecream cheesesoftened
- 1 tablespoon 8 g powdered sugarsifted
- 1/8 teaspoonlemon juice or vanilla extract
Instructions
Instructions
- Place 1 cup heavy whipping cream in a large bowl or the bowl of a stand mixer and beat on medium-high until stiff peaks form. If using a stand mixer and you will use the same bowl for the next step, transfer the whipped cream to another bowl and set aside.
- In a second bowl, add 4 ounces softened cream cheese, ½ cup (60 g) powdered sugar (sifted), and 1 teaspoon lemon juice or vanilla extract. Beat on medium until smooth, scraping down the sides of the bowl as needed.
- Use a spatula to gently fold the whipped cream from step 1 into the cream cheese mixture from step 2 until uniform and light, stopping when no white streaks remain. Be careful not to overfold or deflate the whipped cream.
- In a small bowl, combine ½ ounce softened cream cheese, 2 tablespoons heavy whipping cream, 1 tablespoon (8 g) powdered sugar (sifted), and 1/8 teaspoon lemon juice or vanilla extract. Beat until smooth and holding soft–medium peaks (thick enough for piping or dolloping).
- Transfer the main cream cheese whipped cream to your serving dish or piping bag. Use the small mixture from step 4 to pipe or dollop decorative tops, or serve it alongside the main mixture.
- Serve immediately, or refrigerate briefly if you prefer a firmer texture before serving.
Notes
*For a less sweet whipped cream, cut the sugar by about ⅓.
To substitute granulated sugar for powdered sugar, use ¼ cup granulated sugar for the full batch or 2 teaspoons for a single serving.
*If whipping the cream by hand, chill the bowl in the freezer for 15 minutes before starting. This will help your cream whisk up a little faster and more easily.
*Use a smaller bowl to make the single-serving whipped cream. You will need to use a handheld electric mixer or a whisk and arm power to make a single serving because a stand mixer is unable to process an amount this small.
Storage:
Store leftover whipped cream in an airtight container in the refrigerator. The whipped cream will firm up considerably once chilled because of the cream cheese.