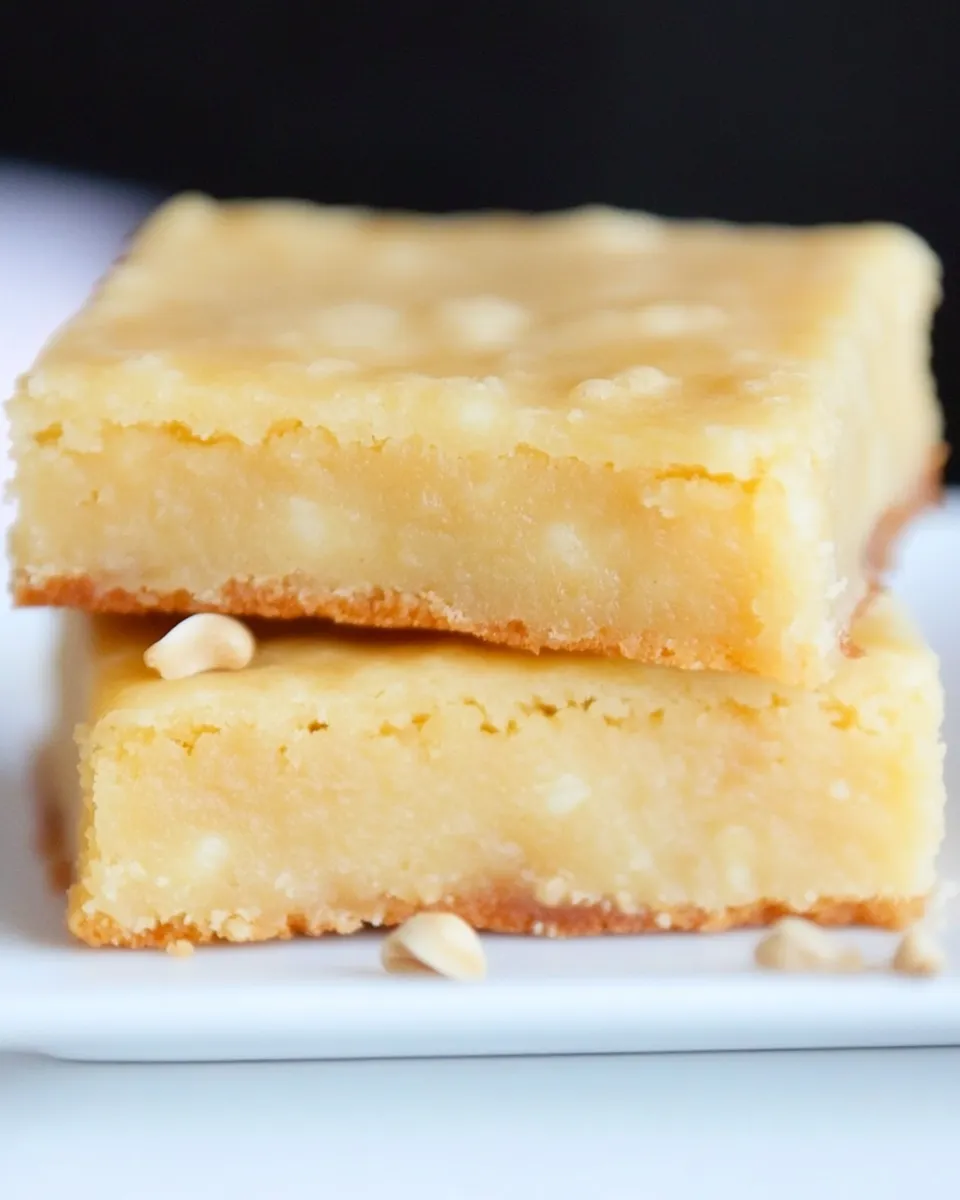
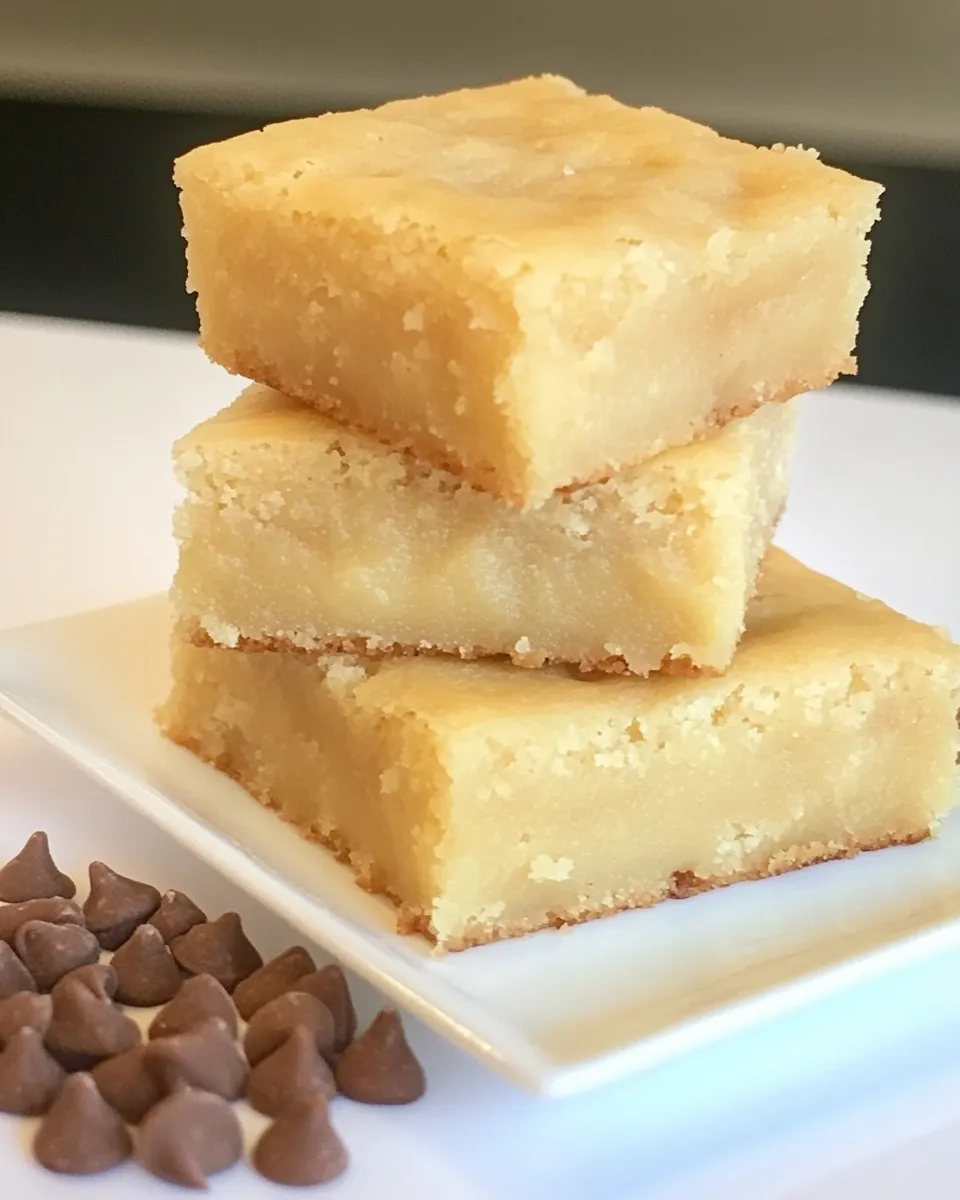
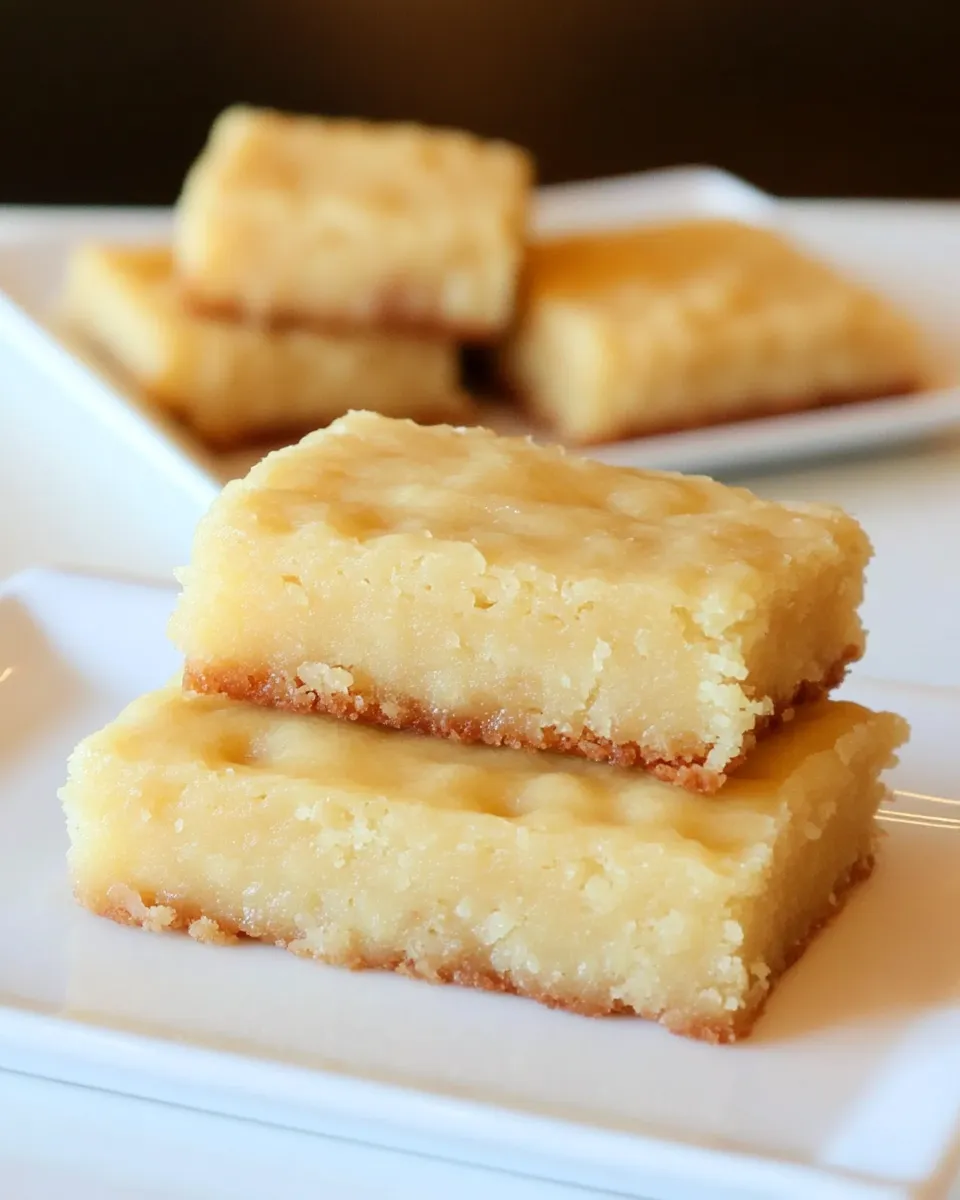
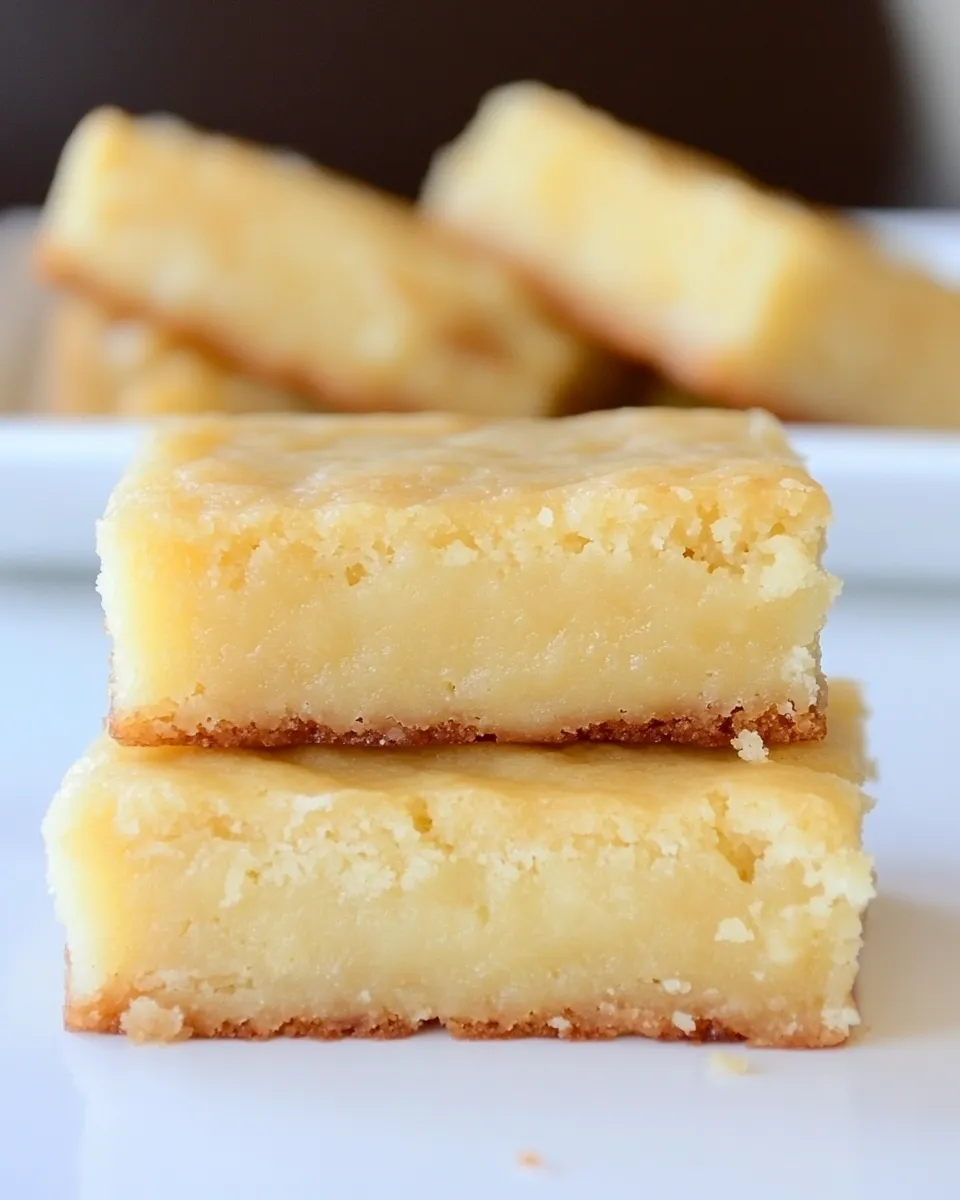
These dairy-free blondies are the kind of dessert I reach for when I want something bright, homey, and unfussy. They’re lemon-scented, tender, and carry that buttery illusion even though there’s no butter involved. The result is a clean, slightly tangy bar with a thin, crackly top and a soft, cake-like center.
I like that they come together quickly with pantry-stable ingredients and a simple glaze that pulls the flavor into focus. They’re great warm from the pan or chilled, and they travel well to potlucks or to a friend who needs cheering up. The lemon glaze is thin but buildable — brush once for a whisper of sweetness or drizzle twice for a brighter finish.
Below you’ll find a straightforward ingredient list, a step-by-step baking process pulled from the recipe source, tips that keep the texture right, and troubleshooting for the few things that can go sideways. If you want to make them tonight, the last section gives the timing so you can plan while the oven preheats.
Ingredient List
- 1 cup all purpose flour, sifted — provides structure; sifting helps keep the batter light.
- ¾ cup sugar — sweetens and helps create a slight crust on top.
- ¼ tablespoon salt — balances sweetness and enhances flavor.
- ¼ tablespoon baking soda — a touch of lift for a tender crumb.
- ¼ cup dairy-free plain yogurt, I use coconut yogurt — adds moisture and a gentle tang; coconut yogurt contributes richness without dairy.
- 3 tablespoon light Extra virgin olive oil — the fat that keeps the blondies tender; “light” olive oil has a milder flavor.
- 2 tablespoon fresh lemon juice — brightens the batter and reacts slightly with the soda for lift.
- zest of 2 lemons — concentrated lemon flavor; fold in, don’t overwork.
- 2 eggs — bind and provide structure for a moist crumb.
- 1 cup powdered sugar — for the glaze; sift if lumpy.
- zest of 1 lemon — for the glaze; boosts the lemon aroma on top.
- 2 tablespoon fresh lemon juice — thins the powdered sugar into a glossy glaze.
Cooking (Dairy-free Blondies): The Process
- Preheat the oven to 360°F (180°C). Line an 8×8-inch baking pan with parchment paper, leaving an overhang on two sides to lift the blondies out later; set the pan aside.
- In a large bowl, whisk together the dry ingredients: 1 cup sifted all-purpose flour, 3/4 cup sugar, 1/4 tablespoon salt, and 1/4 tablespoon baking soda until evenly combined.
- In a separate bowl, whisk the wet ingredients until smooth: 1/4 cup dairy-free plain yogurt, 3 tablespoons light extra-virgin olive oil, 2 tablespoons fresh lemon juice, zest of 2 lemons, and 2 eggs.
- Pour the dry ingredients into the wet ingredients and stir gently until you have a smooth batter. Do not overmix.
- Pour the batter into the prepared pan and spread it evenly with a spatula.
- Bake for 15–20 minutes, until the top is golden and a toothpick inserted into the center comes out with a few moist crumbs.
- Remove the pan from the oven and let the blondies rest in the pan for 10 minutes.
- Use the parchment overhang to lift the blondies from the pan onto a cutting board. Cut into squares or your preferred shapes.
- Make the glaze: in a small bowl whisk together 1 cup powdered sugar and the zest of 1 lemon. Gradually whisk in 2 tablespoons fresh lemon juice until you reach a thick glaze consistency.
- Brush or drizzle the lemon glaze over the blondie pieces. Allow the glaze to set before serving.
Why You’ll Love This Recipe
These bars deliver a lot of flavor from a small ingredient list. Lemon zest and juice bring a clean citrus lift that keeps the sweetness from feeling heavy. The dairy-free yogurt replaces some of the moisture and tang you’d expect from sour cream or butter, so the crumb stays soft without any greasy aftertaste.
They’re forgiving. The batter mixes quickly and tolerates a minute or two of extra stirring without collapsing. The bake time window (15–20 minutes) gives you flexibility depending on whether you prefer a more cake-like center or a slightly fudgier texture. And the glaze ties everything together — it’s bright, flexible, and sets to a delicate sheen.
Allergy-Friendly Substitutes
If you need variations for allergies or preferences, here are practical swaps and considerations. Keep in mind the flavor and texture will shift slightly with each change.
- Dairy-free plain yogurt: any neutral dairy-free yogurt works. Coconut yogurt gives a bit of richness; other plant-based yogurts offer milder profiles.
- Oil: neutral oils like light olive oil are specified here; you can use another neutral-tasting oil if you prefer, but avoid strong-flavored oils that compete with lemon.
- Eggs: the eggs provide structure. If you cannot use eggs, consider an egg replacement strategy (commercial replacer or two tablespoons ground flaxseed mixed with 6 tablespoons water per egg) knowing the texture will be different.
- Flour: the recipe uses all-purpose flour for structure. For gluten-free needs, use a 1:1 gluten-free flour blend that includes xanthan or another binder and expect slightly different crumb and bake time.
- Sugar and glaze: powdered sugar is standard for the glaze because it dissolves smoothly. For powdered-sugar-free glaze options, a thick jam thinned with lemon juice can work as a brush-on topping.
Toolbox for This Recipe
- 8×8-inch baking pan — the specified size keeps thickness consistent.
- Parchment paper — for easy lifting and clean release.
- Large mixing bowl and a separate medium bowl — one for dry, one for wet.
- Whisk and spatula — whisk for combining, spatula for folding and smoothing.
- Microplane or zester — for bright, fine lemon zest.
- Toothpick — to test doneness.
- Small bowl and pastry brush (or spoon) — to make and apply glaze.
Mistakes That Ruin Dairy-free Blondies
These blondies are simple, but a few common missteps can change the outcome. Here’s what to avoid and why.
- Overmixing the batter — stirring too much develops gluten and makes the bars tough. Mix only until smooth.
- Skipping the parchment overhang — without it you’ll scrape and risk breaking the bars when removing them from the pan.
- Baking too long — the center firms quickly; bake until a toothpick has a few moist crumbs. Overbaking dries them out.
- Using a strongly flavored yogurt or oil — bold coconut or pungent olive oil can overpower the lemon. Stick to mild options if you want the citrus to shine.
- Applying glaze while the bars are hot — hot blondies can make the glaze run off. Let them rest ten minutes and cool slightly before glazing for a better finish.
Fit It to Your Goals
Want a brunch-friendly treat, a packed-lunch dessert, or a simple tea biscuit? Small tweaks adapt these blondies without changing the recipe’s spirit.
For portable snacks, cut into smaller squares and wrap individually. If you want them more dessert-like, serve warm with a scoop of dairy-free ice cream or spoon a bit more glaze on top. To make them less sweet for breakfast, reduce the sugar in the batter slightly and keep a lighter glaze application.
Chef’s Rationale
I kept the ingredient list focused so the lemon and the tender crumb can do the work. The yogurt replaces some of the richness butter would provide and contributes lactic acidity that complements the lemon. The light olive oil is chosen for its neutral profile and ability to keep the texture moist without solidifying like butter does when cooled.
Baking at 360°F (180°C) gives the exterior enough time to set and develop a golden top while the interior stays soft. The glaze uses powdered sugar and lemon zest for a quick, bright finish — it won’t overwhelm the bars but will add a glossy, aromatic layer.
How to Store & Reheat
Room temperature
Keep glazed blondies in an airtight container for up to 2 days. Separate layers with parchment to prevent sticking.
Refrigerator
Store in an airtight container for up to 5 days. Because they contain yogurt and lemon, refrigeration keeps them fresh; bring to room temperature before serving for the best texture.
Freezer
Wrap squares individually in parchment and place in a sealed freezer bag for up to 2 months. Thaw in the refrigerator overnight, then warm gently if you like them soft.
Reheating
Warm single squares in a microwave for 8–12 seconds (watch closely) or in a 300°F (150°C) oven for 6–8 minutes until warmed through but not dry. If refrigerated, give them a few minutes at room temperature first.
Troubleshooting Q&A
- Q: My blondies are dry. What happened?
A: Most likely overbaked or batter was overmixed. Next time remove from the oven at the earlier end of the bake window and fold batter until just combined. - Q: The center sunk after cooling.
A: This can happen if the oven temperature is too high or if the bars were removed too quickly; ensure accurate oven temp and allow the pan to rest 10 minutes before lifting out. - Q: Glaze won’t set.
A: If the glaze is too thin, add a little more powdered sugar to thicken it. If bars are too warm, the glaze will soften and may not set firmly. - Q: Flavor is flat.
A: Fresh lemon zest and juice make a big difference. Taste the batter (without raw egg if avoiding) for brightness — adding an extra 1/4 teaspoon zest can help. Also check salt; a tiny bit balances flavors. - Q: They’re too dense.
A: Check that your baking soda is fresh and that you measured the flour properly — spoon into the cup and level, don’t pack it down.
Make It Tonight
Plan on about 30–40 minutes total from start to finish. Preheat the oven while you line the pan and measure ingredients. Mixing takes 5–7 minutes; baking 15–20 minutes; a brief 10-minute rest, a quick cut, and a simple glaze finish them off. If you want to serve warm, glaze after a slightly longer cool-down so the topping sets but the interior stays cozy.
Pop these in the oven and you’ll have lemons and a warm kitchen in under an hour — a dependable, dairy-free treat that’s easy to share.
Dairy-free Blondies
Equipment
- 8x8-inch baking pan
- Parchment Paper
- Large Bowl
- Small Bowl
- Whisk
- Spatula
- Toothpick
- Cutting Board
Ingredients
Ingredients
- 1 cupall purpose flour sifted
- 3/4 cupsugar
- 1/4 tablespoonsalt
- 1/4 tablespoonbaking soda
- 1/4 cupdairy-free plain yogurt I use coconut yogurt
- 3 tablespoonlight Extra virgin olive oil
- 2 tablespoonfresh lemon juice
- zest of 2 lemons
- 2 eggs
- 1 cuppowdered sugar
- zest of 1 lemon
- 2 tablespoonfresh lemon juice
Instructions
Instructions
- Preheat the oven to 360°F (180°C). Line an 8x8-inch baking pan with parchment paper, leaving an overhang on two sides to lift the blondies out later; set the pan aside.
- In a large bowl, whisk together the dry ingredients: 1 cup sifted all-purpose flour, 3/4 cup sugar, 1/4 tablespoon salt, and 1/4 tablespoon baking soda until evenly combined.
- In a separate bowl, whisk the wet ingredients until smooth: 1/4 cup dairy-free plain yogurt, 3 tablespoons light extra-virgin olive oil, 2 tablespoons fresh lemon juice, zest of 2 lemons, and 2 eggs.
- Pour the dry ingredients into the wet ingredients and stir gently until you have a smooth batter. Do not overmix.
- Pour the batter into the prepared pan and spread it evenly with a spatula.
- Bake for 15–20 minutes, until the top is golden and a toothpick inserted into the center comes out with a few moist crumbs.
- Remove the pan from the oven and let the blondies rest in the pan for 10 minutes.
- Use the parchment overhang to lift the blondies from the pan onto a cutting board. Cut into squares or your preferred shapes.
- Make the glaze: in a small bowl whisk together 1 cup powdered sugar and the zest of 1 lemon. Gradually whisk in 2 tablespoons fresh lemon juice until you reach a thick glaze consistency.
- Brush or drizzle the lemon glaze over the blondie pieces. Allow the glaze to set before serving.