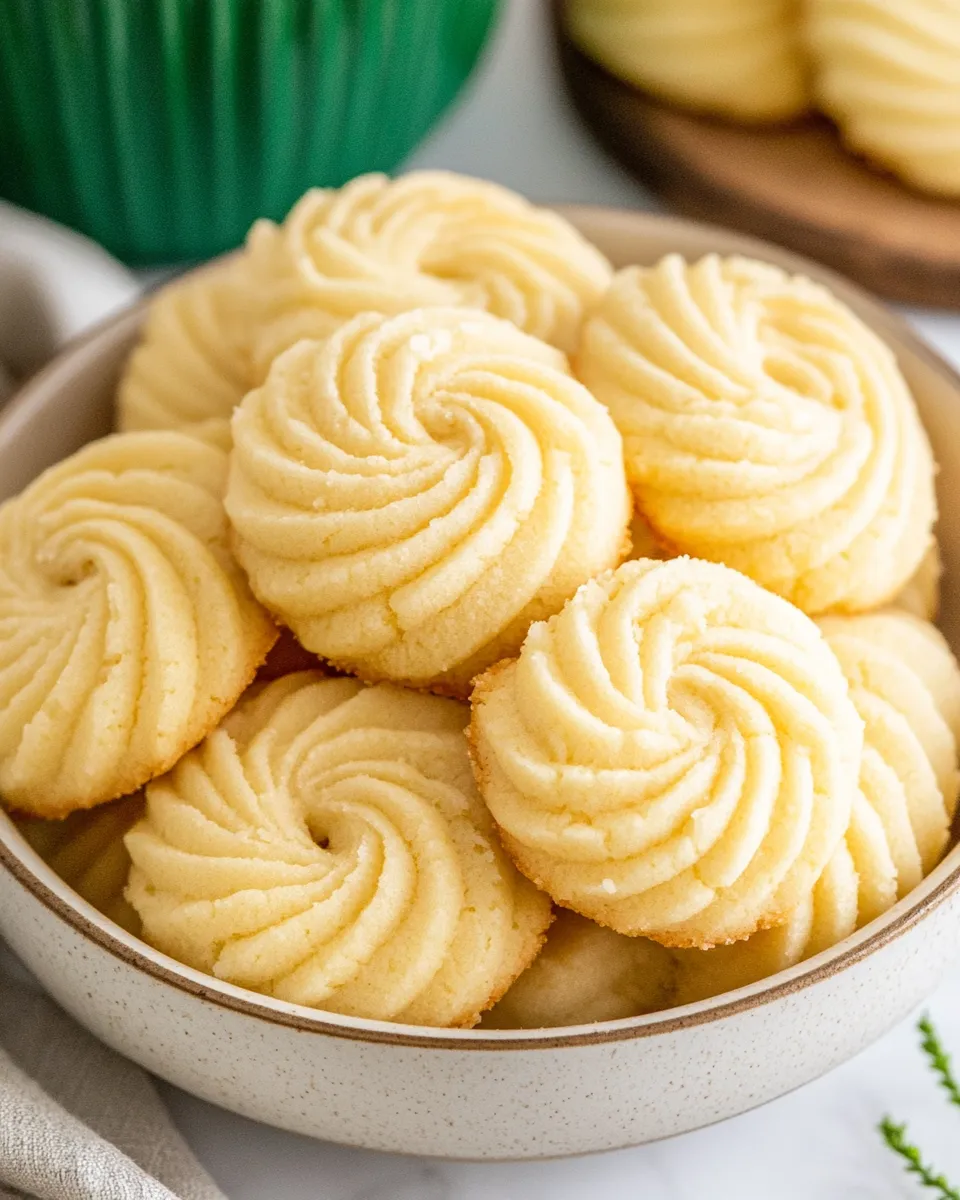
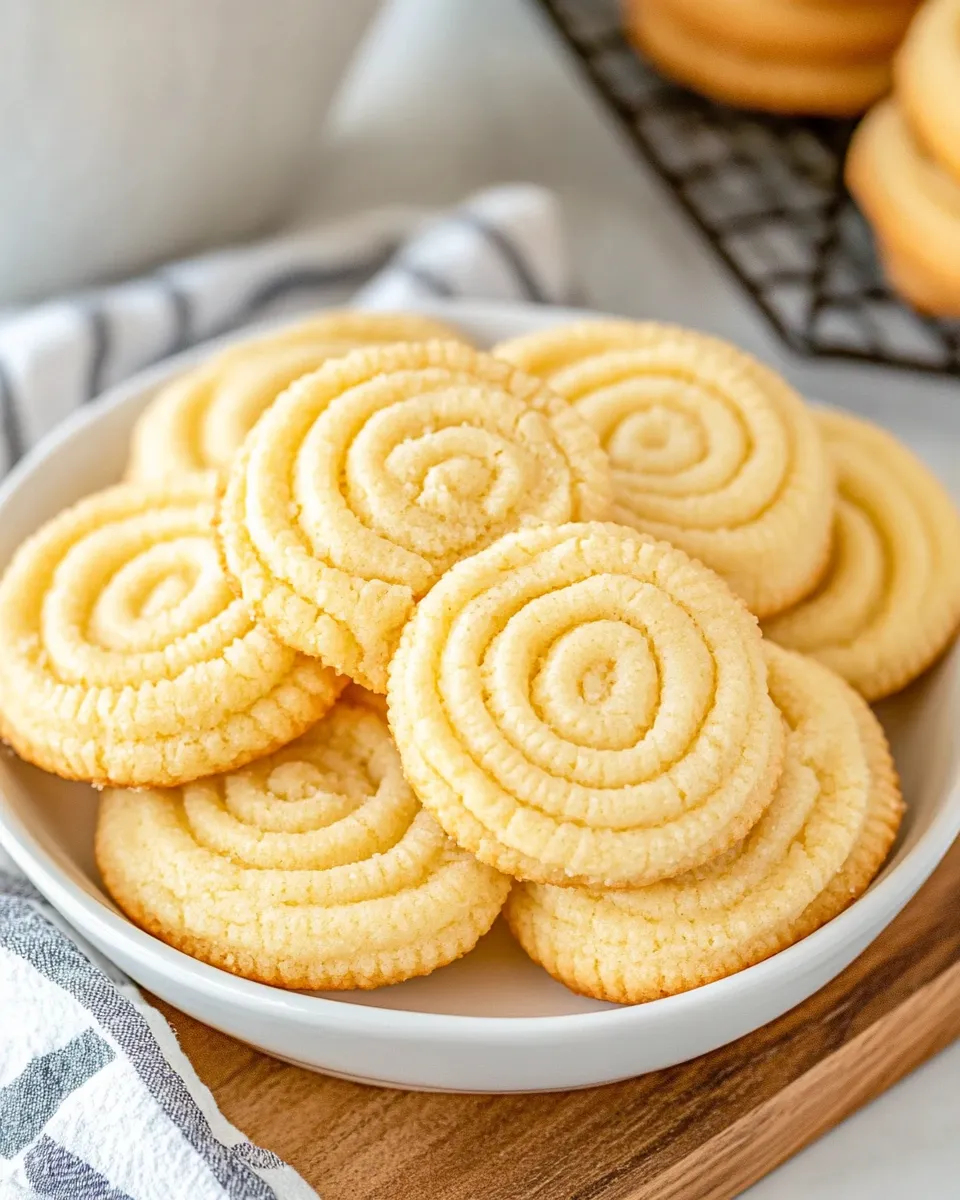
There’s something incredibly comforting about baking cookies, especially when they’re buttery, crumbly, and melt-in-your-mouth good.
Danish butter cookies are a classic treat that bring a bit of joy to any occasion or even just a cozy day at home.
These cookies are not only easy to make but also customizable, making them a great choice for both beginner and seasoned bakers.
When you think of cookies, sweet chocolate chip ones might come to mind first, but Danish butter cookies deserve a spot in that heart too.
They have a rich, buttery flavor that pairs perfectly with a warm cup of tea or coffee.
And the best part? They come together with just a handful of simple ingredients that you probably already have in your kitchen.
Why This Recipe Is a Must-Try
This recipe is a must-try for several reasons.
First, it features a very straightforward method that guarantees success even for novice bakers.
The cookies are light, crumbly, and full of buttery goodness.
Plus, they can be enjoyed plain or decorated in a variety of ways to suit any palate.
Additionally, they can be a delightful homemade gift packaged beautifully.
Who wouldn’t love receiving a box of homemade cookies?
Whether you’re having a cozy family night, celebrating a special occasion, or just treating yourself, Danish butter cookies are the perfect choice.
Let’s dive into how to make these little pieces of heaven!
Ingredients
To make the most delightful Danish butter cookies, you’ll need the following ingredients:
- ½ cup (112 g) unsalted butter, softened to room temperature
- ¾ cup (150 g) granulated sugar
- ½ teaspoon table salt
- 1 large egg, at room temperature
- 1 teaspoon pure vanilla extract
- 1 ¾ cups (210 g) all-purpose flour
These ingredients combine perfectly to create the rich and tender texture that you expect from a traditional Danish butter cookie.
Make sure your butter is at room temperature for the best results, allowing it to cream well with the sugar for that perfect consistency.
How To Make Danish Butter Cookies
Making Danish butter cookies is simple, and you’ll have fresh cookies ready to enjoy in no time! Follow these easy steps:
Step 1: Preheat Your Oven
Start by preheating your oven to 350°F (175°C).
This ensures that your cookies will bake evenly and achieve that golden brown perfection.
Step 2: Mix Butter and Sugar
In a large mixing bowl, combine the softened butter and granulated sugar.
Use a hand mixer or stand mixer to beat them together until the mixture is light and fluffy.
This will take about 2-3 minutes.
The airy texture helps create tender cookies.
Step 3: Add Egg, Vanilla, and Salt
Next, add the large egg, pure vanilla extract, and table salt to the butter and sugar mixture.
Beat again until everything is well combined.
The egg adds richness and moisture, while the vanilla enhances the buttery flavor.
Step 4: Incorporate Flour
Gradually add the all-purpose flour to the mixture.
Use a spatula or spoon to fold it in gently until just combined.
Be careful not to overmix; you want to keep that lightness in the dough.
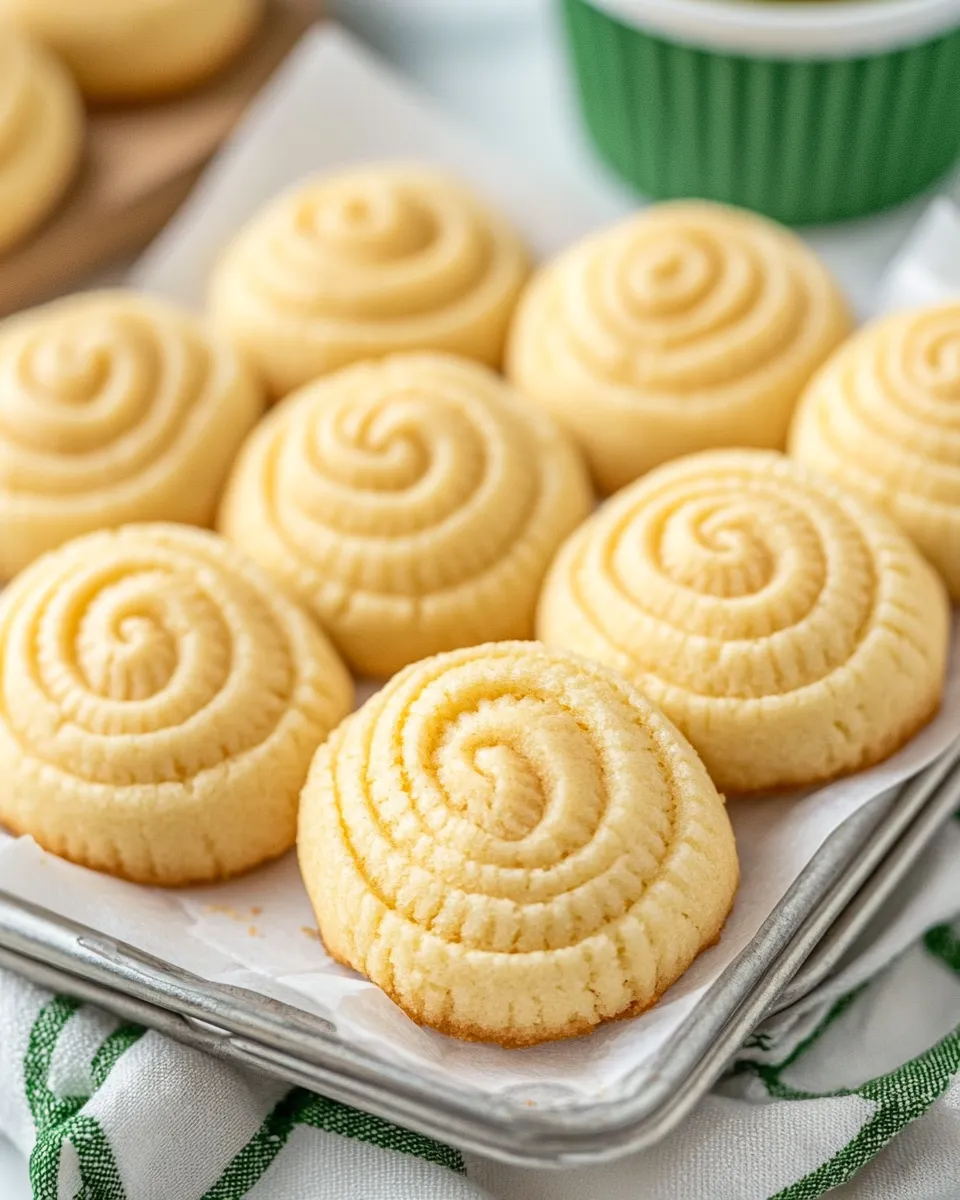
Step 5: Shape the Cookies
Once your dough is mixed, it’s time to shape your cookies.
You can either spoon out the dough onto a baking sheet lined with parchment paper or use a cookie press for fun shapes.
Leaving a little space between cookies is key, as they will spread a bit while baking.
Step 6: Bake
Place the baking sheet into your preheated oven and bake for about 10-12 minutes, or until the edges start to turn golden brown.
Keep an eye on them to prevent overbaking, as you want them to remain soft and buttery.
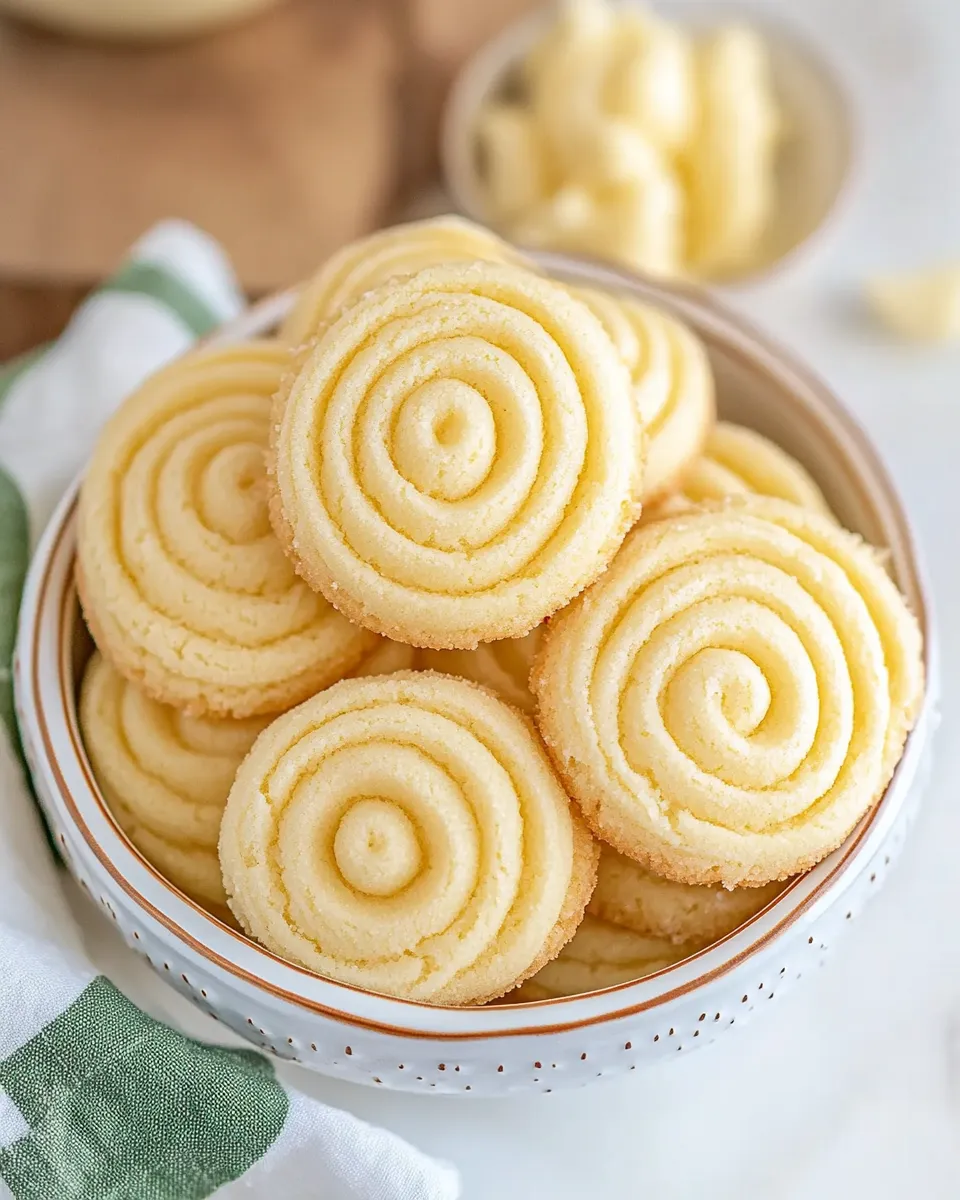
Step 7: Cool and Enjoy
Once your cookies are out of the oven, let them cool on the baking sheet for a few minutes before transferring them to a wire rack to cool completely.
Enjoy them warm or store them for later.
Expert Tips
To make the most of your Danish butter cookies, keep these tips in mind:
- Use high-quality unsalted butter for the best flavor. It makes a big difference!
- Make sure your butter is softened to room temperature. This helps it cream better with the sugar.
- Don’t skip the cooling step! Letting the cookies cool properly improves their texture.
- Experiment with a cookie press or piping bag for festive shapes and designs.
Variations and Customizations
One of the great things about Danish butter cookies is their versatility.
Here are a few ways to mix it up:
- Add chocolate chips or chopped nuts for extra texture and flavor.
- Sprinkle coarse sugar or colorful sprinkles on top before baking for a festive touch.
- Mix in citrus zest, like lemon or orange, for a refreshing twist.
- Drizzle with melted chocolate after cooling for a decadent finish.
Feel free to get creative with your cookies! Personalizing them is part of the fun.
How to Store Leftovers
If you happen to have leftovers, which is rare with these delicious cookies, you can store them in an airtight container at room temperature.
They will stay fresh for about one week.
If you want them to last longer, you can freeze them for up to three months.
Just make sure to layer them with parchment paper to prevent sticking, and place them in a freezer-safe bag or container.
FAQ
Can I use salted butter instead of unsalted butter?
While it’s best to use unsalted butter for this recipe, you can use salted butter.
Just reduce the amount of added salt to a pinch, as salted butter already contains salt.
What can I do if my dough is too sticky?
If your dough is sticky, try chilling it in the refrigerator for 15 to 30 minutes.
This makes it easier to handle and shape.
Can I make these cookies ahead of time?
Absolutely! You can make the dough ahead of time and store it in the fridge for up to three days or freeze it for longer storage.
Just remember to let it come to room temperature before shaping and baking.
How do I know when my cookies are done baking?
Look for the edges to turn a light golden brown.
The centers may appear slightly soft, but they will firm up as they cool.
Conclusion
Baking Danish butter cookies is a delightful experience that fills your kitchen with the lovely aroma of buttery goodness.
With just a few simple ingredients and steps, you can create a treat that will impress your family and friends.
These cookies are perfect for any occasion, whether enjoyed with a warm beverage or gifted to someone special.
So, preheat your oven, grab your mixing bowls, and get ready to indulge in these melt-in-your-mouth treats.
Happy baking!
Danish Butter Cookies
Equipment
- Mixing Bowl
- Baking Sheet
- Parchment Paper
- Hand Mixer
Ingredients
Ingredients
- ½ cup unsalted butter softened to room temperature
- ¾ cup granulated sugar
- ½ teaspoon table salt
- 1 large egg at room temperature
- 1 teaspoon pure vanilla extract
- 1 ¾ cups all-purpose flour
Instructions
- Step 1: Preheat your oven to 350°F (175°C).
- Step 2: In a large mixing bowl, combine the softened butter and granulated sugar. Beat until light and fluffy, about 2-3 minutes.
- Step 3: Add the egg, vanilla extract, and salt to the mixture. Beat until well combined.
- Step 4: Gradually add the all-purpose flour, folding it in gently until just combined.
- Step 5: Shape the cookies by spooning out the dough onto a baking sheet lined with parchment paper or using a cookie press.
- Step 6: Bake in the preheated oven for about 10-12 minutes, or until the edges are golden brown.
- Step 7: Let the cookies cool on the baking sheet for a few minutes before transferring to a wire rack to cool completely.