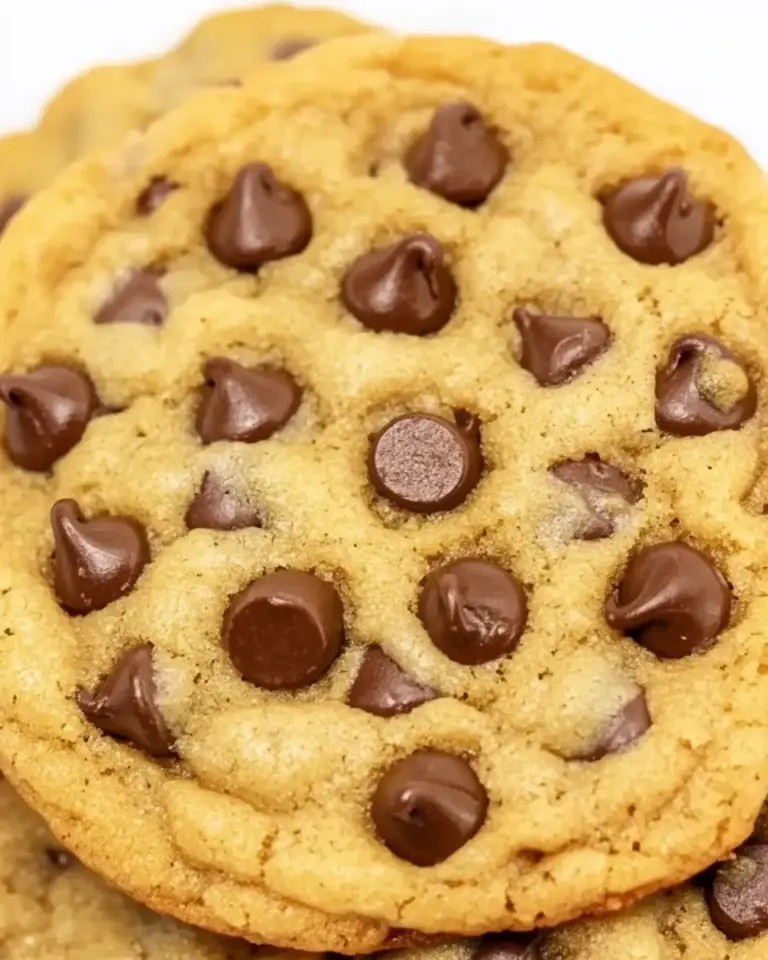
Ganache is one of those tiny, brilliant shortcuts that makes everything taste richer. It’s just chocolate and cream at its simplest, but when you get the technique right you’ll use it as a glaze, a filling, a frosting, or a dip. This version is microwave-friendly and geared for a small batch—perfect when you want a quick finish without fuss.
I’ll walk you through the exact steps, what each ingredient does, and quick fixes if the texture isn’t cooperating. The method is forgiving, and the result is instantly useful: warm and pourable for cakes, or cooled to spread on cookies and sandwiches. No special tempering, no long stovetop babysitting.
Read straight through for the step-by-step, or jump to the quick Q&A and troubleshooting if you hit a snag. You’ll learn how to make a smooth, glossy ganache and how to store or repurpose leftovers so nothing goes to waste.
The Essentials
This recipe makes a small batch—enough to glaze a small cake or fill a few pastries. It’s fast, uses everyday tools, and centers on controlling temperature rather than complex technique. Key moments are heating the cream just enough and letting the chocolate sit so the heat does the melting, then whisking to a shine.
Ingredients
- 4 ounces semi‑sweet chocolate — the base flavor and structure; chop or use even pieces so it melts evenly.
- ⅓ cup heavy cream — provides smoothness, shine, and body; heats the chocolate and determines pourability.
- 1 tablespoon unsalted butter — adds silkiness and gloss; cut into small pieces so it melts evenly with the cream.
Chocolate Ganache Made Stepwise
- Place 4 ounces semi‑sweet chocolate in a heatproof bowl; if using a bar, chop or break it into small, even pieces so it melts evenly.
- Put 1/3 cup heavy cream and 1 tablespoon unsalted butter in a microwave‑safe bowl; cut the butter into smaller pieces so it melts evenly.
- Microwave the cream and butter on high for 30 seconds. If the mixture is not steaming and the butter not fully melted, heat in additional 10–15 second intervals until just steaming — do not let it boil.
- Immediately pour the hot cream-and-butter mixture over the chocolate, making sure all the pieces are covered. Do not stir.
- Let the mixture sit undisturbed for 3 minutes to soften the chocolate.
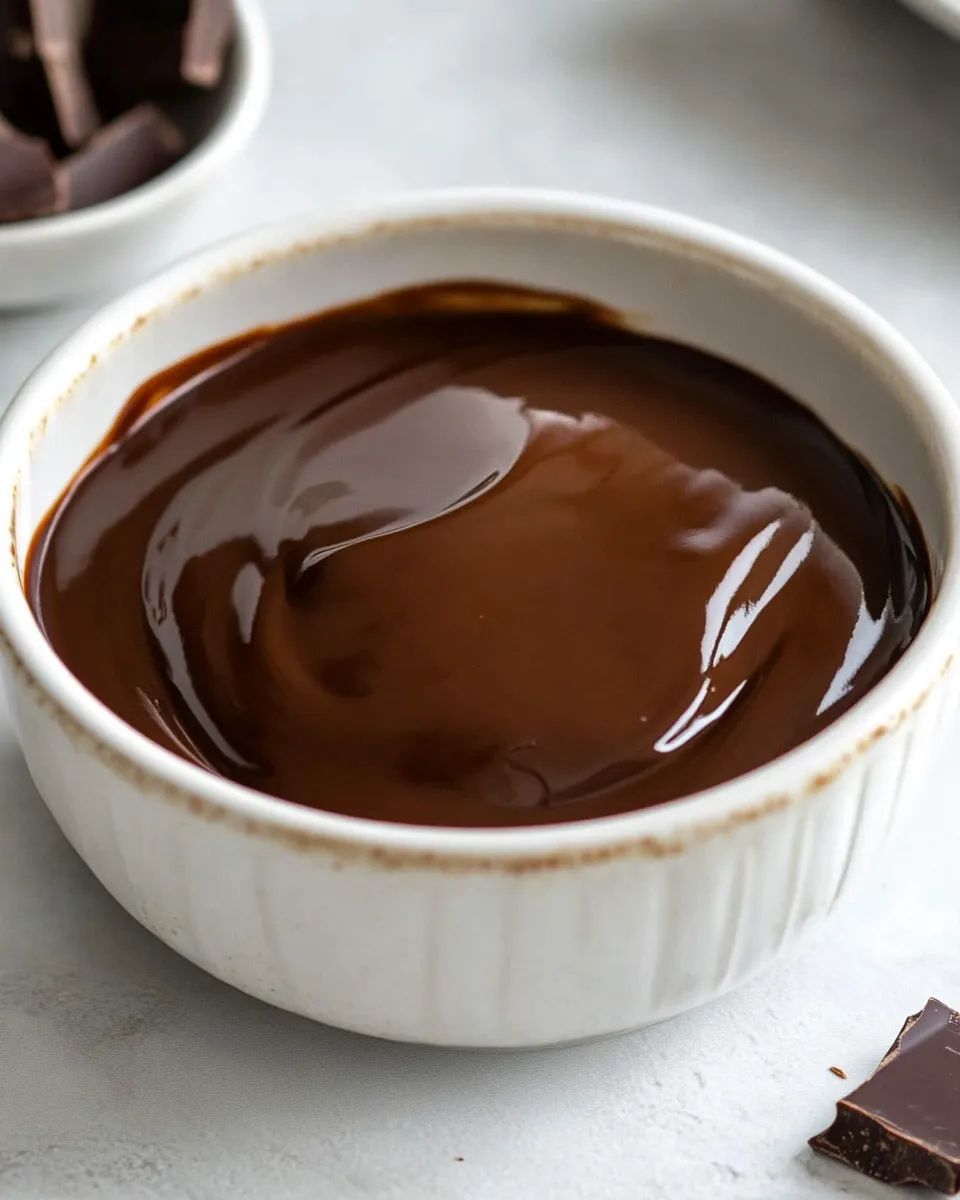
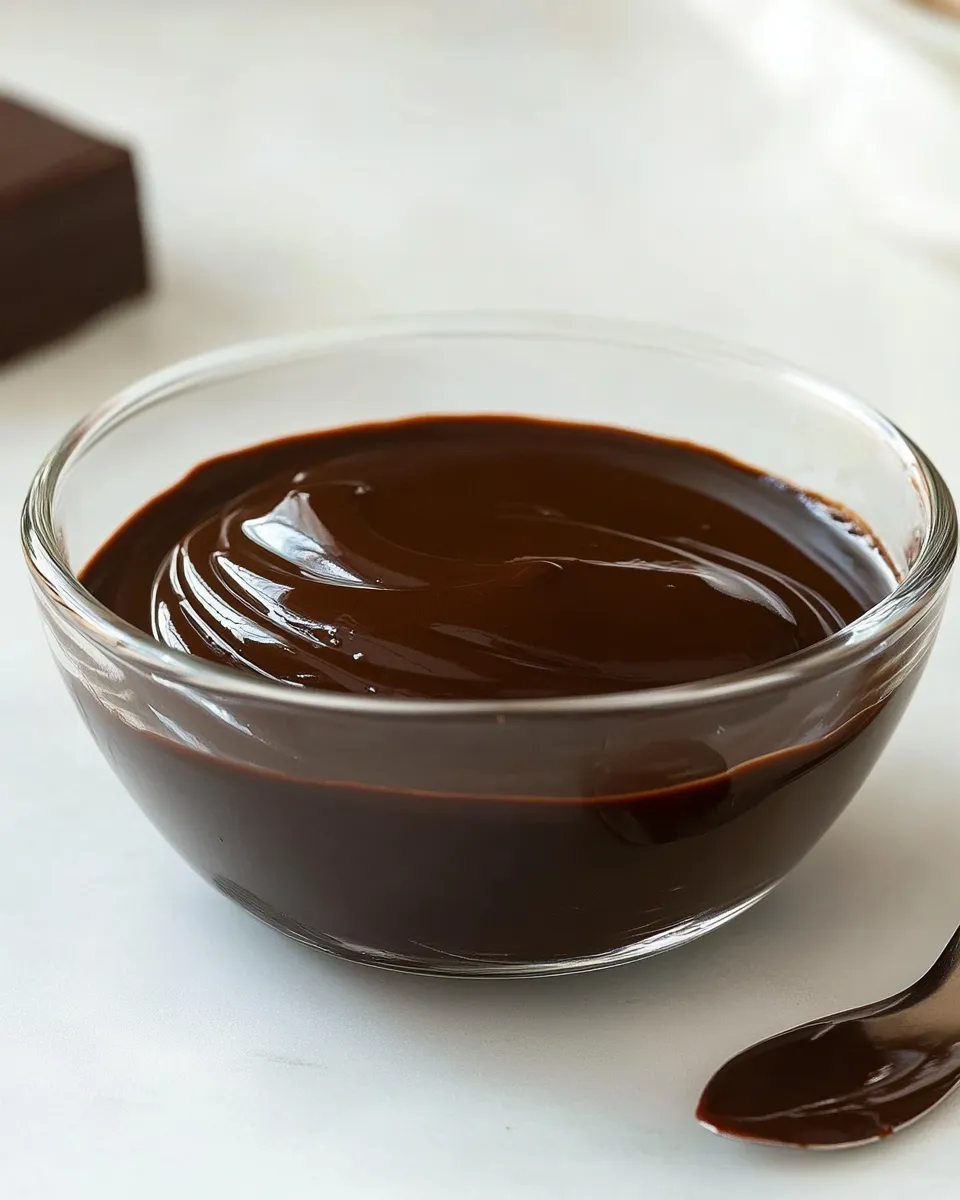
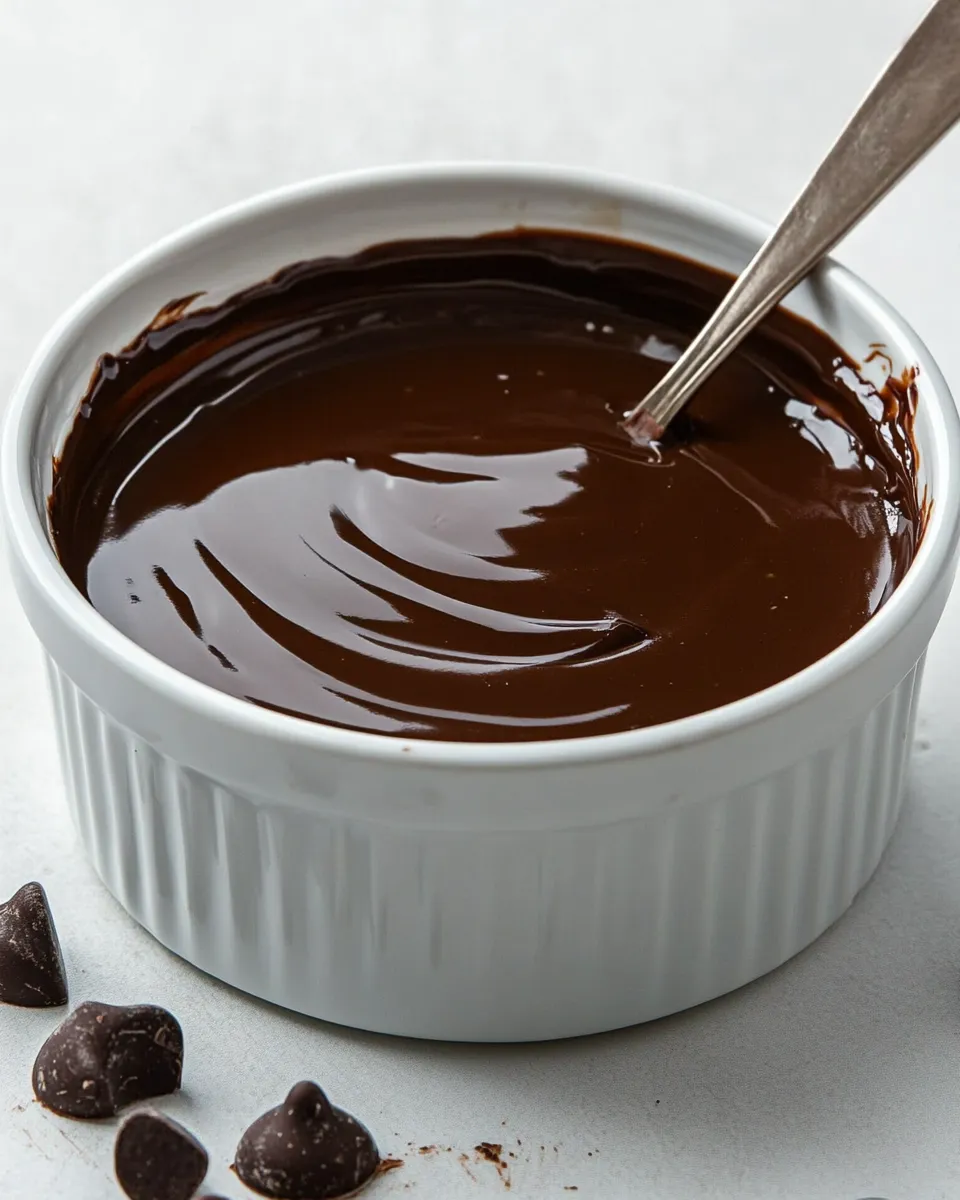
- Whisk from the center outward until the ganache is completely smooth and glossy; if any chocolate remains unmelted, heat the bowl for 5–10 seconds and whisk again.
- Use the ganache warm for a pourable glaze, or let it cool to room temperature to thicken for spreading or filling.
Why This Recipe Is Reliable
There are two reasons this approach works every time: measured heat and rest. Heating the cream (with butter) to just steaming provides enough thermal energy to melt the chocolate without overheating it. Letting the hot liquid sit on the chocolate for a few minutes softens the pieces uniformly so whisking finishes the job without seizing.
The microwave method is repeatable. Short bursts prevent the cream from boiling and the chocolate from burning. The small butter addition rounds the mouthfeel and helps the ganache set with a silkier sheen than cream alone. Because the quantities are modest, it’s fast to make and cools quickly when needed.
What to Use Instead
Chocolate variations
- Dark chocolate (higher cocoa%) — use for a deeper, more intense flavor; expect a firmer set.
- Milk chocolate — sweeter and softer; ganache will be creamier and set more softly.
- White chocolate — melts differently (higher sugar and milk solids); watch temperature carefully and expect a much softer set.
Fat and dairy swaps
- Heavy cream alternatives — cream is best for texture. If you must, use full‑fat coconut milk for a dairy‑free option; flavor will change noticeably.
- Butter alternatives — a neutral oil or coconut oil can be used, but they’ll change mouthfeel and sheen.
What’s in the Gear List
- Heatproof bowl — for the chocolate; glass or metal works well.
- Microwave‑safe bowl — for heating the cream and butter together.
- Whisk — for building a smooth, glossy emulsion.
- Small spatula — to scrape every bit of ganache out of the bowl.
- Sharp knife and cutting board — to chop a chocolate bar into small, even pieces if not using chips.
Problems & Prevention
Chocolate seizes or becomes grainy
Cause: Chocolate got too hot or came into contact with water. Prevention: Keep the cream just below boiling; use short microwave bursts and avoid splashing water into the chocolate bowl. If it seizes, gently whisk in a teaspoon of warm cream or a small splash of neutral oil to bring it back together.
Ganache is too thin
Cause: Too much heat or too high a cream ratio for the chocolate type. Prevention: Let the ganache cool to room temperature to thicken. For a quicker fix, chill in the fridge, stirring every 5–10 minutes until you reach the desired thickness.
Ganache is too thick
Cause: Over-cooled or too little cream for the chocolate you used. Prevention: Warm gently (5–10 seconds in the microwave) and whisk, or add a teaspoon of warm cream and whisk to loosen.
Butter not fully incorporated
Cause: Butter pieces too large or not hot enough. Prevention: Cut butter into small pieces; heat cream until steaming so butter melts fully. If needed, reheat the bowl briefly and whisk until smooth.
In-Season Swaps
Ganache is a canvas. In cooler months, add a pinch of ground cinnamon or a teaspoon of instant espresso powder to deepen flavor. In warmer seasons, a splash of orange liqueur or finely grated citrus zest brightens the chocolate. If berries are in season, use the ganache as a dip for strawberries or to sandwich fresh fruit between cake layers—just be mindful of moisture from fruit, which can thin the ganache over time.
Cook’s Notes
- Chopping chocolate — aim for small, uniform pieces. This helps them melt evenly and reduces the chance you’ll need extra heat later.
- Temperature control — steam is your cue. If the cream is steaming and small bubbles appear at edges, it’s ready. Do not let it boil.
- Whisking technique — start in the center and work outward in slow, controlled strokes. This encourages emulsification and a glossy finish without incorporating too much air.
- Batch scaling — double or triple carefully. Keep the same cream-to-chocolate ratio and use a larger heatproof bowl to maintain even heating.
- Finishing textures — for an ultra-glossy glaze, strain the ganache through a fine sieve before pouring to remove any unmelted flecks.
Save It for Later
Refrigerate leftover ganache in an airtight container for up to one week. It will firm up; bring it to room temperature and whisk or warm briefly to reuse. For longer storage, freeze ganache for up to three months. Thaw overnight in the fridge, then warm gently and whisk to restore shine and pourability.
Handy Q&A
Can I use chocolate chips?
Yes. Chocolate chips are formulated to hold shape, so they might take a touch longer to melt than chopped bar chocolate. Break them up if possible and follow the same steps; heat briefly if pieces remain after whisking.
What’s the best chocolate percentage?
Semi‑sweet (around 55–65% cocoa) is versatile—sweet enough for many uses but still bold. Higher-percentage dark chocolate gives a more intense flavor and a firmer set. Match the chocolate to the dessert and your sweetness preference.
Can I flavor the ganache?
Yes—add extracts, liqueurs, instant coffee, or zest. Add delicate liquids sparingly and whisk them in after the ganache is smooth. Too much liquid can change texture, so keep additions to small amounts (a teaspoon or so) unless you adjust ratios.
How do I get a mirror-like finish?
Strain the ganache before using and pour it warm in one steady motion. A thin coating and minimal stirring after pouring keeps the surface smooth. Adding the tablespoon of butter helps with shine, too.
Make It Tonight
Start with good, even pieces of chocolate and put the cream on for 30 seconds. Follow the timing and resting steps exactly, and you’ll have glossy ganache in minutes. Use it warm over a simple sheet cake or let it thicken to spread between cookies for an elevated sandwich. This small-batch method is fast enough for weeknights and reliable enough for company.
When you try it, focus on the two key cues: cream steaming (not boiling) and letting the hot cream sit on the chocolate for three minutes. Those two moves do most of the work. Whisk well, scrape the bowl, and enjoy the shiny, chocolatey payoff.
Easy Chocolate Ganache
Equipment
- Heatproof bowl
- Microwave-safe Bowl
- Whisk
Ingredients
Ingredients
- 4 ouncessemi sweet chocolate
- 1/3 cupheavy cream
- 1 tablespoonunsalted butter
Instructions
Instructions
- Place 4 ounces semi‑sweet chocolate in a heatproof bowl; if using a bar, chop or break it into small, even pieces so it melts evenly.
- Put 1/3 cup heavy cream and 1 tablespoon unsalted butter in a microwave‑safe bowl; cut the butter into smaller pieces so it melts evenly.
- Microwave the cream and butter on high for 30 seconds. If the mixture is not steaming and the butter not fully melted, heat in additional 10–15 second intervals until just steaming — do not let it boil.
- Immediately pour the hot cream-and-butter mixture over the chocolate, making sure all the pieces are covered. Do not stir.
- Let the mixture sit undisturbed for 3 minutes to soften the chocolate.
- Whisk from the center outward until the ganache is completely smooth and glossy; if any chocolate remains unmelted, heat the bowl for 5–10 seconds and whisk again.
- Use the ganache warm for a pourable glaze, or let it cool to room temperature to thicken for spreading or filling.