I make this hummus on repeat when the pantry is short or when tahini feels like overkill. It’s straightforward, bright, and forgiving — just the kind of recipe I reach for when I want a quick, homemade dip without a complicated ingredient list. The chickpeas give you that classic creamy base; lemon and garlic add zip; a little oil smooths everything out. No tahini means a lighter, milder flavor that still satisfies.
This version is intentionally simple: one can of chickpeas, a couple of garlic cloves, lemon, oil, water, cumin, and salt. You don’t need specialty grocery runs. A food processor or a good blender gets you to a silky texture in minutes. It’s great for weeknight snacking, lunchboxes, or a last-minute party dip.
I’ll walk you through what’s in the bowl, the exact process I use, troubleshooting tips, storage, and a few serving ideas for every season. If you’ve tried hummus before and found it bland or gritty, read on — there are small adjustments that fix most problems.
Ingredients
- 15-ounce can of garbanzo beans (chickpeas), drained and rinsed — the creamy base; rinsing removes the canning liquid and brightens the flavor.
- 2 garlic cloves — gives a fresh, sharp backbone; adjust to taste if you prefer milder garlic.
- 2 tablespoons lemon juice — adds acidity and lift; fresh is best but bottled works in a pinch.
- 3 tablespoons olive or grapeseed oil — smooths and enriches the texture; use olive for flavor or grapeseed for a neutral profile.
- 3 tablespoons water — used to adjust consistency; add slowly until you reach the texture you want.
- ½ teaspoon ground cumin — warm, earthy spice that complements the chickpeas without overpowering them.
- ¼ teaspoon salt — essential for balance; start here and adjust after tasting.
- crushed red pepper flakes — optional garnish to add heat and color.
- chopped parsley — optional garnish for freshness and a pop of green.
What Goes Into Hummus without Tahini
At its core, this is chickpea hummus pared down to essentials. The garbanzo beans give you body and a subtly nutty flavor. Garlic gives a forward note; lemon and salt brighten everything. Oil replaces the richness you’d normally get from tahini, and water thins the dip to whatever texture you prefer. Cumin is optional to some people, but I like the warmth it adds — it makes the hummus taste fuller, especially without sesame paste.
Because there’s no tahini, the hummus tastes cleaner and less earthy. That simplicity makes it versatile: you can lean into bright Mediterranean flavors with fresh herbs and lemon, or add heat with paprika and red pepper flakes. It’s also a friendly option for anyone who’s avoiding sesame for allergies or for pantry reasons.
Cooking Hummus without Tahini: The Process
- Drain and rinse the 15-ounce can of garbanzo beans (chickpeas) and drain well; peel the 2 garlic cloves.
- Place the drained chickpeas, peeled garlic cloves, 2 tablespoons lemon juice, 3 tablespoons olive or grapeseed oil, ½ teaspoon ground cumin, and ¼ teaspoon salt into a food processor or blender. Secure the lid.
- Blend until mostly smooth, stopping to scrape down the sides with a spatula as needed.
- With the processor or blender running, add the 3 tablespoons water in 1-tablespoon increments, blending after each addition, until the hummus reaches your desired consistency.
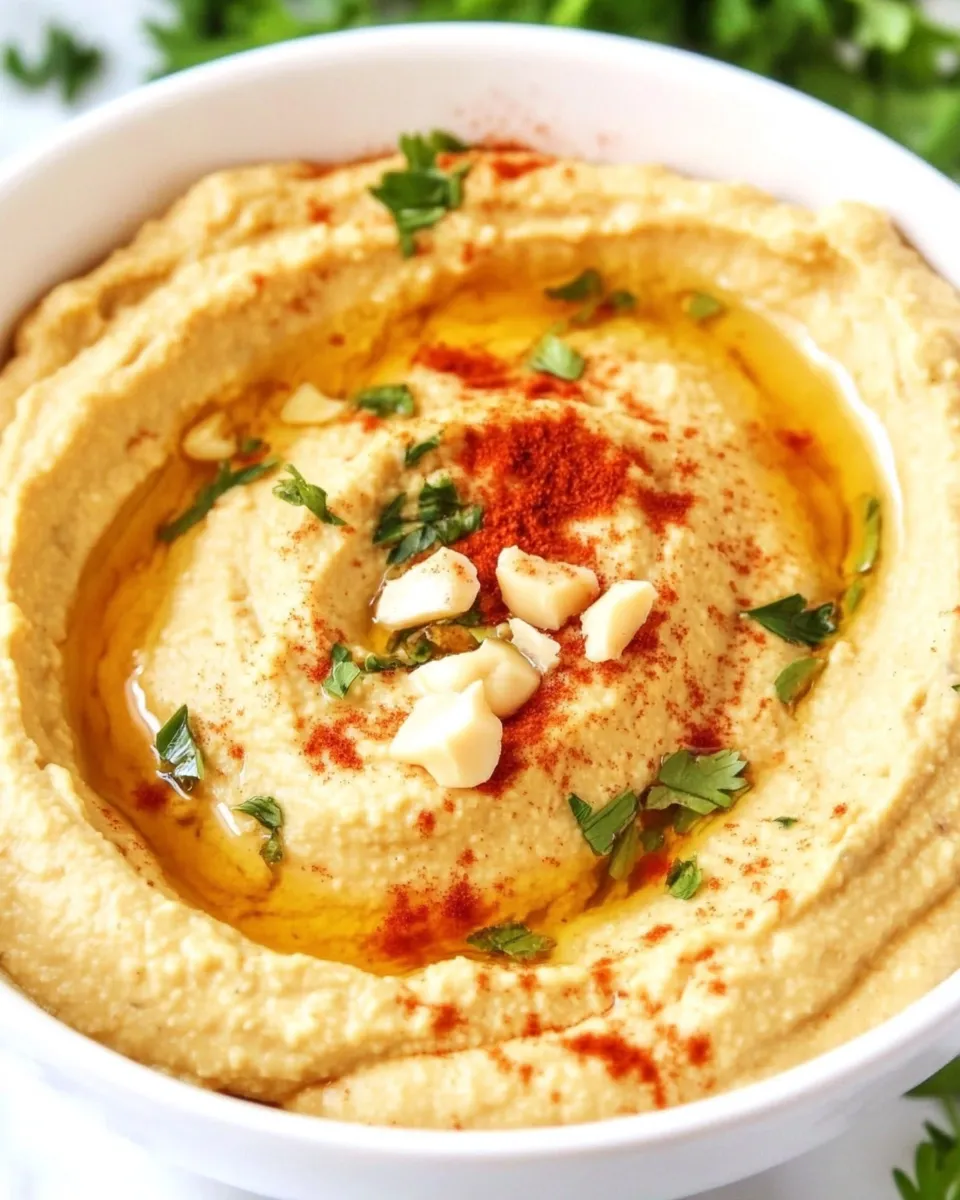
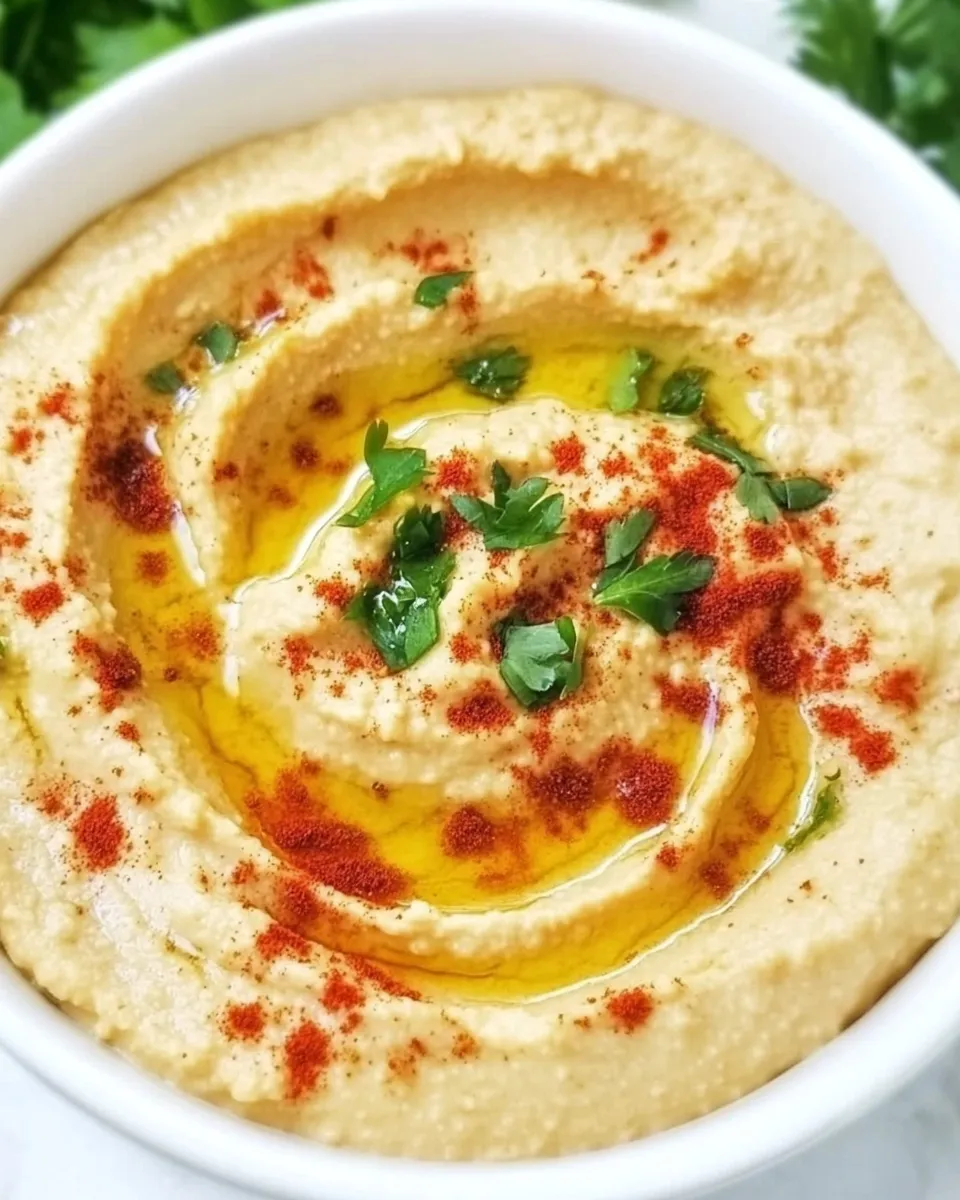
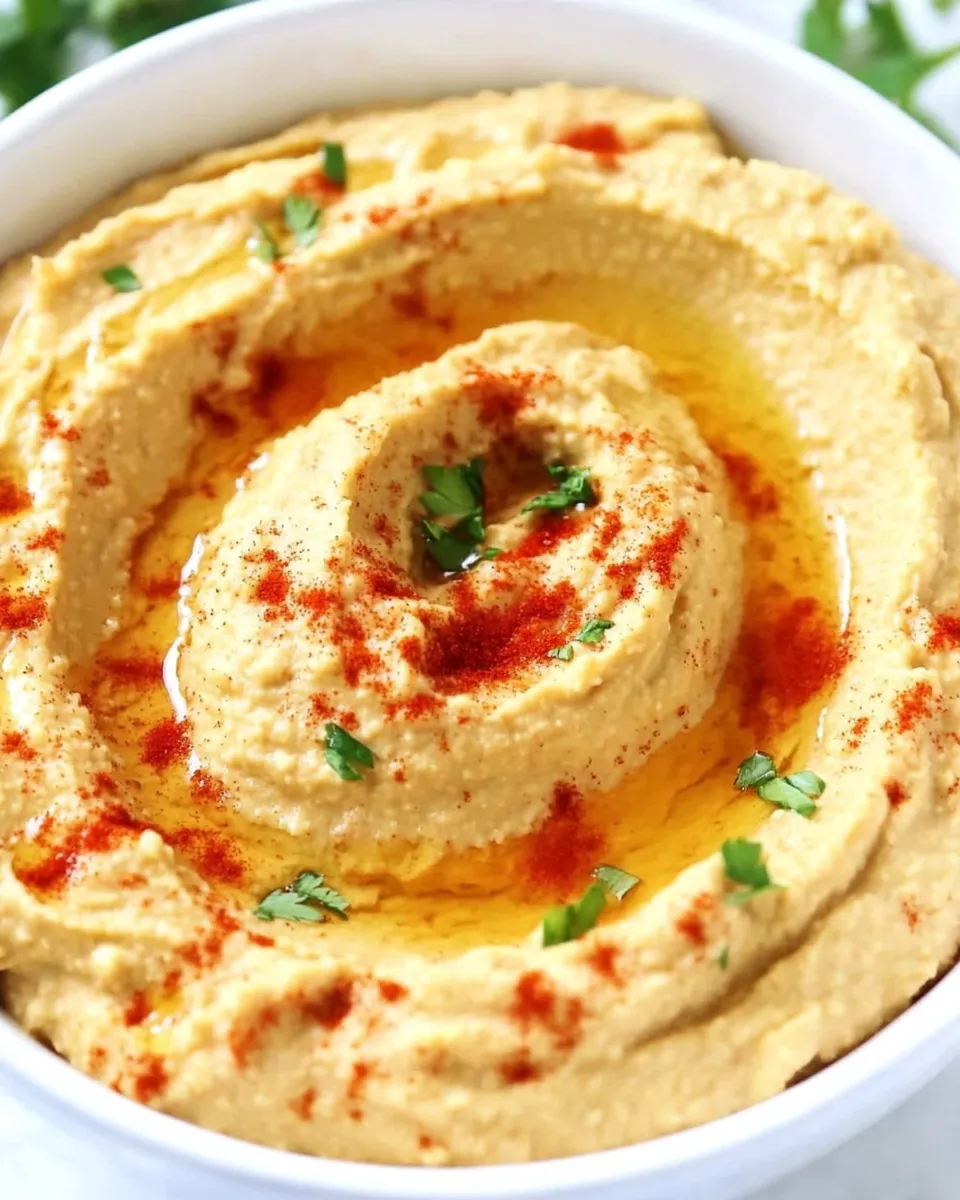
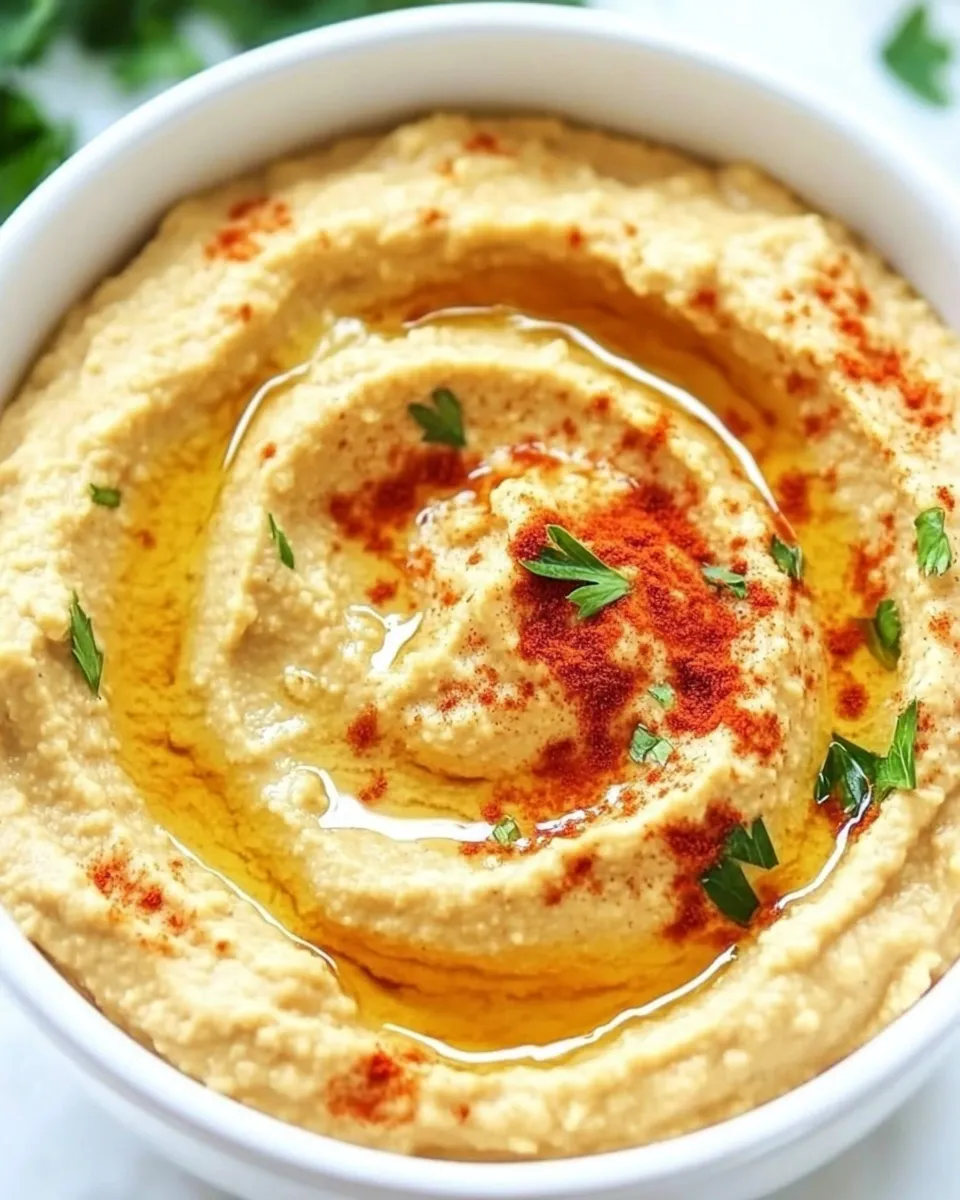
- Transfer the hummus to a serving bowl and, if desired, garnish with crushed red pepper flakes and chopped parsley.
Why This Recipe Works
Removing tahini simplifies flavor and texture without making the dip thin or lifeless. The oil and the stepwise addition of water are the two keys: oil provides fat to carry flavor and give a silky mouthfeel, while adding water slowly prevents over-thinning. Blending until “mostly smooth” and scraping the sides ensures even processing so there aren’t any lumps tucked away near the motor.
Cumin and lemon are tiny ingredients with a large impact. Cumin supports the chickpea’s natural nuttiness and makes the overall profile taste rounded despite the missing sesame. Lemon juice brightens the beans and brings out their best notes; it also interacts with the oil to give a more cohesive texture.
Finally, starting with a drained and rinsed can of beans guarantees consistent salt and flavor levels. The recipe’s quantities are balanced to produce a hummus that’s flavorful but not aggressive — and easy to tweak to your taste.
Low-Carb/Keto Alternatives
Traditional hummus is higher in carbs because of chickpeas. If you’re keeping carbs low, use this recipe strategically rather than trying to replicate chickpeas exactly. Two practical approaches work well:
– Serve small portions: a tablespoon or two of this hummus goes a long way when paired with low-carb dippers like cucumber rounds, celery sticks, or endive leaves. You keep the flavor without consuming a large carb load.
– Make inspired swaps for dipping: instead of bread or crackers, use cheese crisps, sliced radish, or baked zucchini chips. The hummus itself is unchanged, but the overall snack becomes much lower in carbs.
Hardware & Gadgets
The most important tool here is a food processor or a high-speed blender. A food processor gives more control and easier scraping, which helps reach a very smooth texture. A strong blender will do the job if you stop and scrape often. If you only have a hand blender, you can make this in a deep, narrow container, but expect a bit more texture and longer blending time.
Use a good spatula to scrape the bowl between blends. That simple step prevents pockets of unmixed chickpeas and delivers the even, creamy texture you want.
Common Errors (and Fixes)
Too Thick or Grainy
Fix: Add the water in the recipe — up to 3 tablespoons — in 1-tablespoon increments while the machine runs. If it’s still grainy, let it blend longer and scrape the sides more often. A splash more oil (no extra measurement provided) can help finish it off if the texture is stubborn, but try the water first.
Overly Garlicky or Salty
Fix: If the garlic is too sharp, stir in a little plain yogurt or a small amount of mashed white beans to mellow (note: these are adjustments, not required ingredients). If it’s too salty, add a few more rinsed chickpeas (from another can) or dilute with a tablespoon of plain cooked potato or cauliflower purée to absorb excess salt. Taste as you go and adjust gradually.
Too Thin
Fix: You can thicken slightly by chilling the hummus; it firms up when cold. Alternatively, pulse in a few extra mashed chickpeas or let it sit in the fridge to allow flavors to settle and texture to tighten.
Spring to Winter: Ideas
Spring: Serve the hummus with a medley of blanched asparagus and fresh peas, or spread it on toasted sourdough with thinly sliced radishes and herbs.
Summer: Top the hummus with a drizzle of good olive oil, chopped tomatoes, basil, and a pinch of flaky sea salt. Use it as a spread in a veggie sandwich with cucumber, roasted peppers, and arugula.
Fall: Pair it with roasted root vegetables — carrots, sweet potatoes, or beets — for a warm, earthy plate. Add a dusting of smoked paprika for a cozy note.
Winter: Serve warmed slightly and topped with sautéed mushrooms and thyme, or use it as a creamy base under slow-roasted meats and hearty greens.
Behind the Recipe
I developed this as a pantry-friendly alternative when my tahini jar vanished from the back of the fridge. What surprised me was how quickly the simple version grew on friends and family. Without tahini’s weight, the chickpea’s clean flavor comes forward. It’s also a forgiving recipe — it tolerates tweaks and still tastes like hummus.
On busy nights I’ll double the batch and keep some in the fridge for lunches, or spoon it into a shallow container, top with a little oil, and bring it to potlucks. People often assume there’s tahini in it because of the familiar texture; that’s the best compliment for a recipe that’s intentionally minimalist.
Keep It Fresh: Storage Guide
Refrigerator
Store hummus in an airtight container in the fridge for up to 4–5 days. Press a piece of plastic wrap directly onto the surface before sealing to minimize air contact and keep the top from drying out. If oil separates slightly, stir gently before serving.
Freezer
This hummus freezes okay in a tight container for up to one month, though texture can change slightly on thawing. Thaw overnight in the refrigerator and stir well; you may need to add a teaspoon or two of water and blend briefly to restore creaminess.
Helpful Q&A
Q: Can I use dried chickpeas instead of a can? A: Yes. If you cook dried chickpeas, drain them and use the same volume as the canned beans. Reserve some of the cooking liquid — a little of that starchy liquid can replace part of the water if you want an even silkier texture.
Q: Can I skip the cumin? A: Absolutely. The cumin is a flavor booster; omit it if you prefer a purer chickpea-lemon-garlic profile.
Q: How can I make this spicier? A: Stir in crushed red pepper flakes to taste, or top with a sprinkle before serving. Smoked paprika also adds a nice warmth without changing texture.
Q: Is this recipe allergen-friendly? A: It’s sesame-free since there’s no tahini, which makes it suitable for people avoiding sesame. Always check labels for cross-contamination if allergies are a concern.
In Closing
This hummus without tahini is proof that a handful of good techniques beat a long list of ingredients. Drain and rinse the beans, blend thoroughly, and add liquid slowly. The result is a versatile, bright dip that works year-round. Keep the recipe in your rotation for quick snacks, last-minute guests, or a healthier swap for store-bought versions. It’s simple, tasty, and easy to make your own.
Easy Hummus without Tahini
Equipment
- Food processor or blender
- Spatula
- Serving Bowl
Ingredients
Ingredients
- 15 ouncecan of garbanzo beanschickpeas drained and rinsed
- 2 garlic cloves
- 2 tablespoonslemon juice
- 3 tablespoonsolive or grapeseed oil
- 3 tablespoonswater
- 1/2 teaspoonground cumin
- 1/4 teaspoonssalt
- crushed red pepper flakesoptional garnish
- chopped parsleyoptional garnish
Instructions
Instructions
- Drain and rinse the 15-ounce can of garbanzo beans (chickpeas) and drain well; peel the 2 garlic cloves.
- Place the drained chickpeas, peeled garlic cloves, 2 tablespoons lemon juice, 3 tablespoons olive or grapeseed oil, ½ teaspoon ground cumin, and ¼ teaspoon salt into a food processor or blender. Secure the lid.
- Blend until mostly smooth, stopping to scrape down the sides with a spatula as needed.
- With the processor or blender running, add the 3 tablespoons water in 1-tablespoon increments, blending after each addition, until the hummus reaches your desired consistency.
- Transfer the hummus to a serving bowl and, if desired, garnish with crushed red pepper flakes and chopped parsley.
Notes
Serve with vegetables or chips, spread of pita or tortilla in wraps OR add to pasta.