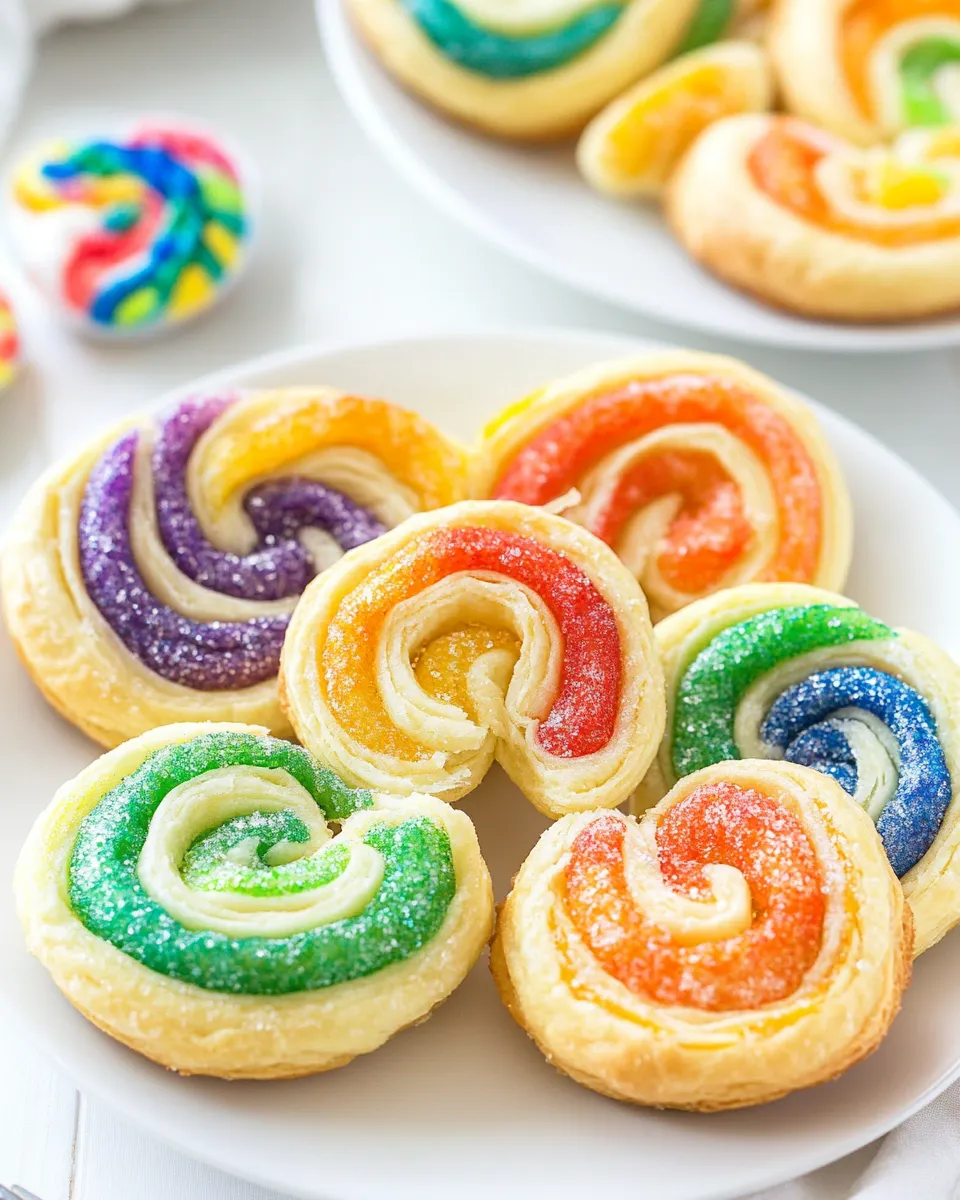
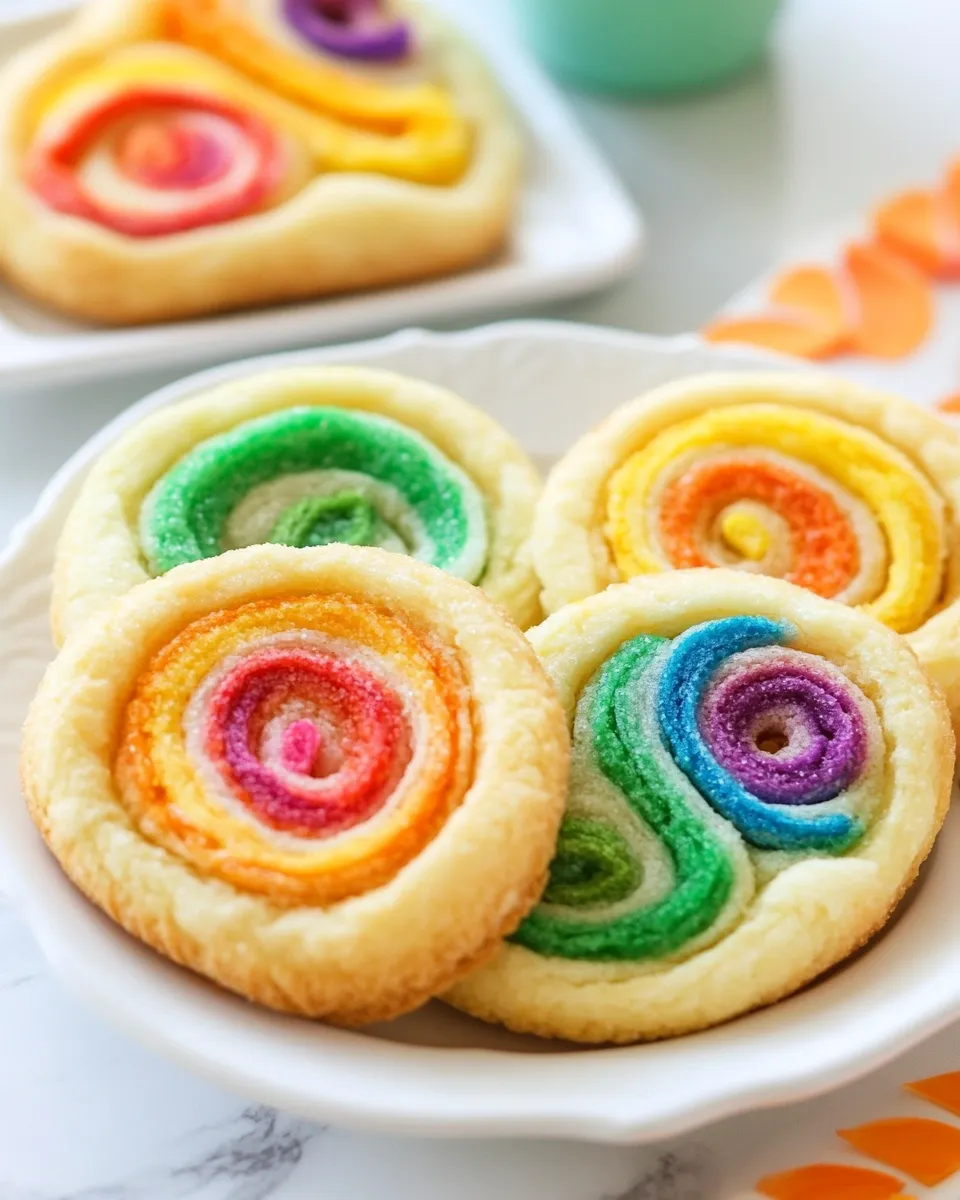
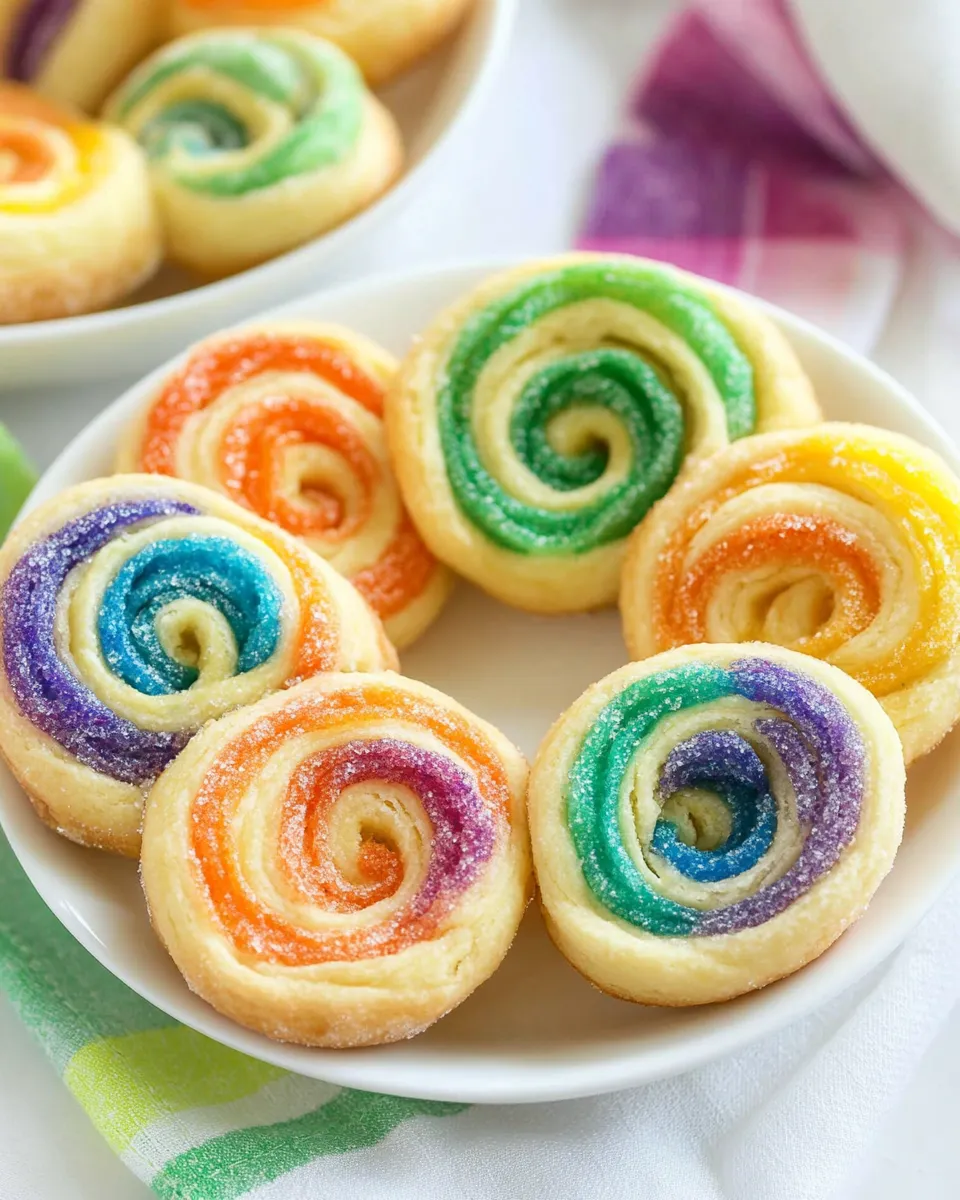
Palmiers are one of those tiny triumphs in the kitchen: simple ingredients, quick assembly, and reliably impressive results. With just store-bought crescent roll dough and a little sugar, you can get caramelized, flakey cookies that look delicate but are utterly straightforward. These “rainbow” palmiers are a playful twist — colorful edges from food coloring or sprinkles are optional and purely decorative; the base method is the same every time.
I love pulling a tray of palmiers out of the oven when friends pop by. They require almost zero prep, and they feel fancier than they are. Because the dough is already laminated inside the tube, you get layers and caramelized sugar in minutes. If you want a showstopper that won’t steal your afternoon, palmiers are it.
Below I’ll walk you through the exact steps, list the equipment that makes the job easier, and troubleshoot the usual hiccups so you get crisp, golden palmiers every time. This is practical, no-nonsense baking that still looks beautiful on a platter.
What Goes In
Ingredients
- 1 tube Pillsbury Crescent Roll Dough — the laminated dough that creates the flaky layers; keep it cold until you’re ready to roll.
- 2 tablespoons granulated sugar plus a few pinches — provides the caramelized exterior and a crisp crunch; reserve a few pinches for finishing the tops before baking.
Palmiers (Rainbow Palmiers): From Prep to Plate
- Remove the tube of crescent roll dough from the packaging and unroll it onto a clean, lightly floured or dry work surface so you have one joined rectangle.
- Press all the seams and perforations firmly with your fingers or a rolling pin so the rectangle is sealed into one sheet.
- Evenly sprinkle 1 tablespoon of the granulated sugar over one side of the rectangle and press lightly with your hands so it adheres. Gently flip the rectangle over. Evenly sprinkle the remaining 1 tablespoon of granulated sugar over the other side. Set aside a few pinches of sugar for finishing.
- Starting at the long edges, tightly roll each side of the rectangle toward the center until the two rolls meet in the middle, forming a double roll log. Press the seam where they meet to help them stick together.
- Wrap the log tightly in plastic wrap and chill in the refrigerator for at least 1 hour (this firms the dough and makes slicing neater).
- When ready to bake, preheat the oven to 375°F (190°C). Line two baking sheets with parchment paper or silicone baking mats, or lightly grease them.
- Unwrap the chilled dough and, using a sharp knife, slice the log into 1/2-inch-thick slices. Place the slices cut-side up on the prepared baking sheets about 2 inches apart. If desired, sprinkle the reserved few pinches of sugar over the tops of the slices.
- Bake in the preheated oven for 10–20 minutes, checking at 10 minutes. Bake until the bottoms and edges are golden brown and the sugar has melted and caramelized.
- Remove the sheets from the oven and let the palmiers cool on the baking sheet for a few minutes so the sugar sets, then loosen each with a spatula and transfer to a wire rack to cool completely.
Why This Recipe Belongs in Your Rotation
Palmiers are an excellent weekday treat or last-minute party offering because they take almost no time and use a single packaged ingredient as the base. The technique is repeatable: once you know how to press the seams, sugar one side, flip, sugar the other, roll and chill, you’ll crank these out with very little thought.
They’re also forgiving. The biggest variables are how tightly you roll and how long you chill — both of which you can refine with practice. Even if the first batch spreads a bit more than you expected, the caramelized sugar still tastes wonderful. For a host who wants something pretty and homemade without investing hours, palmiers win every time.
Finally, they’re portable and store well for short-term serving. Baked palmiers travel nicely in a tin or airtight container, so they’re perfect for bringing to coffees, potlucks, or picnics where you want a sweet that isn’t sticky or messy.
Easy Ingredient Swaps
- Keep it simple — this recipe relies only on crescent dough and sugar. If you want to alter texture, use a different brand of pre-made laminated dough (Puff pastry can be used if you prefer, though it behaves slightly differently).
- For a glossier finish, you can brush melted butter over one side before sprinkling sugar — optional and not required by the source directions.
- If you’re adding color for rainbow palmiers, use a few drops of food coloring on the sugar or press colored sanding sugar into the surface before chilling. This is purely decorative and optional.
Must-Have Equipment
- Sharp knife — for clean, even 1/2-inch slices of the chilled log.
- Baking sheets — at least two so you can give the palmiers space to bake without crowding.
- Parchment paper or silicone baking mats — prevents sticking and makes cleanup faster.
- Plastic wrap — for wrapping the log tightly and chilling so slicing is neat.
- Wire rack — cooling on a rack keeps bottoms from getting soggy as the sugar sets.
Things That Go Wrong
- Palmiers spread too much — usually because the log wasn’t chilled long enough or the dough warmed while you sliced it. Chill for at least the recommended 1 hour and work with a cool surface.
- Sugar burns on the bottom — check at the earlier end of the bake window. Oven temperatures vary; start checking at 10 minutes and rotate the sheet if your oven has hot spots.
- Slices fall apart — the seam where the two rolls meet should be pressed firmly. If you don’t seal it, the log can open while slicing or baking.
- Palmiers aren’t caramelized — not enough sugar on the surface or the oven isn’t hot enough. Be sure to evenly coat both sides with sugar as the directions state, and bake until the sugar melts and edges brown.
Dietary Customizations
This recipe is intentionally minimal and not meant to be overcomplicated. Because it uses a pre-made crescent roll tube, dietary changes depend on what alternatives you can source. Here are practical notes:
- If you need a dairy-free option, check for crescent dough labeled dairy-free or use a puff pastry made without butter — read labels carefully.
- Gluten-free options require special gluten-free laminated dough. Results will vary because the structure of gluten-free dough behaves differently when rolled and caramelized.
- Sweetness: if you want less sugar, reduce the salt-free garnish, but be aware that sugar is what caramelizes into the crisp, shiny exterior — cutting it too much will change texture and color.
Insider Tips
Here are the small things that make a big difference in the final palmier:
- Work with cold dough. Cold dough is less likely to stick and will slice cleaner after chilling. If your kitchen is warm, chill the sheet briefly before sprinkling sugar.
- Press seams firmly. Run your fingers firmly along every perforation and seam to create one continuous sheet so layers bake uniformly.
- Use a ruler if you want perfectly even slices. I usually eyeball 1/2-inch slices, but a quick ruler check helps when presentation matters.
- Space slices well. Giving each slice roughly 2 inches of breathing room prevents them from fusing into one another as the sugar melts and dough spreads.
- Watch the oven closely toward the end. The caramelization can go from golden to dark quickly; set a kitchen timer for 10 minutes and then check every 2 minutes if needed.
Make-Ahead & Storage
You can prepare palmiers partly in advance. Once you roll the double log and wrap it in plastic wrap, refrigerate for at least an hour and up to 24 hours before slicing and baking. Chilling longer firms the dough further and often makes the slices neater.
After baking, allow palmiers to cool completely on a wire rack. Store cooled palmiers at room temperature in an airtight container for up to 3 days. If they soften due to humidity, pop them in a 300°F (150°C) oven for 3–5 minutes to refresh the crispness — watch carefully so the sugar doesn’t darken.
Common Qs About Palmiers (Rainbow Palmiers)
- Can I make these gluten-free? Only if you can find a gluten-free laminated dough that behaves similarly to crescent dough. The texture may be different, and results vary.
- How do I get colorful edges for the “rainbow” look? Use colored sanding sugar or very sparing food coloring in the granulated sugar before pressing it onto the dough. Work lightly — small amounts go a long way.
- Can I bake them from frozen? It’s best to slice and bake from chilled, not frozen. If your log is frozen, thaw in the fridge until it’s sliceable but still firm; freezing solid and slicing frozen will risk uneven slices.
- Why did my palmiers stick to the paper? Make sure you use enough sugar — it forms a caramel barrier — and allow the palmiers to cool for a few minutes before moving them. If they cling, slide a thin offset spatula underneath to lift gently.
- Can I add fillings like jam or chocolate? The classic palmier is sugar-only; adding fillings can create sogginess or cause the rolls to leak. If you want a filled variation, use very small dots of thick ganache or jam and test one piece first.
The Last Word
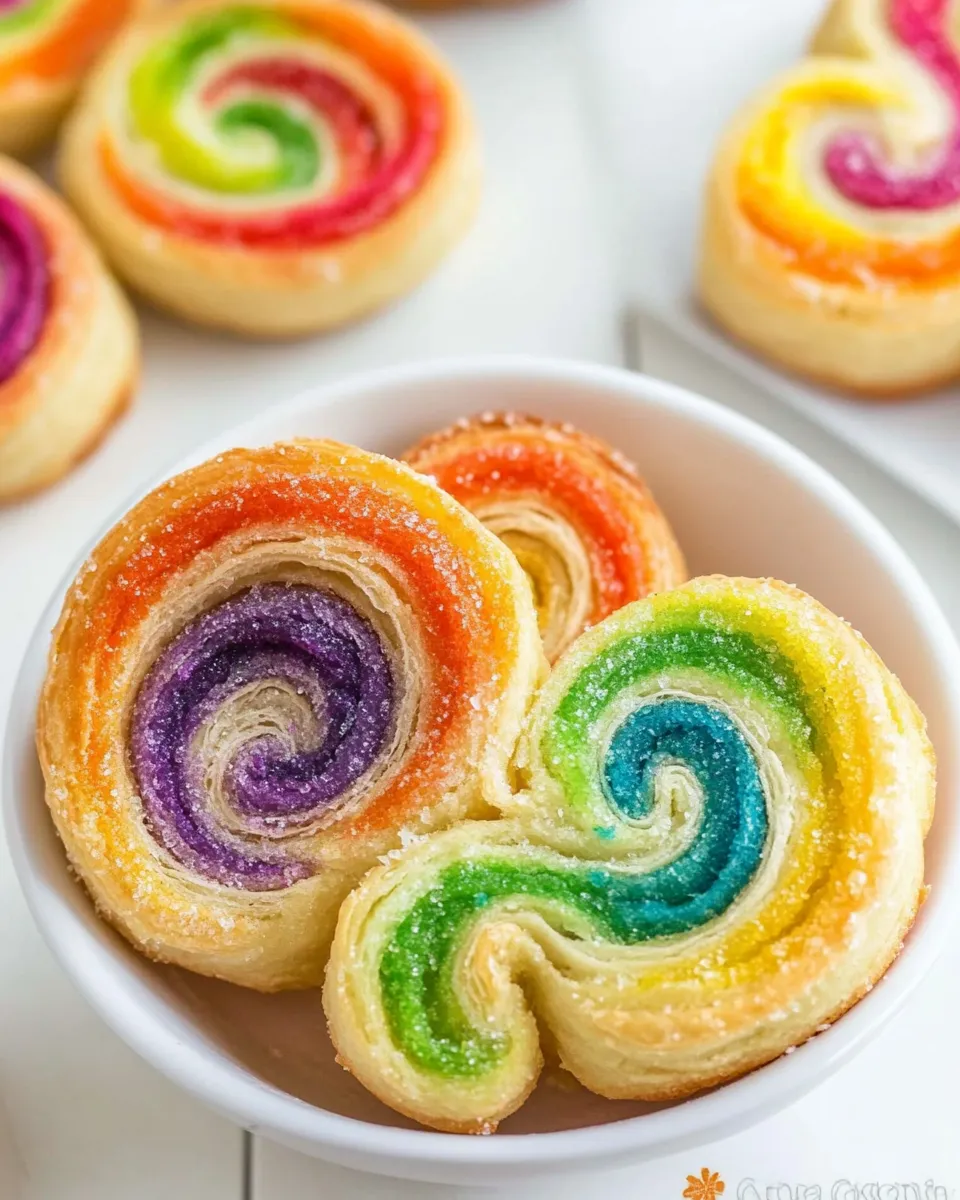
Palmiers are one of those deceptively simple recipes that offer a big payoff for minimal effort. They’re ideal when you want something homemade without fuss. Follow the steps, chill the log, slice evenly, and watch the sugar do its work in the oven. With a little practice you’ll be able to pull perfect little golden hearts or scrolls out of the oven anytime — and they’ll always look thoughtful and taste like a tiny party.
If you try these, I’d love to hear what you did for color or how you served them — they’re perfect alone with coffee or dressed up on a dessert board. Happy baking, and enjoy those crisp, caramelized edges.
Easy Palmiers (Rainbow Palmiers)
Equipment
- Rolling Pin
- Plastic Wrap
- Baking Sheets
- Parchment paper or silicone baking mats
- Sharp Knife
- Spatula
- Wire Rack
- Oven
Ingredients
Ingredients
- 1 tube Pillsbury Crescent Roll Dough8 rolls
- 2 tablespoonsgranulated sugarplus a few pinches
Instructions
Instructions
- Remove the tube of crescent roll dough from the packaging and unroll it onto a clean, lightly floured or dry work surface so you have one joined rectangle.
- Press all the seams and perforations firmly with your fingers or a rolling pin so the rectangle is sealed into one sheet.
- Evenly sprinkle 1 tablespoon of the granulated sugar over one side of the rectangle and press lightly with your hands so it adheres. Gently flip the rectangle over. Evenly sprinkle the remaining 1 tablespoon of granulated sugar over the other side. Set aside a few pinches of sugar for finishing.
- Starting at the long edges, tightly roll each side of the rectangle toward the center until the two rolls meet in the middle, forming a double roll log. Press the seam where they meet to help them stick together.
- Wrap the log tightly in plastic wrap and chill in the refrigerator for at least 1 hour (this firms the dough and makes slicing neater).
- When ready to bake, preheat the oven to 375°F (190°C). Line two baking sheets with parchment paper or silicone baking mats, or lightly grease them.
- Unwrap the chilled dough and, using a sharp knife, slice the log into 1/2-inch-thick slices. Place the slices cut-side up on the prepared baking sheets about 2 inches apart. If desired, sprinkle the reserved few pinches of sugar over the tops of the slices.
- Bake in the preheated oven for 10–20 minutes, checking at 10 minutes. Bake until the bottoms and edges are golden brown and the sugar has melted and caramelized.
- Remove the sheets from the oven and let the palmiers cool on the baking sheet for a few minutes so the sugar sets, then loosen each with a spatula and transfer to a wire rack to cool completely.
Notes
You can use any color sugar inside that you like.