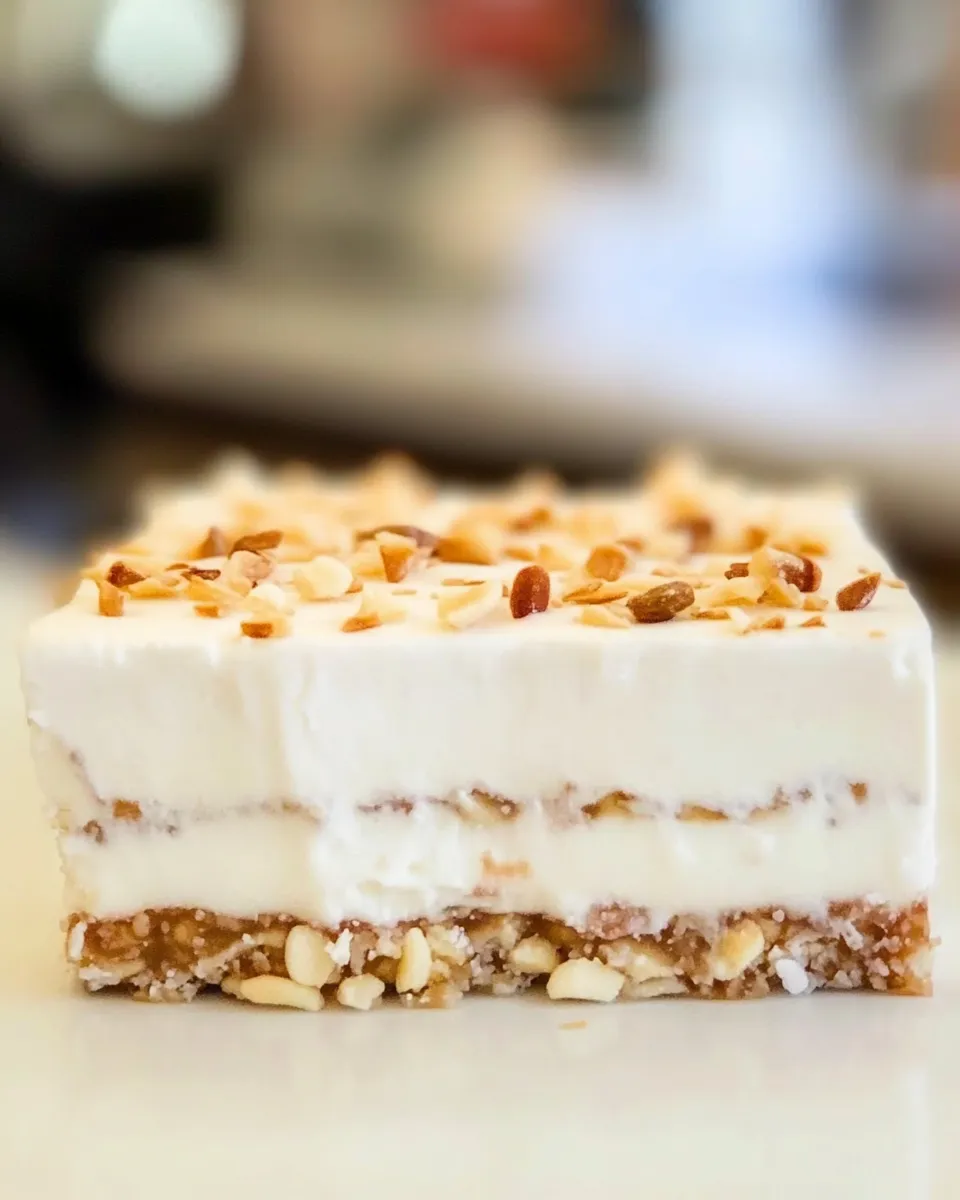
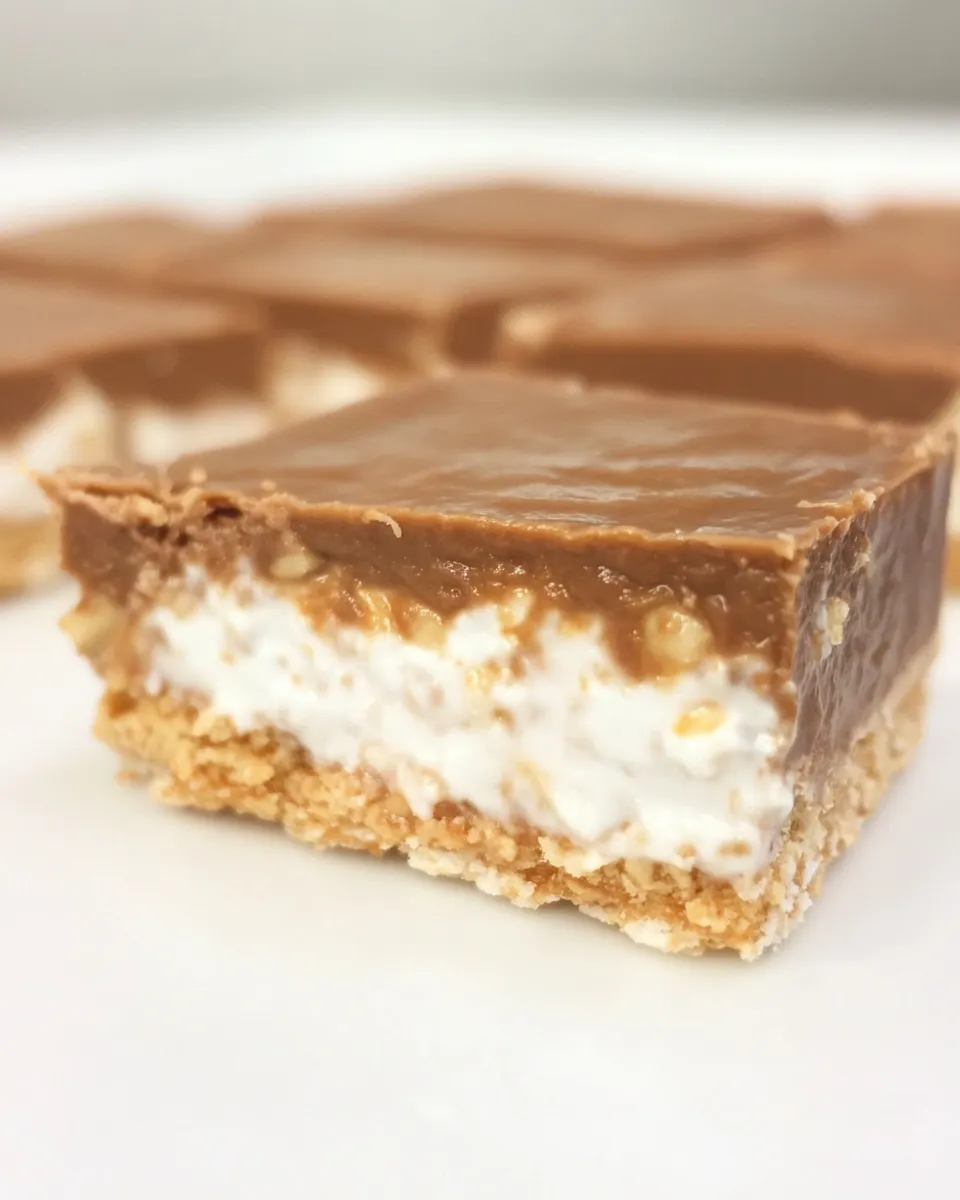
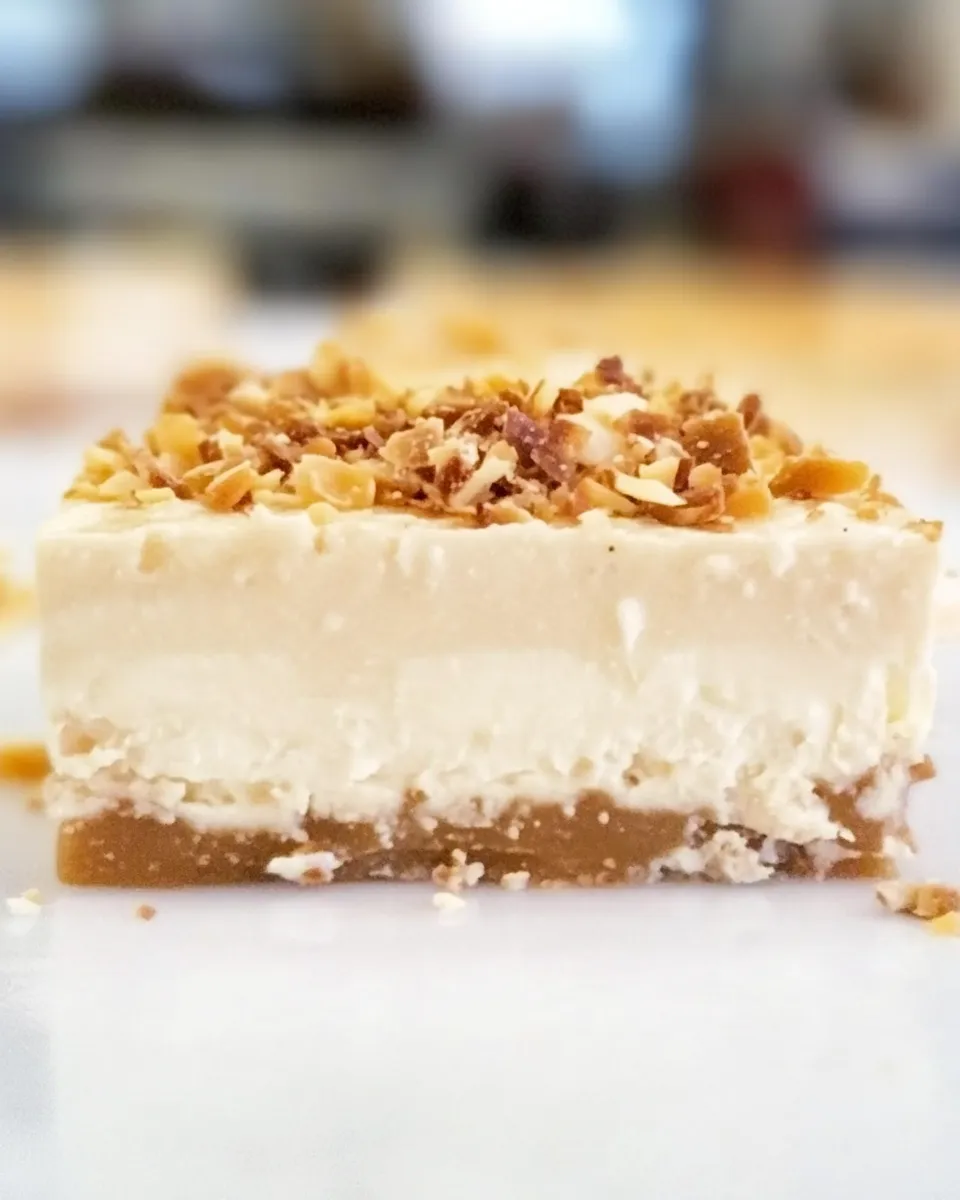
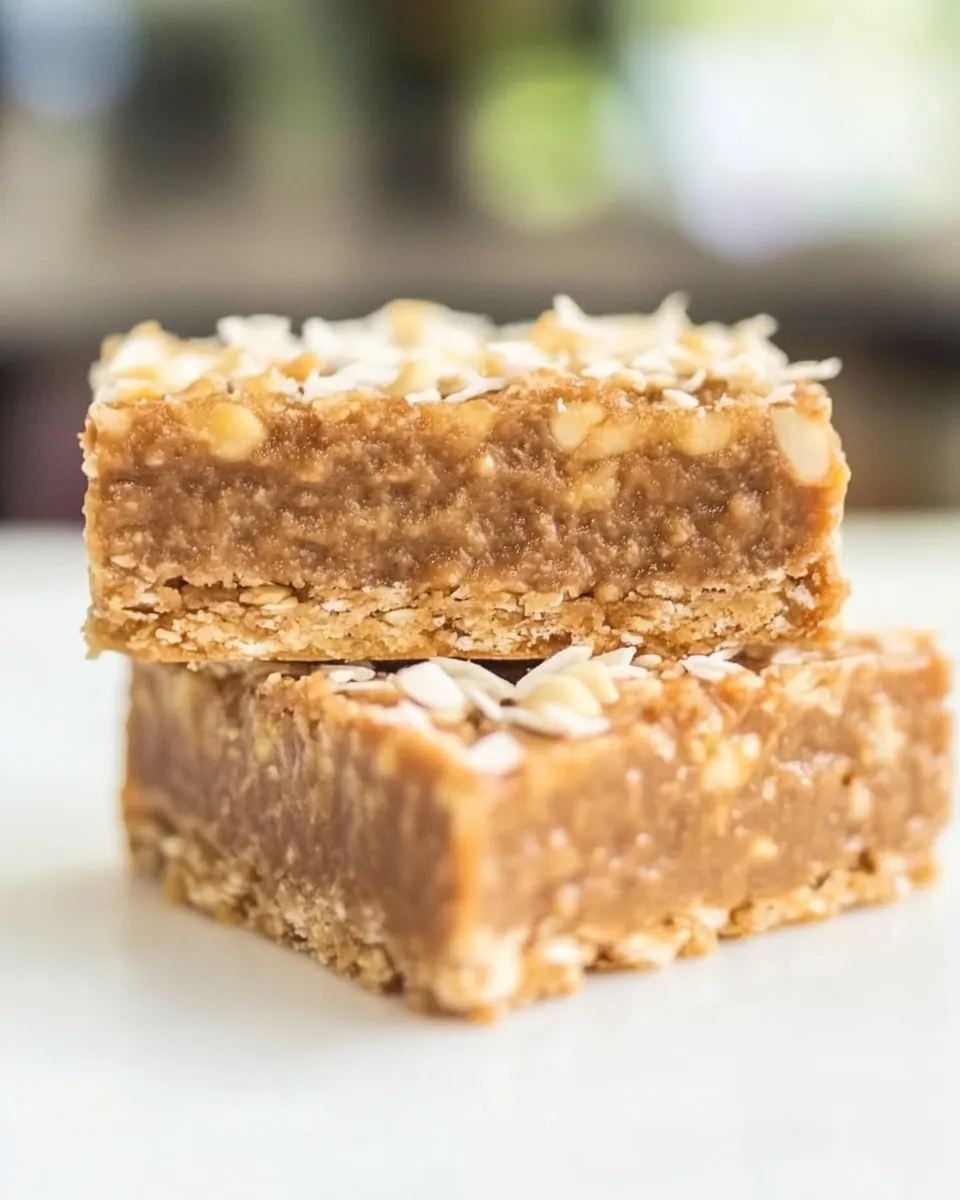
These bars are the kind of no-fuss, crowd-pleasing dessert I reach for when I want something impressive without fuss. They come together from pantry staples—graham crumbs, coconut, condensed milk—and end with a glossy chocolate topping. The texture is layered: a compact, slightly chewy base and a smooth chocolate cap that snaps when you bite in.
I test recipes with two goals: ease and consistency. This one delivers both. The steps are straightforward, and the bake time is predictable. If you can press a crust, melt chocolate, and wait for it to set, you can make perfect Five Star Bars.
Below you’ll find a clear shopping list, the exact ingredient notes I use, step-by-step instructions taken exactly from the recipe source, and practical tips for swaps, equipment, storage, and troubleshooting. Ready? Let’s get practical and efficient.
Shopping List
- 2½ cups graham cracker crumbs
- 2 cups shredded coconut
- 1 can sweetened condensed milk
- ¼ cup melted butter
- 1 teaspoon vanilla
- 4 milk chocolate bars (approximately 42 grams each)
- ¼ cup oil
Ingredients
- 2½ cups graham cracker crumbs — Forms the dry framework of the base; press firmly for a compact layer.
- 2 cups shredded coconut — Adds chew and flavor; sweetened or unsweetened both work, but unsweetened keeps sweetness balanced.
- 1 sweetened condensed milk — Acts as the binder and gives the base its chewy, sweet structure.
- ¼ cup melted butter — Provides fat to hold crumbs together and a tender bite; melt and cool slightly before mixing.
- 1 teaspoon vanilla — Small but impactful; rounds out sweetness and deepens flavor.
- 4 milk chocolate bars (approximately 42 grams each) — Melted for the top layer; choose a bar you like to eat.
- ¼ cup oil — Stabilizes the melted chocolate and keeps it shiny and pourable; neutral oil is best.
Method: Five Star Bars
- Preheat the oven to 375°F. Line an 8×8 pan with parchment paper or foil.
- In a large bowl, combine 2½ cups graham cracker crumbs, 2 cups shredded coconut, 1 sweetened condensed milk, ¼ cup melted butter, and 1 teaspoon vanilla. Stir until the mixture comes together into a firm, slightly sticky mass.
- Transfer the mixture to the prepared pan and press it firmly and evenly into the bottom to form a compact layer.
- Bake at 375°F for 15 minutes. Remove the pan from the oven and allow the baked layer to cool until it is warm to the touch (about 10–15 minutes).
- While the base cools, break 4 milk chocolate bars (approximately 42 grams each) into pieces and place them in a small bowl with ¼ cup oil. Melt the chocolate and oil together, stirring until smooth—microwave in short intervals with stirring between, or melt over a double boiler.
- Pour the melted chocolate evenly over the graham cracker-coconut layer and spread to cover. Let cool completely until the chocolate is set before slicing and serving.
Why It’s My Go-To
It’s reliable. I can assemble this in one bowl, bake it, and set the top in under an hour of active work. The ingredients are pantry-stable and affordable, which makes this a go-to when I need something for potlucks or last-minute company.
The texture contrast sells it: a slightly crisp edge where the crust browned, a chewy interior from the condensed milk and coconut, and a smooth chocolate lid. The recipe scales well and tolerates small adjustments, so it’s forgiving for home cooks.
Dairy-Free/Gluten-Free Swaps
Player-friendly swaps here work well, but keep proportions steady.
- Gluten-free: Use certified gluten-free graham-style crumbs or blitz gluten-free cookies until fine. The structural role is the same; press firmly.
- Dairy-free: Replace the milk chocolate with a dairy-free dark or vegan milk-style chocolate, and swap the ¼ cup melted butter for a dairy-free margarine or coconut oil (solid, melted).
- Sweetened condensed milk: This is tougher to swap cleanly. Look for canned dairy-free sweetened condensed milks (made from coconut) if you need a fully dairy-free bar.
Equipment Breakdown
Keep the tool list minimal. The right tools make the difference between a messy pour and a neat finish.
- 8×8 pan: Fits the recipe and gives the right thickness. Use parchment or foil for easy removal.
- Bowl and spoon or spatula: A large mixing bowl to combine the base ingredients and a spatula to press the mixture evenly.
- Small heatproof bowl: For melting chocolate and oil. Microwave-safe or for use over a double boiler.
- Parchment paper or foil: Line the pan so you can lift the whole slab out to slice cleanly once set.
- Measuring cups and spoons: Precise quantities here mean consistent texture.
Troubles You Can Avoid
Common problems are easy to prevent with a couple of habits.
- Base too crumbly: If the base won’t hold when pressed, you likely need to press it more firmly or slightly warm the condensed milk mixture before pressing. Make sure the butter is melted and fully mixed in.
- Base soggy after baking: Overloading with condensed milk or not pressing evenly can cause uneven baking. Press the layer compactly and evenly so it bakes through uniformly.
- Chocolate seizing: Avoid adding cold liquid to chocolate. Use room-temperature oil and stir steadily while melting. If using a microwave, heat in 15–20 second bursts and stir between.
- Chocolate not setting: Cool completely at room temperature or pop in the fridge briefly. Too much oil will keep chocolate softer; follow the ¼ cup oil amount for shine without excess softness.
Season-by-Season Upgrades
Small seasonal touches keep this bar feeling fresh year-round.
- Spring: Stir in a tablespoon of finely chopped toasted almonds into the base for brightness and a little crunch.
- Summer: Use dark chocolate and finish with flaky sea salt for a grown-up contrast that pairs well with iced drinks.
- Autumn: Add ¼ teaspoon ground cinnamon to the base and sprinkle a few chopped pecans on the chocolate before it sets.
- Winter: Swap milk chocolate for a higher-percentage chocolate and garnish with crushed peppermint if you like a holiday touch.
Author’s Commentary
I love this recipe because it feels like an elevated candy bar made in my kitchen. There’s a nostalgic element—the graham and coconut combo tastes like childhood treats—but it’s polished by the chocolate finish. I often double the batch for gatherings and slice the larger slab into smaller squares for grazing plates.
When I test this, I focus on pressing the base firmly and tempering my speed when pouring the melted chocolate—too fast and the chocolate finds gaps and pools unevenly. Take an extra minute to smooth the surface; you’ll get cleaner slices.
Storage & Reheat Guide
Store cooled, sliced bars in an airtight container.
- Room temperature: Keep them in a single layer for up to 3 days in a cool spot; chocolate will remain set and the base stays pleasantly chewy.
- Refrigerator: Store up to 2 weeks; cover to prevent condensation on the chocolate. Bring to room temperature before serving for the best texture.
- Freezer: Freeze in a single layer on a tray until solid, then stack with parchment between layers in a sealed container. Freeze up to 2 months. Thaw overnight in the fridge, then come to room temperature before serving to avoid sogginess.
- Reheating: No reheating needed. If you want chocolate softer, a 5–8 second zap in the microwave on low power will soften the top for spreading or decorating—use caution to avoid melting through to the base.
Frequently Asked Questions
- Can I use sweetened coconut? Yes. Sweetened coconut will make the bars slightly sweeter. I often use unsweetened to control the overall sweetness, but either works.
- Do I have to line the pan? Lining with parchment or foil is strongly recommended. It lets you lift the whole slab out to slice cleanly and avoids scraping chocolate off edges when serving.
- Can I substitute chocolate chips for bars? You can. Use the same total weight in chips. Chips are designed to hold shape when melted, so they may need slightly more oil to reach a pourable consistency.
- How thin should I press the base? Press it firmly and evenly so it’s compact but not paper-thin. The prescribed pan size yields a bar with a satisfying ratio of base to chocolate—thicker if you like more chew, thinner if you prefer more chocolate.
- Why the oil in the chocolate? The oil keeps the melted chocolate smooth and glossy and makes it easier to pour and spread. Use a neutral oil; too much oil will prevent the chocolate from fully setting firm.
Let’s Eat
Slice into squares once the chocolate has fully set. A sharp knife warmed under hot water, wiped dry between cuts, gives the cleanest slices. Serve at room temperature so the base shows its chew and the chocolate keeps a pleasant snap.
These travel well to potlucks and make a tidy addition to a cookie plate. Keep a stash in the freezer for emergencies—pull a few out the night before, and you’ll have dessert ready in no time.
Five Star Bars
Ingredients
Ingredients
- 2 1/2 cupsgraham cracker crumbs
- 2 cupsshredded coconut
- 1 sweetened condensed milk
- 1/4 cupmelted butter
- 1 teaspoonvanilla
- 4 milk chocolate bars approximately 42 grams each
- 1/4 cupoil
Instructions
Instructions
- Preheat the oven to 375°F. Line an 8×8 pan with parchment paper or foil.
- In a large bowl, combine 2½ cups graham cracker crumbs, 2 cups shredded coconut, 1 sweetened condensed milk, ¼ cup melted butter, and 1 teaspoon vanilla. Stir until the mixture comes together into a firm, slightly sticky mass.
- Transfer the mixture to the prepared pan and press it firmly and evenly into the bottom to form a compact layer.
- Bake at 375°F for 15 minutes. Remove the pan from the oven and allow the baked layer to cool until it is warm to the touch (about 10–15 minutes).
- While the base cools, break 4 milk chocolate bars (approximately 42 grams each) into pieces and place them in a small bowl with ¼ cup oil. Melt the chocolate and oil together, stirring until smooth—microwave in short intervals with stirring between, or melt over a double boiler.
- Pour the melted chocolate evenly over the graham cracker-coconut layer and spread to cover. Let cool completely until the chocolate is set before slicing and serving.
Notes
Make sure the chocolate layer has hardened before slicing.