This cake is straightforward, reliable, and forgiving — exactly what I reach for when someone asks for chocolate but also needs gluten-free. It uses cooked quinoa as the main structure, which gives a moist crumb without any grainy gluten flour. The method is uncomplicated: blend the wet base, mix the dry, combine, fold in chocolate chips, and bake.
I like recipes that travel well from kitchen to kitchen. You don’t need special skills or rare tools. The cake comes together in a blender and finishes in two standard round pans, making it a great choice for weeknight baking or a casual celebration. The frosting step is generous; there’s enough to frost the top, sides, and the layer between the cakes.
Read the recipe through once, then follow the steps in order. Small touches make a big difference — measuring accurately, cooling the layers fully before frosting, and using room-temperature eggs when you can. I’ll walk you through the why behind the steps, common mistakes, and practical fixes so your cake behaves every time.
Ingredients at a Glance
- 2 cups cold cooked quinoa — provides structure and moisture in place of flour; must be cold so the batter blends smoothly.
- ¾ cup melted butter — adds rich flavor and tenderness; fully melted helps it mix uniformly into the blended quinoa.
- 4 eggs — bind the batter and give lift; room temperature eggs speed emulsification.
- ⅓ cup milk — thins the batter slightly and keeps the crumb tender; any milk you normally use is fine here.
- 1 ½ teaspoons vanilla extract — flavor amplifier; don’t skip it, even in chocolate recipes.
- 1 ¼ cups white sugar — sweetener and contributes to the cake’s structure and browning.
- 1 cup cocoa powder — primary chocolate flavor; sift or whisk with dry ingredients to avoid lumps.
- 1 ½ teaspoons baking powder — leavening to help the cake rise and lighten the crumb.
- 1 teaspoon baking soda — reacts with other ingredients for lift and a tender texture.
- ½ teaspoon salt — balances sweetness and sharpens chocolate flavor.
- 1 cup chocolate chips — pockets of melty chocolate; fold in gently so they don’t sink.
- 2 cups chocolate frosting — for filling and finishing; room temperature frosting spreads more smoothly.
Method: Gluten-Free Chocolate Cake
- Preheat the oven to 350°F. Grease two round cake pans, line the bottoms with parchment paper, then grease the parchment.
- In a blender, combine 2 cups cold cooked quinoa, ¾ cup melted butter, 4 eggs, ⅓ cup milk, and 1 ½ teaspoons vanilla extract. Blend until the mixture is smooth, stopping to scrape down the sides if needed.
- In a large bowl, whisk together 1 ¼ cups white sugar, 1 cup cocoa powder, 1 ½ teaspoons baking powder, 1 teaspoon baking soda, and ½ teaspoon salt.
- Pour the quinoa mixture into the dry ingredients and stir until the batter is evenly combined.
- Fold 1 cup chocolate chips into the batter.
- Divide the batter evenly between the prepared pans and smooth the tops.
- Bake for 35 minutes, or until a toothpick inserted into the centers comes out with a few moist crumbs (not wet batter).
- Cool the cakes in the pans on a wire rack for about 10 minutes. Run a knife around the edges, invert the pans to remove the cakes, peel off the parchment, and transfer the cakes back to the wire rack to cool completely.
- When the cakes are completely cool, spread 2 cups chocolate frosting between the layers and over the top and sides of the assembled cake.
What Sets This Recipe Apart
This recipe leans on cooked quinoa rather than a powdered gluten-free flour blend. That choice delivers a dense, moist crumb that often surprises people who expect a gritty texture from alternative flours. Quinoa brings protein and body, and when blended, it emulsifies with butter and eggs into a silky batter.
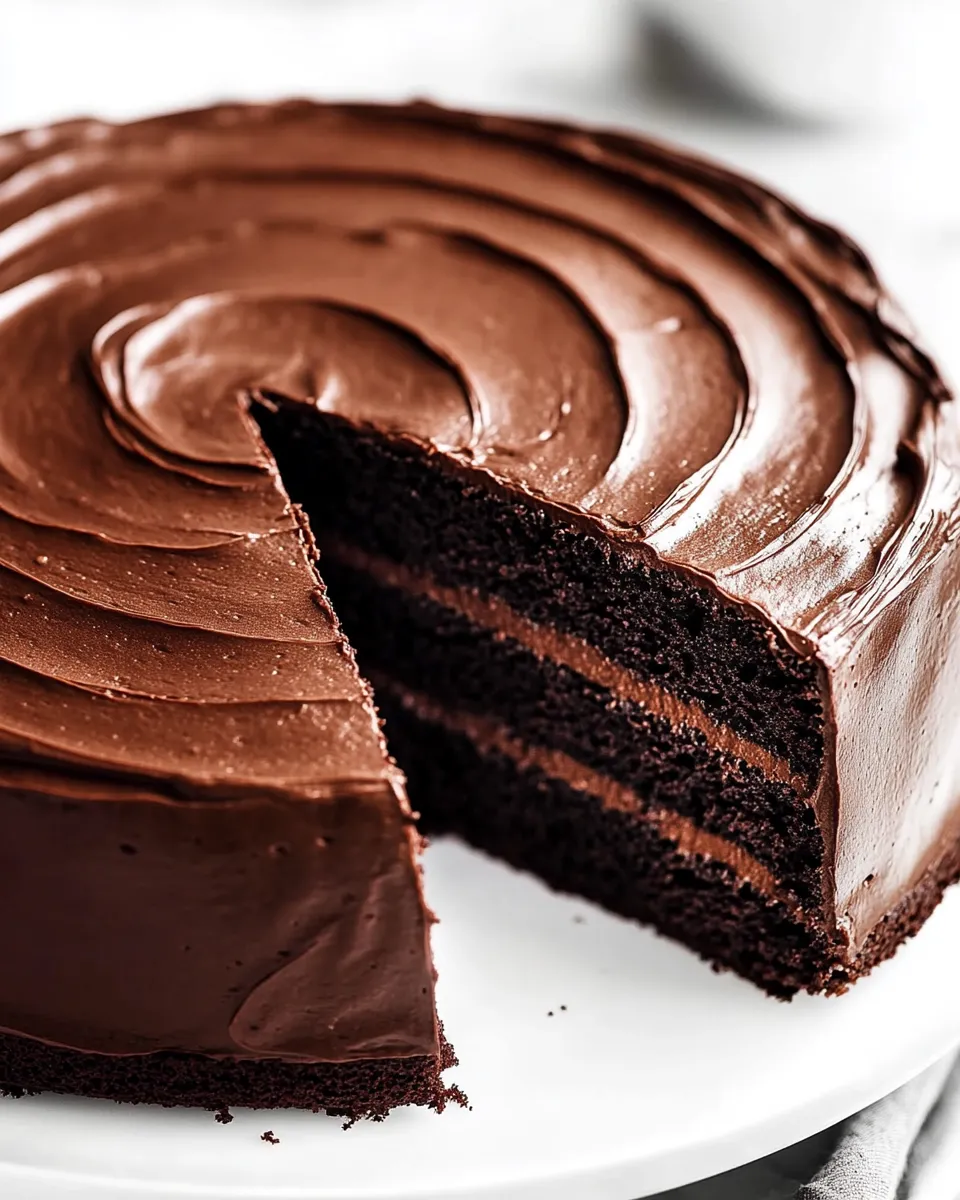
Because the base is blended, the batter requires no creaming or complicated folding techniques. The blender does the heavy lifting and creates a uniform base quickly. The result is a chocolate cake that slices cleanly and holds up to a generous frosting layer without collapsing.
Finally, the addition of chocolate chips gives texture and bursts of melted chocolate in each bite. With a reliable apportion of sugar and cocoa, the cake keeps a classic chocolate balance: rich, but not cloying.
Low-Carb/Keto Alternatives
This recipe in its current form relies on cooked quinoa and white sugar, so it’s not naturally low-carb. Making a lower-carb version requires replacing those two components and adjusting binders and liquids. Two practical principles will guide you:
- Reduce the starchy component and replace it with a lower-carb base while increasing binders (eggs) and fat to maintain moisture and structure.
- Replace the white sugar with a lower-carb sweetener suited to baking and test texture adjustments — low-carb sweeteners can change browning and crumb.
If you pursue a low-carb adaptation, expect to re-test bake times and batter thickness; the blender step is still useful for integrating whatever base you choose. Start with small test batches before scaling up to the two-layer format.
Hardware & Gadgets
These tools make the process easier and more consistent:
- Blender — essential here to fully break down the quinoa into a smooth base.
- Two matching round cake pans — for even layers and consistent bake times.
- Parchment paper and grease — prevents sticking and ensures clean removal.
- Wire rack — cool the layers completely on a rack so steam doesn’t sog the crumb.
- Toothpick or cake tester — to check doneness without overbaking.
- Offset spatula or a stiff knife — for spreading frosting smoothly between layers and around the sides.
Learn from These Mistakes
Common handling mistakes and how to fix them
Dry, crumbly cake: Overbaking is the usual culprit. Even a few extra minutes at 350°F can move a cake from moist to dry. Start checking at 30 minutes and use the toothpick: a few moist crumbs are perfect. Also, ensure the quinoa was cooked and cooled properly; warm quinoa can add excess steam and affect texture.
Dense, gummy center: This often happens when the batter is under-mixed or when wet and dry ingredients are combined unevenly. When you pour the blended quinoa into the dry mix, stir until evenly combined — don’t leave streaks. Also, check that your baking powder and baking soda are fresh; expired leaveners will reduce lift.
Chocolate chips sinking: If chips sink to the bottom, the batter may be too thin. A quick fix is to toss chips in a light dusting of cocoa powder from the measured cocoa you already have before folding them in. That coating helps suspend them. Folding gently avoids breaking them up and redistributing weight.
Seasonal Ingredient Swaps
Work within the ingredients you already have in the recipe to reflect seasonal preferences. In warmer months, chill the frosted cake briefly for a firmer set and cleaner slices. In cooler months, allow the frosting to sit at room temperature before serving so it softens and becomes more luscious.
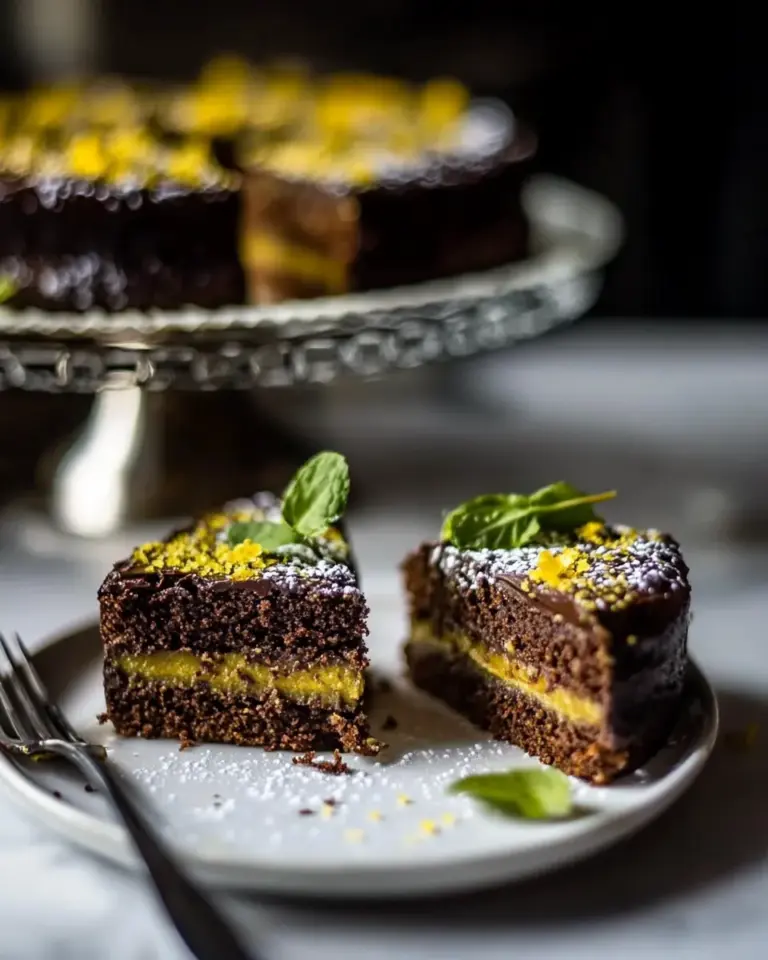
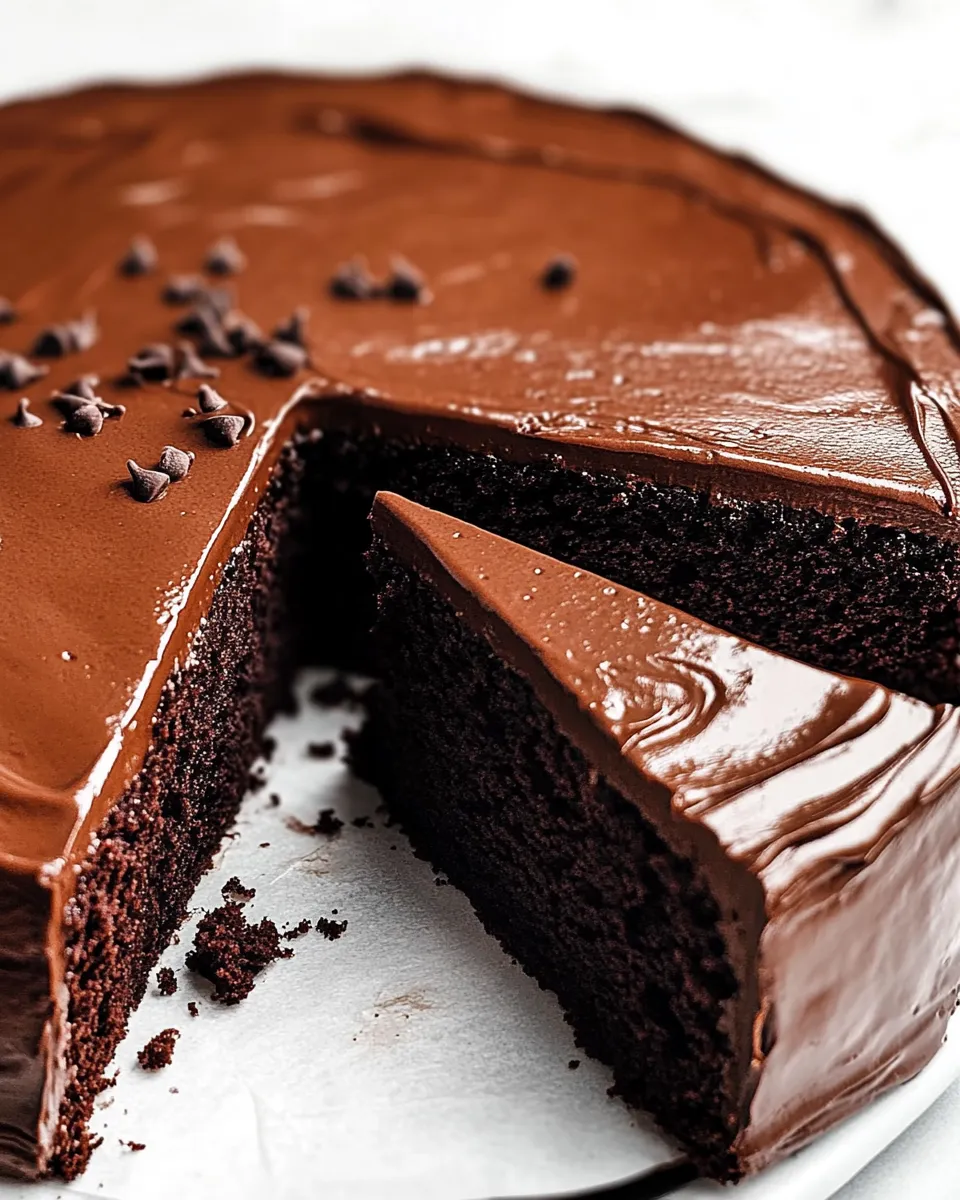
For presentation, lean on the chocolate chips and frosting: scatter a few chocolate chips on top for a rustic finish, or press a neat ring around the base of the top layer with chips before frosting the sides. Those small touches change the cake’s look to match a casual summer picnic or a cozier winter table without swapping ingredients.
What Could Go Wrong
Here are predictable problems and how to prevent them:
- Unevenly baked layers — use pans of the same size and thickness, and place racks in the center of the oven for even heat circulation.
- Sticking to parchment — grease both pan and parchment as directed; that double-step prevents tearing when you invert the cake.
- Frosting sliding off — make sure the cakes are completely cool before frosting. Warm cake softens frosting and causes it to slide, especially with a softer frosting texture.
- Flavor imbalance — measure cocoa and sugar carefully. Cocoa powder varies in intensity, so stick to the stated amount and taste the frosting independently before applying.
Storing Tips & Timelines
Short-term: Keep the frosted cake covered at room temperature for up to 24 hours in a cool spot. If your kitchen is warm, refrigerate it covered; cold will firm the frosting and extend freshness.
Long-term: The unfrosted layers freeze well. Wrap each cooled layer tightly in plastic and place in a freezer bag for up to 2 months. Thaw overnight in the refrigerator, then bring to room temperature before applying frosting. If you freeze a fully frosted cake, expect some texture change in the frosting; thaw gently in the fridge.
Leftovers: Store cut slices in an airtight container. If refrigerated, let slices come to room temperature before eating for best flavor and texture. You can warm a single slice briefly in the microwave for a softer bite, but do so in short increments to avoid drying it out.
Common Qs About Gluten-Free Chocolate Cake
Q: Can I make this in a single pan or as cupcakes?
A: You can adapt the batter volume to other pans, but bake times and pan size will change. Cupcakes will bake faster; a single deep pan will take longer. Start checking doneness 5–10 minutes earlier or later depending on the format and use the toothpick test.
Q: Do I have to use cooked quinoa?
A: Yes. The texture and moisture come from cooked quinoa blended into a smooth base. Dry quinoa will not hydrate or blend properly.
Q: Can I reduce the sugar?
A: You can reduce sugar a little, but it affects texture, browning, and crumb. If you cut sugar significantly, expect a denser cake and a drier bite. Make small adjustments and test with a half-recipe if you’re changing sweetener levels.
Q: Why blend the quinoa instead of mashing?
A: Blending creates a uniform, smooth batter that integrates with butter and eggs. Mashing leaves bits of quinoa and a coarser crumb, which may be fine for some preferences but changes the cake’s texture.
Ready, Set, Cook
Gather your pans, parchment, and blender before you start. Preheat to 350°F and prep the pans as directed so you’re not rushed when the batter is ready. Blend the wet base until smooth, whisk the dry ingredients well, then combine and fold in the chips carefully.
Set a timer for 35 minutes but check at 30. Cool the layers in the pan briefly, then invert and finish cooling on a wire rack. Only frost when completely cool. Clean edges and a smooth finish are easier when you take that extra patience step.
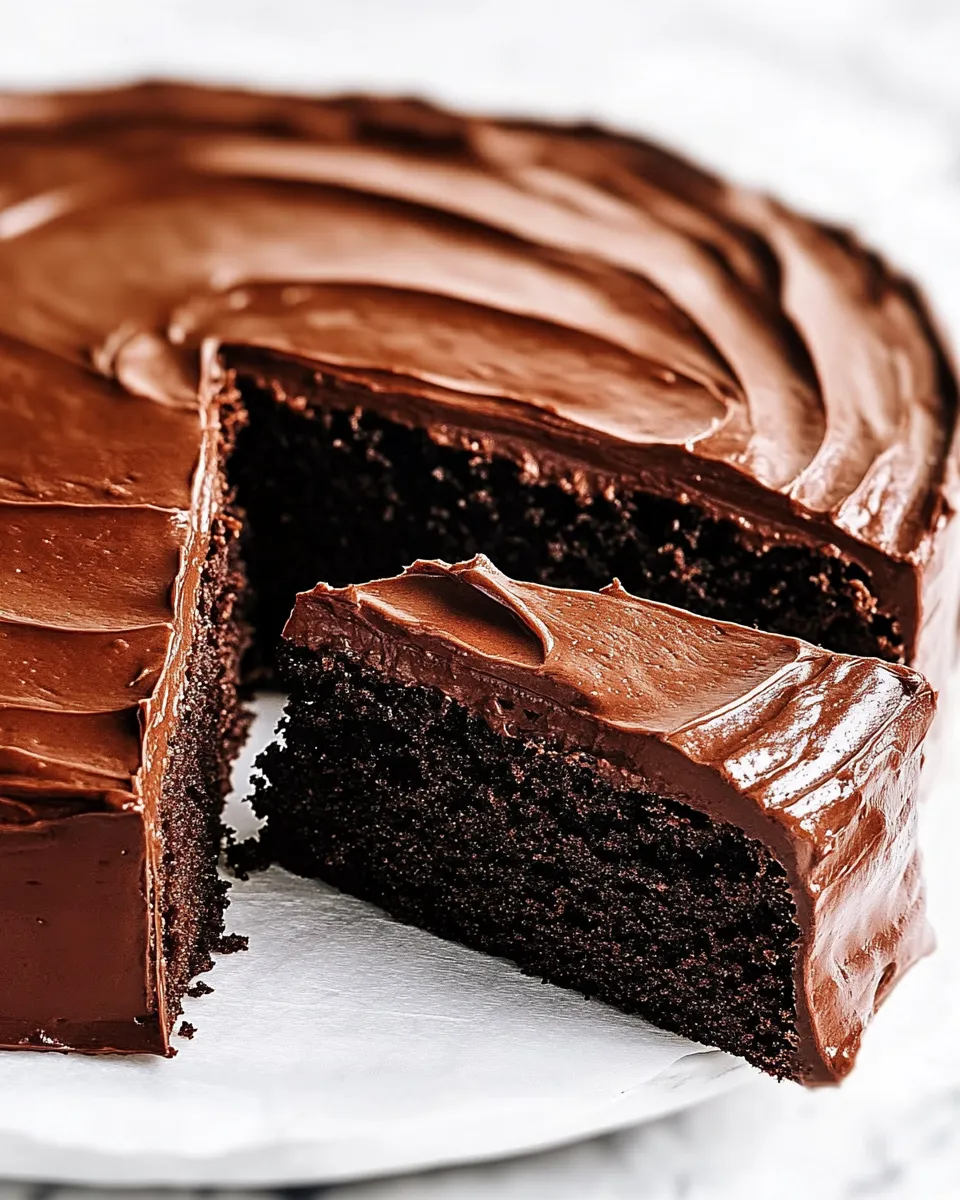
This cake is dependable and forgiving. Follow the method, mind your bake time, and let the layers cool properly. You’ll end up with a moist, chocolate-forward cake that holds its shape and carries a generous chocolate frosting beautifully. Happy baking — and if something goes sideways, the troubleshooting notes above usually fix it without a second trip to the store.
Gluten-Free Chocolate Cake
Equipment
- Oven
- Blender
- Mixing Bowl
- Round Cake Pans
- Parchment Paper
- Wire Rack
- Knife
Ingredients
Ingredients
- 2 cupscold cooked quinoa
- 3/4 cupmelted butter
- 4 eggs
- 1/3 cupmilk
- 1 1/2 teaspoonsvanilla extract
- 1 1/4 cupswhite sugar
- 1 cupcocoa powder
- 1 1/2 teaspoonsbaking powder
- 1 teaspoonbaking soda
- 1/2 teaspoonsalt
- 1 cupchocolate chips
- 2 cupschocolate frosting
Instructions
Instructions
- Preheat the oven to 350°F. Grease two round cake pans, line the bottoms with parchment paper, then grease the parchment.
- In a blender, combine 2 cups cold cooked quinoa, ¾ cup melted butter, 4 eggs, ⅓ cup milk, and 1 ½ teaspoons vanilla extract. Blend until the mixture is smooth, stopping to scrape down the sides if needed.
- In a large bowl, whisk together 1 ¼ cups white sugar, 1 cup cocoa powder, 1 ½ teaspoons baking powder, 1 teaspoon baking soda, and ½ teaspoon salt.
- Pour the quinoa mixture into the dry ingredients and stir until the batter is evenly combined.
- Fold 1 cup chocolate chips into the batter.
- Divide the batter evenly between the prepared pans and smooth the tops.
- Bake for 35 minutes, or until a toothpick inserted into the centers comes out with a few moist crumbs (not wet batter).
- Cool the cakes in the pans on a wire rack for about 10 minutes. Run a knife around the edges, invert the pans to remove the cakes, peel off the parchment, and transfer the cakes back to the wire rack to cool completely.
- When the cakes are completely cool, spread 2 cups chocolate frosting between the layers and over the top and sides of the assembled cake.
Notes
Notes:
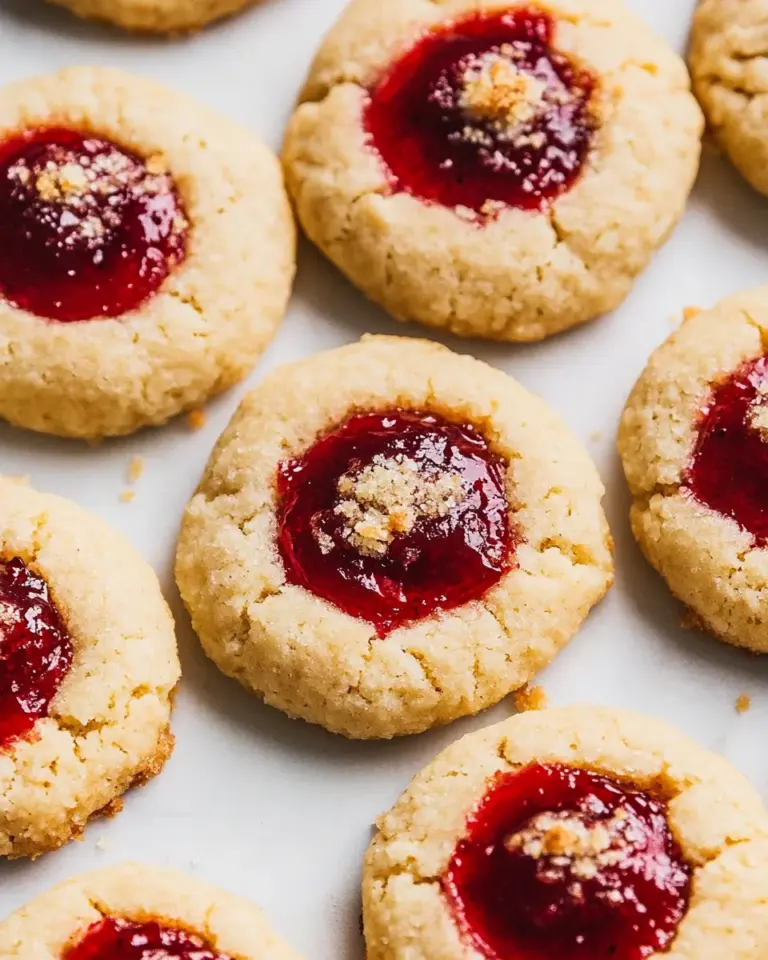
Peanut butter frosting, chocolate ganache and small Reeses Peanut Butter cups would be an amazing addition. It’s also delicious with vanilla or raspberry frosting.
Storage:
Store leftovers in an airtight container in the fridge.