I make this pan-release goop more often than I admit. It’s the tiny thing that saves perfectly baked cakes from sticky disasters. The formula is straightforward, forgiving, and works in everything from loaf pans to bundts. No weird ingredients. Just three pantry staples and a little patience.
In practice, this goop behaves like a hybrid between a paste and a spreadable fat. It fills seams, coats corners, and keeps cakes intact when they come out of the oven. If you bake regularly, keep a jar of this handy — it will change how often you curse at a stubborn loaf.
Below you’ll find the ingredients at a glance, step-by-step directions straight from the tested method, and practical notes so you can use this every time without fuss. Read the short prep section, skim the pro tips, then get to brushing and baking.
Ingredients at a Glance
- 1/2 cup (60 g) all-purpose flour — gives the goop body and creates a dry matrix that reduces sticking when combined with fat.
- 1/2 cup (92 g) shortening, or butter or coconut oil — the primary solid fat that helps form a stable, spreadable paste; choose one depending on flavor and dietary needs.
- 1/2 cup (99 g) vegetable oil, or another neutral-flavored oil — adds spreadability and a smooth finish so the goop brushes on thinly and evenly.
Cake Goop: From Prep to Plate
- Measure into a medium bowl: 1/2 cup (60 g) all-purpose flour, 1/2 cup (92 g) shortening (or butter or coconut oil), and 1/2 cup (99 g) vegetable oil (or another neutral-flavored oil).
- If using solid shortening, butter, or coconut oil, soften it until spreadable: leave at room temperature until soft, or warm briefly (just until soft) — do not melt completely.
- Add the flour to the softened fat and begin mixing with a spatula, fork, or whisk until a coarse paste forms.
- Gradually stir in the vegetable oil until the mixture becomes a smooth, spreadable paste with no dry flour pockets or large lumps. Scrape the sides and bottom of the bowl as needed.
- If the mixture is too firm to spread, let it sit at room temperature a few minutes to soften; if it is too loose, chill briefly until it firms to a spreadable consistency.
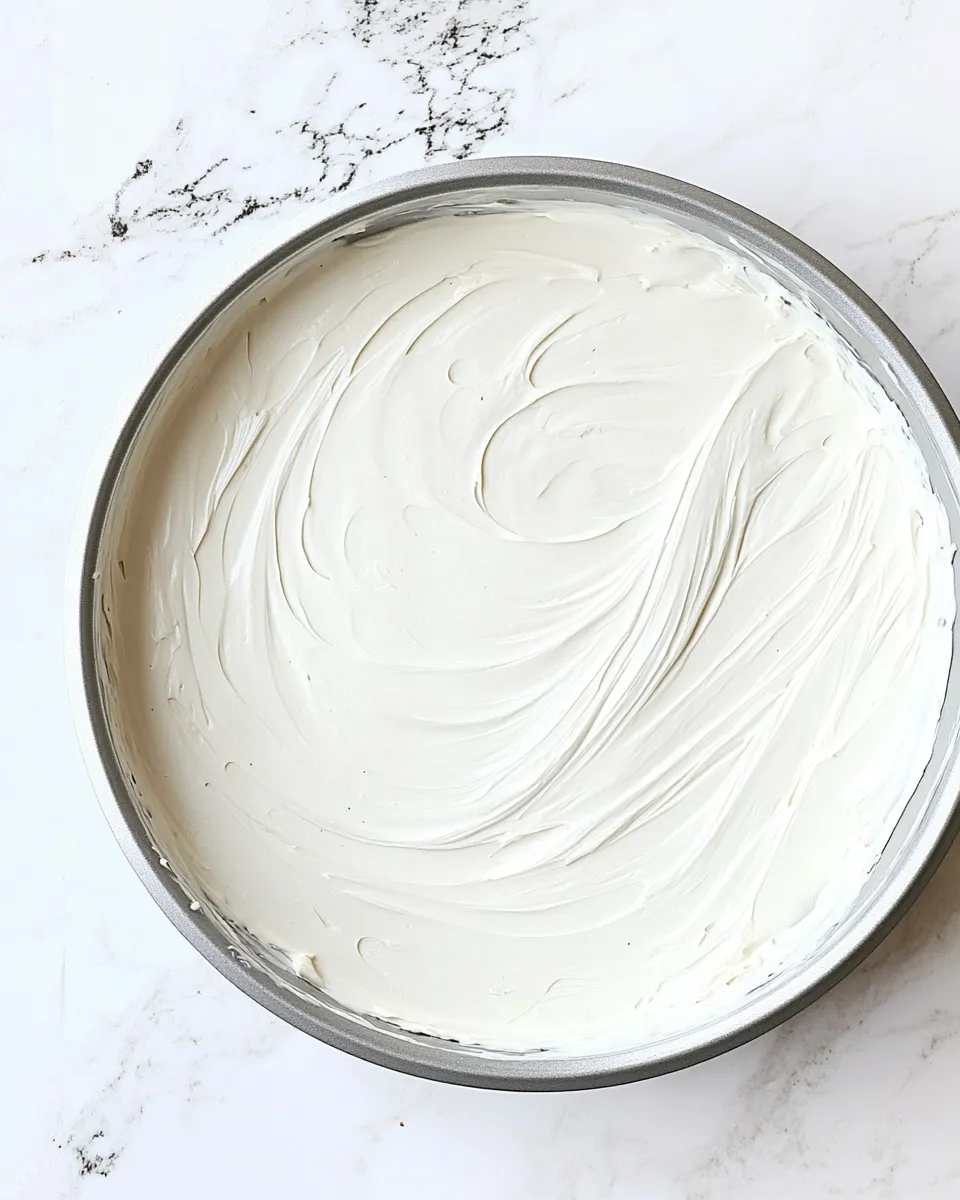
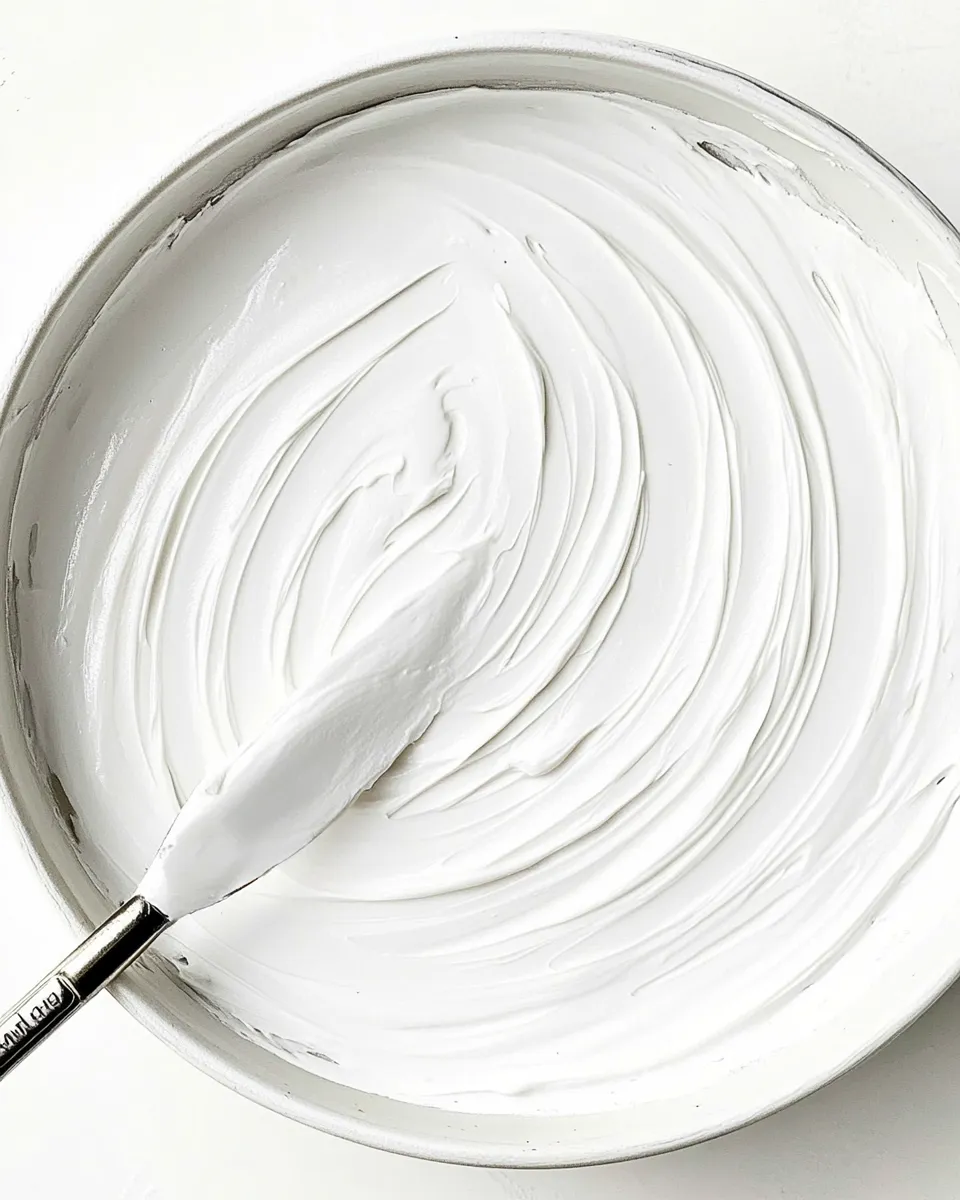
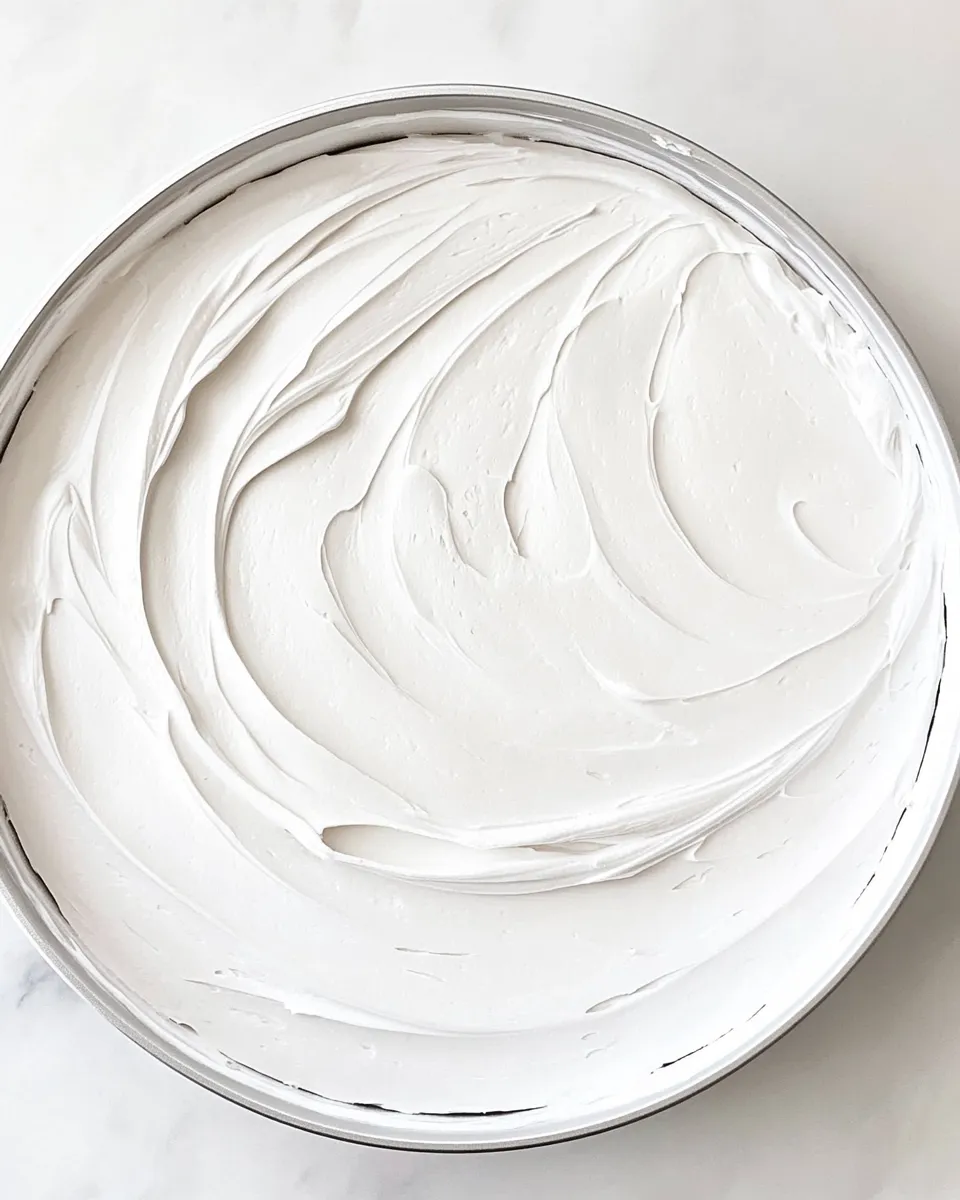
- To use, load a pastry brush with a small amount of the goop and brush an even, thin coat onto the bottom and sides of the baking pan, working into corners and crevices. Reapply as needed to ensure full coverage.
- Store any leftover goop in an airtight container; if refrigerated and it firms, bring it to room temperature before spreading.
Why This Recipe Works
This mix is effective because it pairs a dry, fine starch with a combination of solid and liquid fats. The flour provides structure. The solid fat gives body and prevents the paste from running, while the oil smooths the texture and helps the mixture brush on thinly without tearing the crumb when you unmold a cake.
There are no emulsifiers or stabilizers here — just physics. When you coat the pan with a thin, even film, you reduce direct contact between batter and metal. The flour creates a microscopically textured surface that helps cakes release cleanly rather than sticking in patches. The result is predictable, consistent release across different pan shapes.
Vegan & Vegetarian Swaps
- Vegan option — choose coconut oil or a plant-based shortening in place of butter; the rest of the recipe is already plant-friendly if you use vegetable oil.
- Vegetarian option — butter is fine for lacto-vegetarians and gives a slightly richer mouthfeel; shortening and vegetable oil keep the flavor neutral.
- Flavor note — if you want your pan release completely neutral, avoid butter and use the shortening or coconut oil plus vegetable oil combination.
What’s in the Gear List
- Medium mixing bowl — roomy enough to stir without spills.
- Spatula, fork, or whisk — any one will work to combine flour and fat into a paste.
- Pastry brush — a soft, food-safe brush to apply a thin, even coat (silicone brushes also work).
- Airtight container — for storing leftovers; a small jar or tub with a tight lid is ideal.
- Optional: bowl scraper — helpful for getting every bit of goop out of the bowl.
Errors to Dodge
- Don’t melt the solid fat completely. If you overheat, the mixture will be too loose and won’t hold in corners; it will also separate when chilled.
- Avoid large lumps of dry flour. Mix thoroughly and scrape the bowl so there are no dry pockets, which can flake off and create uneven release.
- Don’t over-apply. A thick blob of goop can cook into a greasy spot on your cake’s edge. Aim for a thin, even layer that covers all surfaces.
- Avoid strongly flavored oils. Olive oil or toasted sesame oil will transfer taste to the cake. Stick to neutral oils as directed.
- Don’t skip the softening step. If the solid fat is rock-hard, you’ll never get a smooth paste without overheating it.
Seasonal Ingredient Swaps
- Warm months: coconut oil may be more liquid in high heat. If you want a firmer spreadable paste, use a higher proportion of solid fat (shortening) or chill briefly after mixing.
- Cold months: butter or solid coconut oil will be firmer at room temperature. If the goop feels too stiff, let it soften a couple minutes before brushing or add a touch more vegetable oil (by small increments) and mix until spreadable.
- Neutrality vs. flavor: for delicate cakes in any season, prefer shortening or neutral coconut oil plus vegetable oil to minimize flavor transfer.
Pro Tips & Notes
Before you start
- Measure ingredients precisely. The balance between flour and fats determines spreadability; the amounts in the recipe are tested for an ideal texture.
- Bring solid fat to a spreadable state naturally at room temperature when possible. If you must warm it, do so gradually and stop as soon as it spreads.
When you brush
- Load the brush lightly. Dab off excess on the rim of the jar or the bowl so you’re laying down a film, not a dollop.
- Work into corners with a fingertip if needed. The brush may miss tight seams on some pans; a clean finger or small offset spatula helps get into nooks.
- Reapply thinly rather than slathering on one thick layer. Multiple thin layers create better release without leaving greasy edges.
Long-term use
- Label the jar with the date. While this goop is stable in the fridge, knowing when you made it helps you judge freshness.
- If the texture changes after refrigeration, bring it to room temperature and give it a quick stir before using.
Save for Later: Storage Tips
- Store any leftover goop in an airtight container in the refrigerator. It will firm up when cold.
- If refrigerated and it firms, bring it to room temperature before spreading so it becomes pliable and easy to brush on.
- Keep it sealed and clean. Use a clean utensil to remove portions so you don’t introduce crumbs or moisture into the jar.
Cake Goop Q&A
- How long does it keep? Kept airtight in the fridge, it will stay usable for several weeks. Label your container and use within a month for best performance.
- Can I freeze it? Freezing will allow long-term storage, but the texture may change slightly. Thaw fully and rework to a smooth consistency before use.
- Can I use it for non-cake pans? Yes. It works for muffin tins, loaf pans, Bundt pans, and specialty tins. Adapt application technique for deep fluted pans by working the goop into crevices.
- What if the goop separates? If the mixture appears separated after sitting, stir thoroughly. If refrigerated, let it warm a touch first and then mix until smooth.
- Do I still need parchment? For delicate or very sticky batters, parchment or a parchment sling plus this goop gives extra insurance. For many cakes, a thin, even coat of goop alone is enough.
Bring It to the Table
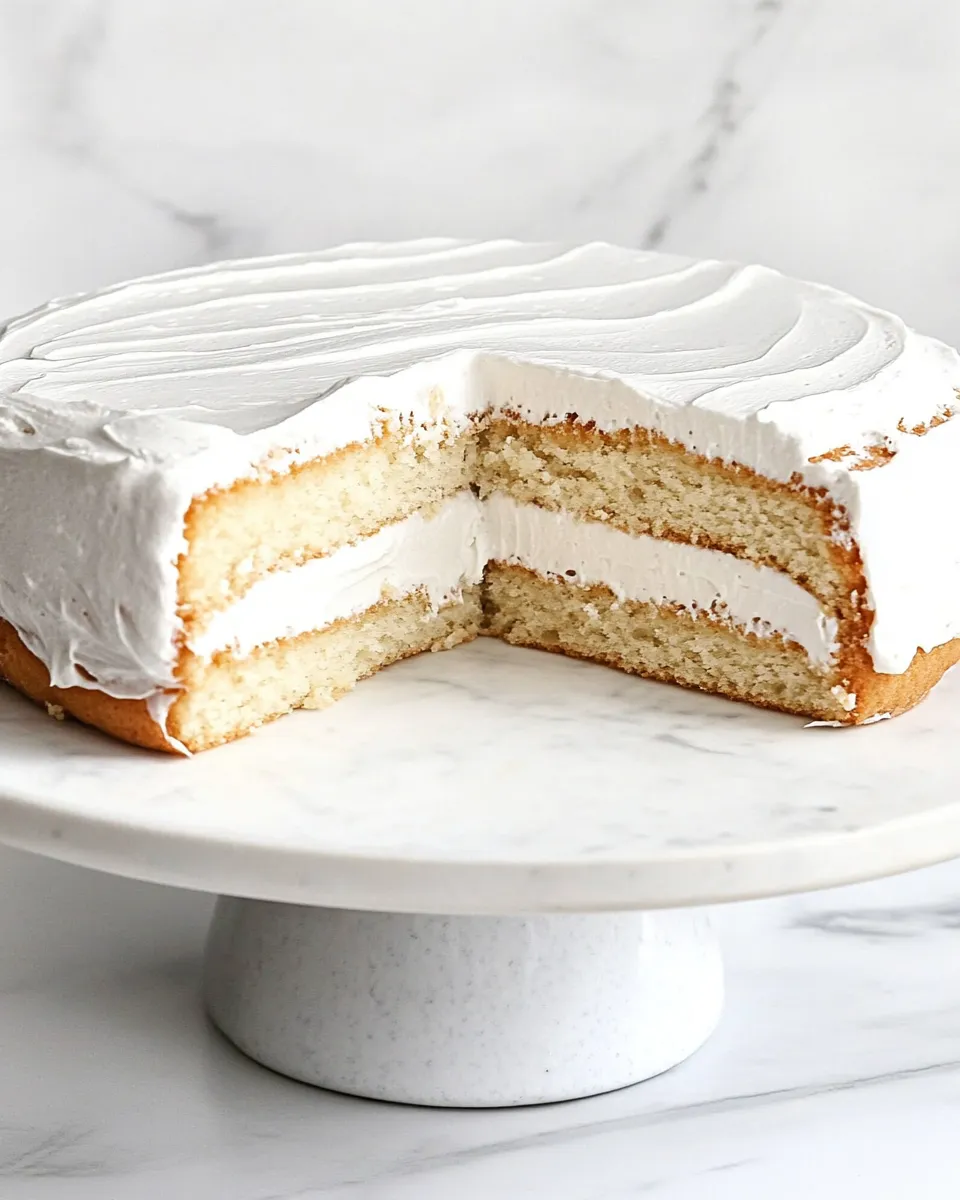
This is not a decorative element. It’s a workhorse. Use it to ensure loaves, layer cakes, and quick breads come out in one piece. It’s especially useful for elaborate pans where every crevice can trap batter and make unmolding a nightmare.
Make a small jar and tuck it into the fridge. Use a clean pastry brush and a light hand. After a few uses you’ll trust the rhythm: soft fat, flour, smooth oil, thin brush strokes, and a confident flip of the pan. Baking is less about heroics and more about these tiny, reliable rituals. This Cake Goop is one of them.
Homemade Cake Goop Recipe (Pan Release)
Equipment
- Medium Bowl
- Spatula
- Fork
- Whisk
- Pastry Brush
- Airtight container
- Refrigerator
Ingredients
Ingredients
- 1/2 cup 60 gall-purpose flour
- 1/2 cup 92 gshortening, or butter or coconut oil
- 1/2 cup 99 gvegetable oil, or another neutral-flavored oil
Instructions
Instructions
- Measure into a medium bowl: 1/2 cup (60 g) all-purpose flour, 1/2 cup (92 g) shortening (or butter or coconut oil), and 1/2 cup (99 g) vegetable oil (or another neutral-flavored oil).
- If using solid shortening, butter, or coconut oil, soften it until spreadable: leave at room temperature until soft, or warm briefly (just until soft) — do not melt completely.
- Add the flour to the softened fat and begin mixing with a spatula, fork, or whisk until a coarse paste forms.
- Gradually stir in the vegetable oil until the mixture becomes a smooth, spreadable paste with no dry flour pockets or large lumps. Scrape the sides and bottom of the bowl as needed.
- If the mixture is too firm to spread, let it sit at room temperature a few minutes to soften; if it is too loose, chill briefly until it firms to a spreadable consistency.
- To use, load a pastry brush with a small amount of the goop and brush an even, thin coat onto the bottom and sides of the baking pan, working into corners and crevices. Reapply as needed to ensure full coverage.
- Store any leftover goop in an airtight container; if refrigerated and it firms, bring it to room temperature before spreading.
Notes
Recipe variations– You can substitute the three basic ingredients of this recipe based on your preferences. I’ve listed a few of my favorites below as well.Butter Cake Goop– Use softened butter instead of shortening. Make sure to refrigerate for the best shelf life.Coconut Oil Cake Goop– Use coconut oil instead of shortening.Gluten-Free Cake Goop– Use your favorite gluten-free flour.Chocolate Cake Goop– Use 1/4 cup flour and 1/4 cup cocoa powder.
Butter Cake Goop– Use softened butter instead of shortening. Make sure to refrigerate for the best shelf life.
Coconut Oil Cake Goop– Use coconut oil instead of shortening.
Gluten-Free Cake Goop– Use your favorite gluten-free flour.
Chocolate Cake Goop– Use 1/4 cup flour and 1/4 cup cocoa powder.
Storage– Cake Goop lasts 3 months in an airtight container in the pantry and 6 months in the refrigerator. If made with butter, be sure to store in the refrigerator and the shelf life will be reduced to 3 months.