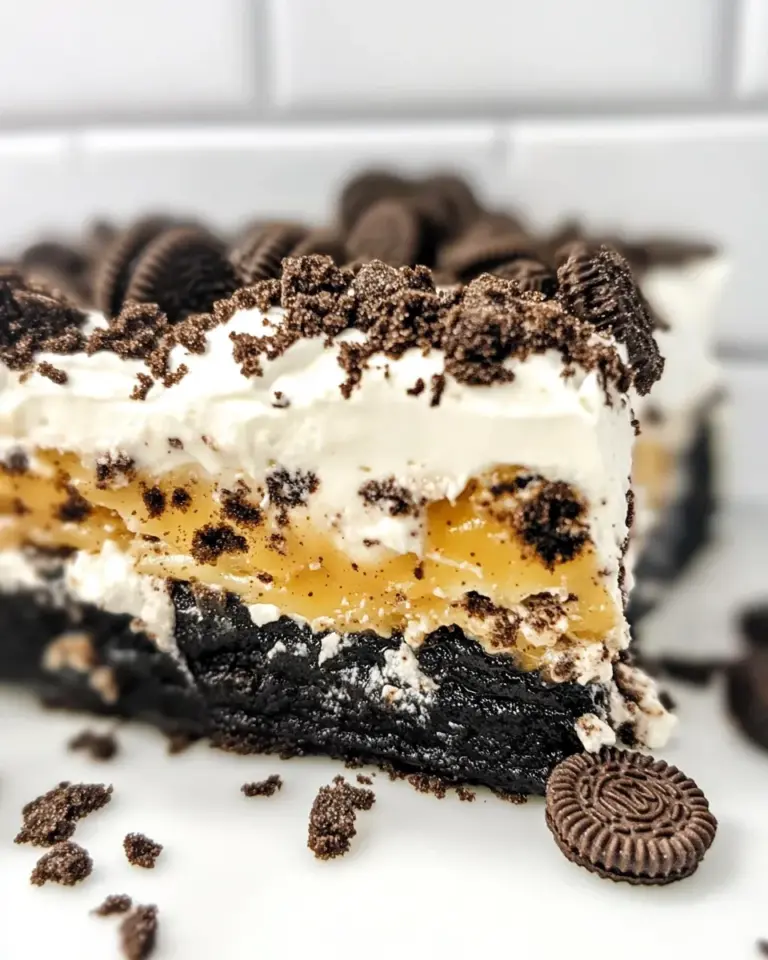
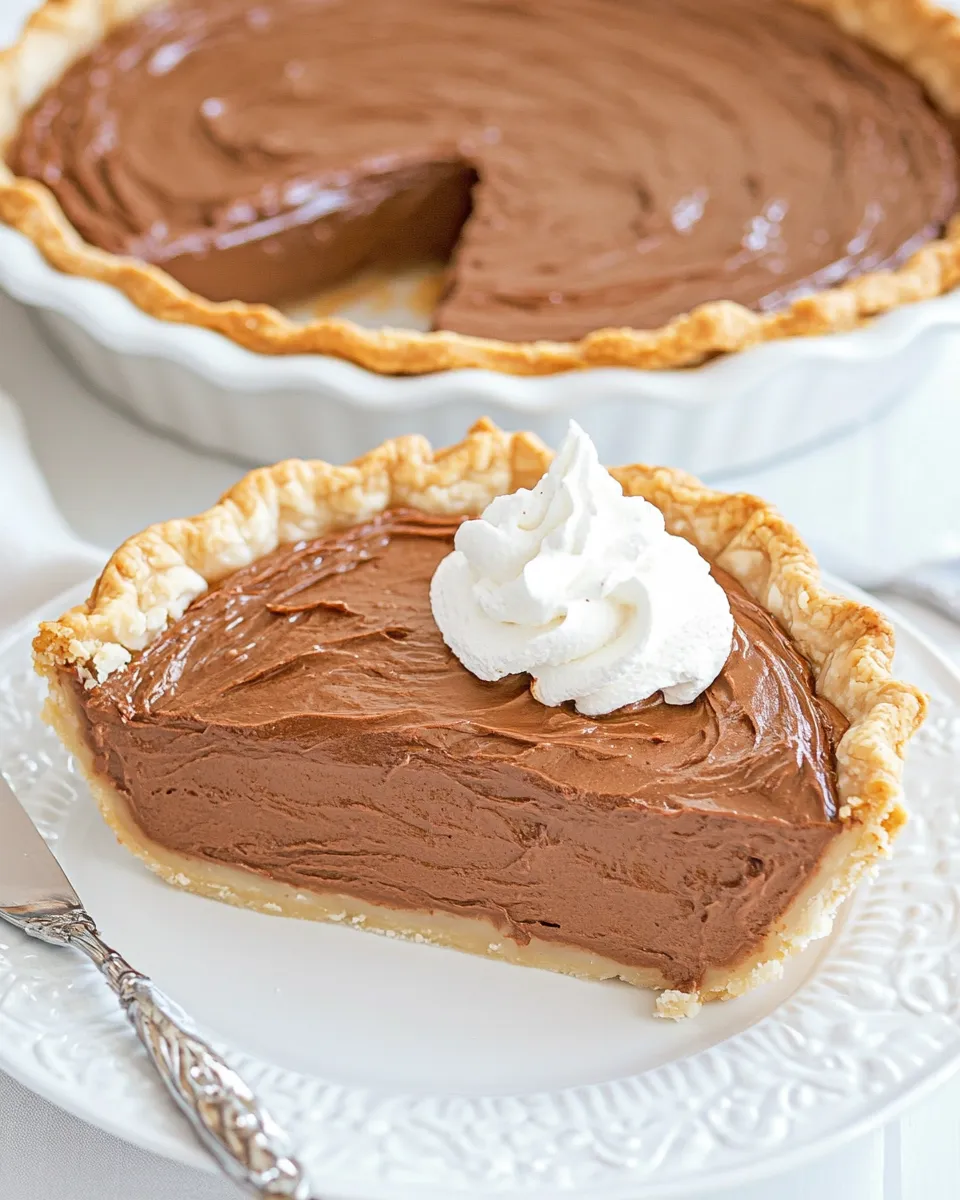
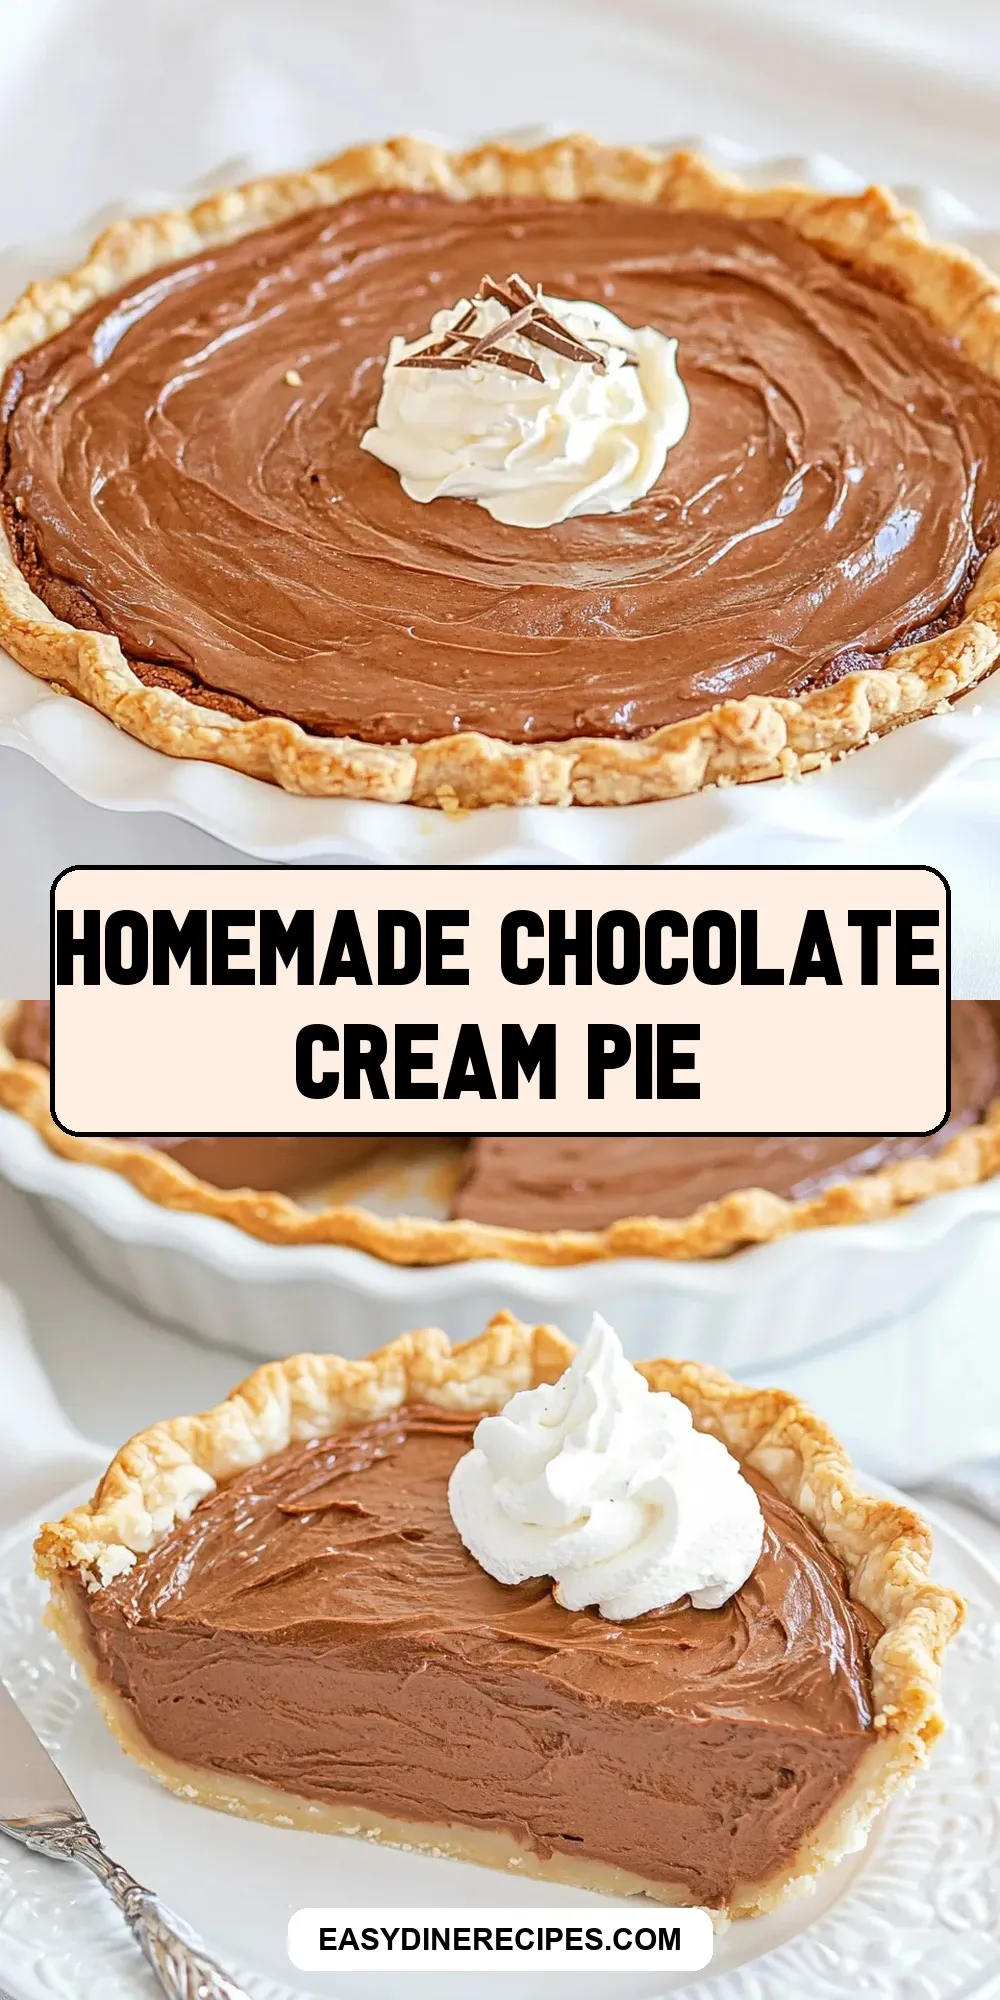
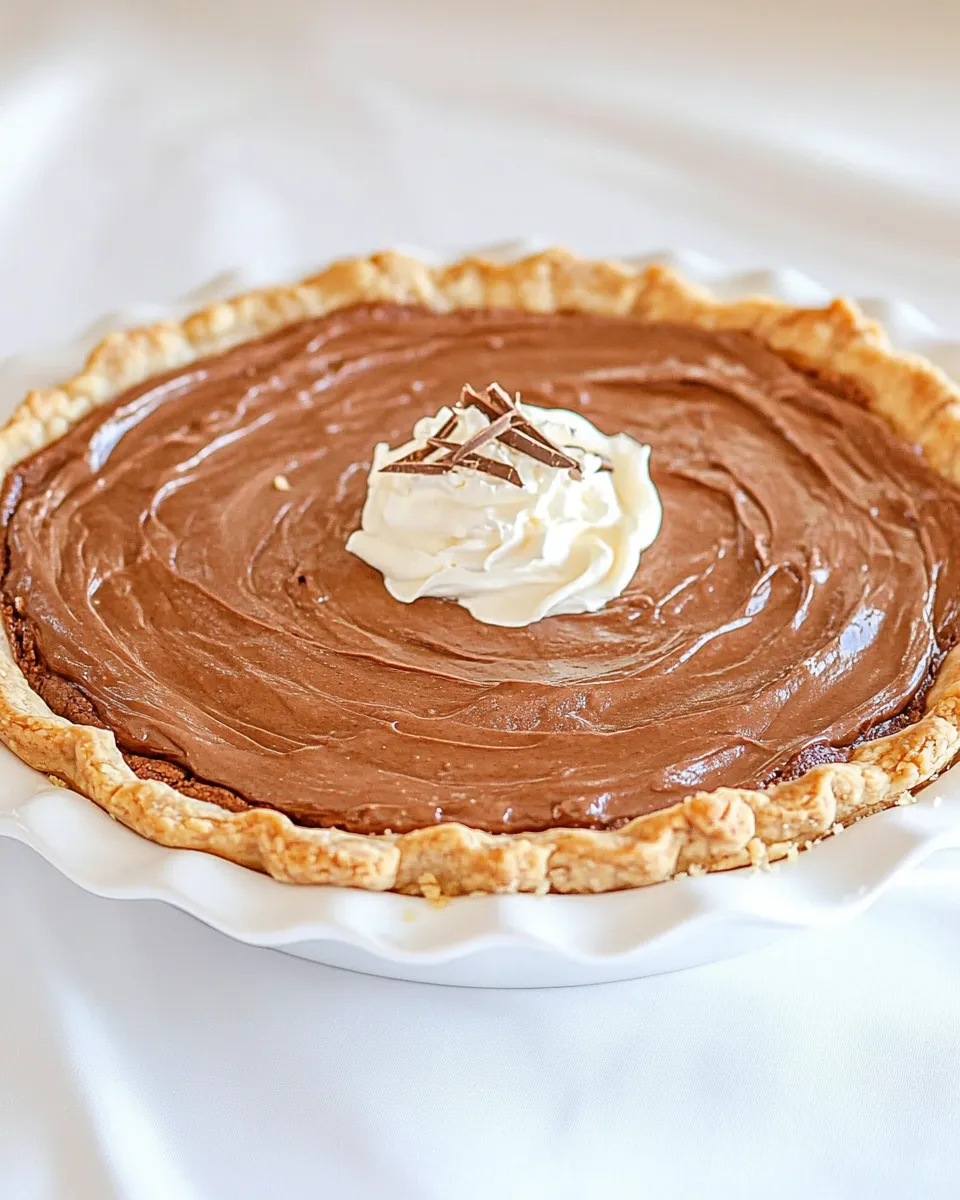
Few desserts can rival the rich, velvety indulgence of a Homemade Chocolate Cream Pie. This classic treat combines a luscious chocolate custard filling with a buttery baked pie shell and a touch of cream cheese for extra silkiness. Whether it’s a special occasion or a simple weeknight craving, this pie is always a crowd-pleaser that delivers comfort and decadence with every bite. The wonderful thing about making a Homemade Chocolate Cream Pie from scratch is how rewarding and straightforward the process is. You get to witness the transformation of simple pantry staples into a slice of chocolate heaven. Ready to dive into this irresistible dessert? Let’s get started!
Why Homemade Chocolate Cream Pie is Worth Your Time
Making your own Homemade Chocolate Cream Pie is a labor of love that pays off big time. Unlike store-bought versions, this pie boasts a fresh, rich flavor with deep chocolate notes from real unsweetened chocolate squares. The custard filling is perfectly smooth and creamy thanks to the addition of cream cheese, balancing the sweetness and adding a subtle tang. Plus, using a baked pie shell gives it the perfect crispness that contrasts beautifully with the creamy filling. It’s also a versatile recipe—easily customized to suit your taste or dietary needs. The best part? This pie feels luxurious but is surprisingly simple to prepare, making it an accessible way to impress friends and family or treat yourself to something special.
Ingredient List
- 1 cup sugar – for just the right amount of sweetness
- 1/2 cup all-purpose flour – to thicken the custard filling
- 1/4 teaspoon salt – enhances the chocolate flavor
- 2 cups milk – whole milk is ideal for creaminess
- 2 ounces unsweetened chocolate squares – real chocolate for a rich base
- 3 beaten egg yolks – for a silky texture and richness
- 2 tablespoons butter – adds smoothness and shine
- 1 teaspoon vanilla extract – to round out the flavor
- 3 ounces cream cheese – for a creamy tang and luxurious mouthfeel
- 1 baked pie shell – homemade or store-bought, fully baked and cooled
Must-Have Equipment
- Medium saucepan – for cooking the custard filling gently
- Whisk – to blend ingredients smoothly and prevent lumps
- Mixing bowls – for beating egg yolks and combining cream cheese
- Rubber spatula – to scrape the bowl and fold ingredients
- Measuring cups and spoons – for precise ingredient amounts
- Pie dish with baked shell – the foundation of your pie
- Plastic wrap or parchment paper – to cover the pie while chilling
Cooking Homemade Chocolate Cream Pie: The Process
Step 1: Combine Dry Ingredients
In your medium saucepan, whisk together 1 cup sugar, 1/2 cup all-purpose flour, and 1/4 teaspoon salt. This dry mix will thicken and sweeten our custard filling evenly.
Step 2: Add Milk and Melt Chocolate
Slowly whisk in the 2 cups of milk, making sure to dissolve the flour mixture fully. Chop the 2 ounces of unsweetened chocolate into small pieces and add them to the saucepan. Warm the mixture over medium heat, stirring constantly until the chocolate melts and the custard begins to thicken. This usually takes about 5-7 minutes.
Step 3: Temper the Egg Yolks
In a separate bowl, lightly beat the 3 egg yolks. To avoid scrambling, gradually pour about half a cup of the hot chocolate mixture into the yolks while whisking continuously. Then, slowly pour the tempered yolks back into the saucepan, stirring constantly.
Step 4: Cook Until Thickened
Continue cooking the custard over medium heat, stirring constantly, until it thickens to a pudding-like consistency. This step usually takes another 2-3 minutes. Remove from heat immediately to prevent curdling.
Step 5: Add Butter, Cream Cheese, and Vanilla
While the custard is still hot, stir in 2 tablespoons butter, 3 ounces cream cheese (softened), and 1 teaspoon vanilla extract. Whisk vigorously until the mixture is smooth and glossy.
Step 6: Pour into Pie Shell and Chill
Pour the luscious chocolate filling into your prebaked pie shell, spreading it evenly. Cover the pie with plastic wrap, pressing it directly onto the surface to prevent a skin from forming. Refrigerate for at least 4 hours or overnight until fully set.
Step 7: Serve and Enjoy
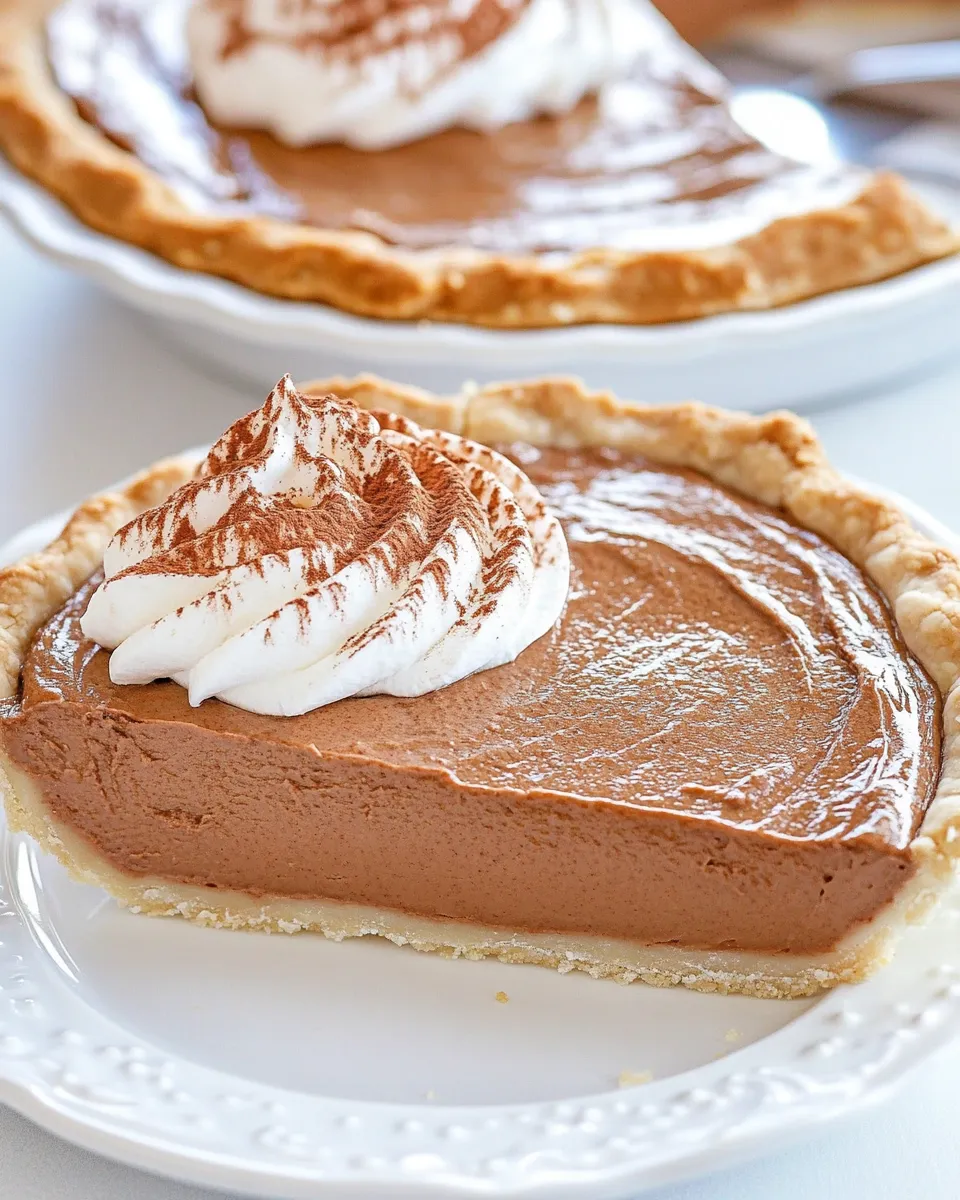
Once chilled and set, slice your Homemade Chocolate Cream Pie and serve as is or topped with freshly whipped cream or chocolate shavings for an extra special touch.
Adaptations for Special Diets

- Dairy-Free: Substitute the milk with almond or oat milk, and use vegan butter and cream cheese alternatives.
- Gluten-Free: Use gluten-free flour in the filling and a gluten-free pie crust.
- Lower Sugar: Replace sugar with a natural sweetener like coconut sugar or a sugar substitute, adjusting quantity to taste.
- Egg-Free: Use a commercial egg replacer or make a cornstarch slurry with plant-based milk to thicken.
Notes from the Test Kitchen
- Using unsweetened chocolate squares instead of cocoa powder gives the pie a deeper, more robust chocolate flavor.
- Temper the egg yolks carefully to avoid scrambling and ensure a smooth custard.
- Softened cream cheese blends more easily and adds a subtle tang that brightens the chocolate.
- Covering the pie with plastic wrap pressed directly on the surface is key to preventing a skin from forming.
- Letting the pie chill overnight improves texture and flavor melding.
Freezer-Friendly Notes
You can freeze the Homemade Chocolate Cream Pie for up to one month. Wrap the pie tightly in plastic wrap and then in aluminum foil to protect it from freezer burn. When ready to serve, thaw overnight in the refrigerator. For best texture, avoid freezing whipped cream toppings; add fresh when serving.
Reader Questions
Can I use milk chocolate instead of unsweetened chocolate?
You can, but keep in mind milk chocolate contains sugar and dairy, which will change the sweetness and texture. You may want to reduce the added sugar slightly to balance the flavors.
Is it okay to use a store-bought pie crust?
Absolutely! A store-bought baked pie shell works perfectly and saves time, making this recipe even more approachable.
How do I prevent the custard from lumping?
Continuous whisking while cooking is essential. Also, tempering the egg yolks slowly with hot liquid prevents them from scrambling, ensuring a smooth custard.
Can I make this pie ahead of time?
Yes! In fact, it’s best to prepare the pie a day ahead to allow the flavors to meld and the filling to set properly.
Make It Tonight
If you’re craving something decadent and homemade, this Homemade Chocolate Cream Pie is a fantastic choice to whip up tonight. With just a handful of pantry staples and a bit of time, you can transform simple ingredients into a beautiful, dreamy dessert. Remember to give it ample time to chill so that silky filling sets perfectly. Whether you enjoy it with a cup of coffee or as the grand finale to dinner, this pie will quickly become a staple in your dessert rotation. Gather your ingredients, preheat your oven for the pie shell, and get ready to indulge in one of the most satisfying desserts you’ll ever make at home.
There’s something truly special about the rich chocolate flavor combined with the creamy texture and flaky crust that makes this Homemade Chocolate Cream Pie an irresistible classic. It’s proof that homemade desserts don’t have to be complicated to be spectacular. Happy baking and even happier eating!
Share on Pinterest
Homemade Chocolate Cream Pie
Equipment
- Medium Saucepan
- Whisk
- Mixing Bowls
- Rubber spatula
- Measuring cups and spoons
- Pie dish with baked shell
- Plastic Wrap or Parchment Paper
Ingredients
- 1 cup sugar for just the right amount of sweetness
- 1/2 cup all-purpose flour to thicken the custard filling
- 1/4 teaspoon salt enhances the chocolate flavor
- 2 cups milk whole milk is ideal for creaminess
- 2 ounces unsweetened chocolate squares real chocolate for a rich base
- 3 egg yolks beaten egg yolks for a silky texture and richness
- 2 tablespoons butter adds smoothness and shine
- 1 teaspoon vanilla extract to round out the flavor
- 3 ounces cream cheese for a creamy tang and luxurious mouthfeel
- 1 baked pie shell homemade or store-bought, fully baked and cooled
Instructions
Cooking Homemade Chocolate Cream Pie: The Process
- In your medium saucepan, whisk together 1 cup sugar, 1/2 cup all-purpose flour, and 1/4 teaspoon salt. This dry mix will thicken and sweeten our custard filling evenly.
- Slowly whisk in the 2 cups of milk, making sure to dissolve the flour mixture fully. Chop the 2 ounces of unsweetened chocolate into small pieces and add them to the saucepan. Warm the mixture over medium heat, stirring constantly until the chocolate melts and the custard begins to thicken. This usually takes about 5-7 minutes.
- In a separate bowl, lightly beat the 3 egg yolks. To avoid scrambling, gradually pour about half a cup of the hot chocolate mixture into the yolks while whisking continuously. Then, slowly pour the tempered yolks back into the saucepan, stirring constantly.
- Continue cooking the custard over medium heat, stirring constantly, until it thickens to a pudding-like consistency. This step usually takes another 2-3 minutes. Remove from heat immediately to prevent curdling.
- While the custard is still hot, stir in 2 tablespoons butter, 3 ounces cream cheese (softened), and 1 teaspoon vanilla extract. Whisk vigorously until the mixture is smooth and glossy.
- Pour the luscious chocolate filling into your prebaked pie shell, spreading it evenly. Cover the pie with plastic wrap, pressing it directly onto the surface to prevent a skin from forming. Refrigerate for at least 4 hours or overnight until fully set.
- Once chilled and set, slice your Homemade Chocolate Cream Pie and serve as is or topped with freshly whipped cream or chocolate shavings for an extra special touch.
Notes
- Using unsweetened chocolate squares instead of cocoa powder gives the pie a deeper, more robust chocolate flavor.
- Temper the egg yolks carefully to avoid scrambling and ensure a smooth custard.
- Softened cream cheese blends more easily and adds a subtle tang that brightens the chocolate.
- Covering the pie with plastic wrap pressed directly on the surface is key to preventing a skin from forming.
- Letting the pie chill overnight improves texture and flavor melding.