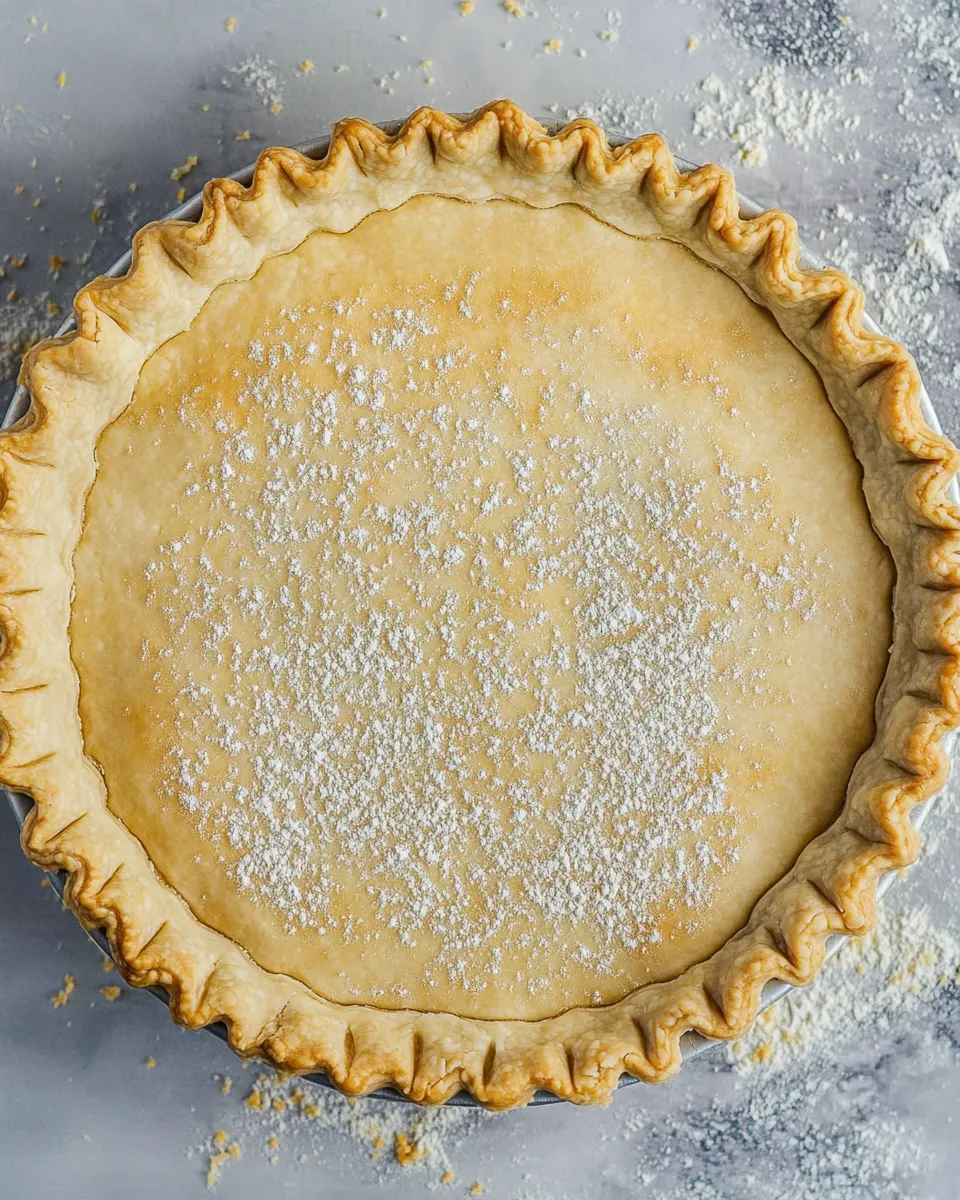
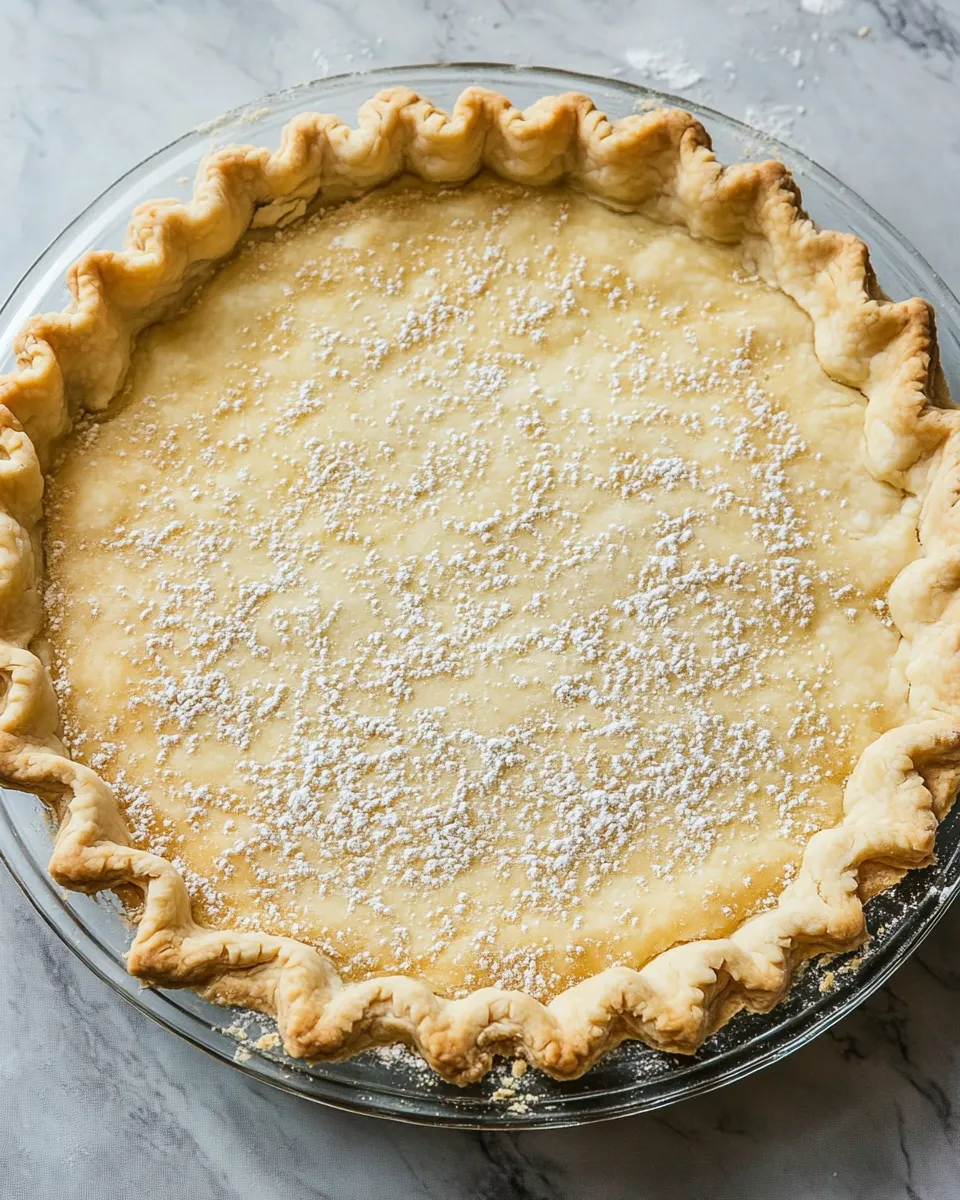
Blind baking is the small, practical step that keeps your pies from becoming soggy at the bottom. It’s not glamorous, but it’s essential for custard pies, cream pies, and any filling that won’t be baked long enough to crisp the crust from the inside. Done well, it gives you a golden, evenly baked shell that holds whatever filling you choose without collapsing or bubbling.
I use this method every time I need a reliable, crisp foundation. It works with an all-butter crust and with store-bought frozen or refrigerated crusts. The technique is simple: chill, weight, bake, and—if needed—finish baking without the weights. The details matter more than you think, and the few extra minutes make a big difference in texture.
Below I’ll walk you through exactly what to have on hand, the step-by-step instructions, the small adjustments that matter, and answers to the questions I get asked most often. No fluff—just clear, useful guidance so your crust turns out right every time.
What Goes In
Ingredients
- 1 All butter pie crust (or a frozen or refrigerated crust) — the base for the shell; all-butter gives flavor and flakiness, store-bought saves time.
- Rice, lentils, pie weights, or beans (for baking) — used to weigh down the crust so it bakes flat; note that rice, lentils, and beans used this way will not be usable for cooking afterward.
Step-by-Step: Blind Bake a Pie Crust
- Prepare the 1 all butter pie crust (or the frozen/refrigerated crust) according to its recipe or package directions. Fit the crust into a pie plate and crimp the edges as desired.
- Chill the crust for at least 4 hours, or freeze it for 30 minutes to 1 hour, before baking.
- Preheat the oven to 425°F.
- Cut a piece of parchment paper to fit the bottom of the crust and press it so it lies flush against the bottom and sides. Fill the parchment-lined crust with pie weights (or rice, lentils, or beans). (Note: rice, lentils, and beans used this way will not be usable for cooking afterward.)
- Place the pie plate on a cookie sheet to catch any spills and transfer to the preheated oven.
- Bake for 10–15 minutes, or until the edges of the crust are just starting to brown. If you are making a pie that will be filled and baked again (for example, lemon meringue), stop here and proceed with your pie recipe (this is a partially baked crust).
- If continuing to fully bake the crust: remove the pie from the oven (use oven mitts). Carefully lift out the parchment and the weights.
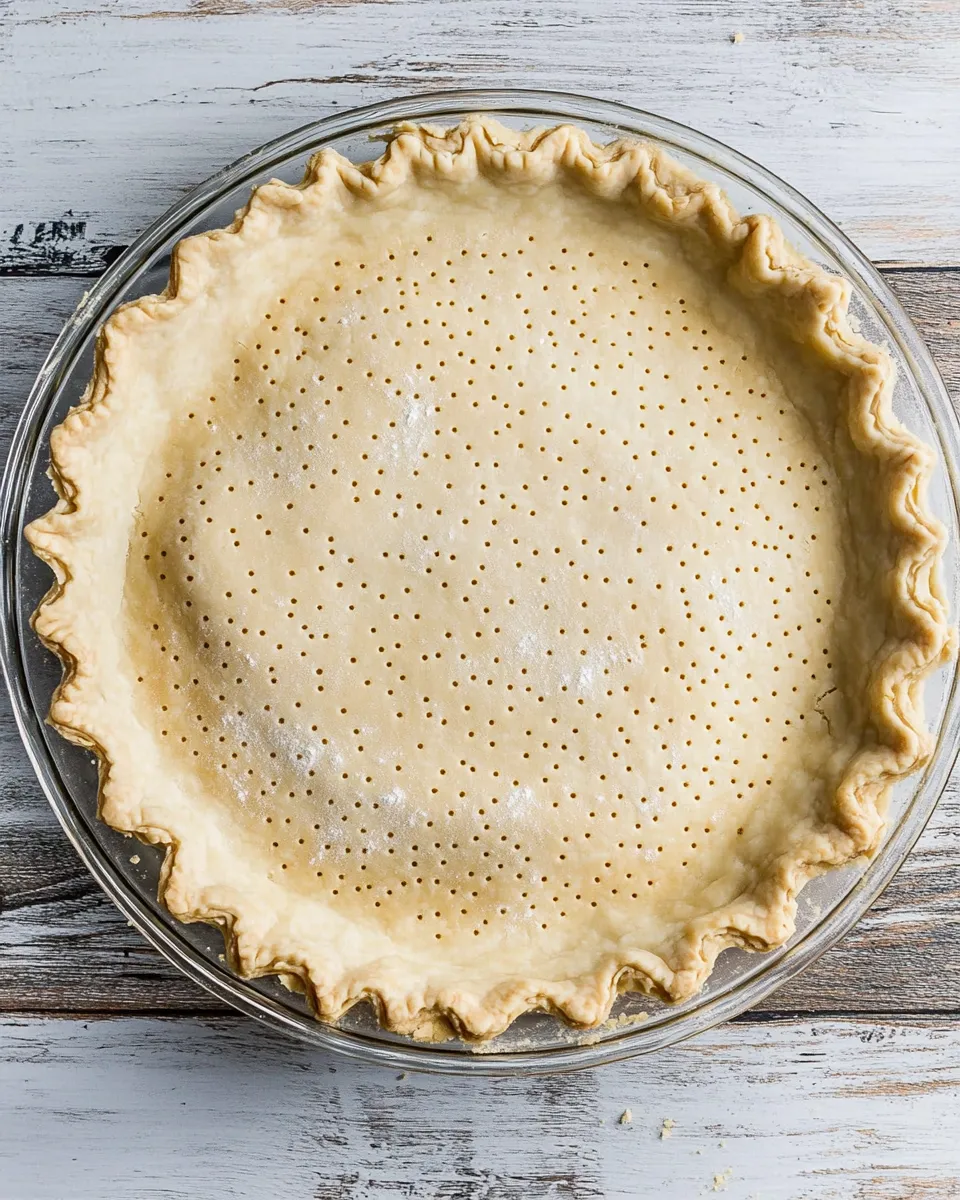
- Use a fork to poke (dock) holes all over the bottom of the crust to prevent bubbling.
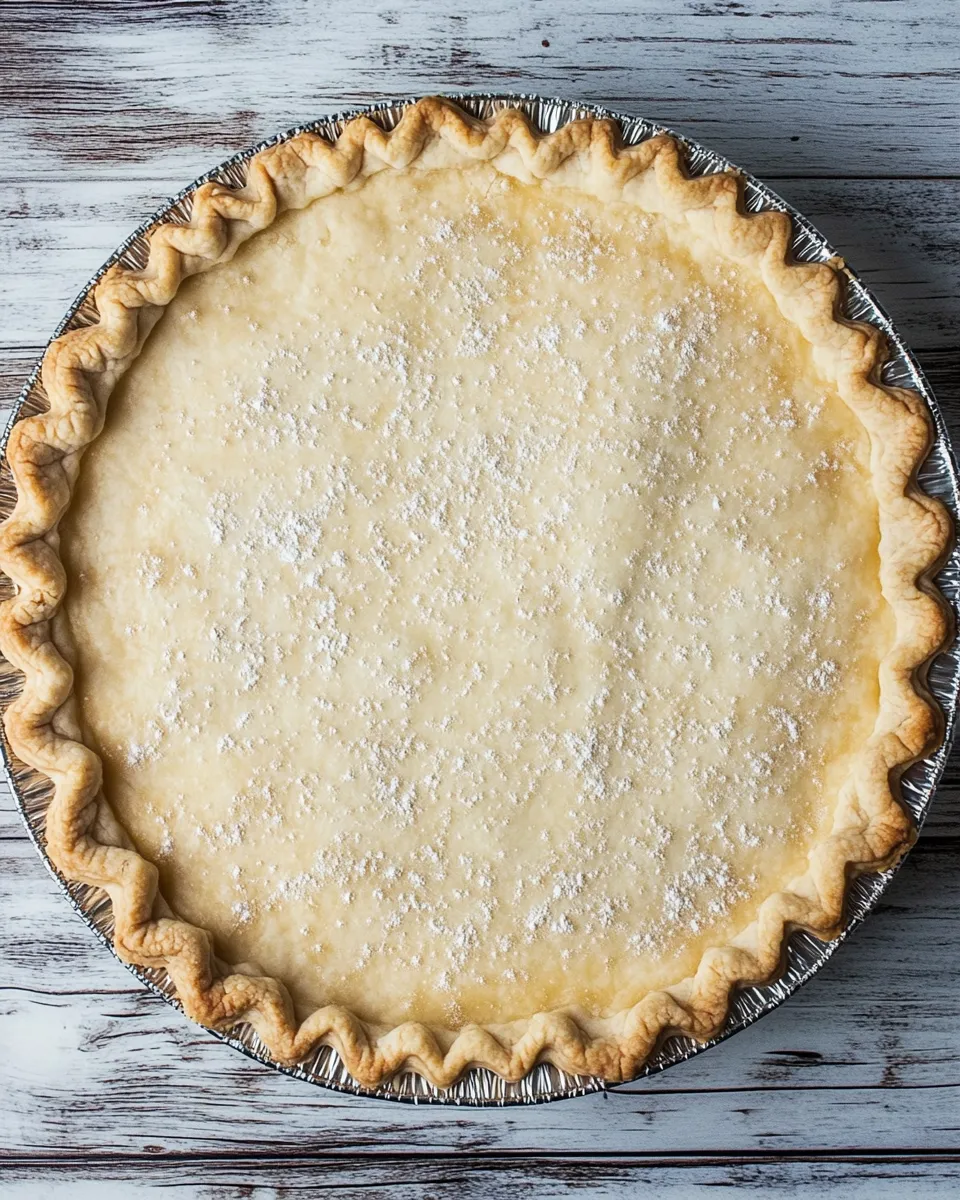
- Return the crust to the oven and bake an additional 10–15 minutes, or until the bottom and edges are browned and the crust is cooked through. Watch the crust after the first bake—some crusts (especially store-bought) may finish sooner.
- Remove from oven and cool before filling as desired.
Why You’ll Love This Recipe
Because it reliably produces a crisp shell and saves you heartbreak. No more soggy bottoms or collapsed walls. When you blind bake, you control the structure of the crust so your fillings—especially custardy, creamy, or no-bake fillings—sit on a stable, golden base.
It’s flexible. Use this method whether you made the crust from scratch or popped in a refrigerated dough. The timing is forgiving: chill longer if you need to, and keep an eye during the second bake so you don’t overbake store-bought crusts. The technique is the same across pie recipes, so once you know it, you’ll use it frequently.
Ingredient Flex Options
This method intentionally uses very few ingredients. Stick to the listed items and their roles:
- Crust choice: an all-butter crust gives the best flavor and flake; frozen or refrigerated crusts work fine when you follow the chilling and weighting steps.
- Weights choice: commercial pie weights are ideal. Rice, lentils, or dried beans do the job in a pinch—just remember they’re no longer good for cooking afterward.
If you need to simplify, a frozen or refrigerated crust removes the step of making dough, but do still chill and weight it before baking. That’s the trade-off for convenience without sacrificing texture.
Appliances & Accessories
These are the tools that make blind baking easy and predictable:
- Oven — set to 425°F as directed.
- Pie plate — metal, glass, or ceramic; fit the crust properly so walls hold their shape.
- Cookie sheet — places the pie plate on a flat, stable surface to catch spills and make handling safer.
- Parchment paper — cut to fit the bottom and sides to hold the weights in place and prevent sticking.
- Pie weights, or a small bag of rice/lentils/beans — to press the crust flat while it bakes.
- Fork — for docking the bottom after removing weights.
- Oven mitts — for safe handling when removing the hot pie plate.
Frequent Missteps to Avoid
These are the most common reasons blind-baked crusts go wrong—and how to prevent them.
- Not chilling the crust long enough. The dough must be cold so the fat stays solid when it hits the hot oven. Chill at least 4 hours or freeze for 30–60 minutes.
- Skipping the weights. Without weights the bottom will puff and the edges can slump. Use weights or dried goods to keep everything flat.
- Not using a cookie sheet. A pie plate can drip or catch heat unevenly. The cookie sheet ensures even baking and catches overflow.
- Removing the weights too soon or roughly. Lift the parchment and weights carefully after the first bake. The crust will be hot and fragile.
- Failing to dock after removing weights. Docking releases trapped steam and prevents bubbles when finishing the bake.
In-Season Swaps
Blind baking is neutral-season work: you use the same technique year-round. What changes is the filling. In summer, it pairs beautifully with short bakes like fruit fillings that finish quickly or with chilled fillings. In fall and winter, it’s the base for denser custards and cream pies that benefit from a fully baked shell.
If you’re thinking of pairings rather than swaps: choose fillings that match how you finished the crust. Partially baked crusts are for pies that will go back into the oven; fully baked crusts are for refrigerated or no-bake fillings.
Little Things that Matter
Small details make the difference between “fine” and “excellent.”
- Crimp the edges cleanly. It looks nicer and helps the crust hold its shape.
- Press the parchment so it lies flush. Gaps let weights slide and allow the dough to blister.
- Use an oven thermometer if your oven runs hot or cold. Accurate temperature matters—425°F is the target for this method.
- Watch the second bake closely. Some crusts, especially store-bought, brown faster on the second stage.
- If edges brown too quickly, tent them with foil to avoid overbrowning while the bottom finishes.
Refrigerate, Freeze, Reheat
Store prebaked crusts appropriately depending on when you’ll fill them.
- To refrigerate: cool completely, then wrap tightly with plastic or place in an airtight container. Use within 2–3 days for best texture.
- To freeze: cool completely, wrap tightly in plastic and then foil or place in a freezer-safe container. Freeze up to 1–2 months. Thaw in the refrigerator before filling.
- To re-crisp: if the crust softens after storing, warm in a 350°F oven for 5–8 minutes to refresh crispness before filling.
Questions People Ask
Q: Can I reuse the rice, lentils, or beans used as weights?
A: No. Rice, lentils, and beans used as pie weights should not be used for cooking afterward. They’re safe to reuse strictly for blind baking, but food safety and quality make fresh beans better if you plan to cook them later.
Q: Do I always need to dock the crust?
A: Yes—dock the crust after removing weights to release trapped steam and prevent blistering during the final bake.
Q: Can I skip the first 10–15 minute bake and go straight to a full bake?
A: No. The two-stage approach locks in structure. The first bake sets the edges and begins cooking the bottom under weight; removing the weights and finishing without them ensures the entire shell browns evenly without bubbles.
Q: What if my edges brown too quickly?
A: Tent the edges with foil or a strip of aluminum to slow the browning while the bottom finishes.
Let’s Eat
Once your crust is cooled and ready, fill it with whatever your recipe calls for. If you stopped at the partially baked stage, proceed with your filling and bake as directed. If you fully baked the shell, let it cool completely and fill with chilled custards, creams, fruit fillings, or anything that needs a sturdy, crisp base.
Blind baking is one of those kitchen steps that rewards consistency. Do the chilling, use the weights, dock the bottom, and watch the second bake closely. These routines protect the texture of the crust and make finishing a pie straightforward and predictable. Happy baking—your next pie is going to be solid, crisp, and reliably delicious.
How to Blind Bake a Pie Crust
Equipment
- Oven
- pie plate
- Parchment Paper
- pie weights (or rice/lentils/beans)
- Cookie sheet
- Fork
- Oven mitts
Ingredients
Ingredients
- 1 All butter pie crust or a frozen or refrigerated crust
- Rice lentils, pie weights, or beans (for baking)
Instructions
Instructions
- Prepare the 1 all butter pie crust (or the frozen/refrigerated crust) according to its recipe or package directions. Fit the crust into a pie plate and crimp the edges as desired.
- Chill the crust for at least 4 hours, or freeze it for 30 minutes to 1 hour, before baking.
- Preheat the oven to 425°F.
- Cut a piece of parchment paper to fit the bottom of the crust and press it so it lies flush against the bottom and sides. Fill the parchment-lined crust with pie weights (or rice, lentils, or beans). (Note: rice, lentils, and beans used this way will not be usable for cooking afterward.)
- Place the pie plate on a cookie sheet to catch any spills and transfer to the preheated oven.
- Bake for 10–15 minutes, or until the edges of the crust are just starting to brown. If you are making a pie that will be filled and baked again (for example, lemon meringue), stop here and proceed with your pie recipe (this is a partially baked crust).
- If continuing to fully bake the crust: remove the pie from the oven (use oven mitts). Carefully lift out the parchment and the weights.
- Use a fork to poke (dock) holes all over the bottom of the crust to prevent bubbling.
- Return the crust to the oven and bake an additional 10–15 minutes, or until the bottom and edges are browned and the crust is cooked through. Watch the crust after the first bake—some crusts (especially store-bought) may finish sooner.
- Remove from oven and cool before filling as desired.
Notes
For bake time – this recipe was made using my
all butter pie crust
. If you use a different pie crust recipe (or a refrigerated crust) be sure to check with that recipe on bake time. You can use this method for blind baking but not all crust recipes bake at the same amount of time.