There’s something deeply satisfying about opening the freezer and finding a stash of perfectly cooked beans ready to toss into salads, soups, stews, or grain bowls. In this post I’ll show you the easiest, most reliable way to cook 2 pounds of dried beans and freeze them for later so you always have a nutritious, versatile protein on hand. Follow along for pantry-tested tips, flavor ideas, and a clear, step-by-step method that yields tender, creamy beans every time.
Why cook dried beans in bulk?
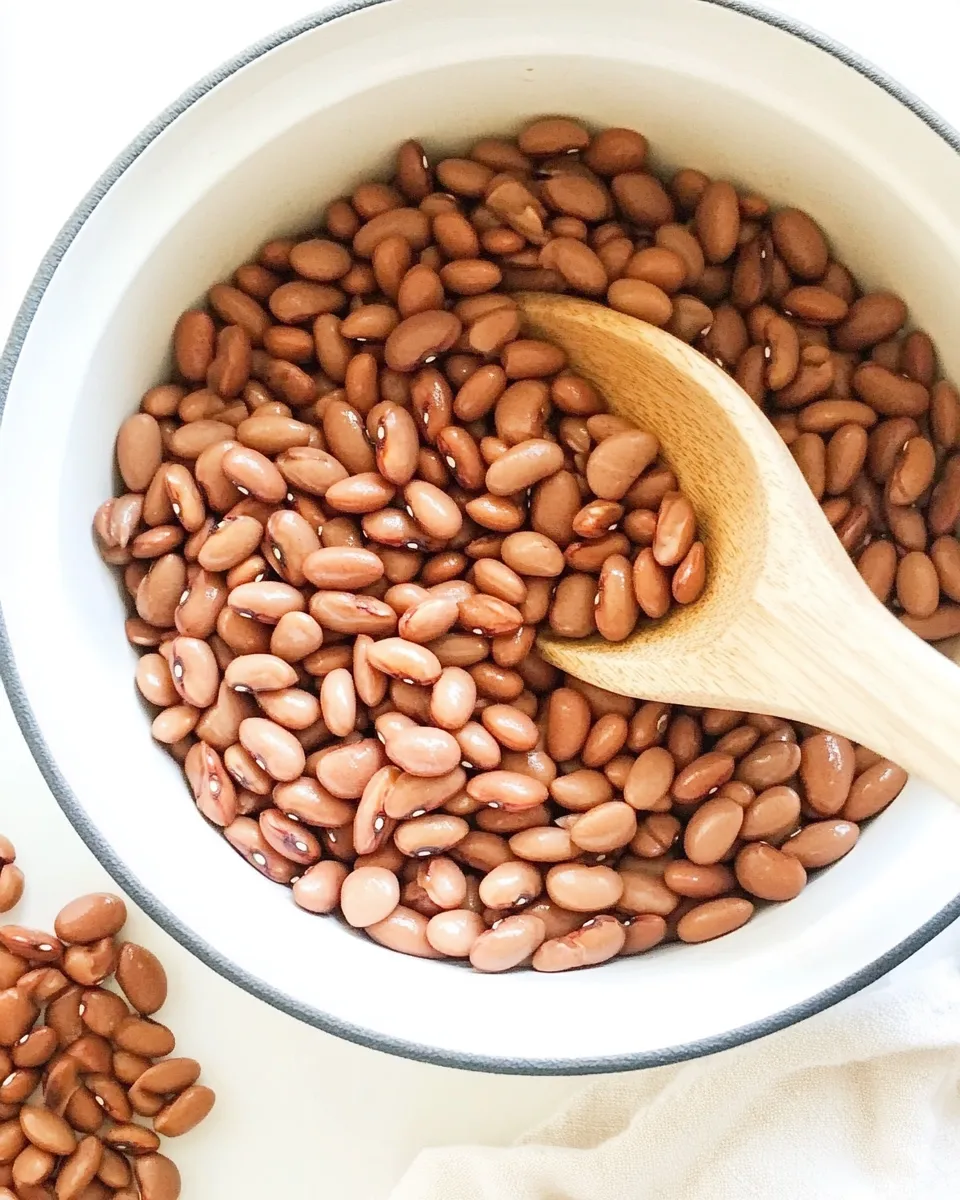
Buying dried beans is economical, reduces packaging waste, and gives you complete control over texture and flavor. Cooking 2 pounds at once means you’ll have many servings to portion and freeze, which saves time during busy weeks and helps you pull together quick, wholesome meals. Plus, the flavor of home-cooked beans is always better than canned.
Tools and equipment
- Large bowl for soaking
- Colander
- Large heavy-bottomed pot with lid or a pressure cooker/Instant Pot
- Wooden spoon or spatula
- Measuring cups and spoons
- Freezer-safe containers or resealable bags
- Permanent marker for labeling
Ingredients
- 2 pounds dried beans (any variety—black, pinto, cannellini, navy, kidney, chickpeas, etc.)
- Water
- 1 tablespoon salt (add toward the end of cooking; see notes below)
- Optional aromatics: 1 onion (peeled and halved), 3 cloves garlic (smashed), 2 bay leaves, 1 teaspoon whole black peppercorns
How to Cook Dried Beans and Freeze Them for Later: Overview
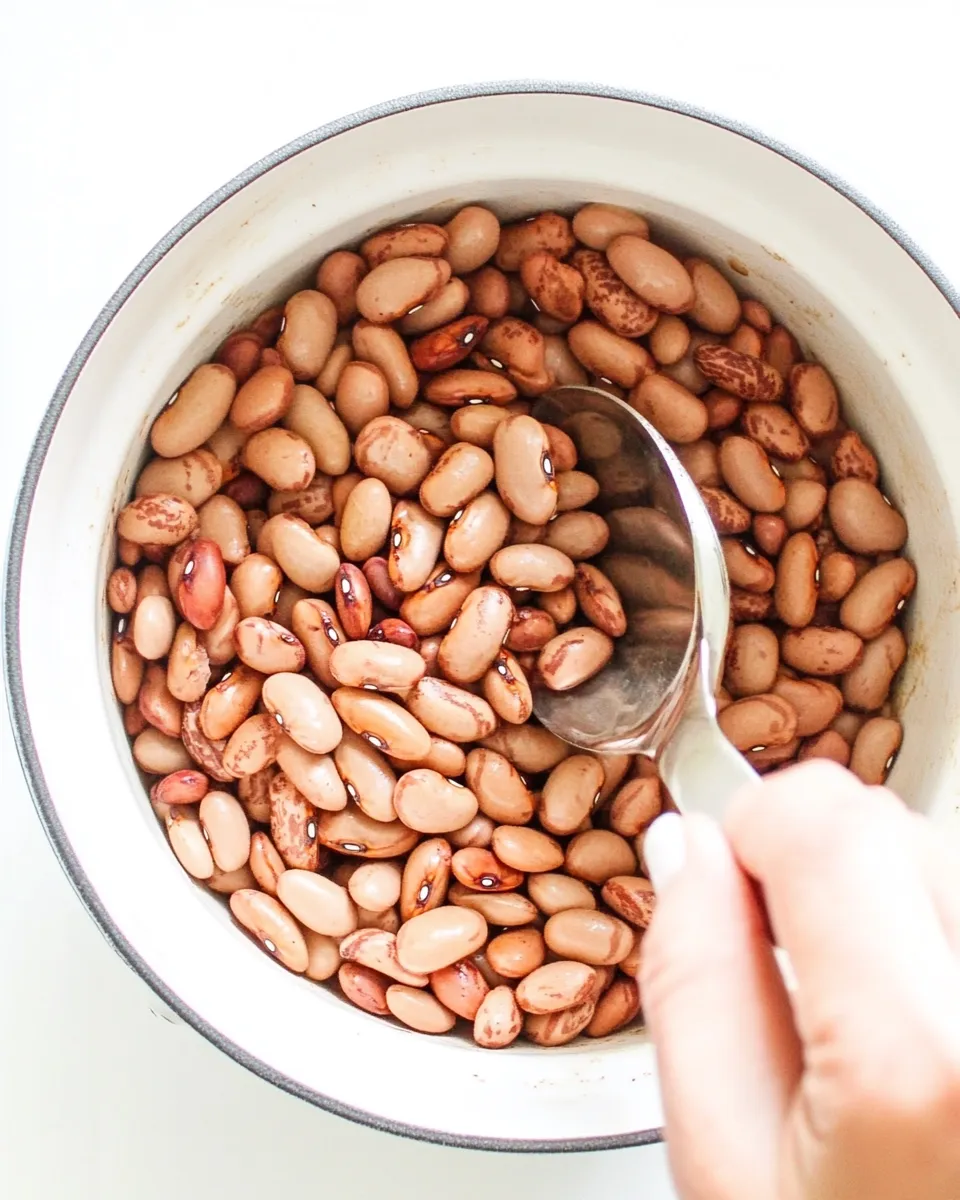
This method uses a classic soak-and-simmer approach with optional aromatics. If you prefer speed, a pressure cooker can halve the active time; instructions include both stovetop and pressure-cooker options. The method below keeps ingredient amounts the same and rewrites directions into straightforward steps so you always get consistent results.
Preparing the beans
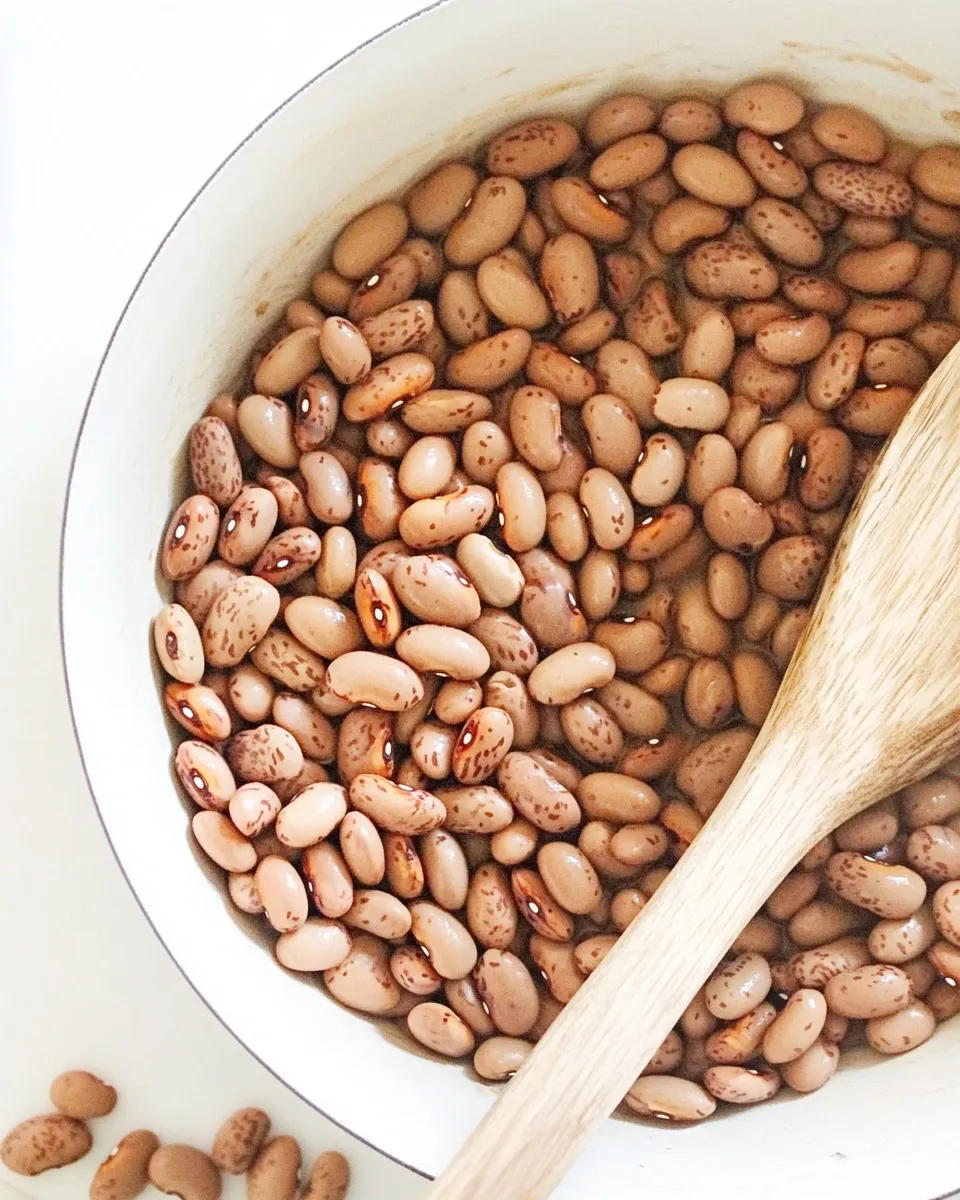
1. Sort and rinse: Spread the beans on a clean surface and pick through them to remove any small stones, shriveled beans, or debris. Transfer the beans to a colander and rinse thoroughly under cold running water.
2. Soak (overnight method): Place the 2 pounds of rinsed beans into a large bowl. Cover with at least 6 inches of cold water—beans will expand as they soak. Let them soak for 8 to 12 hours or overnight. Long soaking reduces cooking time and can improve digestibility.
3. Quick-soak alternative: If you’re short on time, place the rinsed beans in a large pot and cover with 6 inches of water. Bring to a rapid boil and boil for 2 minutes. Remove from heat, cover, and let rest for 1 hour. Drain and rinse before cooking.
Cooking the beans — stovetop method
1. Drain and rinse the soaked beans: After soaking, drain the beans in a colander and rinse under cold water. Transfer them to a large heavy-bottomed pot.
2. Add water and aromatics: Pour in fresh water to cover the beans by about 2 inches. For 2 pounds of beans this typically means 10–12 cups of water, but the exact amount can vary depending on pot size. Add optional aromatics—onion halves, smashed garlic, bay leaves, and peppercorns—if using. These will flavor the cooking liquid without changing ingredient amounts.
3. Bring to a simmer: Place the pot over medium-high heat and bring the water to a gentle simmer. Avoid a rolling boil, which can break the skins and create foamy scum. Reduce heat as needed so the surface maintains a soft simmer.
4. Skim foam: During the first 10 to 20 minutes of simmering you may notice foam collecting at the surface. Use a spoon to skim the foam off and discard. This keeps the cooking liquid clearer and removes some impurities.
5. Cover and cook gently: Once the pot is simmering steadily, partially cover with a lid (leave a small gap for steam to escape) and continue to simmer. Cooking time varies by bean type and soak time—expect anywhere from 45 minutes to 2 hours. Check for doneness after 45 minutes and then every 15–20 minutes. Beans are done when they’re tender through but not falling apart.
6. Salt near the end: Stir in 1 tablespoon salt when the beans are nearly tender—about 10 to 20 minutes before you expect them to finish. Adding salt too early can sometimes toughen skins; adding it toward the end seasons the beans without affecting texture.
7. Drain or reserve cooking liquid: If you plan to freeze the beans for later use in soups or stews, reserve some of the cooking liquid to maintain moisture and flavor. Otherwise, drain the beans in a colander and allow them to cool slightly before portioning for the freezer.
Cooking the beans — pressure cooker/Instant Pot method
1. Drain and rinse the soaked beans and transfer them to the pressure cooker insert.
2. Add water to cover the beans by about 2 inches (roughly 10–12 cups for 2 pounds). Add any optional aromatics. Secure the lid and set the valve to the sealing position.
3. Cook on high pressure: For most common beans, set the cooker to high pressure for 8 to 25 minutes depending on variety—black beans and pinto often fall around 8–12 minutes, cannellini or navy near 10–15, and chickpeas closer to 25 minutes. Because bean varieties and freshness vary, use the shorter end of the range and check doneness once pressure is released.
4. Natural release: Allow the pressure to release naturally for 10 to 20 minutes, then carefully release any remaining pressure. Stir in 1 tablespoon salt, then check softness. If beans are not yet tender, return to pressure for a few minutes more.
5. Drain or reserve cooking liquid as needed for freezing or future recipes.
Finishing and flavoring
Once your beans are cooked, taste and adjust seasoning. You can toss them with a splash of olive oil, a squeeze of lemon, or a spoonful of vinegar to brighten their flavor before freezing, but keep in mind these additions are optional and will not affect freezing safety. If you used aromatics during cooking, discard the onion, bay leaves, and peppercorns before freezing.
Portioning and freezing
1. Cool slightly: Allow cooked beans to cool for 20–30 minutes at room temperature. Do not leave beans out longer than two hours total to avoid food safety issues.
2. Decide on portions: Typical portions are 1 to 2 cups of cooked beans per container. For many uses, 1-cup portions are ideal because they defrost quickly and can be used in single recipes. You’ll get roughly 6–8 cups of cooked beans per pound depending on variety, so 2 pounds will yield approximately 12–16 cups total.
3. Use freezer-safe containers or bags: Spoon the cooled beans into freezer-safe containers or resealable plastic bags. If using bags, lay them flat on a baking sheet to freeze to save space and speed up freezing. Press out as much air as possible to prevent freezer burn.
4. Include cooking liquid or not: To keep beans moist, add 1 to 2 tablespoons of the reserved cooking liquid per cup of beans before sealing. If you prefer drier beans for salads, freeze without liquid.
5. Label and date: Write the contents and date on each bag or container with a permanent marker. Cooked beans keep well in the freezer for up to 6 months with excellent quality.
Thawing and reheating
1. Thawing in the refrigerator: Move the frozen beans to the refrigerator and let them thaw overnight. This is the gentlest method and preserves texture best.
2. Quick thaw on the stovetop: Place frozen beans in a saucepan with a splash of water or broth and heat gently over medium-low heat until warmed through. Stir occasionally.
3. Microwave: Transfer a portion to a microwave-safe bowl, cover, and heat in 30–60 second bursts, stirring between bursts, until heated through.
4. Use frozen directly in cooking: You can add frozen beans straight to soups, stews, or chilis; they’ll thaw as the pot warms and release their flavor into the dish.
Recipe ideas and uses
Having a freezer full of cooked beans opens up countless quick meals. Here are a few simple ideas to get you started:
- Bean salad: Toss a cup of thawed beans with chopped tomatoes, cucumber, parsley, lemon juice, olive oil, salt, and pepper.
- Simple hummus: For chickpeas, blend 1 cup cooked chickpeas with 2 tablespoons tahini, 1 tablespoon lemon juice, 1 small garlic clove, 1–2 tablespoons of reserved cooking liquid or water, and salt to taste.
- Quick chili: Add two cups of frozen beans directly to a simmering tomato-based chili with cooked onions, ground meat or plant-based protein, and spices.
- Beans and rice: Warm a cup of beans with cumin and a splash of olive oil, then spoon over steamed rice for an easy bowl.
- Spread for toast: Mash canned-style beans with olive oil, lemon, and herbs for savory toast toppings.
Tips for best results
- Bean freshness matters: Older beans take longer to soften. If your beans are older than a year, expect extra cooking time.
- Don’t add acidic ingredients early: Tomatoes, vinegar, wine, and lemon can toughen bean skins. Add them after beans are tender.
- Salt timing: Adding salt near the end avoids tough skins and seasons the beans effectively.
- Freeze flat: Freezing bags flat saves space and speeds thawing.
- Label everything: Date and label each portion so you use the oldest first.
Common questions
My beans fell apart during cooking. What happened? Rapid boiling and agitation can break bean skins. Next time simmer gently and avoid stirring too vigorously. Overcooking can also cause mushy beans; check for doneness earlier.
Can I cook different bean varieties together? Yes, but be aware different beans have different cooking times. If cooking together, choose beans with similar density or prepare separately and combine after cooking.
How long do cooked beans last in the fridge? Store cooked beans in an airtight container in the refrigerator for up to 3–5 days. For longer storage, freeze portions as directed above.
Step-by-step instructions (rewritten directions)
Follow these exact steps to cook 2 pounds of dried beans and freeze them for later:
- Sort and rinse the 2 pounds of dried beans to remove stones and debris, then rinse thoroughly under cold water in a colander.
- Soak the beans by covering them in a large bowl with at least 6 inches of cold water and letting them sit for 8–12 hours, or use the quick-soak method: boil beans in a pot of water for 2 minutes, remove from heat, cover, and let sit for 1 hour.
- After soaking, drain and rinse the beans, then transfer them to a large heavy-bottomed pot (or pressure cooker insert).
- Add fresh water to the pot to cover the beans by about 2 inches (approximately 10–12 cups for 2 pounds of beans). Add optional aromatics—onion halves, smashed garlic cloves, bay leaves, and whole peppercorns—if desired.
- For stovetop cooking: bring the pot to a gentle simmer over medium-high heat, skim any foam that forms, then partially cover and simmer gently until beans are tender, 45 minutes to 2 hours depending on variety. Stir in 1 tablespoon salt during the last 10–20 minutes of cooking. For pressure-cooker cooking: secure the lid, cook at high pressure for the recommended time for your bean type (typically 8–25 minutes), allow a natural pressure release for 10–20 minutes, then stir in 1 tablespoon salt and check for doneness.
- Once beans are tender, discard aromatics and either drain the beans or reserve some cooking liquid to maintain moisture when freezing.
- Cool the beans for 20–30 minutes. Portion into freezer-safe containers or resealable bags in 1-cup or 2-cup portions. Add 1 to 2 tablespoons of reserved cooking liquid per cup of beans if you want them moister after thawing.
- Remove excess air from bags, seal containers, label with contents and date, and lay bags flat on a baking sheet to freeze. Transfer to long-term storage in the freezer where they will keep for up to 6 months.
- To use, thaw overnight in the refrigerator, reheat gently on the stovetop with a splash of water or broth, microwave in short bursts, or add frozen beans directly to soups and stews.
Wrapping up
Now you know how to cook dried beans and freeze them for later in a way that’s simple, economical, and reliably delicious. With 2 pounds of dried beans you’ll have a freezer full of nutrient-dense meals waiting to be transformed. Keep a few flavoring ideas in your back pocket—olive oil, lemon, fresh herbs, or a dash of spice—and you’ll never be more than a few minutes away from a satisfying and wholesome dish.
If you try this method, I’d love to hear how you use your frozen beans—tossed into a salad, nestled in a stew, or whipped into a creamy spread. Happy cooking!
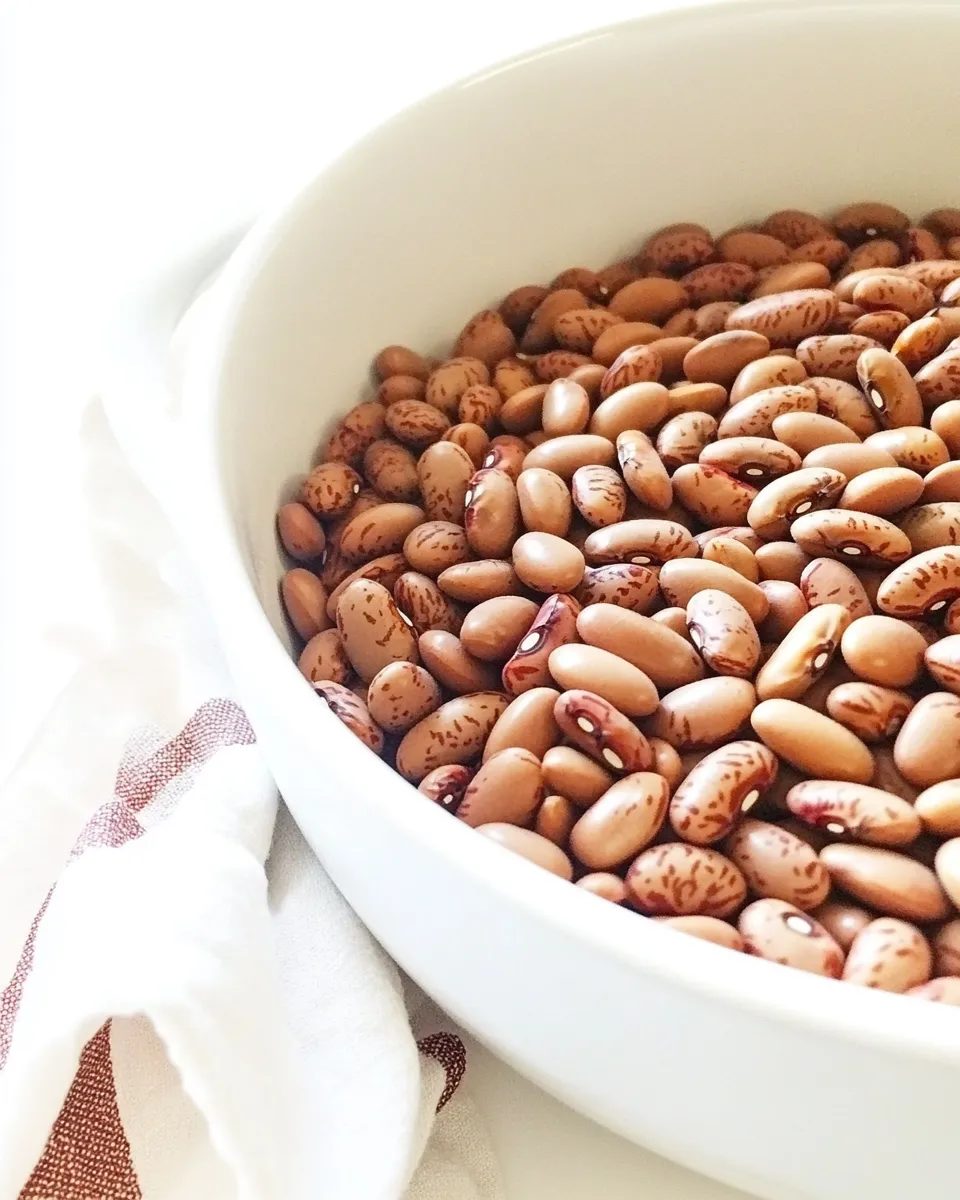
How to Cook Dried Beans and Freeze Them for Later
Equipment
- very large pot (7 quarts or larger)
- large colander or sieve
- measuring cup (optional)
- freezer-safe zipper bags
- sharpie permanent marker
Ingredients
- 2 pounds dried beans
- water for soaking and cooking
Instructions
- Sort and rinse the dried beans: spread them in a large colander and pick through to remove stones, debris, and damaged beans, then rinse well.
- Place the rinsed beans in a very large pot and add enough water to come about 2 inches above the beans.
- Soak the beans either by covering and letting them sit overnight, or use the quick-soak method: bring to a boil over high heat for 2–3 minutes, remove from heat, cover, and let sit for 1 hour.
- Drain and rinse the soaked beans, then return them to the pot and add fresh water to come about 2 inches above the beans.
- Bring the pot to a boil, then reduce heat to a simmer and partially cover. Cook until the beans are tender and skins begin to peel when pressed or blown on, about 30–60 minutes depending on bean type (cook kidney beans thoroughly).
- Remove from heat, uncover, and let beans cool enough to handle, then drain off the cooking water.
- Portion the drained beans into labeled freezer-safe zipper bags, flattening to remove excess air, seal, and freeze for up to about 6 months.
- To use, add frozen beans directly to hot recipes like chili or beans and rice, or thaw in the refrigerator overnight or in a bowl of warm water if a recipe requires thawed beans.
Notes
- Pick through beans carefully to remove debris.
- Quick-soak works well when short on time.
- Cook times vary by bean type; test for tenderness.
- Cook kidney beans thoroughly to avoid toxicity.
- Label bags with date and type of bean.