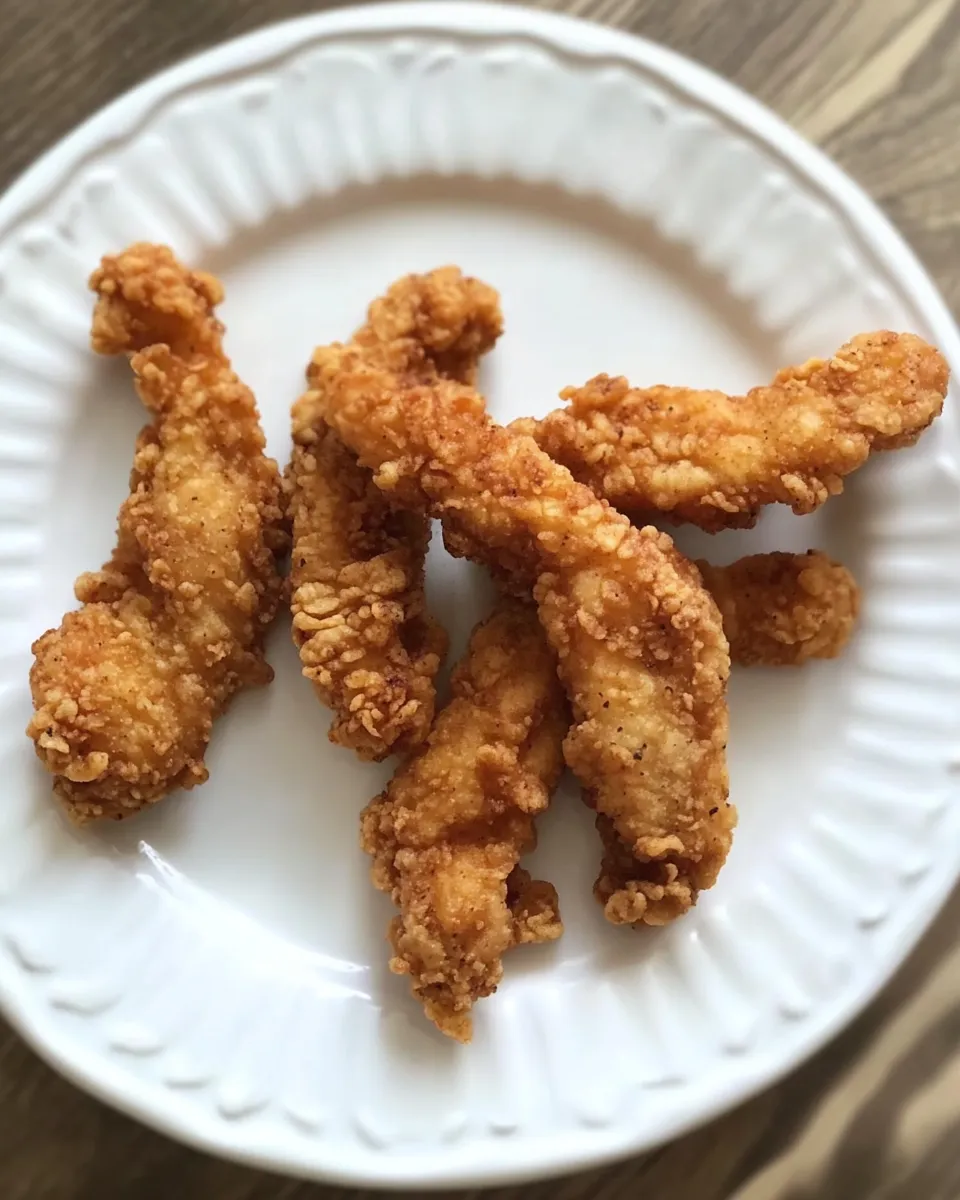
Frozen chicken strips are one of those kitchen conveniences I reach for when time is short and hunger is loud. They’re straightforward, forgiving, and when handled with a few simple steps, they come out crisp on the outside and hot through the middle. No complicated prep. No mysterious marinades. Just a reliable, satisfying result you can count on.
I treat this method like a mini ritual: preheat, space out, oil, season, and bake. Each little action helps the strips brown evenly and avoids that limp, soggy finish we all dread. It’s practical cooking aimed at consistent results, whether you’re feeding kids, finishing a quick dinner, or prepping a snack for guests.
Below you’ll find the exact ingredient list and step-by-step baking directions, followed by why these steps work, sensible substitutions, must-have tools, common mistakes to avoid, storage notes, and a few serving ideas. No fluff — just clear, warm guidance so your Frozen Chicken Strips come out great every time.
Ingredient Rundown
- 4 Tbs vegetable oil — helps promote even browning and crisping; a light coating prevents the strips from drying out.
- 1 tbs Seasoned Salt — adds surface seasoning and a balance of salt and spices; sprinkle evenly for consistent flavor.
- 6 Chicken Strips — the main ingredient; arrange in a single layer so heat circulates around each piece.
Frozen Chicken Strips — Do This Next
- Preheat the oven to 400°F (204°C).
- Arrange all 6 Chicken Strips in a single layer on a baking sheet with a little space between each strip.
- Pour 4 Tbs vegetable oil evenly over the 6 Chicken Strips.
- Sprinkle 1 tbs Seasoned Salt evenly over the strips.
- Using clean hands or tongs, turn and rub each strip so the oil and Seasoned Salt coat them evenly.
- Place the baking sheet on the middle oven rack and bake 18–22 minutes. For more even browning, flip the strips once halfway through baking (about 9–11 minutes).
- Remove from the oven, let the Chicken Strips rest for a few minutes, then serve.
Why It Works Every Time
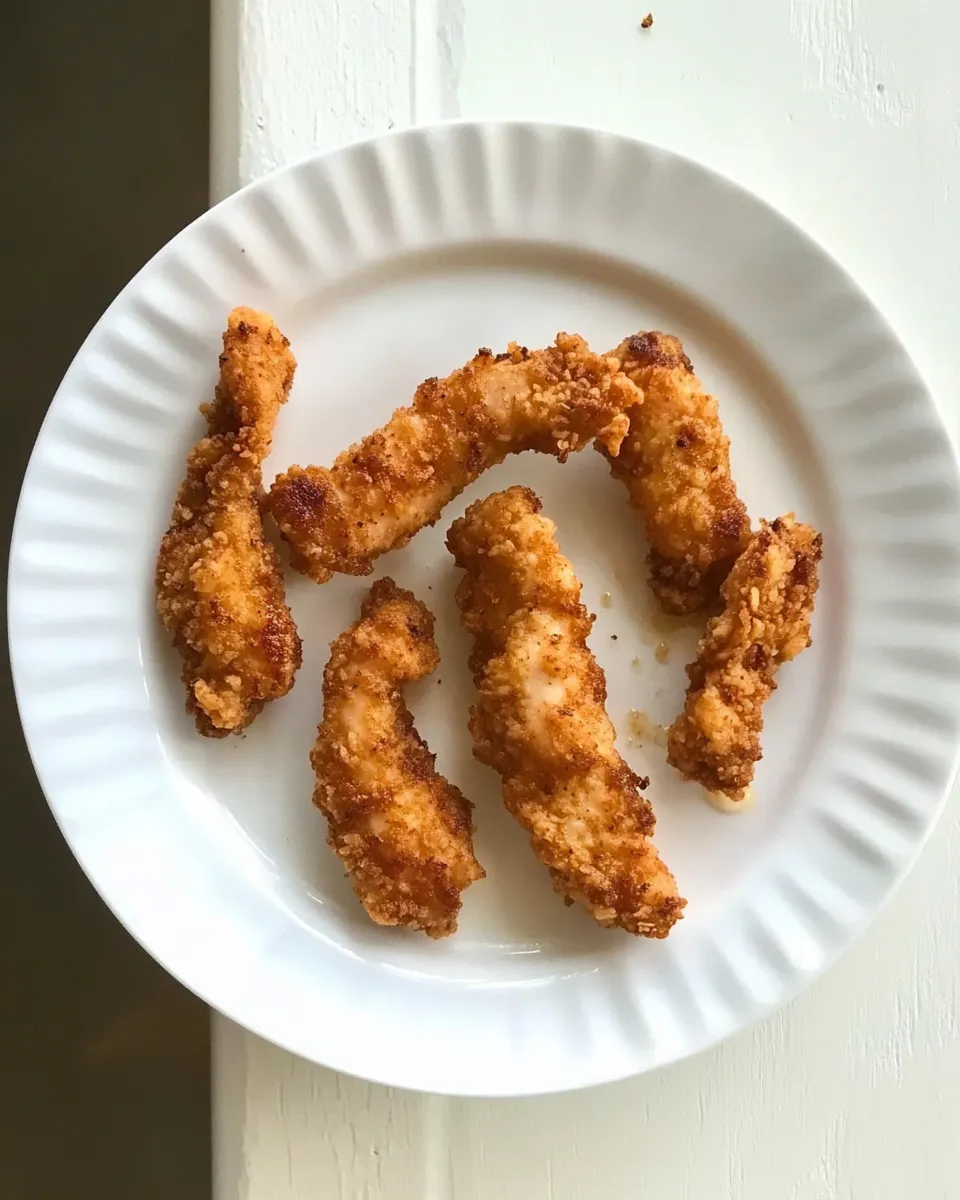
This method is intentionally simple because the physics of roasting frozen breaded poultry don’t need complexity. Starting in a fully preheated 400°F oven gives immediate, consistent heat so the coating begins to dry and brown rather than steam. That’s the first step toward crispness.
Coating the strips lightly with vegetable oil does two things: it helps heat transfer from the pan to the coating, and it encourages Maillard browning on the surface. The small, even sprinkle of seasoned salt guarantees that every strip has seasoning on the outside once you rub the oil and salt over the pieces.
Spacing the strips in a single layer and using the middle rack ensures good air circulation and steady heat exposure. Flipping halfway is optional but helpful for evenly browned results — especially if your oven has hot spots. A short rest at the end allows internal juices to redistribute and prevents steam from softening the crust immediately on the plate.
Substitutions by Category
Think in categories rather than exact swaps. The recipe relies on three functions: fat, seasoning, and the frozen protein. You can substitute within those functions if needed.
- Fat: any neutral cooking oil will serve the same purpose. Use enough to coat the surface but not so much that the strips sit in oil.
- Seasoning: the goal is surface seasoning. If you don’t have the exact seasoned salt, use a comparable seasoning blend or a simple sprinkle of salt and a pinch of a warm spice blend you like.
- Quantity/scale: this method scales up or down. Keep the same basic ratios of oil to strips for comparable coverage; spread pieces in a single layer so they bake the same way.
Recommended Tools
- Rimmed baking sheet — a rim helps catch any oil and keeps the oven clean.
- Parchment paper or a light nonstick spray — optional for easier cleanup, but not required for crisping.
- Tongs or clean hands — for turning and rubbing the oil and seasoning over each strip safely.
- Oven thermometer — very helpful if your oven runs hot or cool so you can trust the 400°F set point.
- Timer — 18–22 minutes is the window; a timer keeps you from overcooking or forgetting to flip at the midpoint.
Avoid These Mistakes
Small missteps change the final texture. Here are the usual suspects and how to sidestep them.
- Crowding the pan. If strips touch, steam will form and the coating won’t crisp. Give each piece a little breathing room.
- Skipping the oil. A bare strip can bake but often won’t brown evenly; the oil encourages a proper crust.
- Not preheating. Putting frozen strips into a cool oven creates soggy results because the coating gradually softens before browning.
- Forgetting to flip (if needed). If your oven heats unevenly, the underside can stay pale. Flip once for a consistent color and texture.
- Serving immediately without a short rest. Letting the strips sit 2–3 minutes prevents steam from making the coating soggy once plated.
Warm & Cool Weather Spins
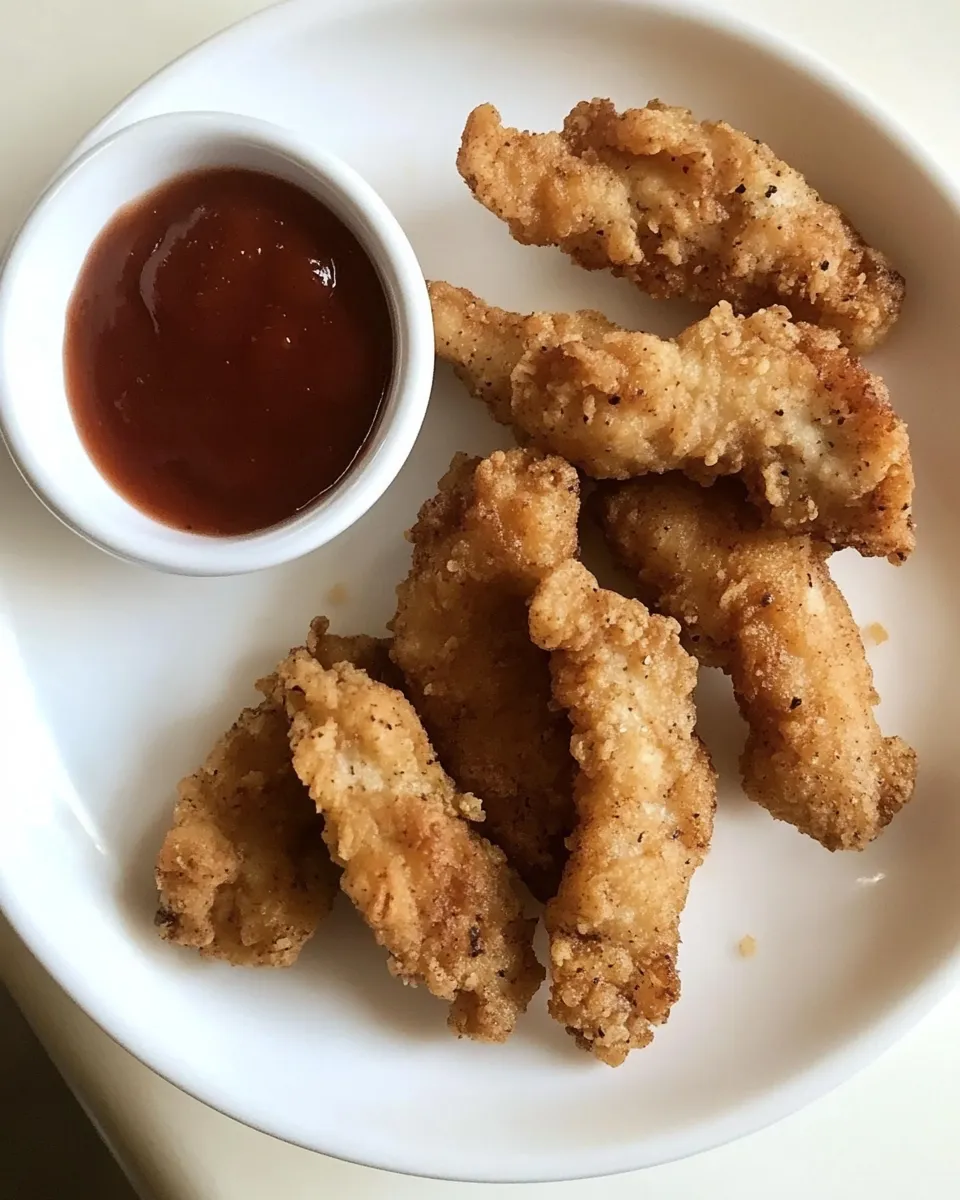
How you serve these can lean warm or cool depending on the season and appetite. In colder months, serve them right from the oven with a steaming side — the contrast of hot, crispy strips and a warm accompaniment is comforting. In warmer months, turn them into a light plate by pairing them with a cool salad or chilled slaw; the crisp texture pairs well with something acidic and fresh.
For casual entertaining, arrange a platter with a few dipping choices and let people pick. For quicker weekday meals, toss strips into a grain bowl or slice and add to a sandwich for a satisfying crunch. The objective is simple: match the hot, crispy texture with either warm comfort sides or refreshing, cold elements to balance the plate.
Behind the Recipe
This approach comes from treating frozen breaded proteins like little oven-ready projects, where evenness and temperature control matter more than fancy technique. Frozen strips are already partially cooked and breaded; your job is to finish them in a way that revives the intended texture. The small steps — oil, season, single layer, flip — are about directing heat and moisture properly.
I use this method when I want predictability. It’s especially useful if you’re serving people with different tastes because the exterior is neutral enough to pair with bold or subtle accompaniments. It’s humble cooking, but it respects the ingredient and the goal: reliable, tasty results with minimal fuss.
Shelf Life & Storage
Store any uneaten cooked strips in an airtight container in the refrigerator. They keep well for a few days; reheat to crisp them back up. For longer storage, cooked strips can be frozen, but texture will change after freezing and reheating.
If you bought extra frozen strips and don’t plan to use them right away, keep them in the freezer in their original packaging or transferred to a sealed bag. Thawing is not required for this recipe; the directions are written for cooking straight from frozen, which preserves convenience and safety.
Questions People Ask
Do I need to thaw the strips first? No. This method is designed for frozen strips so you can go straight from freezer to oven.
Can I air-fry instead? Many air fryers work well for frozen breaded items because they move hot air quickly. If you switch methods, follow your air fryer’s guidelines for frozen breaded poultry and watch closely the first time to calibrate time and temperature.
What if my strips are thicker or thinner than typical? Thicker pieces may need a couple more minutes; thinner pieces may be done sooner. Use the 18–22 minute window as guidance and adjust based on appearance and tenderness.
Bring It Home
This is a dependable, no-nonsense way to get great results from a bag of frozen chicken strips. Follow the steps — preheat, spread out, oil, season, rub, bake, flip if you want — and you’ll have consistently crisp, flavorful pieces with very little effort. It’s convenience cooking that respects texture and timing.
Try it as written the first time, then personalize the serving style to fit your meal. Crisp them up, give them a couple of minutes to rest, and serve confidently. Simple techniques like this are what make weeknight dinners less stressful and more satisfying.
How To Cook Frozen Chicken Strips
Equipment
- Oven
- Baking Sheet
- Tongs
Ingredients
Ingredients
- 4 Tbsvegetable oil
- 1 tbsSeasoned Salt
- 6 Chicken Strips
Instructions
Instructions
- Preheat the oven to 400°F (204°C).
- Arrange all 6 Chicken Strips in a single layer on a baking sheet with a little space between each strip.
- Pour 4 Tbs vegetable oil evenly over the 6 Chicken Strips.
- Sprinkle 1 tbs Seasoned Salt evenly over the strips.
- Using clean hands or tongs, turn and rub each strip so the oil and Seasoned Salt coat them evenly.
- Place the baking sheet on the middle oven rack and bake 18–22 minutes. For more even browning, flip the strips once halfway through baking (about 9–11 minutes).
- Remove from the oven, let the Chicken Strips rest for a few minutes, then serve.
Notes
Different products require different amounts of time/temperature in the oven.
You can try other types of seasonings if you do not have seasoned salt. For example:
Mix
1 teaspoon onion powder with 1 teaspoon garlic powder and a pinch of salt and pepper.
1 teaspoon of garlic salt
½ teaspoon onion powder, ½ teaspoon dried thyme and 1 teaspoon garlic salt with a pinch of cayenne pepper.
If you are concerned with the oil, try spritzing your chicken strips with non stick cooking spray and then sprinkling with the salt and or herbs.