Filleting fish can seem like a daunting task, but with the right tools and some practice, it can become a rewarding and enjoyable experience. Not only will you have delicious fillets to cook, but you might also find yourself with a funny story to share, just like I did the first time I attempted this kitchen skill. Let’s dive into the art of fish filleting while sprinkling in a little humor along the way!
Why This Recipe is a Keeper
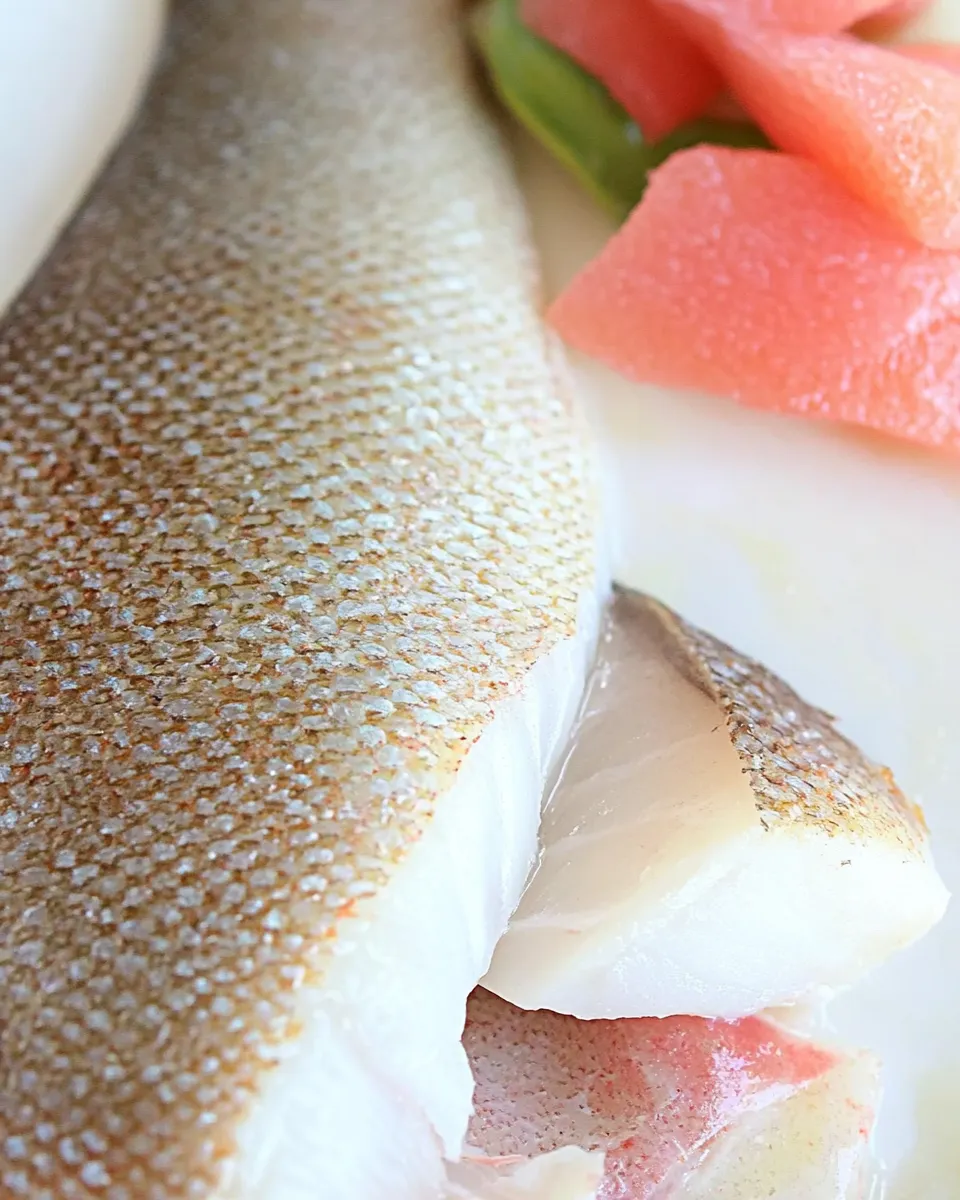
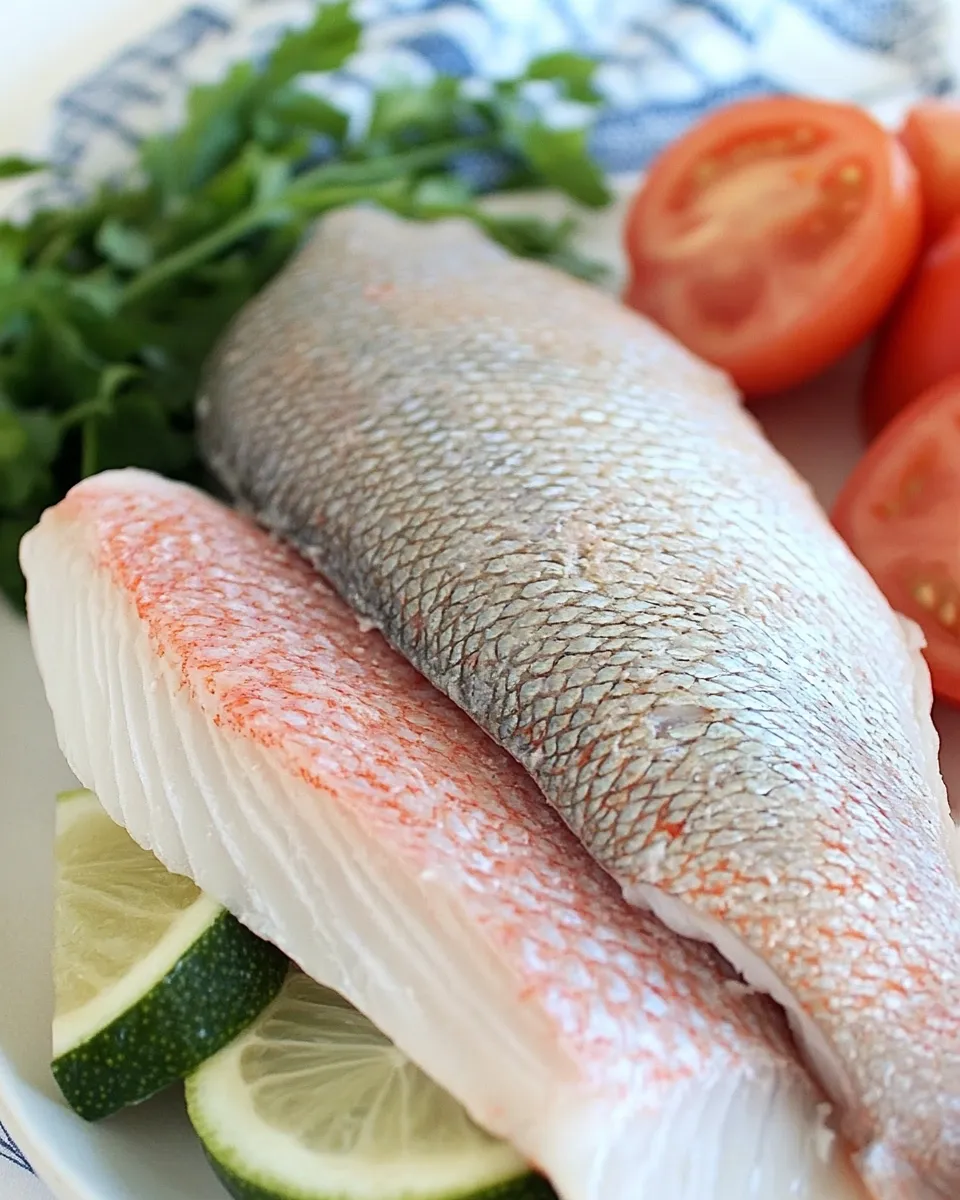
Filleting a fish is not just about preparing a meal; it’s about embracing the entire experience. Whether you’re catching your own fish or selecting one from the market, this method allows you to appreciate the freshness and quality of your meal. Plus, filleting your fish opens up a world of culinary creativity, allowing you to grill, bake, or pan-fry with ease. And let’s be honest, there’s something incredibly satisfying about showcasing your skills in the kitchen, especially when you tell a funny story about your early attempts!
What You’ll Need
- Sharp fillet knife: A must-have for making clean cuts.
- Large cutting board: Provides space to maneuver safely.
- Garbage can: For easy cleanup of scales and scraps.
- Fillet board with tail clip: Keeps the fish steady while you work.
- Fillet glove: Gives you extra grip and protects your hand.
Cook’s Kit
- Fish scaler: Optional, but great for removing scales.
- Bowl of ice water: Keeps the fillets fresh while you work.
- Paper towels: Handy for cleaning up messes.
Stepwise Method: How to Fillet a Fish and a Funny Story
Step 1: Prepare Your Workspace
Start by setting up your cutting board in a comfortable, well-lit area. Make sure your garbage can is within reach to make cleanup easier. Put on your fillet glove to ensure a solid grip on the fish.
Step 2: Secure the Fish
Place the fish on the fillet board with the tail clipped in place. This will help keep the fish steady while you work. If you have a particularly slippery fish, you might want to enlist a friend to hold it down, which is where my funny story begins!
Step 3: Make the First Cut
Using your sharp fillet knife, make a cut behind the gills down to the backbone. I remember the first fish I ever tried to fillet—a beautiful trout. I was so focused that I didn’t notice my cat sneaking up behind me. Just as I made that first cut, my cat leapt onto the counter, startled me, and sent my knife flying! Thankfully, nothing was harmed, except maybe my dignity.
Step 4: Fillet the Fish
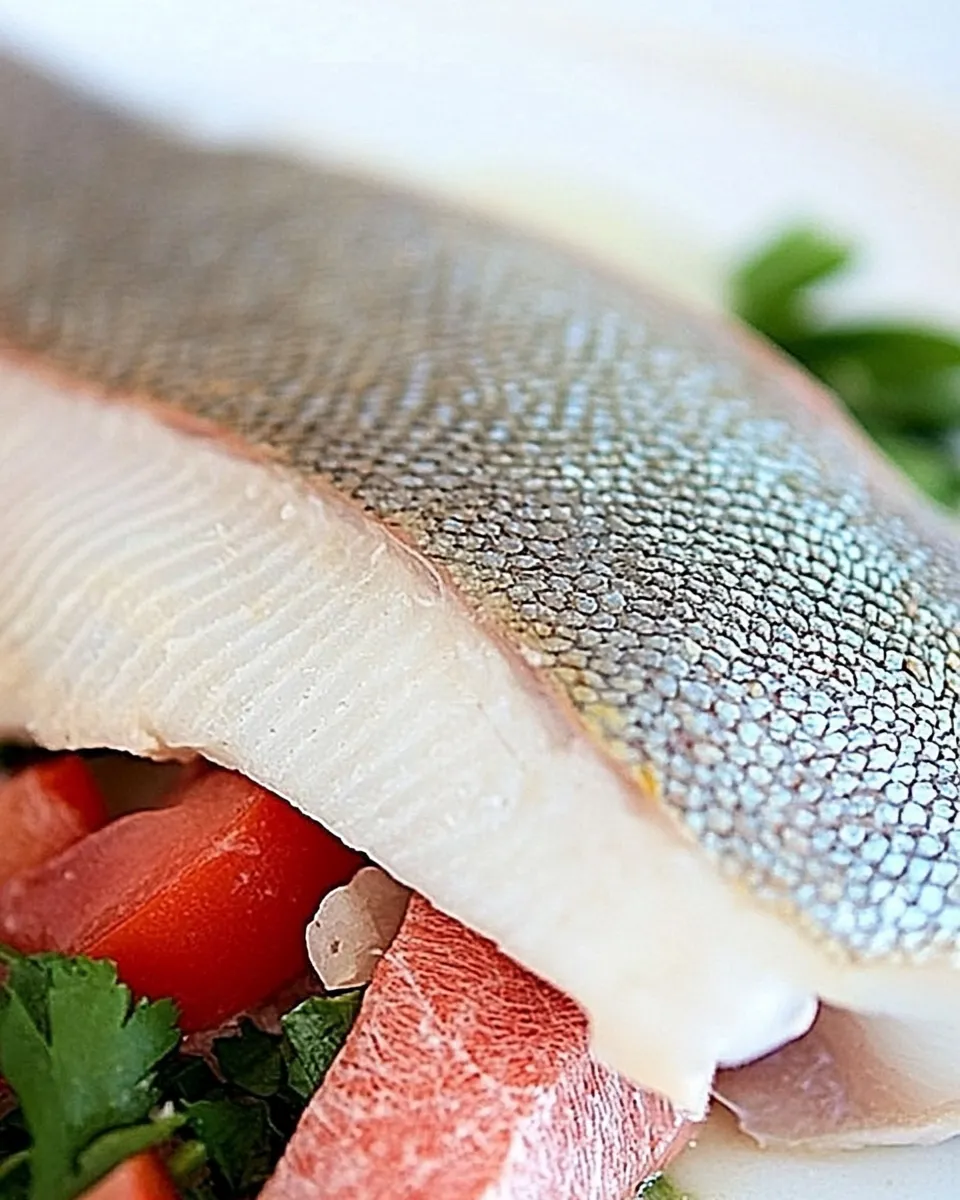
After making the initial cut, run your knife along the backbone towards the tail. Use smooth, gentle strokes to separate the flesh from the bones. Take your time; the more careful you are, the cleaner your fillet will be.
Step 5: Remove the Bones
Once you have your fillet, run your fingers along the flesh to feel for any small bones. Use your knife to carefully remove them. This is crucial for a pleasant dining experience—trust me, nobody wants a surprise bone in their meal.
Step 6: Repeat with the Other Side
Flip the fish over and repeat the process on the other side. Depending on the size of the fish, you might need to adjust your technique. Remember to keep that glove on; it’s your best friend in this process!
Step 7: Clean Up
Once you’ve successfully filleted your fish, dispose of the scraps and scales in the garbage can. Rinse your cutting board and knife, and give yourself a pat on the back. You’ve just mastered how to fillet a fish!
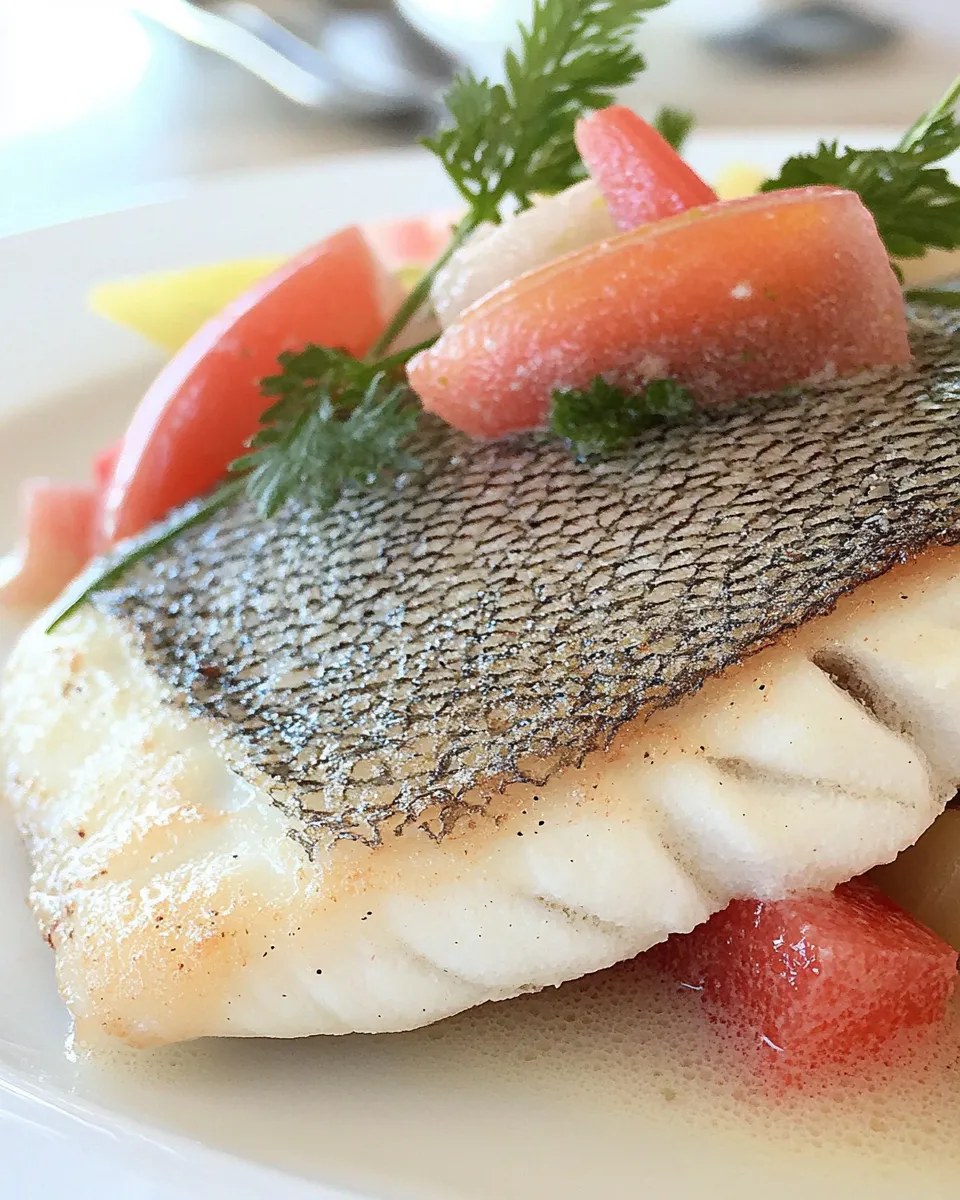
Warm & Cool Weather Spins
- Warm weather: Try grilling your fillets with fresh herbs and lemon for a light, summery meal.
- Cool weather: Bake your fillets with a crust of breadcrumbs and Parmesan cheese for a cozy, comforting dish.
Steer Clear of These
- A dull knife: It makes filleting much harder and can be dangerous.
- Rushing the process: Take your time to ensure clean cuts and avoid accidents.
- Ignoring safety: Always use your fillet glove and be aware of your knife’s position.
Keep It Fresh: Storage Guide
Once you’ve filleted your fish, store it properly to maintain freshness. Place the fillets in an airtight container and keep them in the refrigerator for up to two days. If you want to store them longer, wrap the fillets tightly in plastic wrap and freeze them. They can be kept in the freezer for up to six months. Just remember to label them with the date!
How to Fillet a Fish and a Funny Story Q&A
What type of fish is best for beginners to fillet?
Start with a fish that has a simple structure, like trout or tilapia. They have softer flesh and fewer bones, making them easier to handle.
Can I fillet a fish without a fillet knife?
While it’s possible to use a regular kitchen knife, a sharp fillet knife is specifically designed for this task and will make the process much easier and safer.
What should I do if my knife slips while filleting?
Stay calm! If your knife slips, try to control the movement and avoid panicking. Always cut away from your body to minimize the risk of injury.
How can I make my filleting skills better?
Practice is key! The more you fillet fish, the more comfortable and skilled you’ll become. Consider watching tutorials or asking a friend to teach you their techniques.
Make It Tonight
Now that you know how to fillet a fish and have a funny story to tell, why not make it a family affair? Gather your loved ones, pick up some fresh fish, and give it a try. The laughter and deliciousness that will come from your kitchen will be worth every moment spent learning this skill.
Filleting fish may seem intimidating at first, but with practice and the right tools, it can become second nature. Plus, you’ll have some fantastic stories to share, like the time my cat decided to make an appearance during my first filleting attempt! So roll up your sleeves, grab that sharp fillet knife, and let the fish filleting adventures begin. Happy cooking!
How to Fillet a Fish and a Funny Story
Equipment
- Sharp fillet knife
- Large cutting board
- Garbage can
- Fillet board with tail clip
- Fillet glove
- Fish scaler
- Bowl of ice water
- Paper Towels
Ingredients
Equipment Needed
- Sharp fillet knife a must-have for making clean cuts
- Large cutting board provides space to maneuver safely
- Garbage can for easy cleanup of scales and scraps
- Fillet board with tail clip keeps the fish steady while you work
- Fillet glove gives you extra grip and protects your hand
Optional Cook’s Kit
- Fish scaler optional, but great for removing scales
- Bowl of ice water keeps the fillets fresh while you work
- Paper towels handy for cleaning up messes
Instructions
Stepwise Method
- Start by setting up your cutting board in a comfortable, well-lit area. Make sure your garbage can is within reach to make cleanup easier. Put on your fillet glove to ensure a solid grip on the fish.
- Place the fish on the fillet board with the tail clipped in place. This will help keep the fish steady while you work. If you have a particularly slippery fish, you might want to enlist a friend to hold it down, which is where my funny story begins!
- Using your sharp fillet knife, make a cut behind the gills down to the backbone. I remember the first fish I ever tried to fillet—a beautiful trout. I was so focused that I didn’t notice my cat sneaking up behind me. Just as I made that first cut, my cat leapt onto the counter, startled me, and sent my knife flying! Thankfully, nothing was harmed, except maybe my dignity.
- After making the initial cut, run your knife along the backbone towards the tail. Use smooth, gentle strokes to separate the flesh from the bones. Take your time; the more careful you are, the cleaner your fillet will be.
- Once you have your fillet, run your fingers along the flesh to feel for any small bones. Use your knife to carefully remove them. This is crucial for a pleasant dining experience—trust me, nobody wants a surprise bone in their meal.
- Flip the fish over and repeat the process on the other side. Depending on the size of the fish, you might need to adjust your technique. Remember to keep that glove on; it’s your best friend in this process!
- Once you’ve successfully filleted your fish, dispose of the scraps and scales in the garbage can. Rinse your cutting board and knife, and give yourself a pat on the back. You’ve just mastered how to fillet a fish!
Notes
- Use a sharp fillet knife to ensure clean cuts and safety.
- Keep your fillet glove on to protect your hand and improve grip.
- Store fillets in an airtight container in the fridge for up to two days or freeze up to six months.