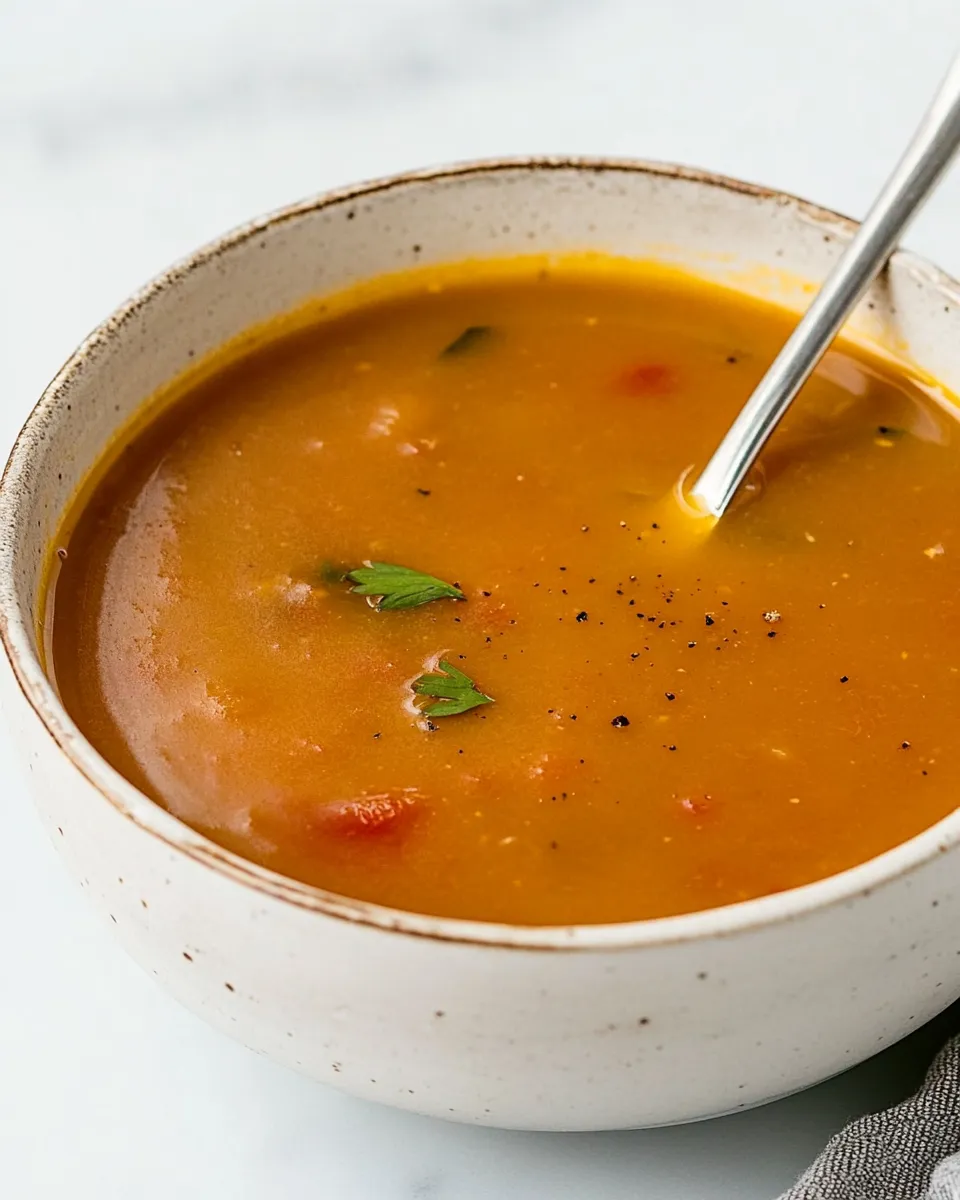
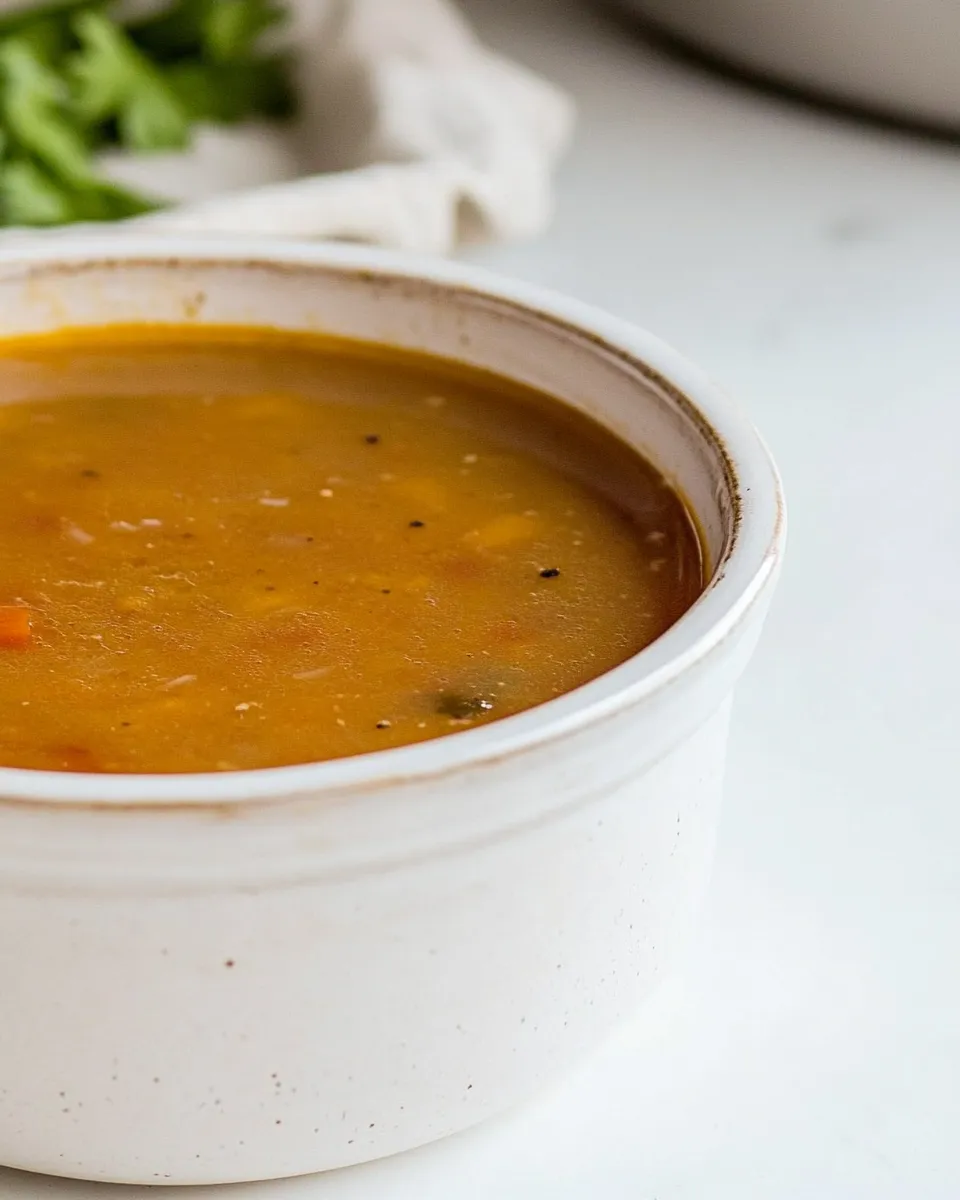
I freeze soup all the time. It’s a weekday lifesaver and a way to preserve the calm of a good batch when life gets busy. Over the years I’ve learned what works, what doesn’t, and how to keep a reheated bowl tasting like it was just made. This guide gives you practical steps, tools to buy once, and the exact process I follow every time.
No fluff—just clear, doable advice. You’ll learn how to cool, pack, label, freeze, thaw, and reheat soup so the texture and flavor remain as close to fresh as possible. If you’re new to freezing soup, you’ll leave feeling confident. If you already do it, you’ll pick up a few pro tips.
Keep your favorite recipes ready to go. Freeze smart, and your future self will thank you with a hot, comforting bowl on a hectic evening.
Your Shopping Guide

Buying the right containers and a few simple extras makes freezing and reheating predictable and mess-free. Invest in reliable pieces once and you’ll be set for months.
Containers and basics
- Freezer-safe glass jars — good for single portions and for soups without large, delicate solids; choose jars explicitly labeled freezer-safe.
- Rigid plastic storage containers — sturdy, stackable, and convenient for family-size portions.
- Disposable freezer bags — great for flat storage and saving space; use heavy-duty freezer bags with a reliable seal.
- Permanent marker and waterproof labels — for noting the soup name, date, and any omitted ingredients.
Helpful extras
- Cutting board or baking sheet — to lay freezer bags flat while they firm up.
- Large bowl or tray — to contain any drips when thawing frozen bags in the fridge.
Ingredients
- Soup for freezing — the prepared soup you want to preserve; cool it first and note any ingredients you left out.
Cooking (Soup): The Process
- Cool the soup to room temperature before packaging to avoid raising freezer temperature and to reduce the risk of glass breaking.
- Make a clear note of any ingredients you omitted before freezing (and their amounts) so you can add them back after reheating. Prepare labels with the soup name and the date.
- Choose freezer-safe containers: glass jars marked freezer-safe, rigid plastic storage containers, or disposable freezer bags.
- For jars and rigid containers: leave space at the top for expansion, seal tightly, attach the label, and place them flat in the freezer.
- For freezer bags: fill each bag, press out as much air as possible, seal, lay the bags flat on a cutting board or baking sheet, and freeze until solid. Once frozen solid, stand the bags upright to store more compactly.
- When ready to use, defrost the soup in the refrigerator overnight. If thawing a freezer bag, put it on a baking tray or in a large bowl while thawing to catch any possible leaks or punctures.
- Reheat only after the soup is thawed. Warm slowly on the stove, stirring occasionally, or reheat in the microwave if needed. Avoid microwaving soup from fully frozen unless absolutely necessary.
- After reheating, add any ingredients you had omitted (as noted on your label) and heat until everything is hot and well combined.
- Serve and enjoy.
What Makes This Recipe Special

This isn’t a recipe for a particular flavor—it’s a reliable, repeatable workflow for preserving homemade soup. The special parts are the small details that protect texture and flavor:
- Cooling before packing prevents the freezer from warming and avoids thermal shock to glass.
- Labeling with omitted ingredients means you won’t forget to add delicate elements back in after reheating.
- Flat-freezing bags saves space and makes thawing faster and cleaner.
- Reheating from thawed rather than frozen helps stabilize textures—no rubbery noodles or grainy dairy.
Flavor-Forward Alternatives
Freezing is flexible. Use these options when you want slightly different results after reheating:
- Omit delicate finishes (cream, fresh herbs, lemon juice) before freezing; add them back when reheating for a bright finish.
- If you prefer heartier texture, add cooked grains or pasta after reheating rather than freezing them in, which prevents mushiness.
- For thicker soups, freeze a bit thinner than you’d serve—thicken after reheating with a short simmer to reduce splatter and maintain consistency.
Cook’s Kit
Keep a small kit by your prep area so freezing a pot of soup becomes second nature:
- Permanent marker and waterproof labels for names, dates, and omitted items.
- Set of freezer-safe containers in a few sizes and a stack of heavy-duty freezer bags.
- Baking sheet or cutting board to freeze bags flat and a large tray or bowl for safe thawing in the fridge.
Mistakes That Ruin Soup
A few missteps will turn a promising batch into a disappointment. Avoid these common errors:
- Freezing hot soup directly—this raises freezer temperature, risks other food, and can crack glass.
- Overfilling jars or not leaving headspace—liquid expands when frozen and can break containers.
- Skipping labels—without a date and note of omitted ingredients you’ll forget what’s inside and when it was frozen.
- Freezing dairy-heavy soups without precautions—rich creams can separate; better to add them back at reheating.
- Reheating from fully frozen at high heat—this can cause uneven warming and texture problems; thaw first when possible.
Allergy-Friendly Swaps
Freezing itself is neutral; accommodating allergies is about how you prepare and reintroduce ingredients:
- For dairy allergies, skip adding cream before freezing. Reheat and finish with a tolerated alternative or a small splash of a safe substitute.
- If someone avoids gluten, do not freeze soups with regular pasta or dumplings—add gluten-free cooked grains or pasta after reheating.
- Label clearly if your batch contains common allergens so family members or guests with sensitivities can avoid it.
Chef’s Rationale
Every step has a reason. Cooling prevents freezer temperature swings and protects glass. Leaving headspace allows safe expansion. Flat-freezing bags saves space and speeds defrost. Thawing in the refrigerator keeps the soup in the safe temperature zone while minimizing textural shock. Reheating slowly lets starches and proteins relax back into a pleasant mouthfeel rather than tightening up suddenly. Finally, adding delicate items only after reheating preserves brightness and texture.
Storing Tips & Timelines
Organization helps you keep a rotating stash of good food:
- Label each container with the soup name, date frozen, and any omitted ingredients. If you taste-tested and adjusted seasoning, add a short note—small details matter later.
- Stack bags upright once frozen solid to save space and make individual portions easier to grab.
- For best quality, use frozen soup within a few months. Older soup is usually safe for longer if kept constantly frozen, but flavor and texture decline with time.
Common Questions
Here are answers to questions I get most often from readers.
Can I freeze soup with cream or milk?
Heavy cream or milk can separate and become grainy after freezing. If your recipe relies on dairy for richness, leave it out before freezing and stir it in while reheating so the texture stays smooth.
Can I freeze soups with pasta, rice, or potatoes?
Cooked pasta and rice can become soft and mushy after freezing and reheating. If you prefer firm textures, freeze the soup without these items and add freshly cooked pasta or rice when reheating. Potatoes hold up better if they were already well-cooked, but texture can still change—consider adding them after reheating if you’re picky about bite.
How long does frozen soup last?
For best quality, aim to use frozen soup within 2–3 months. It can be safe longer if continuously frozen, but taste and texture degrade over time.
Can I refreeze thawed soup?
Refreeze only if the soup was thawed in the refrigerator and kept cold the whole time. Each thaw and refreeze cycle further degrades texture and flavor, so try to portion before freezing to avoid this.
What if a freezer bag leaks while thawing?
That’s why you place bags on a tray or in a bowl in the fridge—so any leaks are contained and cleanup is easy. If you find a leak, transfer contents to a clean container and finish thawing and reheating promptly.
Final Bite
Freezing soup is one of the kindest things you can do for a busy weeknight. With a little planning—cooling the pot, labeling thoughtfully, choosing the right containers—you’ll keep flavor, texture, and sanity intact. The next time you make a big batch, follow these steps and tuck a few portions in the freezer. You’ll be rewarded with a fast, satisfying bowl that tastes like you had time to make it from scratch.
If you try these tips, tell me how it went—did the herbs stay bright? Did leftover pasta survive? Small experiments help us all get better at freezing, one bowl at a time.
How to Freeze Soup
Equipment
- freezer-safe glass jars
- rigid plastic storage containers
- disposable freezer bags
- labels
- cutting board or baking sheet
- baking tray or large bowl
- Stove
- Microwave
Ingredients
Ingredients
- Soup for freezing
Instructions
Instructions
- Cool the soup to room temperature before packaging to avoid raising freezer temperature and to reduce the risk of glass breaking.
- Make a clear note of any ingredients you omitted before freezing (and their amounts) so you can add them back after reheating. Prepare labels with the soup name and the date.
- Choose freezer-safe containers: glass jars marked freezer-safe, rigid plastic storage containers, or disposable freezer bags.
- For jars and rigid containers: leave space at the top for expansion, seal tightly, attach the label, and place them flat in the freezer.
- For freezer bags: fill each bag, press out as much air as possible, seal, lay the bags flat on a cutting board or baking sheet, and freeze until solid. Once frozen solid, stand the bags upright to store more compactly.
- When ready to use, defrost the soup in the refrigerator overnight. If thawing a freezer bag, put it on a baking tray or in a large bowl while thawing to catch any possible leaks or punctures.
- Reheat only after the soup is thawed. Warm slowly on the stove, stirring occasionally, or reheat in the microwave if needed. Avoid microwaving soup from fully frozen unless absolutely necessary.
- After reheating, add any ingredients you had omitted (as noted on your label) and heat until everything is hot and well combined.
- Serve and enjoy.
Notes
For single servings in freezer bags, you can also place them in a bowl of warm water, and they will defrost in about 15 minutes.
For quicker defrosting with most other containers, place the container of soup in a bowl/sink of warm water for about 5 minutes until the sides have melted enough for the frozen soup to slip out of the container. Dump the frozen soup in a pot and melt/reheat the soup very gently over medium heat.