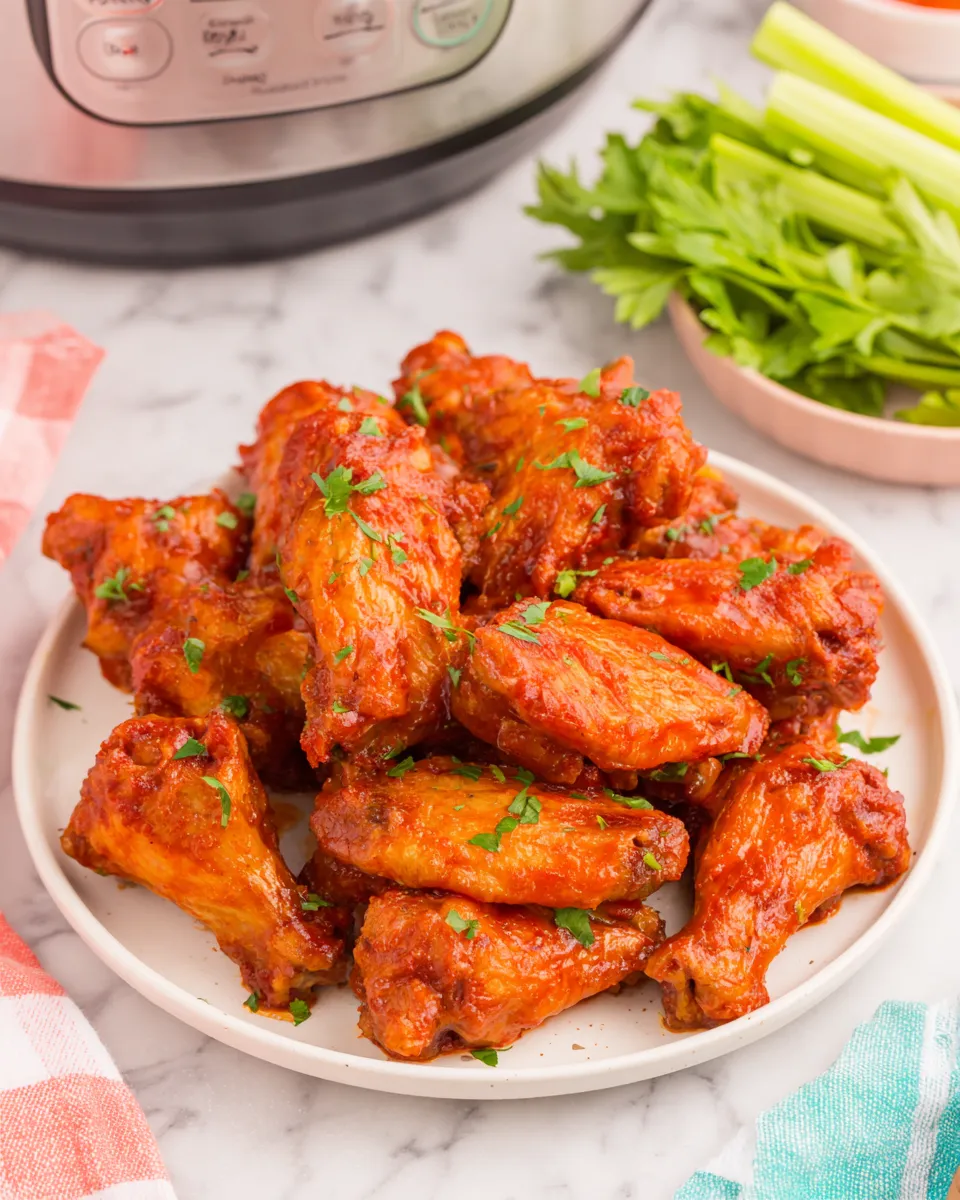
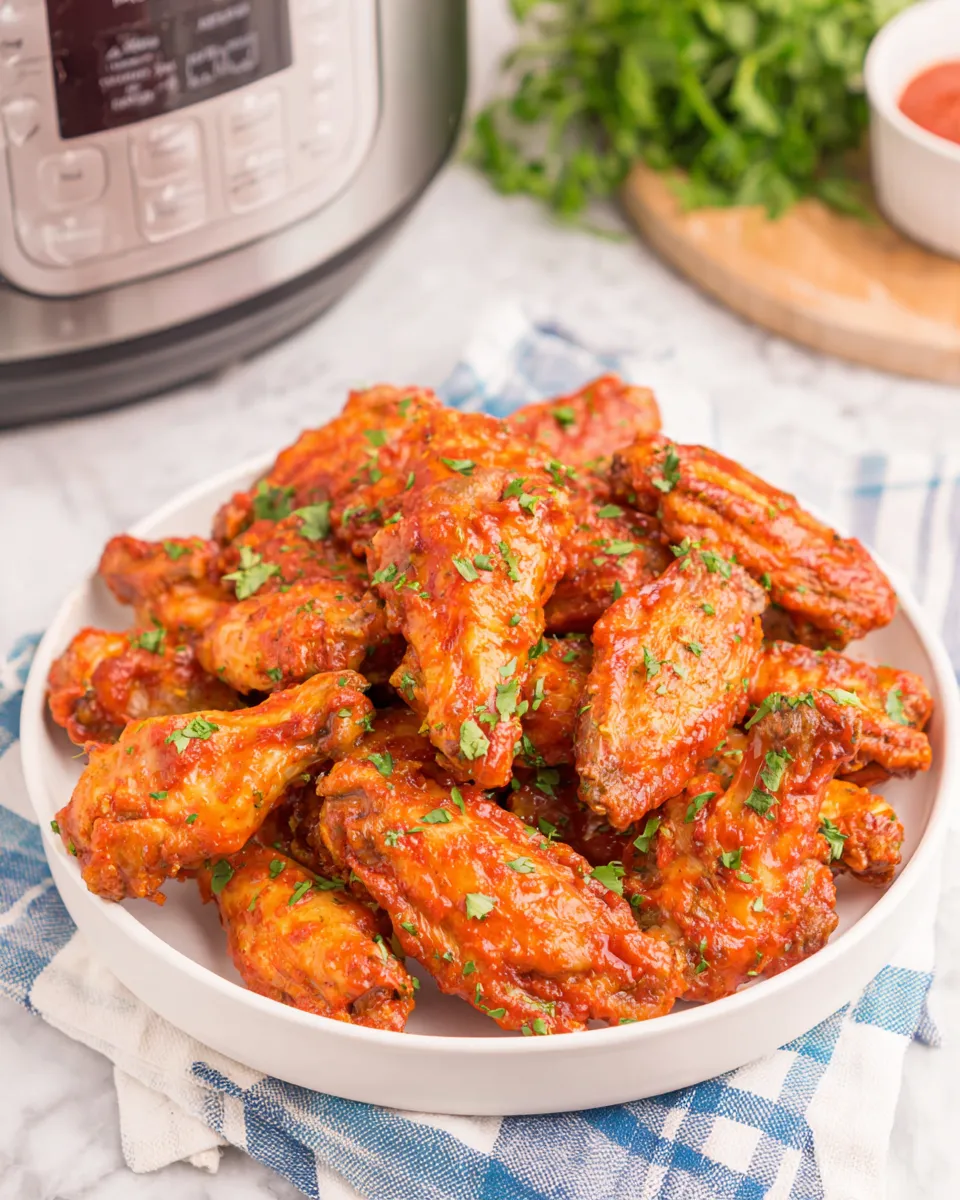
These Instant Pot Chicken Wings are the shortcut weeknight hero you didn’t know you needed. Tender meat, melt-in-your-mouth juiciness, and a sticky, tangy sauce all come together in under an hour. This method uses an electric pressure cooker to speed up cooking, then a quick toss in a bright hot sauce glaze so every bite is bursting with flavor. The technique is simple and forgiving, making it perfect whether you’re feeding a crowd or craving a solo snack attack.
Why this recipe works
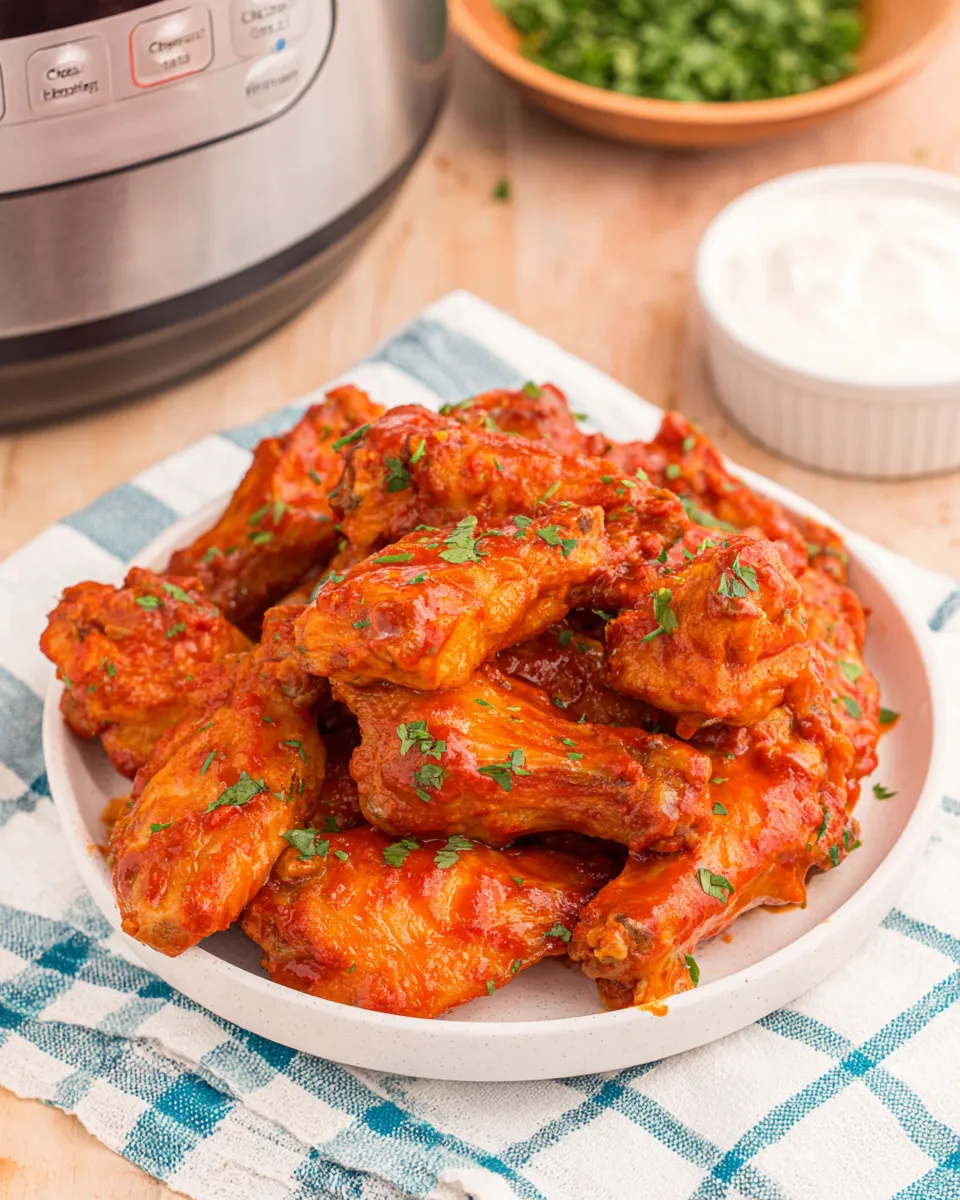
Pressure cooking makes the wings supremely tender by rapidly breaking down connective tissue without drying out the meat. A brief finish in the sauce and butter mixture gives you that classic sticky coating that clings to each drumette. Because everything cooks in one pot (plus a small bowl for the sauce), cleanup is minimal. I love how the seasoning is straightforward, letting the hot sauce and honey shine without overwhelming the chicken’s flavor.
Ingredients
- ▢3poundschicken drumettes or chicken wings
- ▢½tablespoonseasoned salt
- ▢water,for pressure cooking
- ▢1cuphot sauce
- ▢1tablespoonhoney
- ▢1teaspoongarlic powder
- ▢2tablespoonsunsalted butter,melted
Equipment
- Electric pressure cooker (Instant Pot or similar)
- Steaming rack or trivet that fits inside the cooker
- Small bowl for mixing the sauce
- Tongs for handling the wings
- Optional: baking sheet and broiler or air fryer if you prefer crispier skin
Prep and flavor notes
Start with wings that are patted dry. Removing excess moisture helps the seasoning stick and improves any finishing step you choose, whether tossing straight into sauce or crisping under the broiler. Seasoned salt adds savory depth; if yours is particularly salty, adjust slightly to taste. The garlic powder in the sauce enhances aroma and pairs beautifully with the tang and heat of the hot sauce. If you’d like a little more sweetness or a different flavor profile, feel free to use a maple-honey blend or a citrus-honey mix, but keep the quantities the same.
Step-by-step Instructions

Below are clear, numbered steps rewritten to be easy to follow while respecting the original ingredient amounts and order. Follow them closely for consistent results.
- Prepare the chicken. Pat the 3 pounds of chicken drumettes or wings dry with paper towels. This removes excess moisture so the seasoned salt adheres and the skin can finish nicely.
- Season the wings. Sprinkle the ½ tablespoon seasoned salt evenly over the wings. Toss gently with your hands or tongs until all pieces are lightly coated. Do this in a bowl or on a sheet so seasoning distributes evenly.
- Add water to the pressure cooker. Pour a small amount of water into the Instant Pot according to your model’s minimum liquid requirement. The ingredient list specifies water for pressure cooking; generally 1 cup is sufficient in most 6-quart models, but follow your cooker’s guidelines. Place the trivet or steaming rack inside the pot.
- Arrange the wings in the cooker. Place the seasoned wings on the trivet in a single layer if possible. Some overlap is fine; just avoid packing them so tightly that steam can’t circulate.
- Seal and set to pressure cook. Close the lid and set the pressure valve to sealing. Select the manual or pressure cook setting and set the timer for an appropriate time for chicken wings in your model—generally 8 to 10 minutes on high pressure yields tender meat while keeping structure. (Note: The ingredient list specifies only water for pressure cooking; follow your cooker’s recommended time for wings.)
- Release pressure. When the cooking cycle finishes, allow a natural release for 5 minutes if you prefer slightly more tender meat, then carefully switch the valve to venting to perform a quick release of any remaining pressure. Open the lid once the float valve drops.
- Mix the sauce. While the wings cook or immediately after opening the pot, combine 1 cup hot sauce, 1 tablespoon honey, 1 teaspoon garlic powder, and 2 tablespoons melted unsalted butter in a small bowl. Whisk until smooth and glossy. Taste and adjust a touch if you prefer more sweetness or garlic, but keep the proportions the same for balance.
- Toss the wings in the sauce. Use tongs to transfer the cooked wings from the pot into a large bowl. Pour the hot sauce mixture over the wings and toss until every piece is coated. The warm wings will absorb and thicken the glaze.
- Optional crisping. If you like your wings with crispier skin, arrange the sauced wings on a baking sheet lined with foil and broil for 2 to 4 minutes, watching closely, until the edges caramelize and the sauce bubbles. Alternatively, crisp in a preheated air fryer at 400°F (200°C) for 3 to 5 minutes. This step intensifies texture but is not required.
- Serve immediately. Plate the wings while hot. They’re delicious as-is or served with a simple side like celery sticks, carrot sticks, or a small bowl of cooling dip. Enjoy them while the glaze is sticky and warm.
Serving suggestions
These Instant Pot Chicken Wings shine on game day platters, casual weeknight dinners, or when you want a fuss-free appetizer. Pair them with crunchy raw vegetables and a cooling dip to balance the heat. A dollop of plain yogurt mixed with a squeeze of lemon, or a mild ranch-style dip, complements the tangy sauce. For a heartier meal, serve them with steamed rice or a crisp green salad to round out textures and flavors.
Make-ahead and storage
You can pressure-cook and sauce the wings up to 24 hours ahead and store them in an airtight container in the refrigerator. For best texture, reheat in an oven or air fryer to revive the glaze and crisp the skin slightly. If reheating in the microwave, do so on medium power in short bursts to avoid drying the meat.
Troubleshooting tips
- If the skin feels soggy after pressure cooking, a short broil or air-fry finish will tighten and caramelize the surface.
- If the sauce seems too thin, simmer it briefly in a small saucepan to thicken before tossing the wings. Alternatively, toss and then broil; the heat will reduce and cling the sauce to the wings.
- If your pressure cooker requires more or less liquid, always follow the manufacturer’s minimum liquid guidelines—use water as listed for pressure cooking.
- If you prefer milder heat, use a milder hot sauce or reduce the amount slightly and compensate with a little extra honey to maintain the glaze’s body.
Nutritional snapshot
These wings are protein-forward and richly flavored. The butter and honey add calories and richness, while the hot sauce provides tang and heat without adding many carbs. Exact nutrition depends on the size of the wings and the specific hot sauce used. For a lighter version, you can reduce the butter to 1 tablespoon and increase the honey by a touch to maintain balance, though the ingredient list here keeps the original 2 tablespoons of butter.
Flavor variations
Want to mix things up? Here are a few simple swaps using the same quantities so you don’t have to rewrite the method:
- For a citrus kick, swap 1 tablespoon of honey for 1 tablespoon of orange marmalade and add a teaspoon of orange zest to the sauce.
- For a smoky note, use a chipotle-hot sauce in place of standard hot sauce, keeping the 1 cup amount the same.
- To make a sweet-heat glaze, stir in an extra teaspoon of honey to the sauce mixture if you like it sweeter; the method and amounts otherwise remain unchanged.
Why I love this recipe
It’s fast, flexible, and fuss-free. The pressure cooker takes the guesswork out of timing, delivering reliably tender wings every time. The simple sauce is bold and familiar, finishing the wings with that classic sweet-and-spicy profile that keeps people coming back for more. Whether you’re hosting friends or making an easy dinner, this preparation delivers maximum flavor with minimal effort.
Final notes
Follow the ingredient list and the rewritten step-by-step directions for consistent results. The 3 pounds of wings, ½ tablespoon seasoned salt, water for pressure cooking, 1 cup hot sauce, 1 tablespoon honey, 1 teaspoon garlic powder, and 2 tablespoons melted unsalted butter are the foundation of this recipe. From there, the pressure cooker handles the heavy lifting and the quick sauce toss finishes the job.
Now go fire up your Instant Pot and make a batch of these irresistible Instant Pot Chicken Wings. Crisp them if you like, toss them in the glossy sauce, and enjoy the sticky, flavorful payoff.
Instant Pot Chicken Wings
Equipment
- Electric Pressure Cooker (6 or 8 quart)
- Steamer rack or basket
- Large Mixing Bowl
- Small Mixing Bowl
- Baking sheet or broiler pan
- Aluminum Foil
- Tongs
Ingredients
- 3 pounds chicken drumettes or chicken wings
- 1/2 tablespoon seasoned salt
- water (for pressure cooking)
- 1 cup hot sauce
- 1 tablespoon honey
- 1 teaspoon garlic powder
- 2 tablespoons unsalted butter, melted
Instructions
- Pour 1 cup cold water into the inner pot for a 3- or 6-quart Instant Pot, or 1½ cups for an 8-quart; place a steamer rack or basket inside.
- If using whole wings, separate into drumettes and flats and discard tips; pat wings dry with paper towels.
- Place the wings in a large bowl, sprinkle with 1/2 tablespoon seasoned salt, and toss to coat evenly.
- Arrange the seasoned wings on the rack or in the basket (they may overlap) and secure the lid, sealing the vent.
- For fresh or fully thawed wings, cook on high pressure for 10 minutes; for frozen wings, cook on high pressure for 15 minutes.
- Allow the pressure to release naturally for at least 10 minutes, then carefully remove the lid and transfer the wings to a clean bowl.
- Whisk together 1 cup hot sauce, 1 tablespoon honey, 1 teaspoon garlic powder, and 2 tablespoons melted unsalted butter in a small bowl to make the sauce.
- Add 1/2 cup of the prepared sauce to the wings and gently toss to coat.
- Line a baking sheet or broiler pan with foil, arrange the wings in a single layer, and broil on high for 2–3 minutes per side until the skin is golden and crispy.
- Brush wings with additional sauce if desired and serve immediately.
Notes
- Drumettes generally yield more meat and are easier to eat.
- Broiling is optional but gives crisper skin.
- You can use barbecue, teriyaki, or honey mustard instead of buffalo sauce.
- Seasoning frozen wings is fine though rub may not stick as well.
- Separate whole wings into drumettes and flats for even cooking.