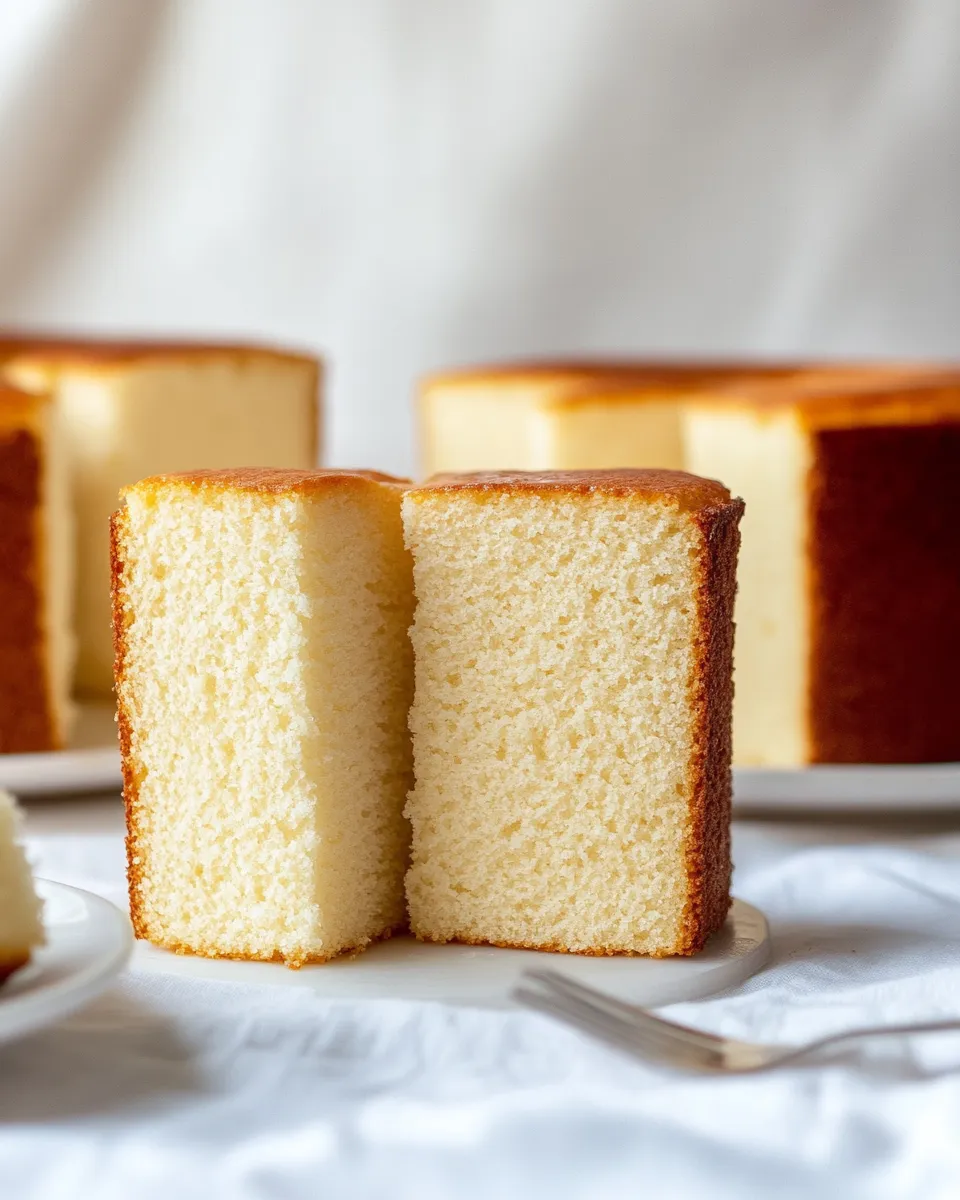
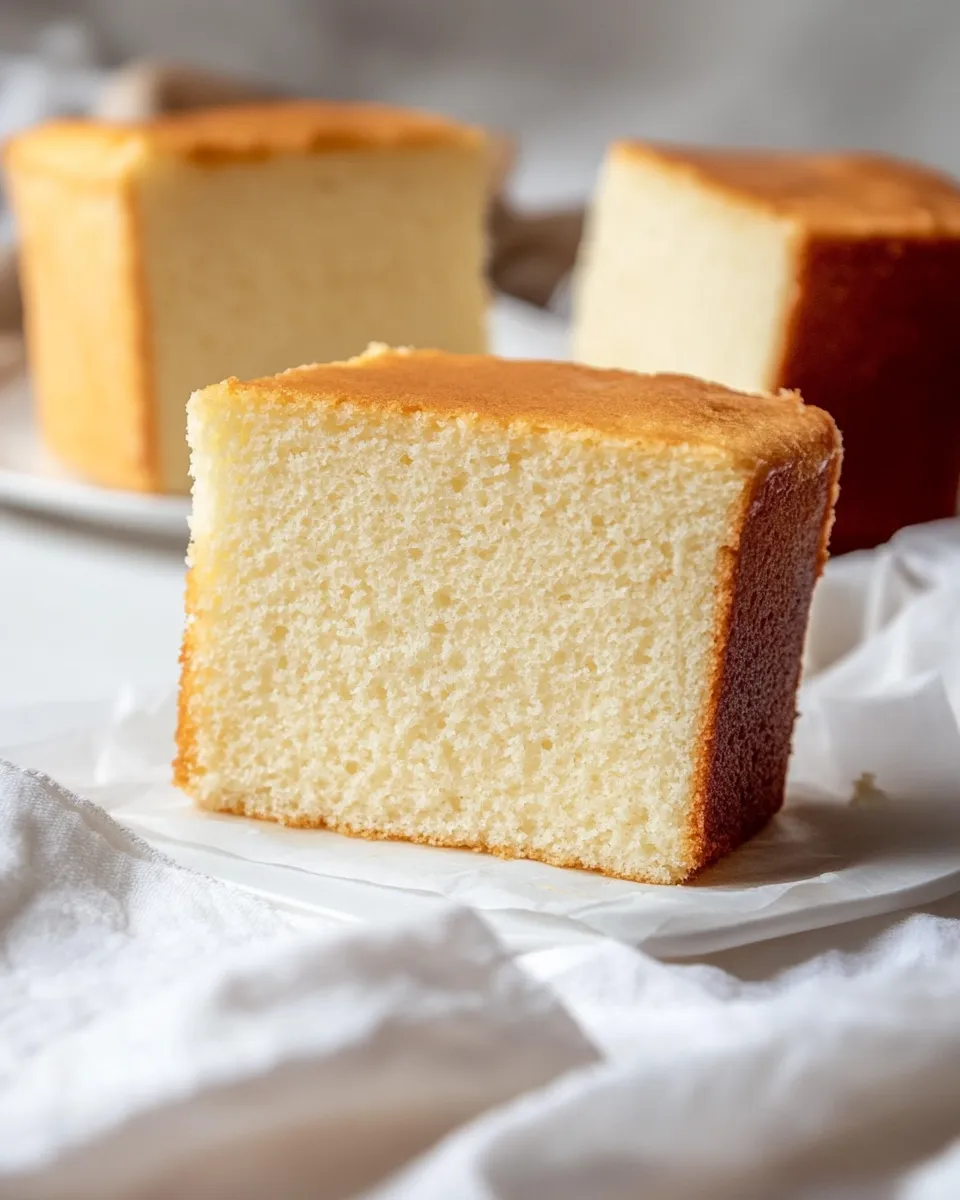
Japanese Sponge Cake, or “Castella,” is a light and airy dessert that perfectly captures the essence of Japanese baking. This cake is known for its delicate texture and subtly sweet flavor, making it a favorite for tea time or any special occasion. With its simplicity and elegance, mastering this classic cake is a delightful challenge. In this recipe, we will guide you through every step, ensuring you create a beautiful Japanese Sponge Cake that will impress your family and friends.
The Upside of Japanese Sponge Cake

What makes Japanese Sponge Cake so special? Its texture is a dream; it’s soft, fluffy, and melts in your mouth. Unlike denser cakes, this sponge cake is incredibly versatile. You can enjoy it plain, dusted with powdered sugar, or with a luscious layer of whipped cream and fresh fruits. It’s perfect for any season and can easily be adapted to suit your flavor preferences. Plus, it’s simple enough for baking novices yet sophisticated enough to satisfy seasoned bakers.
Gather These Ingredients
To create a delightful Japanese Sponge Cake, you will need the following ingredients:
- 6 large eggs (room temperature)
- 1 cup granulated sugar
- ½ cup honey
- 2 tablespoons warm water
- 2 teaspoons vanilla extract
- ½ teaspoon salt
- 1 cup cake flour
These ingredients are staples in many kitchens, making this recipe accessible to everyone.
Setup & Equipment
Before diving into the baking process, gather the following tools to ensure a smooth experience:
- Mixing bowls – For combining ingredients.
- Whisk or electric mixer – To beat eggs and sugar until fluffy.
- Rubber spatula – For folding in the flour gently.
- 8-inch round cake pan – The perfect size for this sponge cake.
- Parchment paper – To line the bottom of the cake pan for easy removal.
- Oven – Preheat to the right temperature.
Having everything ready will help you focus on the art of baking.
Japanese Sponge Cake Made Stepwise
Now, let’s dive into the step-by-step process of making your own Japanese Sponge Cake.
Step 1: Preheat the Oven
Begin by preheating your oven to 325°F (160°C). This ensures that the cake bakes evenly.
Step 2: Prepare Your Cake Pan
Line the bottom of your 8-inch round cake pan with parchment paper. This step is critical to ensure the cake comes out smoothly after baking.
Step 3: Whisk Eggs and Sugar
In a large mixing bowl, combine the 6 large eggs and 1 cup of granulated sugar. Using a whisk or electric mixer, beat the mixture on high speed until it becomes pale, fluffy, and triples in volume. This process usually takes about 8-10 minutes.
Step 4: Add Honey and Vanilla
Once your egg mixture is fluffy, add in the ½ cup of honey, 2 tablespoons of warm water, and 2 teaspoons of vanilla extract. Gently fold in these ingredients until well combined.
Step 5: Incorporate Dry Ingredients
Sift 1 cup of cake flour and ½ teaspoon of salt into the egg mixture. Using a rubber spatula, gently fold the flour in, being careful not to deflate the air you’ve created. This step is crucial for maintaining the light texture of the cake.
Step 6: Pour and Bake
Pour the batter into the prepared cake pan, smoothing the top with your spatula. Bake in the preheated oven for 30-35 minutes, or until the cake is golden brown and a toothpick inserted in the center comes out clean.
Step 7: Cool and Serve
Once baked, remove the cake from the oven and let it cool in the pan for about 10 minutes. Then, transfer the cake onto a wire rack to cool completely. Once cooled, you can slice it and serve it plain or with your favorite toppings.
Dairy-Free/Gluten-Free Swaps

If you have dietary restrictions, here are some easy swaps to consider:
- Dairy-Free: Use almond milk or oat milk instead of any dairy-based ingredients.
- Gluten-Free: Substitute regular cake flour with a gluten-free all-purpose flour blend. Make sure it includes xanthan gum for the right texture.
These substitutions will allow you to enjoy a delicious Japanese Sponge Cake without compromising on flavor.
Mistakes Even Pros Make
Even seasoned bakers can stumble upon a few common mistakes. Here are some pitfalls to avoid:
- Not using room temperature eggs – Cold eggs do not whip as well.
- Overmixing after adding flour – This can lead to a dense cake.
- Skipping the parchment paper – This can make it difficult to remove the cake from the pan.
- Not preheating the oven – This can affect the cake’s rise.
Being aware of these mistakes will help you achieve the perfect sponge.
Save It for Later
If you have leftovers or want to make your Japanese Sponge Cake ahead of time, consider the following storage tips:
- Wrap the cake tightly in plastic wrap to keep it fresh.
- Store it at room temperature for up to 3 days or in the fridge for up to a week.
- For longer storage, freeze slices in an airtight container for up to 3 months. Just thaw at room temperature before serving.
With proper storage, you can enjoy this delightful cake for days to come.
Questions People Ask
Can I use a different sweetener instead of sugar?
Yes, you can use alternatives like coconut sugar or agave syrup. Just keep in mind that the texture and sweetness may vary slightly.
What can I serve with Japanese Sponge Cake?
Japanese Sponge Cake pairs wonderfully with whipped cream, fresh fruits, or a light dusting of powdered sugar. You can also serve it alongside tea or coffee.
Why is my Japanese Sponge Cake dense?
A dense cake often results from overmixing the batter after adding flour or not beating the eggs and sugar long enough to incorporate air. Be gentle when folding in the flour!
Can I make this cake in advance?
Absolutely! You can bake the cake a day ahead and store it in an airtight container. Just remember to let it cool completely before wrapping it up.
Once you’ve mastered the Japanese Sponge Cake, why not explore other delightful recipes? Here are some ideas:
Each of these recipes offers delicious variations that pay homage to Japanese baking traditions.
Next Steps
Now that you have your recipe, it’s time to roll up your sleeves and start baking! Gather your ingredients, set up your kitchen, and follow the steps carefully. With a bit of patience and love, you’ll be rewarded with a beautiful Japanese Sponge Cake that’s sure to impress. Remember, baking is as much about the journey as it is about the final product. Enjoy every moment of creating this delightful treat!
The art of making Japanese Sponge Cake is not just about following a recipe but immersing yourself in a delightful culinary experience. Happy baking!
Japanese Sponge Cake
Equipment
- Mixing Bowls
- Whisk or electric mixer
- Rubber spatula
- 8-inch round cake pan
- Parchment Paper
- Oven
Ingredients
- 6 large eggs room temperature
- 1 cup granulated sugar
- ½ cup honey
- 2 tablespoons warm water
- 2 teaspoons vanilla extract
- ½ teaspoon salt
- 1 cup cake flour
Instructions
- Preheat your oven to 325°F (160°C) to ensure even baking.
- Line the bottom of your 8-inch round cake pan with parchment paper for easy removal.
- In a large mixing bowl, combine 6 large eggs and 1 cup granulated sugar. Beat on high speed using a whisk or electric mixer until pale, fluffy, and tripled in volume, about 8-10 minutes.
- Add ½ cup honey, 2 tablespoons warm water, and 2 teaspoons vanilla extract to the fluffy egg mixture. Gently fold to combine.
- Sift 1 cup cake flour and ½ teaspoon salt into the egg mixture. Carefully fold in the flour using a rubber spatula, preserving the airiness of the batter.
- Pour the batter into the prepared cake pan, smoothing the top with a spatula. Bake for 30-35 minutes until golden brown and a toothpick inserted in the center comes out clean.
- Remove the cake from the oven and let it cool in the pan for 10 minutes. Then transfer to a wire rack to cool completely before slicing and serving.
Notes
- Use room temperature eggs to achieve maximum volume when whipping.
- Be gentle when folding in flour to keep the batter light and airy.
- Line the pan with parchment paper to easily remove the cake without damage.
- Store leftovers wrapped tightly at room temperature for up to 3 days or freeze for longer storage.
- Try dairy-free or gluten-free flour substitutes as noted for dietary preferences.