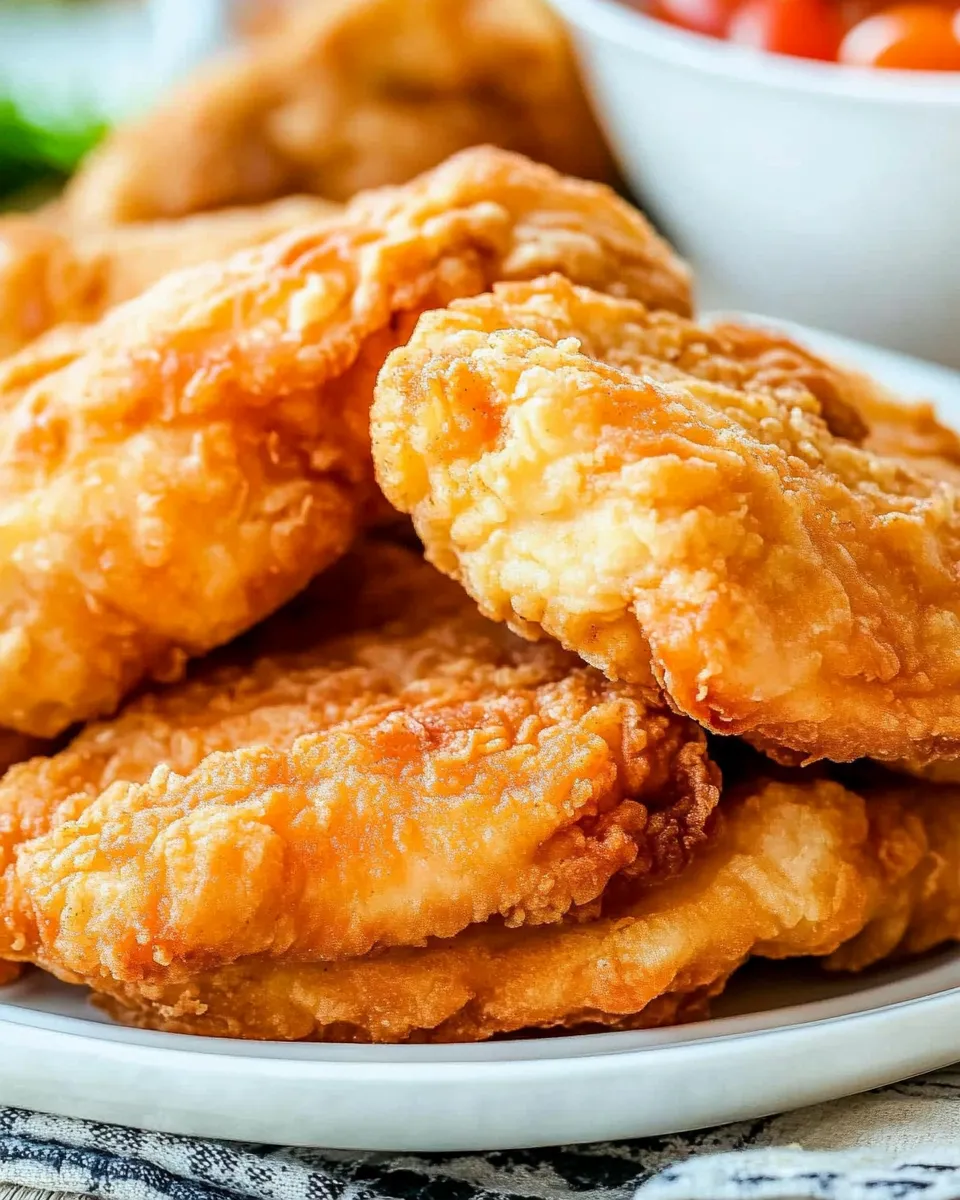
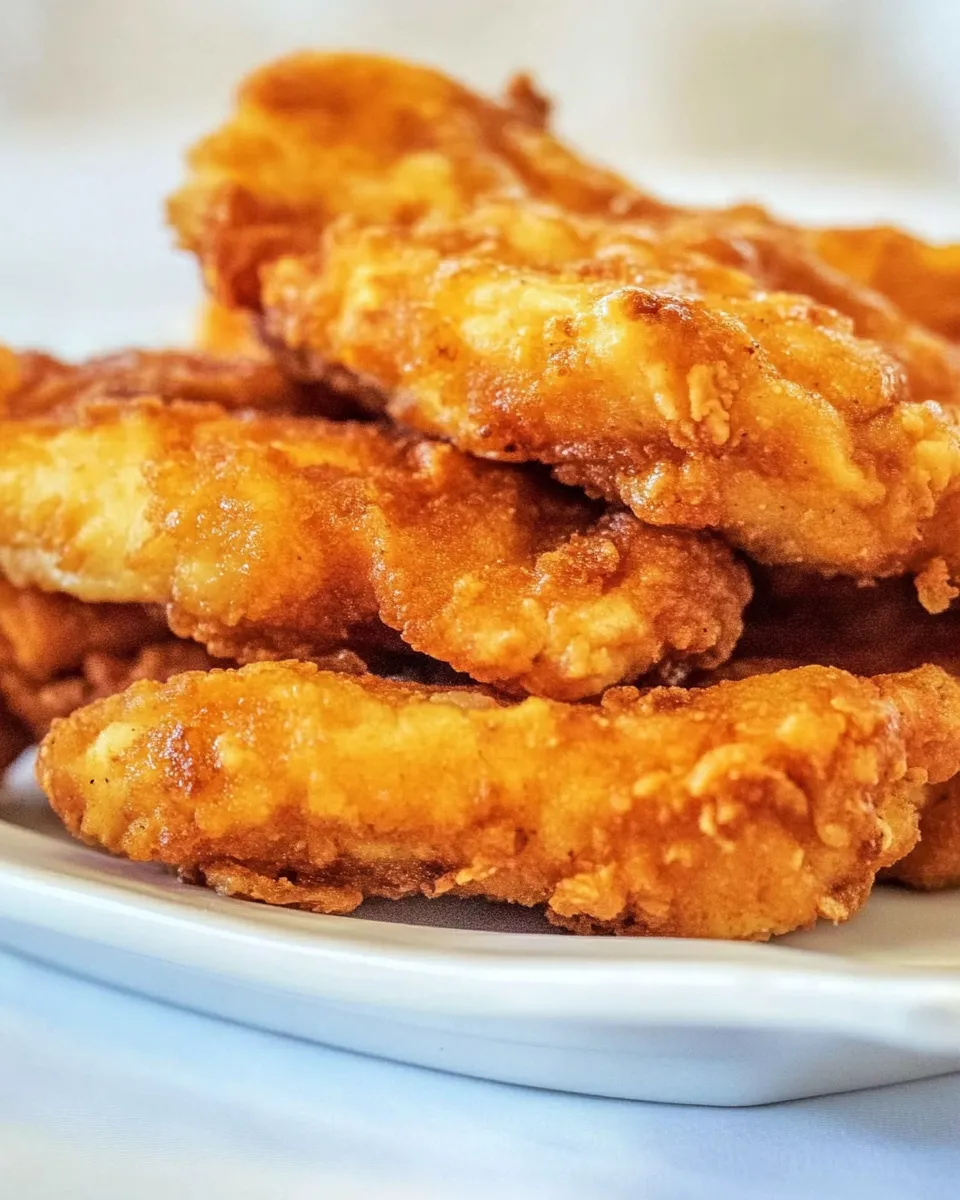
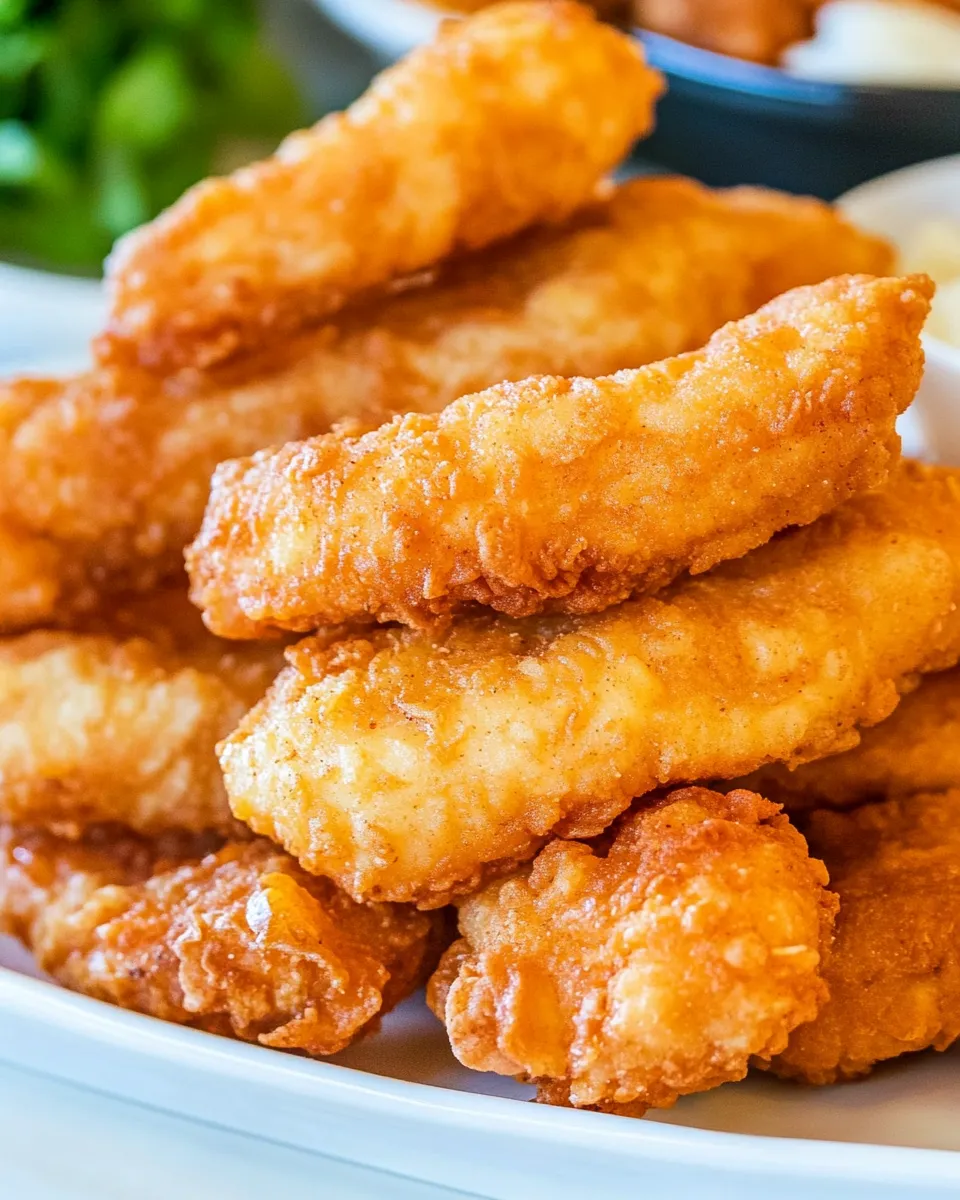
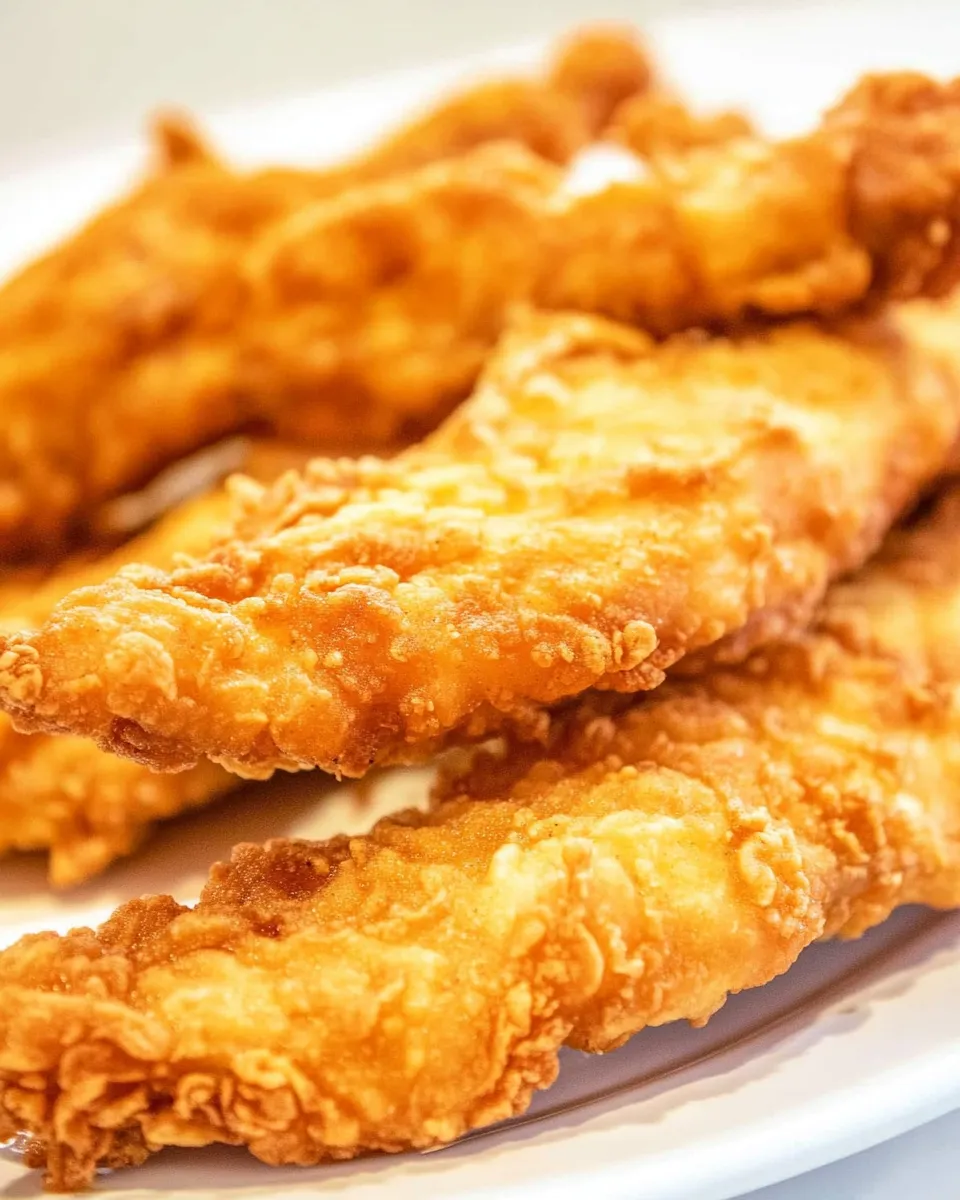
There’s something deeply satisfying about a perfectly crisp, golden-brown chicken plank: that first crack of the batter, the hot steam that escapes, and the tender, juicy chicken inside. Inspired by the beloved seafood-and-sides chain but made from scratch in your kitchen, this recipe recreates those iconic chicken planks with an ultra-crisp batter and simple pantry ingredients. It’s approachable, dependable, and just the kind of recipe I love making when I want a crowd-pleasing fry night.
Before we dive in, a quick note on technique: the secret to that airy, crackly exterior is a batter just thin enough to create bubbles and a quick, hot oil for frying. This version uses club soda to introduce lightness and a mix of flour and cornstarch to deliver the ideal crisp. Follow the step-by-step directions below and you’ll get beautiful results every time.
Ingredients
- 2 pounds chicken tenders
- 2 cups all-purpose flour
- 1/4 cup cornstarch
- 2 teaspoons sugar
- 2 teaspoons salt
- 1/2 teaspoon baking powder
- 1/2 teaspoon baking soda
- 1/2 teaspoon onion salt
- 1/2 teaspoon paprika
- 1/4 teaspoon ground black pepper
- 16 ounces club soda
- vegetable oil for frying
Taste Profile and What to Expect
These chicken planks have a light, crisp exterior with a mild, savory seasoning—paprika for color and warmth, onion salt for subtle depth, and just a touch of sweetness from the sugar to balance the savory notes. The cornstarch helps produce that thin, shattering crust while the club soda makes the batter feather-light. Inside, the chicken tenders remain juicy and tender because the hot oil sets the crust quickly and seals in moisture.
Equipment You’ll Need
- Large mixing bowl
- Whisk or fork
- Deep pot or heavy-bottomed skillet for frying
- Candy or deep-fry thermometer (recommended)
- Tongs or a slotted spoon
- Wire rack and baking sheet or paper towels for draining
Prep Tips
- Pat the chicken tenders dry with paper towels before battering to ensure the batter adheres properly.
- Measure the flour and cornstarch precisely—this ratio is important for the right texture.
- Chill the club soda briefly so it’s cold when added to the batter; cold carbonation gives the crispiest result.
- Use a thermometer to keep the oil at 350–375°F (175–190°C). Too cool and the chicken will absorb oil; too hot and the crust will burn before the interior cooks.
Step-by-Step Instructions
Follow these rewritten, clearer steps to recreate the recipe using the ingredient list above. The order matches the original technique but is organized for clarity and consistency.
- Prepare the chicken: Pat 2 pounds chicken tenders dry with paper towels and set them aside on a plate. Drying the surface helps the batter stick and prevents it from becoming soggy.
- Mix the dry ingredients: In a large mixing bowl, combine 2 cups all-purpose flour and 1/4 cup cornstarch. Add 2 teaspoons sugar, 2 teaspoons salt, 1/2 teaspoon baking powder, and 1/2 teaspoon baking soda. Sprinkle in 1/2 teaspoon onion salt, 1/2 teaspoon paprika, and 1/4 teaspoon ground black pepper. Whisk these together until evenly distributed and the mixture looks uniform in color and texture.
- Make the batter: Slowly pour 16 ounces club soda into the dry mixture while whisking gently. Aim for a batter that’s smooth and slightly thinner than pancake batter—still coating the back of a spoon but loose enough to create bubbles on the surface. If necessary, whisk a few seconds more to combine. Keep the batter cold for maximum carbonation and crispness; you can place the bowl briefly in the refrigerator if your kitchen is warm.
- Heat the oil: Pour vegetable oil into a deep pot or heavy skillet to a depth of 2–3 inches—enough so the chicken planks can float while frying. Heat the oil over medium-high heat and monitor it with a candy or deep-fry thermometer. Bring the oil to between 350°F and 375°F (175–190°C). Maintaining this temperature range ensures a crisp crust and fully cooked interior.
- Batter the chicken: Working in small batches to avoid overcrowding the oil, dip each chicken tender into the batter, ensuring it’s evenly coated. Allow any excess batter to drip back into the bowl—too thick a coating can create heavy, doughy crusts.
- Fry until golden: Carefully lower battered tenders into the hot oil using tongs or a slotted spoon. Fry 4–6 pieces at a time depending on the size of your pot, so the oil temperature stays consistent. Fry each batch for 4–5 minutes, flipping halfway through if needed, until the exterior is golden brown and crisp and the chicken reaches an internal temperature of 165°F (74°C).
- Drain and rest: Remove the cooked planks from the oil with tongs or a slotted spoon and place them on a wire rack set over a baking sheet, or on a plate lined with paper towels. Draining on a rack keeps the crust crisp by allowing hot air to circulate instead of trapping steam.
- Maintain oil temperature between batches: Let the oil return to 350–375°F (175–190°C) before frying the next batch. This may take a few minutes; adjust the heat as needed to maintain temperature.
- Serve: Once all the chicken planks are fried and slightly cooled, serve them hot with your favorite dipping sauces and sides. Classic pairings include tartar-style condiments, malt vinegar for brightness, fries, or coleslaw.
Serving Suggestions
- Serve the chicken planks with lemon wedges and a tangy tartar sauce for a bridge to the original chain’s flavors.
- A crunchy slaw with vinegar and a touch of sugar balances the fried richness beautifully.
- Sweet potato fries or classic French fries make for a nostalgic combo.
- For a lighter contrast, pair with a simple green salad dressed in lemon and olive oil.
Storage and Reheating
If you have leftovers (they won’t last long), store them in an airtight container in the refrigerator for up to 2 days. To reheat and restore crispness, place the planks on a wire rack over a baking sheet and heat in a 375°F (190°C) oven for 8–10 minutes, or until warmed through. Avoid microwaving if you want to keep the exterior crispy—it will become limp.
Notes and Troubleshooting
- If the batter seems too thick, add a small splash of club soda to loosen it; the right consistency should coat without clumping.
- If the crust browns too quickly and the interior is undercooked, lower the oil temperature by 10–20 degrees and fry a little longer so the chicken cooks through without burning the exterior.
- If the crust is greasy, your oil is likely too cool. Bring it back up to the recommended temperature and avoid overcrowding the pot.
- For extra-crispy results, dust tenders lightly with a thin coating of flour before dipping into the batter; this gives the batter something to cling to and can create a more textured crust.
Why This Works
The combination of all-purpose flour and cornstarch yields a crust that is crisp without being hard. Cornstarch reduces gluten formation and absorbs less oil, so the crust shatters rather than chews. A little baking powder and baking soda add lift, while cold club soda contributes carbonation that forms the airy pockets in the batter as it fries. Together, these elements recreate that satisfyingly crackly exterior you remember.
Final Thoughts
This homemade version of Long John Silvers chicken planks is perfect for a weekend dinner, game-day spread, or any time you’re craving a nostalgic, fried favorite. It’s simple to make, uses ingredients you probably already have on hand, and yields reliably crispy, juicy results. Follow the step-by-step method above and you’ll have golden, crunchy planks that rival the originals—made in your kitchen and crafted with care.
Enjoy a plateful with your favorite sauces, and don’t be surprised if they disappear in minutes.
Long John Silvers Chicken Planks
Equipment
- heavy pot or deep fryer
- candy/deep-fry thermometer
- Mixing Bowl
- Whisk or Spoon
- Wire Rack
- Tongs or slotted spoon
- Measuring cups and spoons
Ingredients
- 2 pounds chicken tenders
- 2 cups all-purpose flour
- 1/4 cup cornstarch
- 2 teaspoons sugar
- 2 teaspoons salt
- 1/2 teaspoon baking powder
- 1/2 teaspoon baking soda
- 1/2 teaspoon onion salt
- 1/2 teaspoon paprika
- 1/4 teaspoon ground black pepper
- 16 ounces club soda (cold) keep refrigerated until use
- vegetable oil for frying enough to fill pot to about 3 inches
Instructions
- Pour vegetable oil into a heavy pot to a depth of about 3 inches (or use a deep fryer) and heat to 360°F (182°C).
- In a large mixing bowl, whisk together the flour, cornstarch, sugar, salt, baking powder, baking soda, onion salt, paprika, and black pepper until evenly combined.
- Slowly pour the cold club soda into the dry ingredients while stirring; the batter will foam—stir until smooth and combined.
- Working with a few tenders at a time, dip each chicken tender into the batter to coat completely.
- Carefully lower battered tenders into the hot oil and fry 2 to 3 minutes per side, until the coating is golden and the pieces float to the surface.
- Use tongs or a slotted spoon to transfer the cooked tenders to a wire rack to drain and keep the coating crisp; do not cover.
Notes
- Keep the club soda cold for a crispier batter.
- Maintain oil between 350°F and 375°F for best results.
- Cooked pieces will float when done.
- Do not cover fried chicken to preserve crispiness.
- Sprinkle a little salt on the hot chicken immediately after frying.