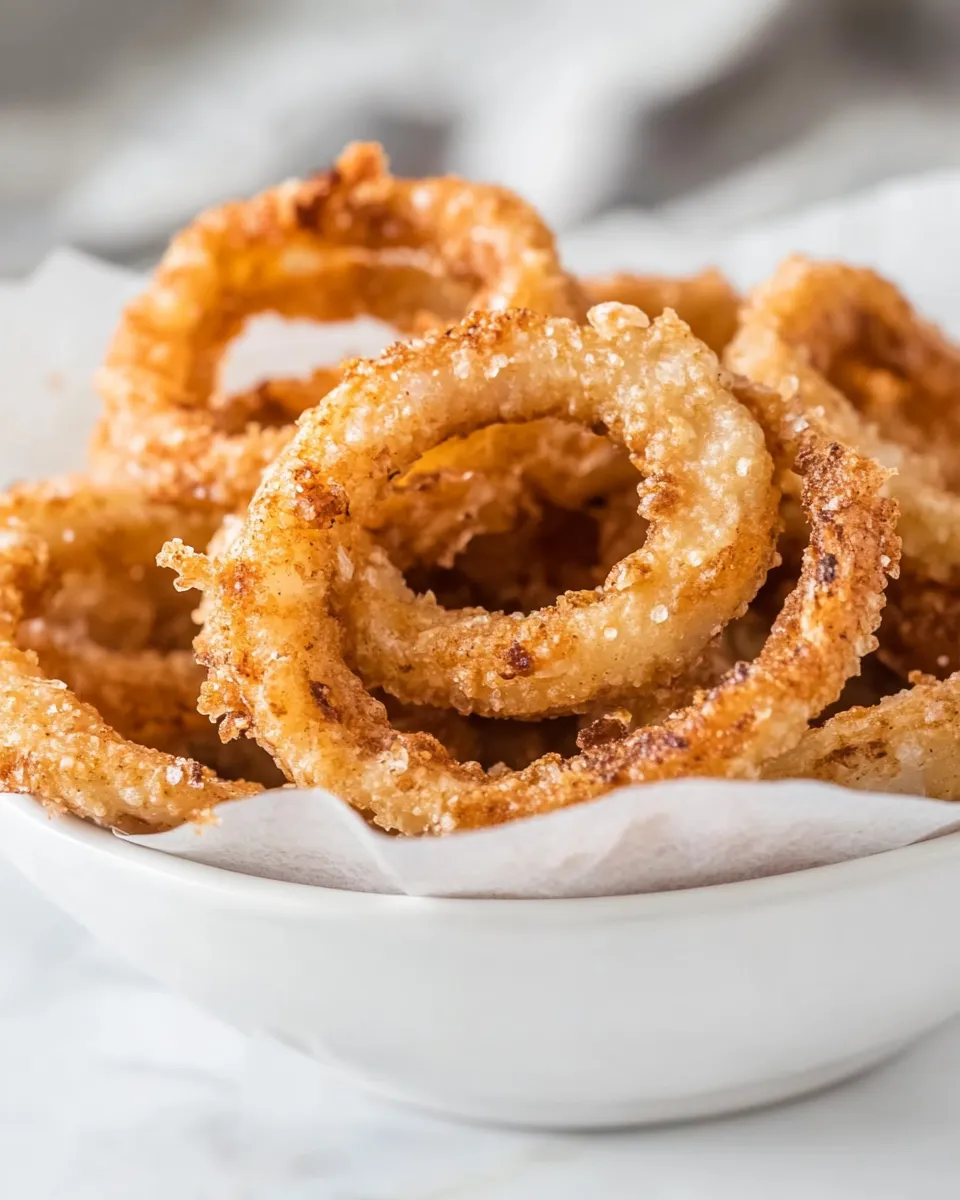
I love a good onion ring: the crack of the crust, the soft sweet onion inside, and that fleeting moment when it’s still warm but you already want another. These are the kind of snacks that turn an ordinary evening into something worth remembering. No fuss, just straightforward technique and a few reliable ingredients.
This recipe keeps things practical. It uses one large sweet onion, a light panko crust for extra crunch, and a simple three-step coating process: flour, wet batter, breadcrumbs. Frying at a steady 365°F is the key. I’ll walk you through shopping, timing, and the small habits that keep results consistent.
Read on for the ingredient list, the exact step-by-step frying instructions, and a thorough set of tips—what to buy, what to swap, and how to rescue a batch that isn’t cooperating. If you want restaurant-style onion rings at home, this is the method I use most.
What to Buy
Stick to a short shopping list and aim for quality where it matters. You don’t need exotic ingredients, but a few good choices make a big difference in texture and flavor.
- 1 large sweet onion — choose one that’s firm with even coloring; sweet varieties caramelize and taste mild when fried.
- 1 cup all-purpose flour — for the initial dredge to help the wet batter cling.
- 1 teaspoon baking powder — helps the coating puff slightly and stay light.
- 1 teaspoon salt — essential for seasoning the coating.
- 1 cup buttermilk — provides tang and helps the egg form a cohesive batter.
- 1 large egg — binds the buttermilk and helps the panko stick.
- 1 cup panko breadcrumbs — preferred for a crisp, airy crust.
- 1 quart vegetable oil for frying — use a neutral oil with a high smoke point. Plan for enough oil so rings can float freely.
Onion Rings, Made Easy
Ingredients
- 1 large sweet onion — sliced into 1/4-inch rings; this is your main flavor and texture component.
- 1 quart vegetable oil — for frying; neutral, high-smoke-point oil keeps flavors clean.
- 1 cup all-purpose flour — for the dry dredge; helps the wet batter adhere.
- 1 teaspoon baking powder — lightens the coating slightly so it won’t feel heavy.
- 1 teaspoon salt — seasons the flour mixture; you can adjust to taste.
- 1 cup buttermilk — makes the wet batter tangy and helps the egg emulsify.
- 1 large egg — binds the buttermilk and panko together.
- 1 cup panko breadcrumbs — creates the crisp exterior that stays crunchy longer.
- Slice 1 large sweet onion into 1/4-inch-thick rings and separate the rings carefully.
- In a shallow dish, whisk together 1 cup all-purpose flour, 1 teaspoon baking powder, and 1 teaspoon salt.
- In a second shallow dish, whisk 1 cup buttermilk and 1 large egg until smooth.
- Place 1 cup panko breadcrumbs in a third shallow dish.
- Pour 1 quart vegetable oil into a deep-fryer or a large, heavy saucepan and heat to 365°F, using a thermometer to monitor the temperature.
- Working one ring at a time and in batches to avoid overcrowding, dredge each onion ring in the flour mixture and shake off excess, dip it into the buttermilk mixture, then press both sides into the panko breadcrumbs to coat. Place coated rings on a wire rack.
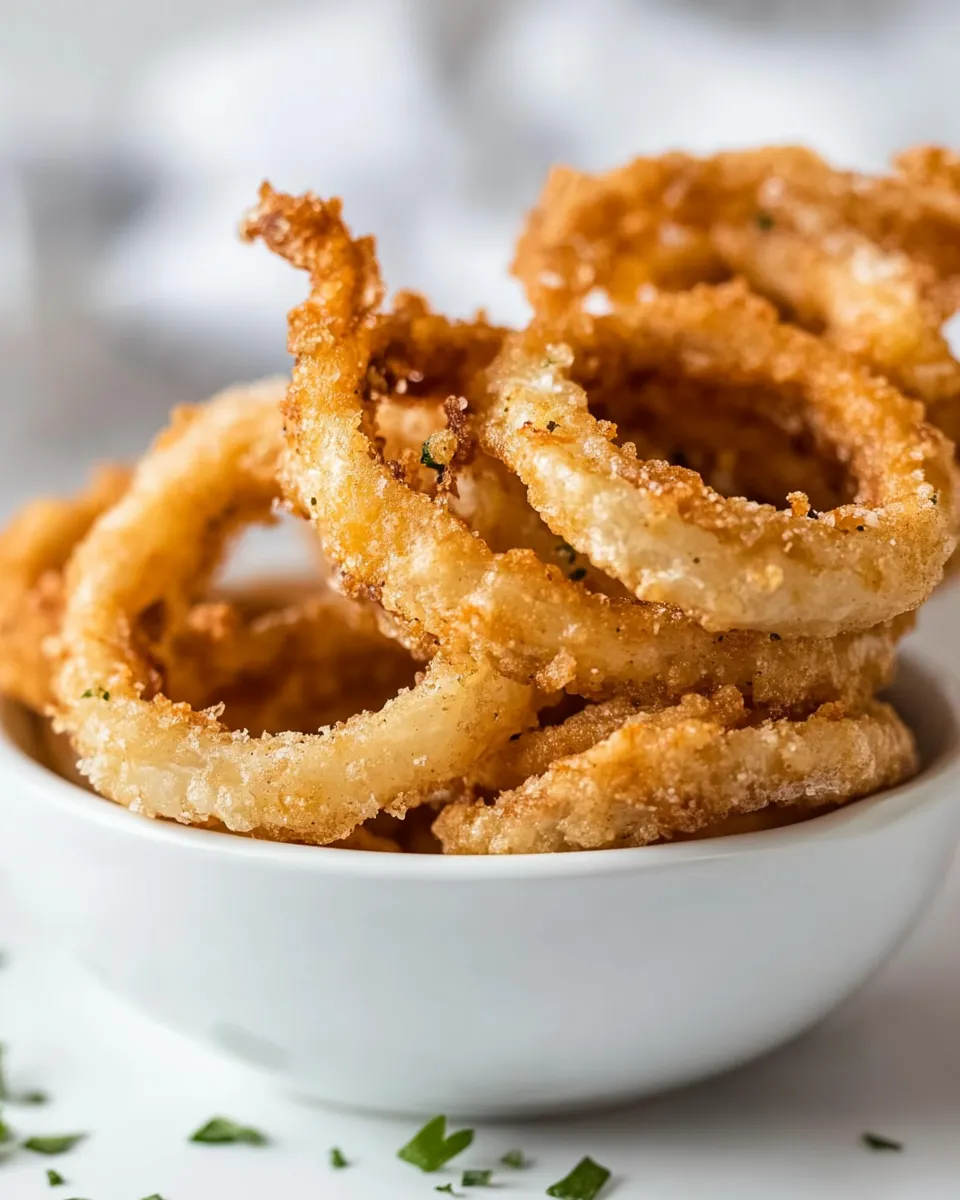
- When the oil is at 365°F, fry the onion rings in batches until golden brown, about 2–3 minutes total per batch, turning once halfway through cooking. Do not overcrowd the pan; adjust heat as needed to maintain 365°F.
- Remove fried rings with a slotted spoon or tongs and drain briefly on paper towels or a wire rack. Repeat with remaining rings.
- Serve the onion rings immediately.
Top Reasons to Make Onion Rings
Crispness. It’s simple: these use panko and a three-step coating that yields a layered crust. Every bite has that satisfying crunch.
Speed. From sliced onion to a serving plate in under 30 minutes once the prep is done. It’s a fast fry and almost instant gratification.
Versatility. They’re an appetizer, a side for burgers, or the centerpiece of a casual gathering. Serve them hot with whatever dipping sauce you favor.
Low barrier to entry. You don’t need special batter knowledge. Follow the sequence and watch the thermometer. The most critical skill is temperature control.
Swap Guide
Want to tweak texture or flavor? Here are controlled swaps that keep the method intact without changing quantities.
- Breadcrumbs: If you don’t have panko, use plain dry breadcrumbs for a denser crust. Expect slightly less lift.
- Onions: Yellow or white onions will work if a sweet onion isn’t available. They’ll be sharper in flavor; cook a little less if they’re thin.
- Milk: If you don’t have buttermilk, thin plain yogurt with a splash of milk until it reaches buttermilk consistency. No exact measurements are added—just make a similar texture.
- Oil: Any neutral, high-smoke-point oil works. Olive oil is not ideal for deep frying due to flavor and lower smoke point.
Must-Have Equipment
- Deep-fryer or heavy saucepan — a pot with tall sides minimizes splatter and maintains steady temperature.
- Instant-read or candy thermometer — essential; 365°F is the target and small deviations change texture.
- Three shallow dishes — keeps the dredge, wet mix, and panko separate and speed up assembly.
- Wire rack and paper towels — rack for draining and keeping crust crisp; towels for quick blotting.
- Slotted spoon or tongs — for safe handling of hot rings and efficient drainage.
Troubleshooting Tips
Problem: Soggy coating. Cause: Oil too cool or overcrowding. Solution: Heat to 365°F and fry in small batches. Let the oil return to temperature between batches.
Problem: Coating falls off. Cause: Too much shaking after the flour dredge or wet batter too thin. Solution: Shake off only excess flour and press panko onto the wet batter so it attaches firmly.
Problem: Oil foaming or smoking. Cause: Moisture in the pan or oil overheating. Solution: Dry rings well, remove any bits between batches, and lower heat. Replace oil if it begins to break down.
Problem: Pale rings. Cause: Oil temperature too low. Solution: Increase heat to 365°F and monitor with the thermometer. Fry until golden brown, turning once halfway through as directed.
Fresh Seasonal Changes
In spring and summer, lighter sides and fresh herbs complement onion rings. Pair with a green salad, slices of tomato, or a bright herb vinaigrette to balance the fried richness.
In fall and winter, heavier flavors work well. Consider serving onion rings with heartier mains or warming dips. The contrast between a crisp ring and a richer main dish is comforting on cold nights.
Little Things that Matter
Dry the onion rings briefly after slicing to reduce surface moisture; moisture fights crispness. Pat them lightly but don’t spend time removing every speck of juice.
Press the panko on both sides and don’t rush. A little extra pressure at the coating stage prevents gaps that collect oil.
Keep the cooked rings on a wire rack rather than stacked on paper towels. Stacking steams the crust and makes it soggy.
Store, Freeze & Reheat
Storage: Cool completely, then store in a single layer in a sealed container in the fridge for up to 2 days. Crispness drops, so plan to re-crisp before serving.
Freezing: Flash-freeze on a single layer on a baking sheet, then transfer to a sealed bag for up to 1 month. Reheat from frozen to preserve texture.
Reheating: Re-crisp in a 375°F oven on a wire rack or in an air fryer for a few minutes until hot and crunchy. Avoid microwaving if possible; it will soften the crust.
Your Questions, Answered
Q: Can I reuse the oil? A: Yes, strain it and store in a sealed container for one or two uses, provided it hasn’t smoked or developed off-odors. Discard if the oil is dark or foaming.
Q: Can I prepare ahead? A: You can slice the onion and set up dredging stations ahead of time. Coat just before frying; coated rings don’t hold as well for long periods before frying.
Q: How do I keep the oil temperature steady? A: Work in small batches and allow the oil to recover between each. Adjust your heat source; a controlled medium setting usually maintains 365°F best.
Q: How many rings per batch? A: Enough to allow them to float without touching. Overcrowding lowers the oil temperature and yields uneven browning.
Serve & Enjoy
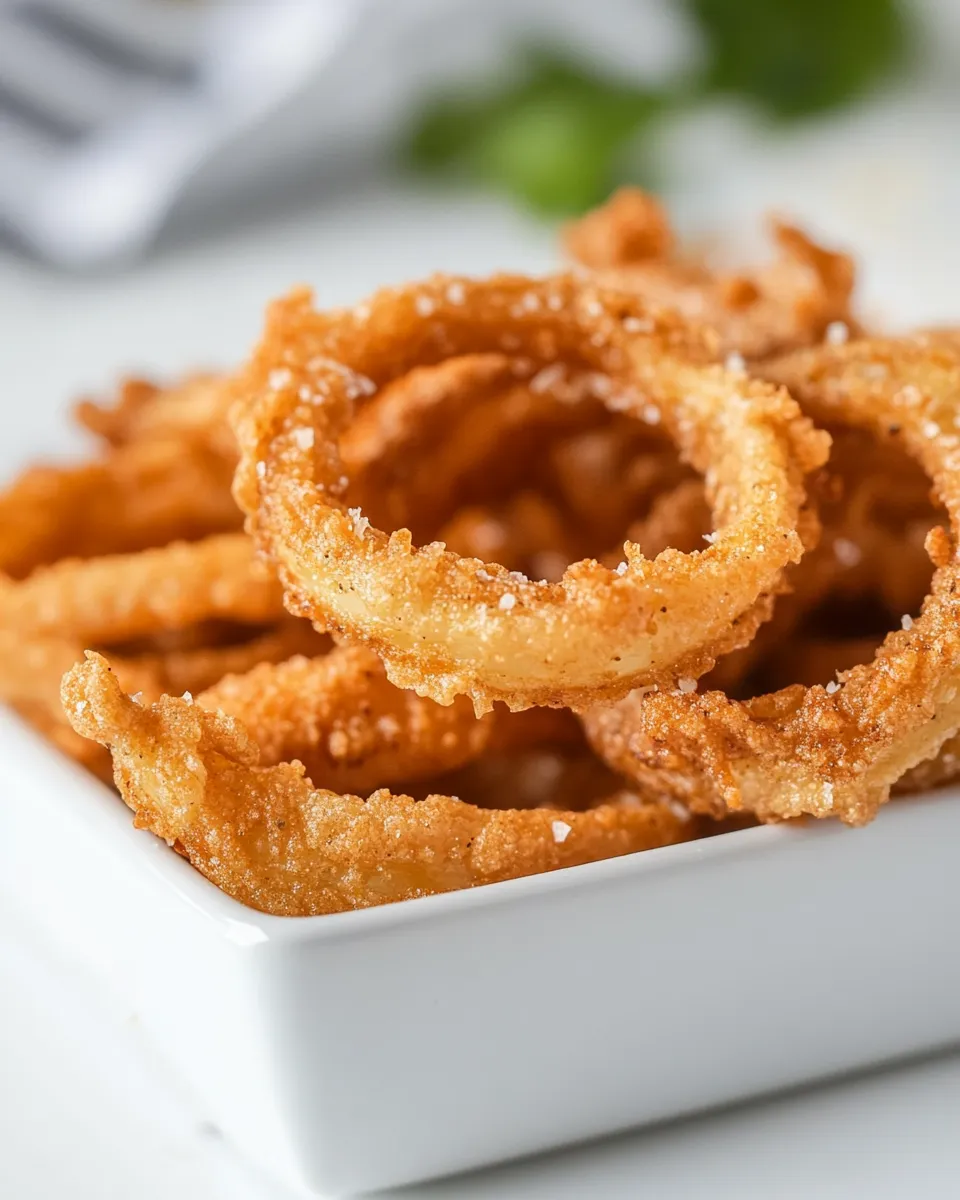
Serve these onion rings hot and straight from the rack. A sprinkle of flaky salt right after frying will highlight the sweetness of the onion and the crunch of the panko.
Keep the presentation simple: a shallow bowl or basket lined with a paper napkin lets steam escape while making them easy to grab. Offer one or two dipping options or keep it minimalist—ketchup or a savory mayonnaise-based dip works fine; the rings will happily carry any companion.
Follow the steps closely, keep your oil at 365°F, and give the coatings the attention they deserve. With those basics handled, you’ll get consistently crisp, flavorful onion rings every time. Happy frying.
Onion Rings
Equipment
- deep fryer or large heavy saucepan
- candy/deep-fry thermometer
- Three Shallow Dishes
- Wire Rack
- Slotted spoon or tongs
- Paper Towels
Ingredients
Ingredients
- 1 large sweet onionsliced into 1/4-inch rings
- 1 quartvegetable oil for frying
- 1 cupall-purpose flour
- 1 teaspoonbaking powder
- 1 teaspoonsalt
- 1 cupbuttermilk
- 1 large egg
- 1 cuppanko breadcrumbs
Instructions
Instructions
- Slice 1 large sweet onion into 1/4-inch-thick rings and separate the rings carefully.
- In a shallow dish, whisk together 1 cup all-purpose flour, 1 teaspoon baking powder, and 1 teaspoon salt.
- In a second shallow dish, whisk 1 cup buttermilk and 1 large egg until smooth.
- Place 1 cup panko breadcrumbs in a third shallow dish.
- Pour 1 quart vegetable oil into a deep-fryer or a large, heavy saucepan and heat to 365°F, using a thermometer to monitor the temperature.
- Working one ring at a time and in batches to avoid overcrowding, dredge each onion ring in the flour mixture and shake off excess, dip it into the buttermilk mixture, then press both sides into the panko breadcrumbs to coat. Place coated rings on a wire rack.
- When the oil is at 365°F, fry the onion rings in batches until golden brown, about 2–3 minutes total per batch, turning once halfway through cooking. Do not overcrowd the pan; adjust heat as needed to maintain 365°F.
- Remove fried rings with a slotted spoon or tongs and drain briefly on paper towels or a wire rack. Repeat with remaining rings.
- Serve the onion rings immediately.