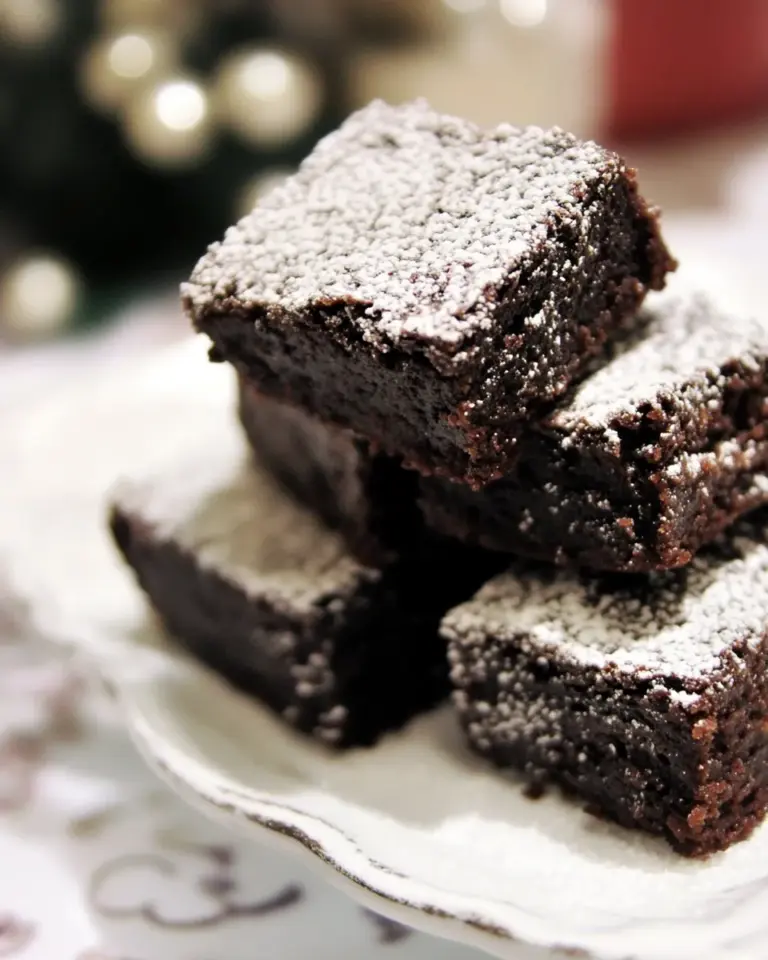
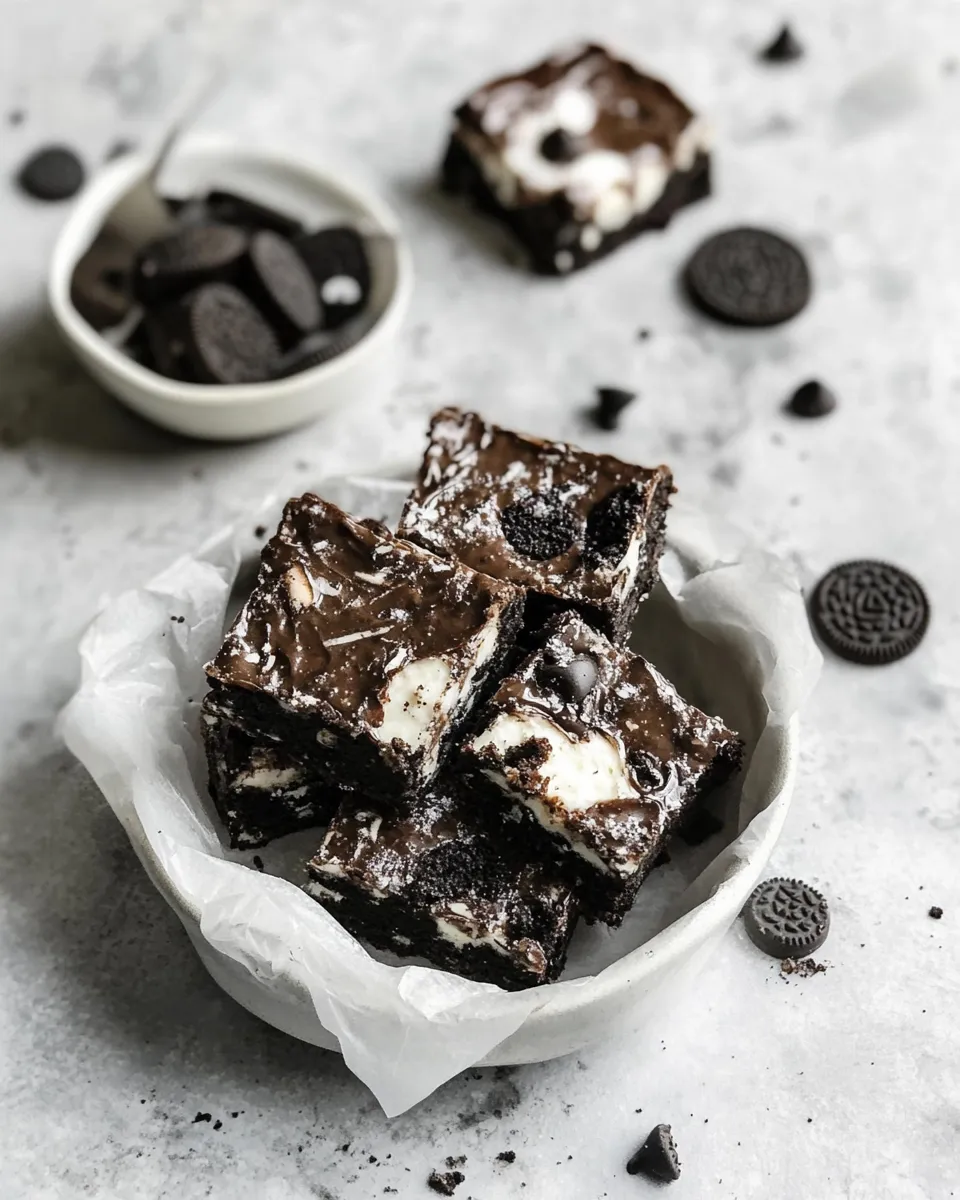
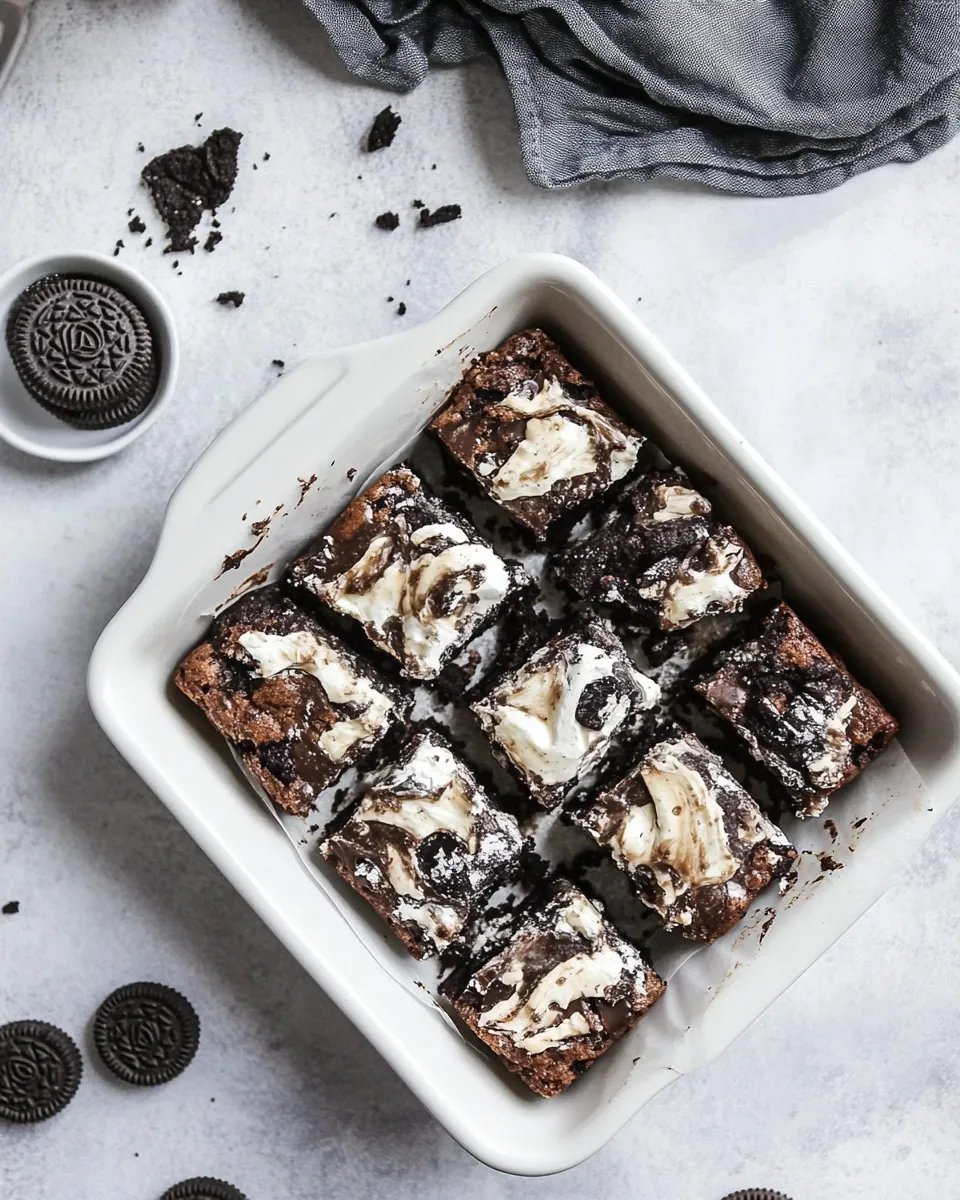
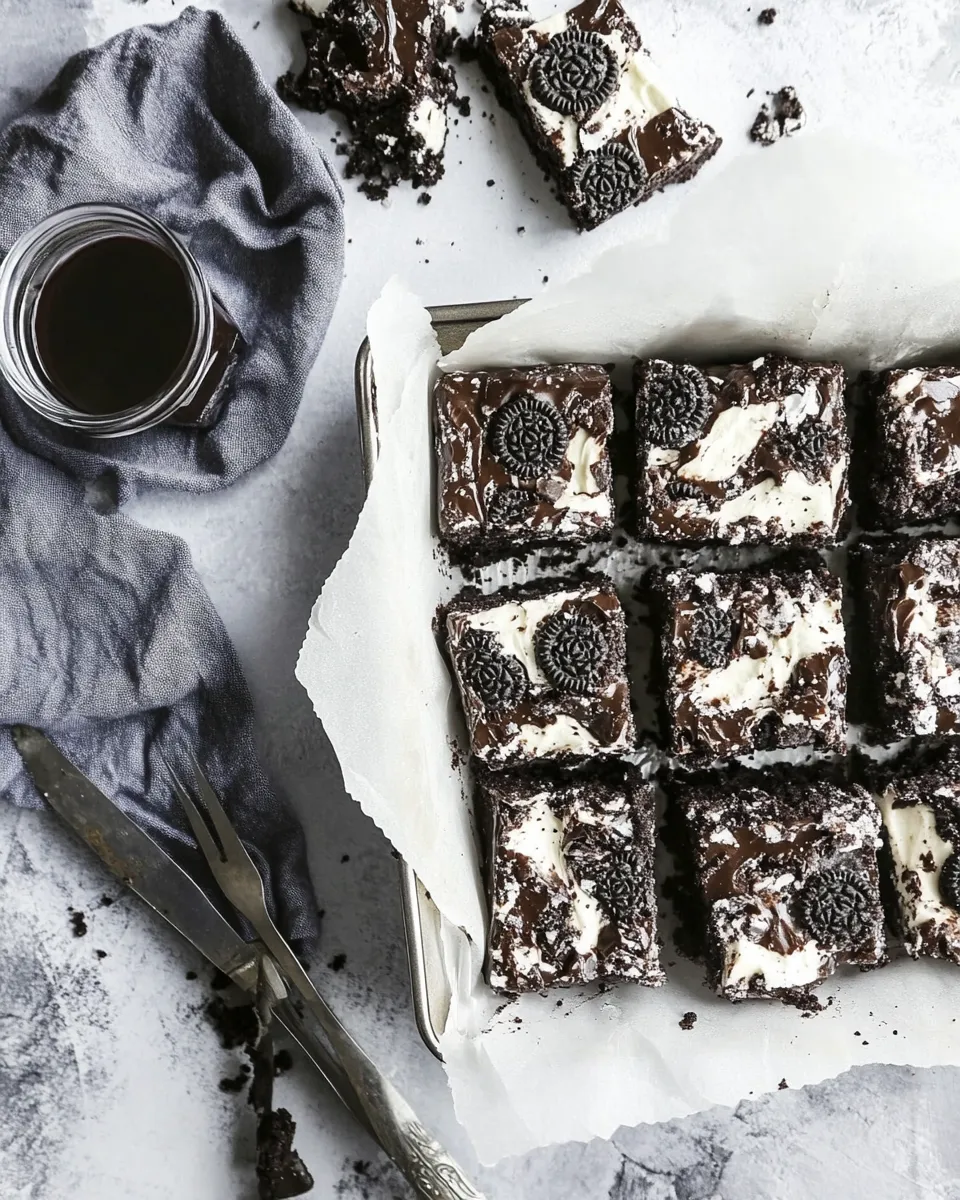
These Oreo Bars are the kind of dessert I reach for when I need something that travels well, finishes quickly, and still looks like I spent a little extra time on it. They land squarely between a cookie and a brownie: thick, chewy, loaded with chopped Oreos and pockets of sweet white chocolate. No scooping, no chilling, no batch baking — just press, bake, cool, and cut.
I like this recipe because it’s forgiving. The dough mixes up in one bowl, and the chopped cookies give the bars texture and personality without any special skills. They’re a crowd-pleaser at bake sales, potlucks, and school lunches. Make them for a party and you’ll come home with a near-empty pan and a lot of “who made these?” asked.
Below you’ll find exactly what goes into these bars, the step-by-step directions I use every time, and practical tips for fixing problems, storing leftovers, and swapping ingredients if you need to. No surprises. Just solid results.
What Goes Into Oreo Bars
Ingredients
- All-purpose flour — provides structure so the bars stay thick and chewy.
- Cocoa powder — gives chocolate depth and balances the sweetness.
- Baking soda — a small lift to keep the texture tender, not dense.
- Salt — enhances all the flavors and keeps the sweetness in check.
- Butter — richness and chew; creamed with the sugars to trap air.
- Brown sugar — adds moisture and a caramel note for chewiness.
- Granulated sugar — helps structure and gives a slight crisp edge at the perimeter.
- Egg — binds the dough and adds moisture.
- Vanilla — flavor lift; a teaspoon or so brightens the whole mix.
- Oreo cookies (chopped) — the star mix-in. Adds crunch and cookie bits throughout.
- White chocolate chips — pockets of sweet creaminess that contrast the Oreos.
Oreo Bars, Made Easy
- Preheat the oven to 350°F. Grease an 8×8-inch baking pan or line it with parchment paper, leaving an overhang for easy removal.
- In a small bowl, stir together the flour, cocoa powder, baking soda, and salt until evenly combined.
- In a large mixing bowl, beat the butter, brown sugar, and granulated sugar with an electric mixer (or in a stand mixer) until well creamed and slightly fluffy, about 3 minutes.
- Add the egg and vanilla to the creamed mixture and beat until fully incorporated.
- Add the dry ingredients to the wet ingredients and mix just until combined—do not overmix.
- Fold in the chopped Oreos and the white chocolate chips until distributed evenly through the dough.
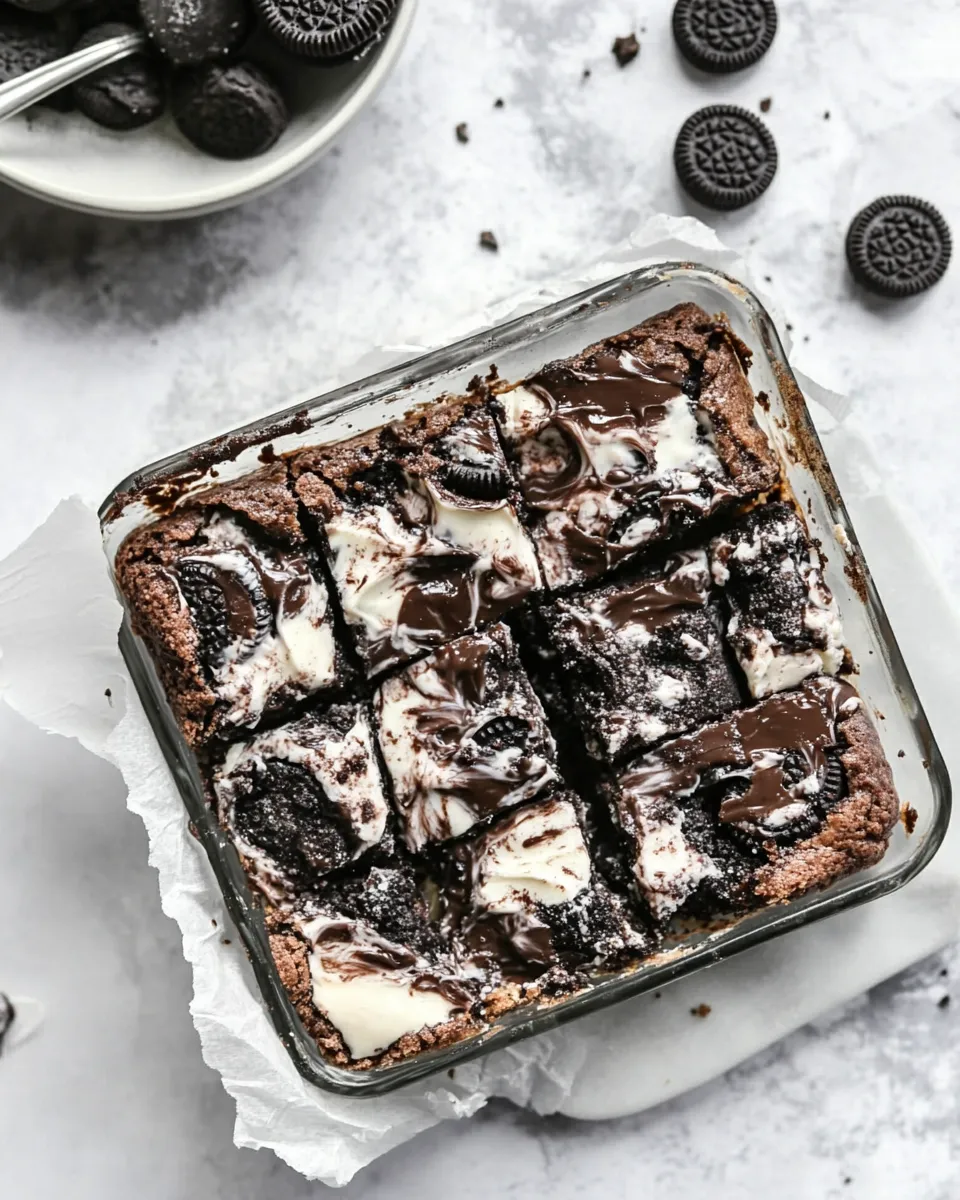
- Transfer the dough to the prepared 8×8 pan and press it into an even layer using a spatula or your hands (wet or lightly greased hands help).
- Bake for 18–25 minutes, until the edges are set and a toothpick inserted into the center comes out with a few moist crumbs (cookie pieces or melted chips may stick).
- Let the bars cool in the pan on a wire rack. Use the parchment overhang (if used) to lift the slab out, then cut into bars once cooled.
Why It’s My Go-To
I keep this recipe in my regular rotation because it reliably delivers without fuss. The texture is what hooks me: thick and chewy with a slightly tender crumb. The chopped Oreos add structure and a satisfying crunch, while white chocolate chips give sweet, creamy pockets that contrast the darker cocoa.
It’s also time-efficient. Most cookie recipes require chilling and multiple scoops; this one bakes once in an 8×8 pan and is ready to share the same day. That makes it excellent for last-minute dessert needs or when you want something homemade but don’t have a free afternoon.
Finally, it’s versatile. Small substitutions (within reason) let you skew them toward more chocolate, saltiness, or add-ins. But even made exactly as written, these bars are uncomplicated and nearly universally liked.
Low-Carb/Keto Alternatives
If you’re following a low-carb or keto approach, the texture and flavor will change, but you can approximate the idea.
Swap the all-purpose flour for a mixture of almond flour and a small amount of coconut flour to absorb moisture; expect a denser bar. Replace granulated and brown sugar with erythritol or a monk fruit blend; if your sugar substitute measures differently, check manufacturer conversion notes. Use sugar-free white chocolate chips and seek out low-carb sandwich cookies—or chop sugar-free chocolate wafers—to mimic the Oreo bits.
Important: Baking soda and salt remain unchanged. These help with texture and flavor. Also, reduce oven time slightly and watch for browning because nut flours can brown faster than wheat flour.
Setup & Equipment
Minimal tools make this an easy bake. I recommend setting everything on the counter before you start: measured dry ingredients, butter at room temperature, and your chopped Oreos ready to fold in.
Must-haves:
- 8×8-inch baking pan — the specified size makes depth and baking time predictable.
- Electric mixer or stand mixer — speeds creaming the butter and sugars, though you can do it by hand if needed.
- Mixing bowls — one for dry ingredients, one for creaming and combining.
- Spatula or offset spatula — for pressing dough evenly into the pan.
- Parchment paper — optional but recommended for easy removal and clean edges.
- Wire rack — for cooling the pan to room temperature before slicing.
Troubleshooting Tips
If the center is too gooey
Return the pan to the oven and bake in 2–3 minute increments. The oven temperature and how you press the dough into the pan affect bake time. Look for edges that are set and a toothpick with a few moist crumbs, not wet batter.
If the bars are dry or cakey
Don’t overmix once you add the dry ingredients. Overworking builds gluten and makes a drier, more cake-like texture. Also check your flour measure—packed flour can dry the batter. Spoon flour into the cup and level it off instead of scooping directly from the bag.
If the edges brown too quickly
Ovens vary. If you spot over-browning before the center is done, tent a sheet of foil loosely over the pan and finish baking. Or reduce oven temperature by 25°F and extend bake time slightly.
If the Oreos sink or clump
Fold them in gently and distribute them evenly over the dough before pressing it into the pan. If your chopped cookies are very fine crumbs, toss them briefly with a tablespoon of flour—this can help them stay suspended in the batter.
In-Season Swaps
Small seasonal touches keep the base recipe fresh.
Winter: Add a pinch of ground cinnamon or a few drops of peppermint extract and swap white chips for dark chocolate for a richer holiday bar. Spring: Fold in a few tablespoons of chopped toasted nuts for a lighter crunch. Summer: Top the cooled bars with a drizzle of melted dark chocolate and a sprinkle of flaky sea salt to balance sweet with bright saltiness. Fall: Mix in a handful of chopped toffee bits or swap brown sugar for a darker molasses-rich variety to emphasize autumnal notes.
Chef’s Rationale
The technique and ingredient choices are intentional. Creaming the butter with both brown and granulated sugars traps tiny air pockets that yield a chewier texture and slightly crisp edges. Brown sugar contributes moisture because of its molasses content; granulated sugar helps the bars set cleanly.
Including cocoa powder instead of relying only on Oreos keeps the chocolate flavor consistent through the dough, while the chopped Oreos provide contrast along with visual interest. White chocolate chips are intentionally sweet and creamy; they interrupt the cookie bits and keep each bite interesting.
Finally, the instruction to mix dry into wet just until combined preserves tenderness. Overmixing develops gluten and leans the bars toward cake rather than dense, chewy bars.
Storage Pro Tips
Once cooled and cut, store bars in an airtight container at room temperature for up to 3 days. For longer storage, refrigerate for up to a week. If you prefer them softer, let refrigerated bars sit at room temperature for 20–30 minutes before serving.
To freeze: wrap the whole slab tightly in plastic wrap, then aluminum foil, or slice and layer with parchment between bars in a freezer-safe container. Freeze up to 3 months. Thaw in the refrigerator overnight or at room temperature for an hour or two before serving.
Reader Questions
Q: Can I use a 9×9 pan? A: Yes, but the bars will be slightly thinner and may bake a little faster—start checking at the low end of the time range.
Q: Can I use milk chocolate instead of white? A: Absolutely. Swap for milk or dark chocolate chips based on preference. Taste and texture will shift slightly, but the method stays the same.
Q: Can I make these dairy-free? A: Use a plant-based butter substitute that behaves like butter when creamed and dairy-free white chocolate chips. Results vary by product, so watch texture and bake time closely.
Save & Share
If you try these Oreo Bars, save the recipe where you keep favorites and write the date you made them. A small note about bake time in your oven will help next time. Share a photo and tag whoever you’re baking for—people love the visual of a slab cut cleanly to show all the cookie bits inside.
Want a printable version? Highlight this page and print to keep in your binder. Or save a screenshot with the ingredient list handy before you start measuring. These bars are simple, forgiving, and worth keeping in your rotation.
Oreo Bars
Equipment
- 8x8-inch baking pan
- Parchment Paper
- Small Bowl
- Large Mixing Bowl
- Electric mixer or stand mixer
- Spatula
- Wire Rack
Ingredients
Ingredients
- Thick chewy, amazingOreo Barsmade with Oreo cookies and white chocolate chips.
- I have a serious love for cookies in the shape ofBARS! They're way easier to make than cookies since there's no refrigerating scooping, rolling the dough, or baking multiple batches, required! These Oreo Bars are kind of a mash-up of a thick and chewy chocolate cookies, brownies, and loads of chopped Oreo cookies and white chocolate chips inside.
Instructions
Instructions
- Preheat the oven to 350°F. Grease an 8x8-inch baking pan or line it with parchment paper, leaving an overhang for easy removal.
- In a small bowl, stir together the flour, cocoa powder, baking soda, and salt until evenly combined.
- In a large mixing bowl, beat the butter, brown sugar, and granulated sugar with an electric mixer (or in a stand mixer) until well creamed and slightly fluffy, about 3 minutes.
- Add the egg and vanilla to the creamed mixture and beat until fully incorporated.
- Add the dry ingredients to the wet ingredients and mix just until combined—do not overmix.
- Fold in the chopped Oreos and the white chocolate chips until distributed evenly through the dough.
- Transfer the dough to the prepared 8x8 pan and press it into an even layer using a spatula or your hands (wet or lightly greased hands help).
- Bake for 18–25 minutes, until the edges are set and a toothpick inserted into the center comes out with a few moist crumbs (cookie pieces or melted chips may stick).
- Let the bars cool in the pan on a wire rack. Use the parchment overhang (if used) to lift the slab out, then cut into bars once cooled.
Notes
Freezing Instructions:
Bake bars in a freezer-safe container. Allow them to cool completely after baking, then cover pan and freeze for up to 3 months