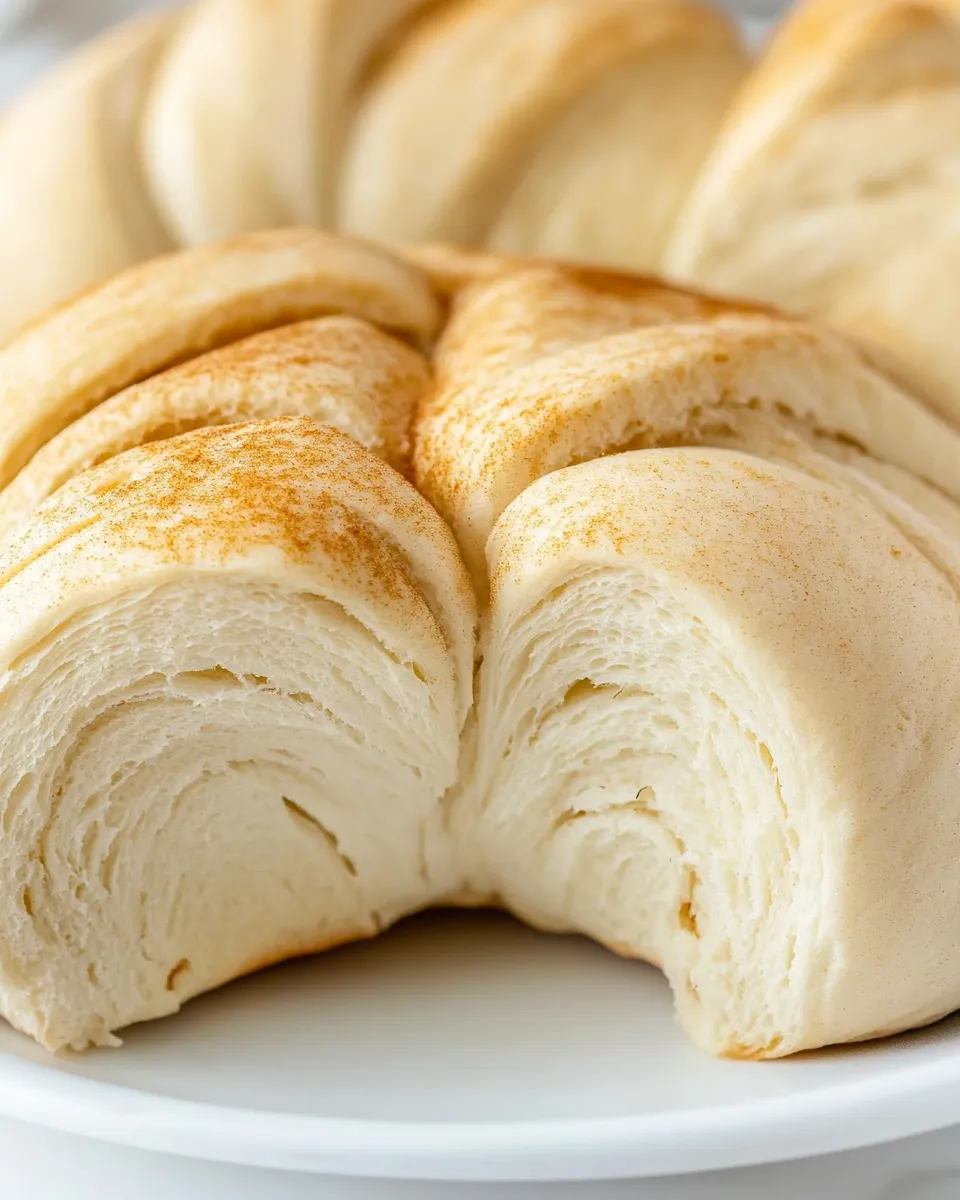
There’s something honest and comforting about making bread that’s meant to be shared. Pan dulce — the sweet, soft buns with a crackly, flavored topping — is one of those bakery treats that feels celebratory without pretense. You don’t need a pastry degree or fancy tools to get the signature look and flavor; you just need a little patience, a reliable recipe, and a warm spot for rising dough.
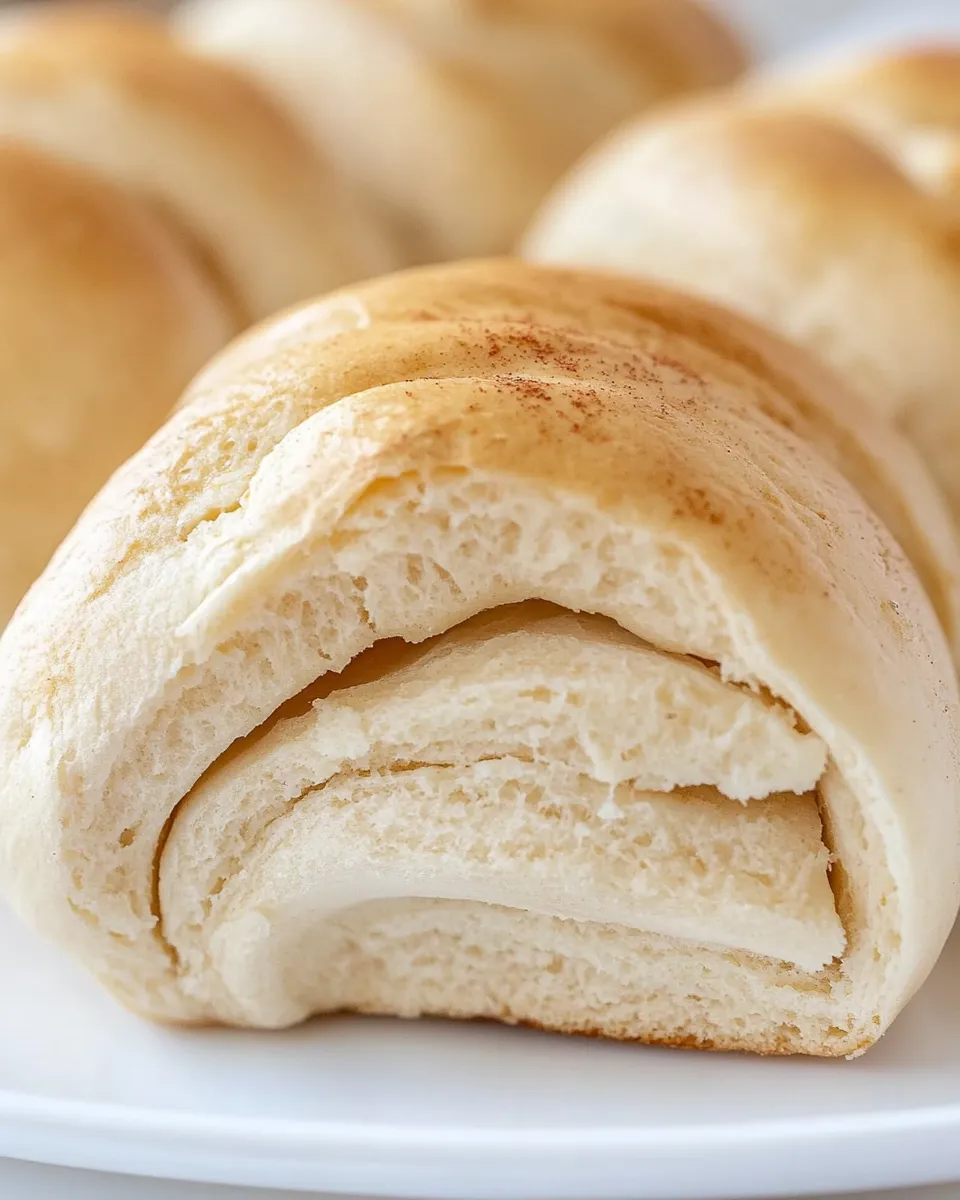
I wrote this recipe the way I teach friends: clear steps, predictable timing, and tips that keep the results consistent. The dough is enriched with butter and eggs so the crumb stays tender, and the topping is a simple paste that bakes into a delicate, sweet shell. I’ll walk you through each stage so you can feel confident shaping, topping, and baking — and then take pride in the smell that fills your kitchen.
Make a batch for morning coffee, afternoon tea, or to pop in school lunches. Pan dulce is forgiving, rewarding, and endlessly adaptable — I’ll include ways to swap ingredients if you need, equipment that helps, and common mistakes to avoid. Turn on the oven, and let’s get started.
Ingredients
- 2/3 cup whole milk — warmed to activate the yeast; should feel warm, not hot.
- 2 1/2 teaspoons active dry yeast — the leavening agent; proof it in the warm milk to confirm activity.
- 4 1/4 cups all-purpose flour — the bulk of the dough; measure by spooning into the cup and leveling for accuracy.
- 1/2 cup granulated sugar — sweetens the dough and helps with browning.
- 3/4 teaspoon salt — balances sweetness and strengthens the dough structure.
- 1/2 cup unsalted butter, melted — enriches the dough and keeps crumb soft; melted for easy incorporation.
- 3 large eggs — add structure, tenderness, and richness.
- 1 cup all-purpose flour — reserved for the topping; provides the crunchy, crackly shell.
- 2/3 cup powdered sugar — for a smooth, sweet topping paste.
- 1/2 cup unsalted butter, room temperature — creamed into the topping for spreadable consistency.
- 1 1/2 teaspoons vanilla extract — flavoring for the topping; adds aromatic warmth.
- Food coloring (optional) — if you want colorful tops; use a few drops to tint portions of the topping.
What You’ll Gather
Before you begin, organize your mise en place. Measure the milk and warm it to about 110°F. Get the yeast, flours, sugars, butter (one portion melted and one at room temperature), eggs, salt, and vanilla ready. Line a baking sheet with parchment and clear a lightly floured surface for kneading and shaping. If you plan to color the topping, have small bowls and toothpicks or a spoon ready.
Timing note: active dry yeast needs a short proof in warm milk. Dough then needs about 1 1/2 to 2 hours for the first rise, plus a brief rest after shaping. The hands-on time is modest — most of this recipe is waiting while the yeast works.
Pan Dulce, Made Easy
- Warm the 2/3 cup whole milk to about 110°F (warm to the touch, not hot). Sprinkle the 2 1/2 teaspoons active dry yeast into the milk, stir to combine, and let stand until foamy, about 5 minutes.
- In a large mixing bowl, whisk together 4 1/4 cups all-purpose flour, 1/2 cup granulated sugar, and 3/4 teaspoon salt.
- Add the 1/2 cup melted unsalted butter, the 3 large eggs, and the foamy yeast-milk mixture to the dry ingredients. Mix until a soft, shaggy dough forms.
- Turn the dough onto a lightly floured surface and knead until smooth and elastic, about 8–10 minutes by hand (or 5–7 minutes in a stand mixer with a dough hook).
- Place the kneaded dough in a lightly greased bowl, cover with plastic wrap or a clean towel, and let rise in a warm place until doubled in size, about 1 1/2 to 2 hours.
- While the dough rises, make the topping: in a medium bowl, beat together 1 cup all-purpose flour, 2/3 cup powdered sugar, 1/2 cup unsalted butter (room temperature), and 1 1/2 teaspoons vanilla extract until a smooth, spreadable paste forms. If using food coloring, divide a portion of the topping and mix in color as desired. Divide the topping into 12 equal pieces.
- After the dough has doubled, punch it down gently, divide it into 12 equal pieces, and shape each piece into a smooth ball. Place the dough balls on a baking sheet lined with parchment, leaving space between them.
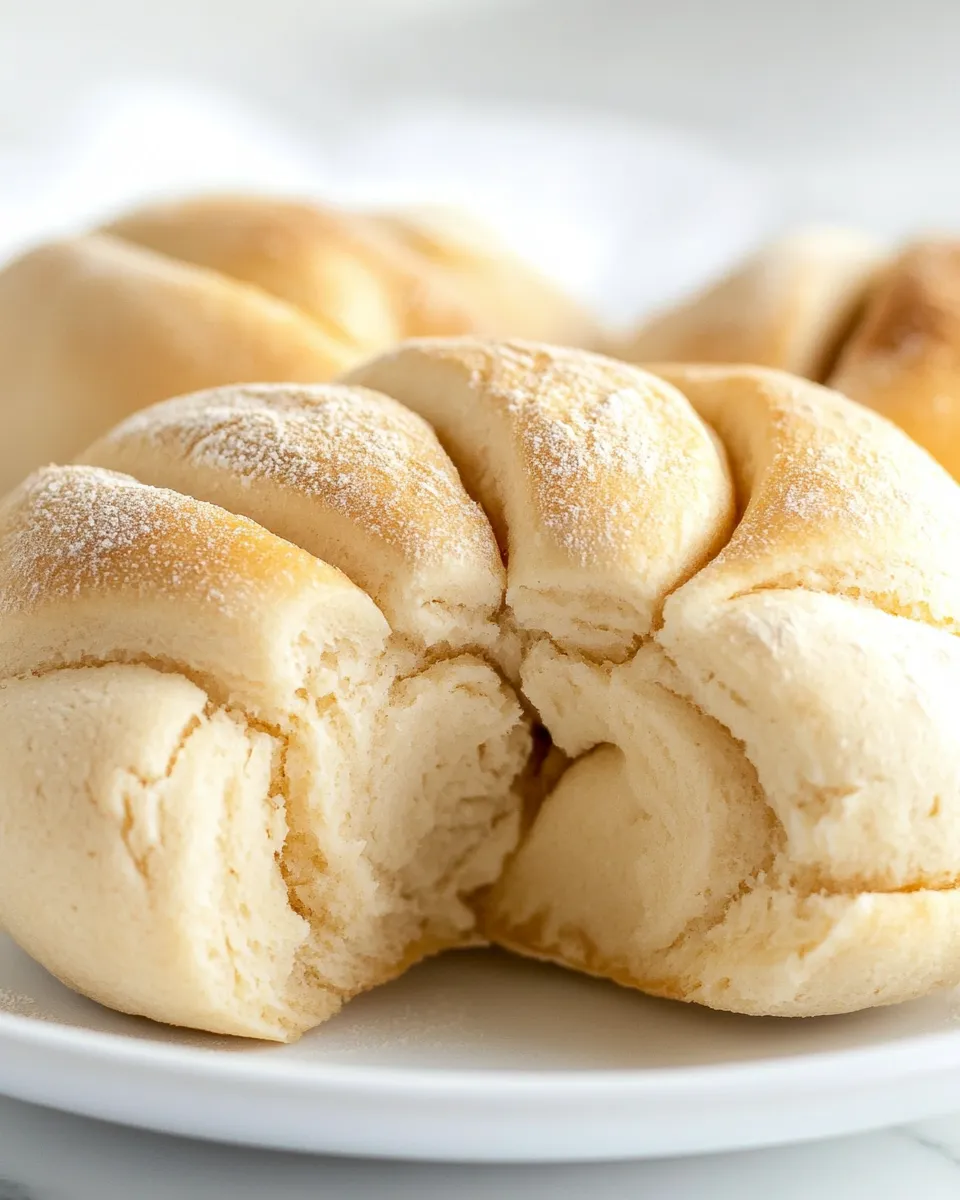
- Flatten each topping piece into a thin circle large enough to cover the top of a dough ball (use your hands or roll between parchment). Drape a topping circle over each dough ball and lightly press to adhere. Use a sharp knife to score the topping with a clamshell or other design, taking care not to cut into the dough.
- Preheat the oven to 350°F. While the oven preheats, cover the prepared buns loosely and let them rest for about 15 minutes. Bake the buns at 350°F for 18–20 minutes, until the buns are set and the topping is lightly golden. Transfer to a wire rack to cool.
Why Pan Dulce is Worth Your Time
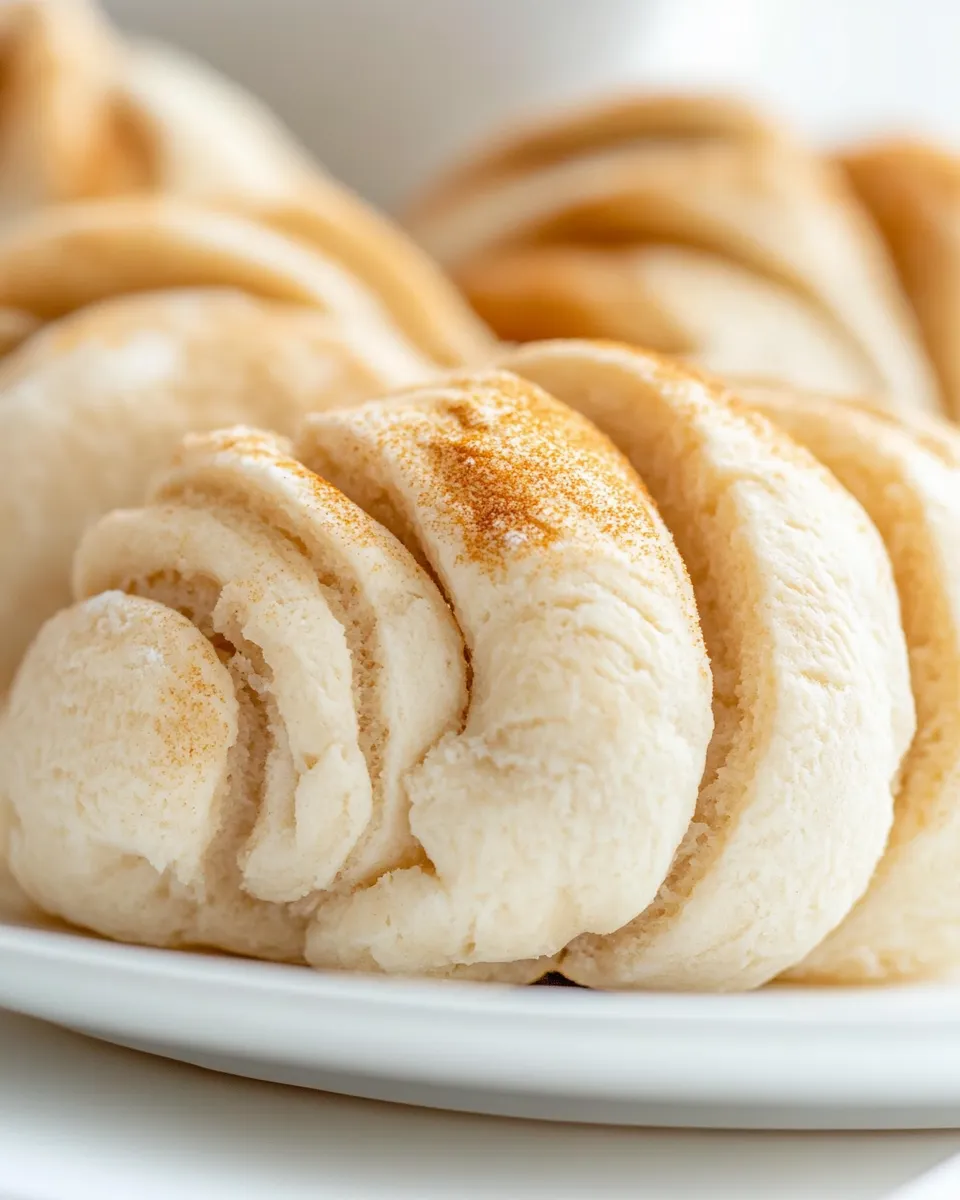
Pan dulce rewards minimal effort with maximum satisfaction. The enriched dough yields tender, richly flavored buns that stay soft for days, and the topping gives that unmistakable bakery look and crackle. It’s a small production — twelve buns per batch — which makes it perfect for weekend baking without overwhelming your schedule.
Beyond texture and flavor, making pan dulce is a useful technique: you’ll practice proofing yeast, working enriched dough, and shaping consistent rolls. Those skills transfer to brioche, challah, and other enriched breads. Plus, the topping is versatile — neutral, flavored, or colored — so you can make different varieties with the same base dough.
Allergy-Friendly Substitutes
When swaps are necessary, choose ones that mimic function: liquid for liquid, fat for fat, structure for structure.
- Milk: replace whole milk with a non-dairy milk (oat or soy) warmed to the same temperature; this will activate yeast similarly but slightly alters richness.
- Butter (dough and topping): use a plant-based stick butter for similar fat content and texture; keep the melted vs. room-temperature distinctions the same.
- Eggs: for binding and richness, try a commercial egg replacer designed for baking or, for a mild change in texture, use 3/4 cup aquafaba for three eggs (whisked and used as an egg substitute), though rise and crumb may differ.
- Flour: all-purpose is called for; for a gluten-free version you’ll need a tested gluten-free blend plus xanthan gum — but expect different hydration and texture. If gluten-free is required, follow a dedicated recipe.
- Sugar: granulated and powdered sugars can be swapped with coconut sugar or an erythritol blend in some cases, but powdered sugar affects the topping’s texture; powdered alternatives should be finely ground and tested in small batches.
Equipment at a Glance
- Mixing bowls — one large for dough, one medium for the topping.
- Whisk and spatula — for dry mix and topping prep.
- Stand mixer with dough hook (optional) — cuts kneading time to 5–7 minutes.
- Kitchen thermometer — helpful to check milk temperature (110°F is the target).
- Baking sheet and parchment paper — for even baking and easy transfer.
- Sharp knife or bench scraper — to score the topping design.
- Wire rack — for cooling so bottoms don’t steam.
Mistakes Even Pros Make
Here are pitfalls I see again and again, and how to avoid them.
Milk too hot: If the milk is hotter than warm to the touch, it can kill the yeast. Aim for about 110°F. If you overshoot, let it cool before adding yeast. Yeast not foaming is a signal it’s dead or milk too hot/cold.
Too much flour: Dough should be soft and slightly tacky after mixing. Adding too much flour during kneading makes dense buns. Flour your surface lightly and only add small amounts if the dough is impossibly sticky.
Cutting the topping too deep: Score the topping to get that classic pattern, but avoid cutting into the dough beneath. Deep cuts can deflate buns or create uneven baking.
Fresh Takes Through the Year
Pan dulce is a canvas. Here are ideas to adapt seasonally without changing the core method.
- Spring: fold in a teaspoon of citrus zest to the topping or dough for brightness; use pastel food coloring for a fresh look.
- Summer: add a tablespoon of finely chopped dried fruit to the dough or a hint of cinnamon in the topping for warmth without heaviness.
- Autumn: mix a pinch of ground cinnamon and nutmeg into the topping; swap vanilla for a touch of almond extract.
- Winter: fold a tablespoon of cocoa into a portion of the topping for chocolate-topped pan dulce, or add orange zest and a smear of marmalade after baking.
Author’s Commentary
I bake pan dulce whenever I want something that feels both homemade and a little festival-like. The recipe is reliable, and the topping is where you can get playful — I sometimes color a few and keep plain ones for everyday mornings. I encourage you to make the topping thinner or thicker until you find the texture you love; every oven and kitchen humidity level tweaks the result slightly.
When friends ask for a show-stopper, I tell them to focus on even shaping and gentle scoring. Those two small things make a dozen bakery-worthy buns. And remember: if one batch isn’t perfect, it’s still delicious. You’ll learn what your oven and hands prefer on the second try.
Keep-It-Fresh Plan
Storage is simple: once cooled, keep pan dulce in an airtight container at room temperature for up to 2 days. For longer storage, freeze in a single layer until firm, then transfer to a freezer bag for up to 1 month. Thaw at room temperature or reheat directly from frozen in a 325°F oven for 8–10 minutes until warmed through.
To revive slightly stale buns, wrap individually in foil and warm at 300–325°F for 5–10 minutes. The topping will soften slightly, but the crumb will rehydrate and taste fresh again.
Frequently Asked Questions
- Can I double the recipe? — Yes. Work in batches when shaping and use two baking sheets for the oven if needed. Watch spacing so buns don’t fuse while baking.
- Can I make the topping ahead? — Yes. The topping paste can be made and refrigerated for one day; bring it to room temperature before dividing and shaping.
- My topping cracked off in the oven — why? — If the topping is too stiff or scored too deeply, it can separate. Make sure the topping is spreadable and adheres to the dough, and score lightly.
- Can I glaze the buns? — You can brush a simple syrup or thin glaze after baking, but classic pan dulce is usually left unglazed so the topping keeps its dry, crackled finish.
That’s a Wrap
Pan dulce is a kitchen win: accessible technique, comforting results, and room to personalize. Follow the steps here for dependable texture and that signature topping. Make a batch, share them warm, and pay attention to the little adjustments that make them yours — a touch more vanilla, a brighter color, a different score pattern. Baking is practice, not perfection, and pan dulce rewards both.
Pan Dulce
Equipment
- Mixing Bowl
- stand mixer with dough hook (optional)
- dough hook
- Measuring cups and spoons
- Baking Sheet
- Parchment Paper
- Knife
- Wire Rack
Ingredients
Ingredients
- 2/3 cupwhole milk
- 2 1/2 teaspoonsactive dry yeast
- 4 1/4 cupsall-purpose flour
- 1/2 cupgranulated sugar
- 3/4 teaspoonsalt
- 1/2 cupunsalted buttermelted
- 3 large eggs
- 1 cupall-purpose flour
- 2/3 cuppowdered sugar
- 1/2 cupunsalted butterroom temperature
- 1 1/2 teaspoonsvanilla extract
- Food coloringoptional
Instructions
Instructions
- Warm the 2/3 cup whole milk to about 110°F (warm to the touch, not hot). Sprinkle the 2 1/2 teaspoons active dry yeast into the milk, stir to combine, and let stand until foamy, about 5 minutes.
- In a large mixing bowl, whisk together 4 1/4 cups all-purpose flour, 1/2 cup granulated sugar, and 3/4 teaspoon salt.
- Add the 1/2 cup melted unsalted butter, the 3 large eggs, and the foamy yeast-milk mixture to the dry ingredients. Mix until a soft, shaggy dough forms.
- Turn the dough onto a lightly floured surface and knead until smooth and elastic, about 8–10 minutes by hand (or 5–7 minutes in a stand mixer with a dough hook).
- Place the kneaded dough in a lightly greased bowl, cover with plastic wrap or a clean towel, and let rise in a warm place until doubled in size, about 1 1/2 to 2 hours.
- While the dough rises, make the topping: in a medium bowl, beat together 1 cup all-purpose flour, 2/3 cup powdered sugar, 1/2 cup unsalted butter (room temperature), and 1 1/2 teaspoons vanilla extract until a smooth, spreadable paste forms. If using food coloring, divide a portion of the topping and mix in color as desired. Divide the topping into 12 equal pieces.
- After the dough has doubled, punch it down gently, divide it into 12 equal pieces, and shape each piece into a smooth ball. Place the dough balls on a baking sheet lined with parchment, leaving space between them.
- Flatten each topping piece into a thin circle large enough to cover the top of a dough ball (use your hands or roll between parchment). Drape a topping circle over each dough ball and lightly press to adhere. Use a sharp knife to score the topping with a clamshell or other design, taking care not to cut into the dough.
- Preheat the oven to 350°F. While the oven preheats, cover the prepared buns loosely and let them rest for about 15 minutes. Bake the buns at 350°F for 18–20 minutes, until the buns are set and the topping is lightly golden. Transfer to a wire rack to cool.