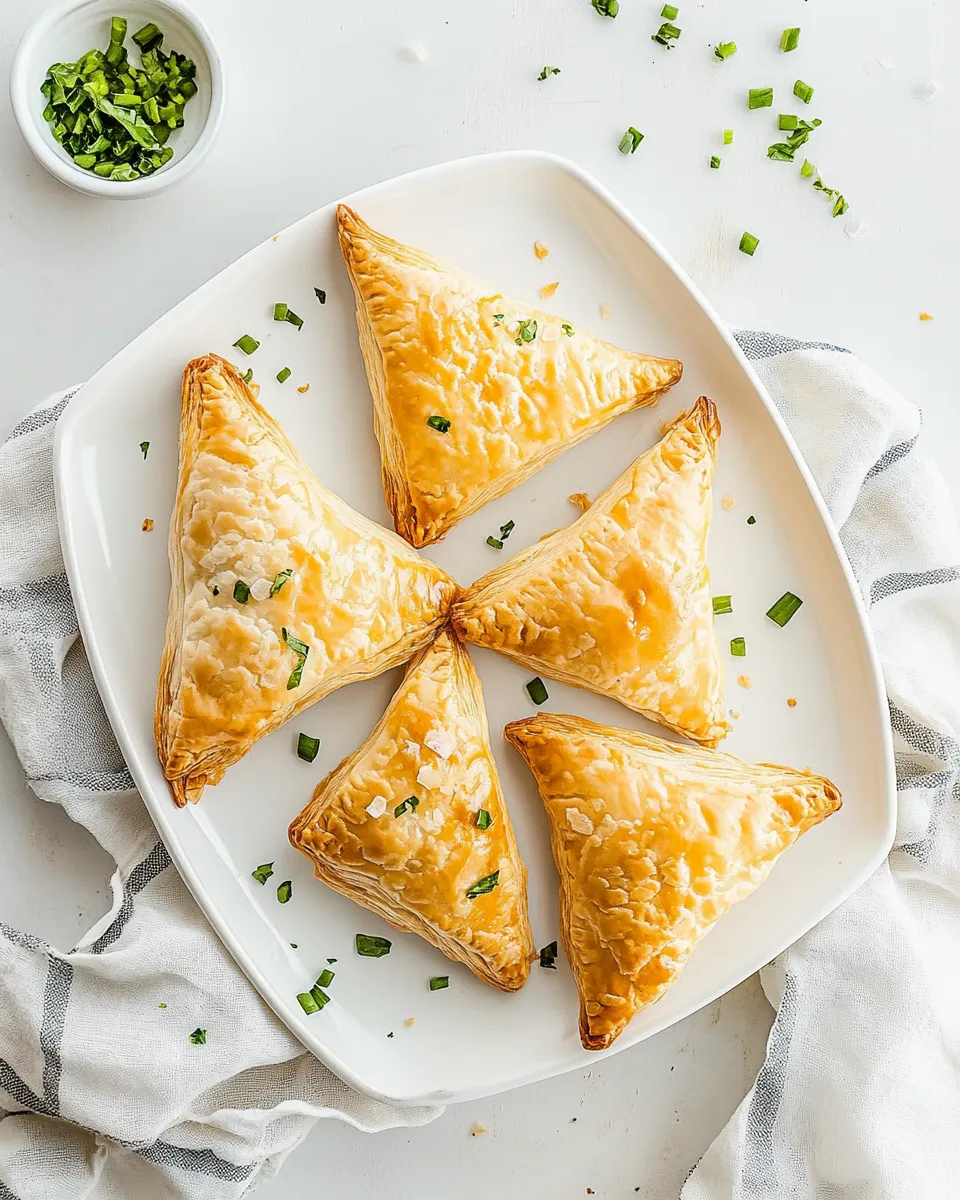
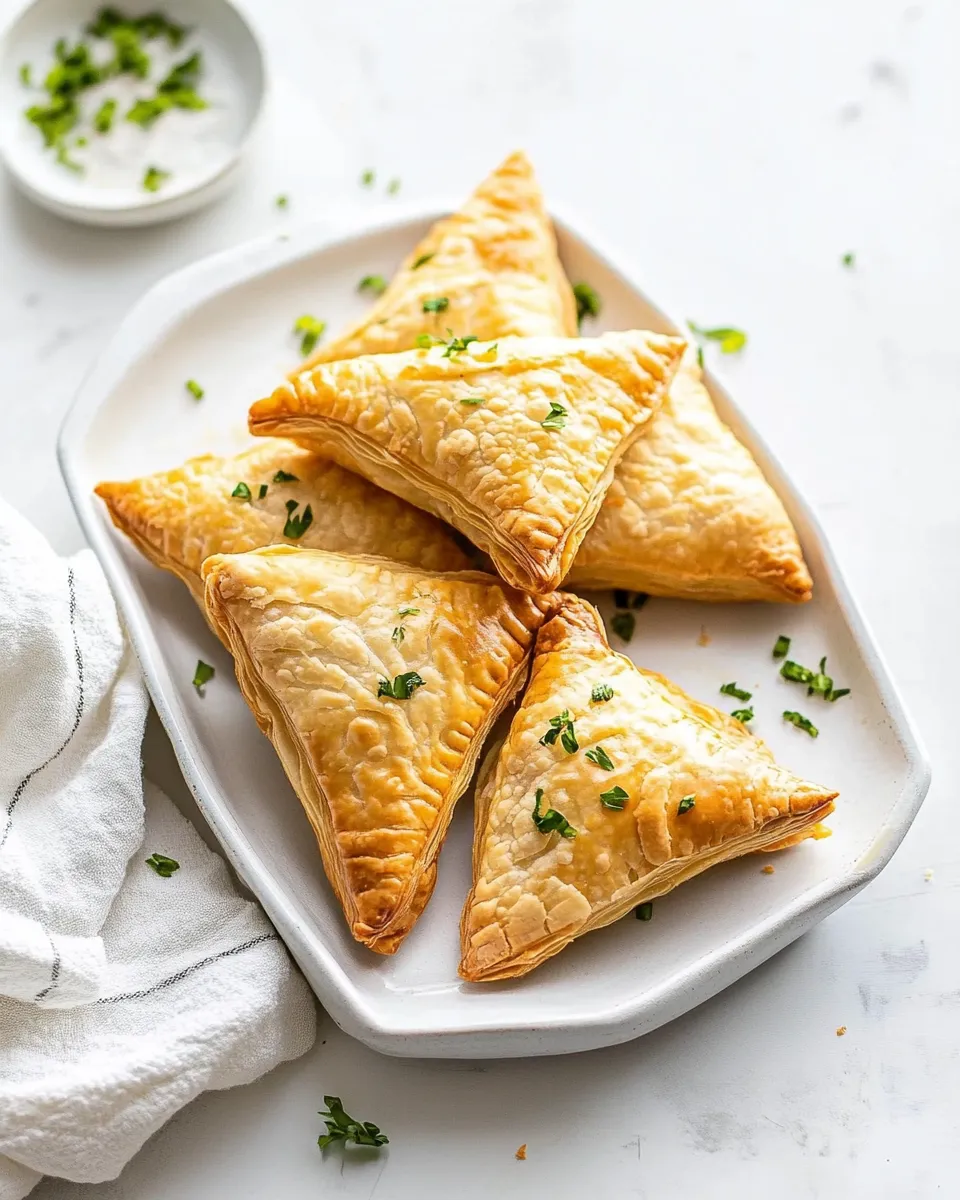
If you’re in the mood for a delightful and flaky snack that’s as versatile as it is delicious, look no further than Puff Pastry Cheese Pockets. These little pockets are filled with creamy feta cheese and green onions, all wrapped in the buttery layers of puff pastry. They make for an excellent appetizer, a lovely addition to a brunch spread, or a satisfying snack any time of day. The beauty of these cheese pockets lies in their simplicity and the rich flavors they deliver with every bite.
Why This Recipe Is Reliable
Puff Pastry Cheese Pockets are not only simple to prepare, but they also yield consistent results every time. The recipe relies on frozen puff pastry, which is a game-changer for busy cooks. This eliminates the need for labor-intensive dough-making while still allowing you to enjoy the light, flaky texture that puff pastry is known for. The filling combines the saltiness of feta and the freshness of green onions, creating a balanced flavor that pleases everyone. Plus, they can be made ahead of time, frozen, and baked when needed, making them a perfect option for spontaneous gatherings.
What You’ll Need
To make these delectable Puff Pastry Cheese Pockets, gather the following ingredients:
- 8 ounces crumbled feta cheese
- 3 tablespoons finely chopped green onions
- 1 large egg, lightly beaten
- One 17.3-ounce package frozen puff pastry, thawed and rolled out a little to smooth
- 1 large egg yolk, beaten with 1 teaspoon water
Cook’s Kit
Before diving into the cooking process, make sure you have the following tools on hand:
- Baking sheet: A flat, sturdy surface to bake your cheese pockets.
- Parchment paper: For lining the baking sheet to prevent sticking.
- Mixing bowl: To combine the filling ingredients.
- Pastry brush: For applying the egg wash for that golden finish.
- Rolling pin: To smooth out the puff pastry.
- Knife or pizza cutter: To cut the pastry into squares.
How to Prepare Puff Pastry Cheese Pockets

Follow these simple steps to create your Puff Pastry Cheese Pockets:
Step 1: Prepare the Filling
In a mixing bowl, combine the crumbled feta cheese, finely chopped green onions, and the lightly beaten egg. Mix well until the ingredients are thoroughly combined. This flavorful filling is the heart of your cheese pockets.
Step 2: Roll Out the Puff Pastry
Once the puff pastry is thawed, roll it out slightly on a floured surface to smooth out any creases. You want it to be about 1/8 inch thick. Cut the pastry into squares, roughly 4×4 inches.
Step 3: Fill the Pastry Squares
Place a generous spoonful of the cheese filling in the center of each pastry square. Be careful not to overfill, as this can make sealing the pockets difficult.
Step 4: Seal the Pockets
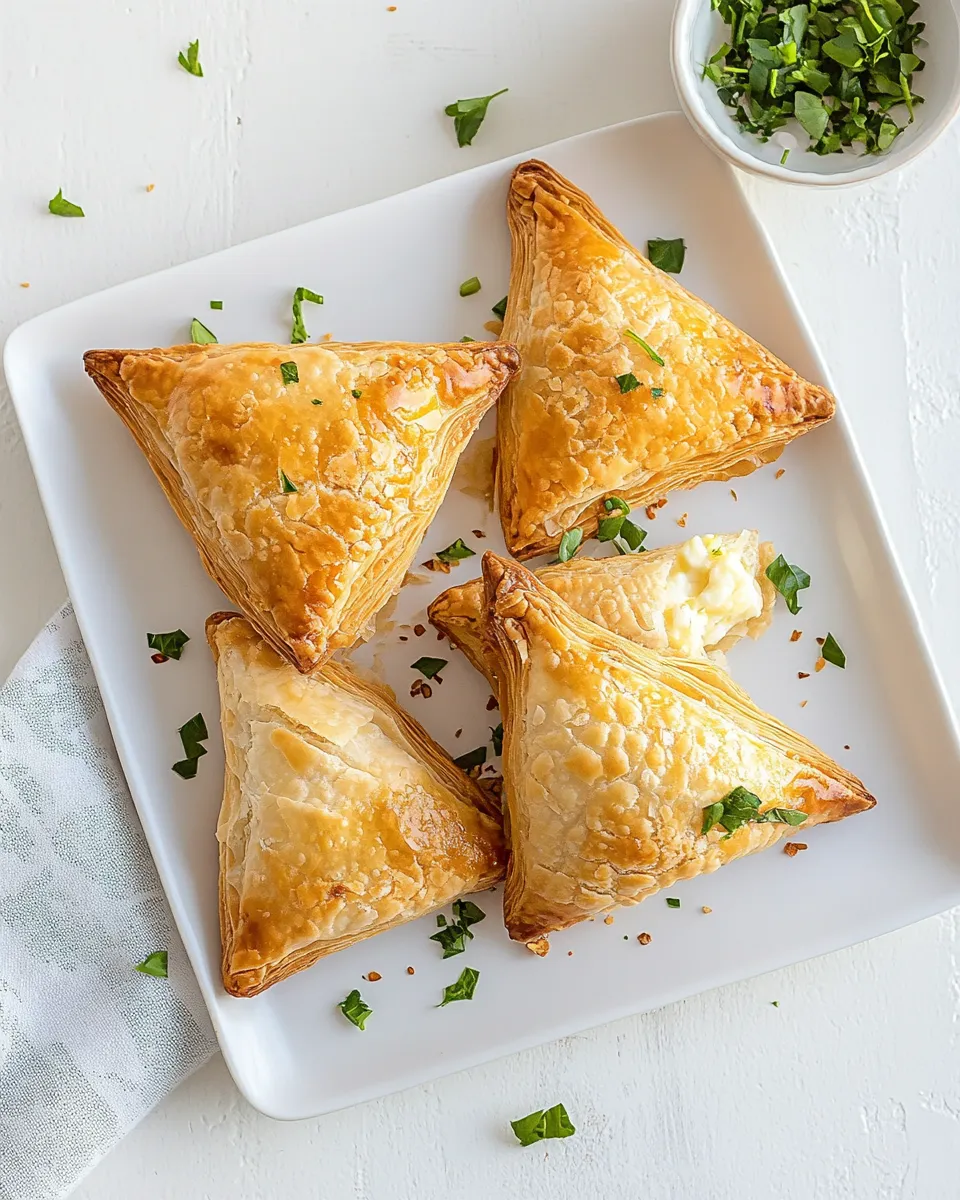
Fold the pastry over the filling to create a triangle or rectangle shape, depending on your preference. Press the edges firmly to seal, and use a fork to crimp the edges for extra security and a decorative touch.
Step 5: Prepare for Baking
Place the filled pockets on a baking sheet lined with parchment paper. Brush the tops with the beaten egg yolk mixed with water. This will give your cheese pockets a beautiful golden color when baked.
Step 6: Bake
Preheat your oven to 400°F (200°C). Bake the cheese pockets for about 20-25 minutes, or until they are puffed up and golden brown. Keep an eye on them; oven times may vary.
Season-by-Season Upgrades
These Puff Pastry Cheese Pockets are incredibly versatile. Here are some seasonal ideas to elevate your dish:
- Spring: Add fresh herbs like dill or parsley to the filling for a burst of freshness.
- Summer: Incorporate sun-dried tomatoes or roasted red peppers for a Mediterranean twist.
- Fall: Mix in some pumpkin puree and spices for a seasonal flavor.
- Winter: Consider adding sautéed mushrooms for a hearty, earthy filling.
Missteps & Fixes
Even the best cooks can run into a few bumps along the way. Here are some potential missteps and how to fix them:
- Pastry tearing: If the puff pastry tears while you’re filling it, simply patch it up with a little water and press it back together.
- Filling leaking: Ensure you don’t overfill the pockets and seal them tightly to prevent leakage during baking.
- Underbaking: If your cheese pockets are not golden brown after the recommended time, simply leave them in for a few more minutes, keeping a close eye to prevent burning.
Save It for Later
These Puff Pastry Cheese Pockets can be made ahead of time and frozen for later use. Here’s how:
After assembling the pockets, place them on a baking sheet and freeze them until solid. Once frozen, transfer them to a zip-top bag. They can be stored in the freezer for up to 3 months. When you’re ready to enjoy, simply bake them from frozen, adding a few extra minutes to the baking time.
Questions People Ask
Can I use a different type of cheese?
Absolutely! While feta adds a unique flavor, you can experiment with cheeses like ricotta, goat cheese, or even shredded mozzarella for a different taste and texture.
How do I make these cheese pockets vegan?
To make vegan cheese pockets, use a plant-based cheese alternative and replace the egg with a flax or chia seed egg. Simply mix 1 tablespoon of ground flaxseed or chia seeds with 2.5 tablespoons of water, let it sit until it thickens, and use it as a binding agent.
Can I prepare the filling in advance?
Yes, you can prepare the filling a day in advance and store it in the refrigerator. Just make sure to assemble the pockets just before baking to maintain the puff pastry’s texture.
What’s the best way to store leftover cheese pockets?
Store leftover baked cheese pockets in an airtight container in the refrigerator for up to 3 days. Reheat them in the oven to regain their crispiness.
If you enjoy these Puff Pastry Cheese Pockets, you might also like:
The Last Word
Puff Pastry Cheese Pockets are not only an easy-to-make snack, but they also offer endless possibilities for customization. Whether you choose to stick with the classic feta and green onion filling or decide to experiment with seasonal ingredients, you’re in for a treat. They’re perfect for entertaining, as a quick snack, or even as a light meal paired with a salad. So go ahead, whip up a batch of these delightful cheese pockets and watch them disappear in no time! Your taste buds will thank you.
Puff Pastry Cheese Pockets
Equipment
- Baking Sheet
- Parchment Paper
- Mixing Bowl
- Pastry Brush
- Rolling Pin
- Knife or pizza cutter
Ingredients
- 8 ounces crumbled feta cheese
- 3 tablespoons finely chopped green onions
- 1 large egg lightly beaten
- 1 package frozen puff pastry 17.3 ounces, thawed and rolled out a little to smooth
- 1 large egg yolk beaten with 1 teaspoon water
Instructions
- In a mixing bowl, combine the crumbled feta cheese, finely chopped green onions, and the lightly beaten egg. Mix well until thoroughly combined.
- Once the puff pastry is thawed, roll it out slightly on a floured surface to smooth out any creases to about 1/8 inch thick. Cut the pastry into roughly 4x4 inch squares.
- Place a generous spoonful of the cheese filling in the center of each pastry square, being careful not to overfill.
- Fold the pastry over the filling to create a triangle or rectangle shape. Press the edges firmly to seal and crimp with a fork for decorative touch and extra security.
- Place the filled pockets on a baking sheet lined with parchment paper. Brush the tops with the beaten egg yolk mixed with water for a golden finish.
- Preheat oven to 400°F (200°C). Bake the cheese pockets for 20-25 minutes until puffed and golden brown.
Notes
- Make ahead and freeze assembled pockets on a baking sheet, then store in a zip-top bag for up to 3 months.
- Try adding fresh herbs, sun-dried tomatoes, pumpkin puree, or sautéed mushrooms for seasonal variations.
- To prevent filling leakage, avoid overfilling and seal edges tightly.
- Use a flax or chia seed egg to make this recipe vegan-friendly.
- Store leftovers in an airtight container in the fridge for up to 3 days and reheat in the oven for crispiness.