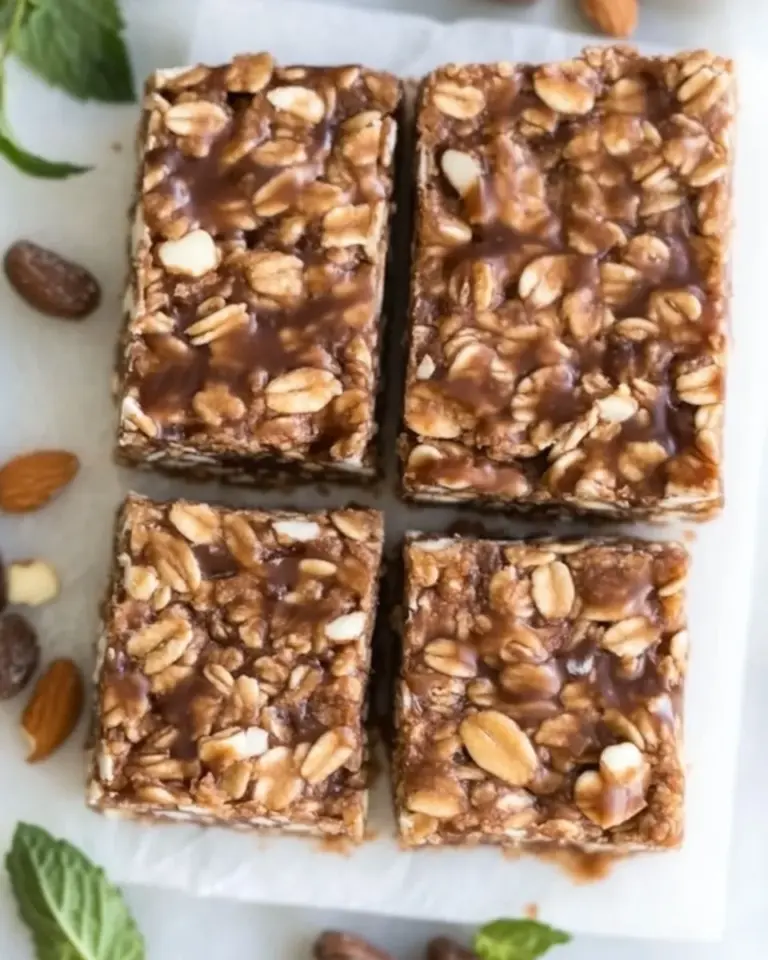
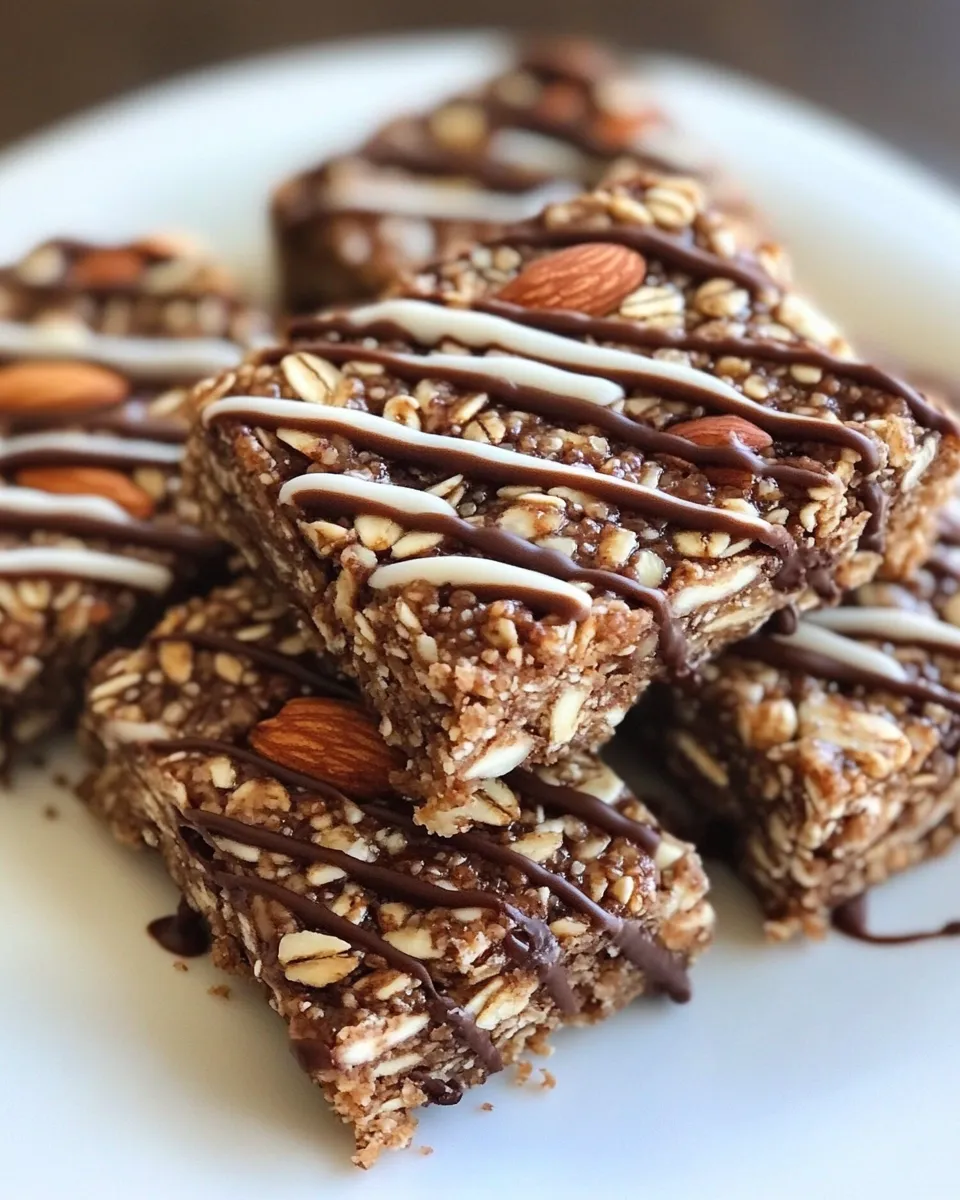
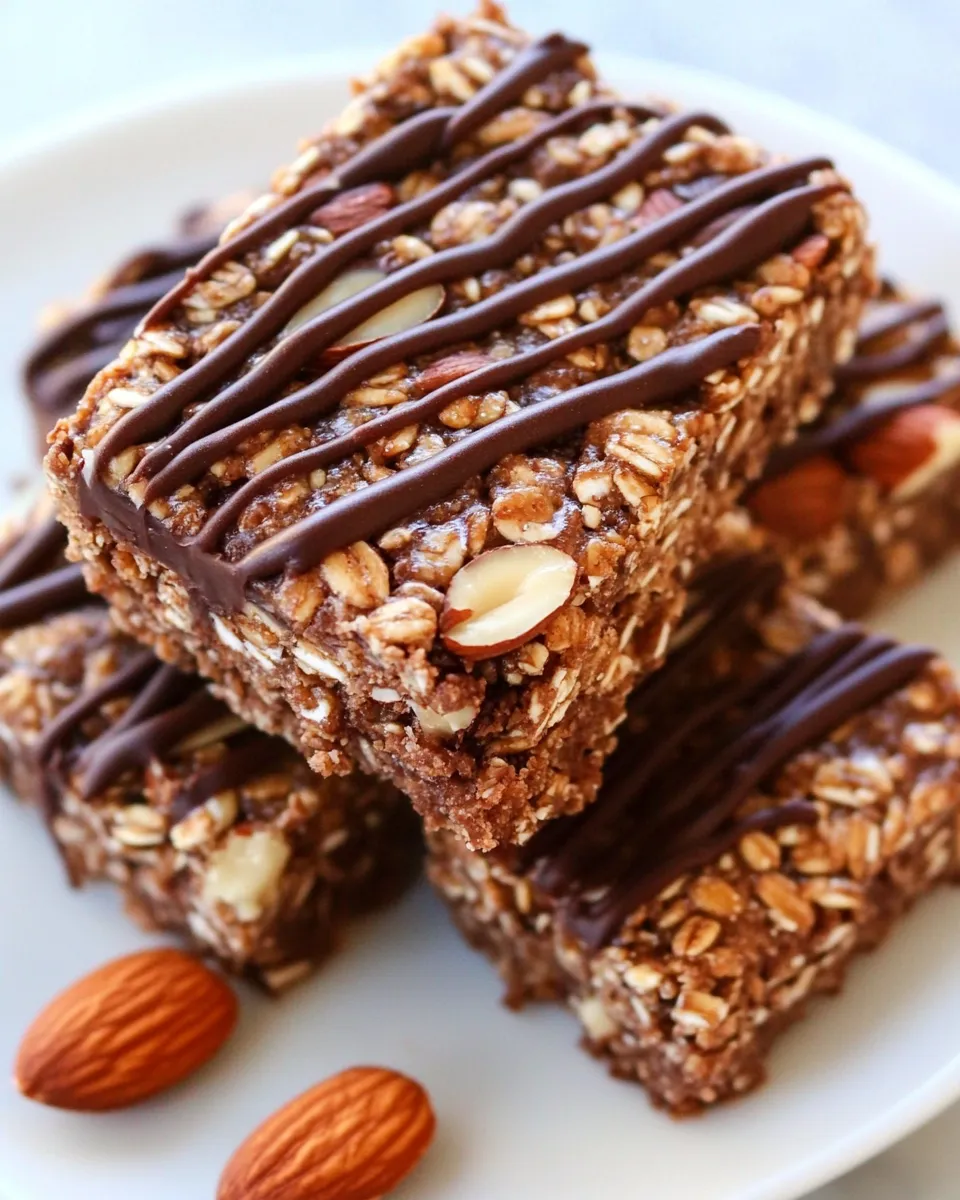
These Quinoa Almond Joy Bars are my go-to when I want something a little more thoughtful than a granola bar but still fast enough for busy days. They capture that classic Almond Joy trio — coconut, almonds, and chocolate — but with cooked quinoa folded in for extra structure, a subtle nuttiness, and a pleasant chew. They feel indulgent, but they’re made from whole ingredients and store well.
I like to make a batch on a Sunday afternoon, then grab one before work or pack a couple in a kid’s lunch. The method is straightforward: cook the quinoa, pulse everything in a food processor, press into minibars, and finish with a chocolate drizzle. Cooling time is the slow part; hands-on time is under 30 minutes.
If you want a snack that’s portable, satisfying, and just sweet enough, these are a reliable choice. They’re freezer-friendly and forgiving, and they tolerate small adjustments depending on what you have in your pantry. Below I’ll walk you through the exact ingredients and steps, then share variations, equipment notes, common mistakes, and my best tips for consistent bars every time.
What We’re Using
Ingredients
- 1/3 cup quinoa, dry — cooked to add body and a slightly nutty texture.
- 2/3 cup water — the liquid for cooking the quinoa; absorbs into the grains for cohesion.
- 12 whole dates, no sugar added — the sweet binder; pitted for easy processing.
- 1/2 cup whole almonds with skins — provide crunch and almond flavor; you can swap the listed optional 1/2 cup coarse almond meal if you prefer a finer texture.
- 1/2 cup coconut, finely grated — gives the bars the classic coconut note and chew.
- 2 to 3 teaspoons water — added sparingly to reach the right stickiness for shaping; add 1 teaspoon at a time.
- 1/4 cup semi‑sweet chocolate chips — for the topping; note: for gluten-free chips we used Enjoy Life (as noted in the ingredient list).
Quinoa Almond Joy Bars: How It’s Done
- Add 1/3 cup dry quinoa and 2/3 cup water to a small saucepan. Cover, bring to a boil, reduce heat to a simmer and cook about 15 minutes or until the water is absorbed. Cool to room temperature, then refrigerate at least 2 hours or overnight.
- Remove the pits from the 12 whole dates.
- In a food processor, add the pitted dates, 1/2 cup whole almonds with skins (or the optional 1/2 cup coarse almond meal), 1/2 cup finely grated coconut, and the cooled cooked quinoa. Pulse until the mixture is well combined and begins to form a sticky mass that holds together when pressed.
- Transfer the mixture to a mixing bowl. Add water 1 teaspoon at a time (from the 2 to 3 teaspoons listed), mixing after each addition, until the mixture holds together enough to form bars (use no more than 3 teaspoons).
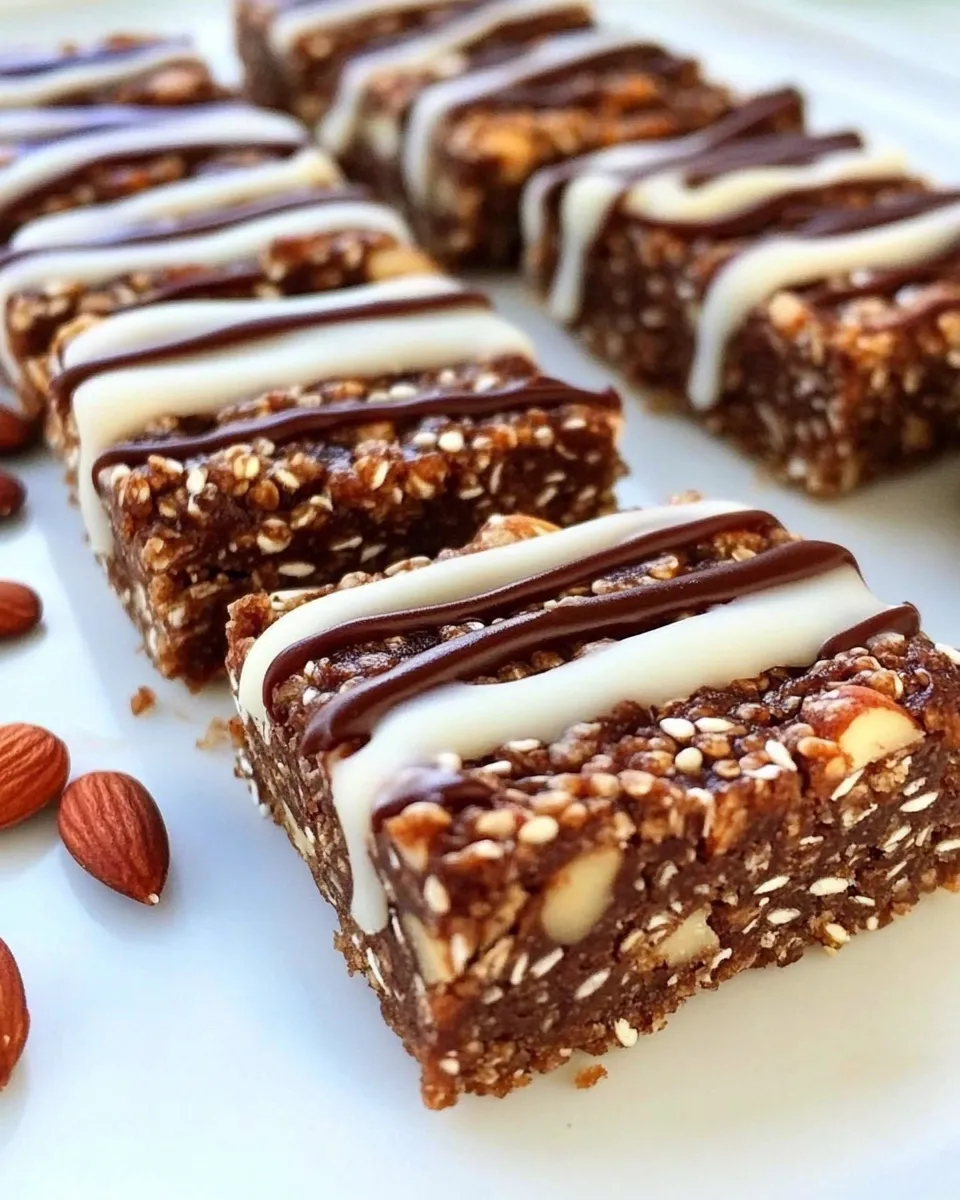
- Divide and shape the mixture into 14 minibars, pressing firmly to compact each bar.
- Melt 1/4 cup semi‑sweet chocolate chips in a small saucepan over low heat or in a double‑boiler, stirring until smooth. Drizzle or spread the warm chocolate over each bar.
- Refrigerate until the chocolate hardens. Store the bars in an airtight container for several days or freeze in a freezer‑safe dish.
What Makes This Recipe Special
These bars balance texture and flavor in a tidy package. The cooked quinoa is the twist: it adds subtle chew and helps bind the mixture without needing nut butters or added syrups. Dates do the sweetening and act as a natural glue, while the coconut and almonds deliver that familiar Almond Joy profile.
Another advantage is how forgiving the recipe is. The mixture is very tolerant of slight variations in moisture, and the process doesn’t demand precision beyond the quinoa cooking and the texture you aim for in the processor. You get bars with a clean ingredient list and fast assembly.
Ingredient Flex Options
Stick to the listed ingredients if you want the same result, but here are a few small, safe adjustments using what’s already in the recipe:
- Almond texture — choose between the 1/2 cup whole almonds with skins or the optional 1/2 cup coarse almond meal depending on whether you want bits of crunch or a smoother chew.
- Chocolate choice — semi‑sweet chips are specified. If you need a gluten-free option, the recipe already notes Enjoy Life chips as a good choice. Darker chocolate will make the bars less sweet; milk chocolate will make them sweeter.
- Quinoa timing — you must cool the cooked quinoa before processing. The recipe requires refrigerating it at least 2 hours or overnight for the best texture and easier processing.
Equipment at a Glance
You don’t need anything fancy. Here’s what I use every time:
- Small saucepan — to cook the quinoa precisely, as instructed.
- Food processor — essential for breaking down the dates, almonds, coconut, and quinoa into a cohesive mass.
- Mixing bowl — for final adjustments and shaping.
- Small saucepan or double‑boiler — to gently melt the chocolate without burning it.
- Refrigerator/freezer — to chill the quinoa and to harden the chocolate topping.
Errors to Dodge
These are the common missteps that change texture or make shaping harder:
- Processing hot quinoa — don’t. Use fully cooled and refrigerated quinoa. Warm quinoa makes the mixture too soft and sticky; it won’t form neat bars.
- Skipping the water additions — add only 1 teaspoon at a time from the 2 to 3 teaspoons range. Too much water and the mixture becomes mushy; too little and it won’t bind.
- Over-processing nuts — pulse until combined. If you grind the almonds into a paste, you’ll lose the intended texture. Use short pulses and check consistency.
- Melting chocolate too hot — keep the heat low or use a double‑boiler. Scorched chocolate gets grainy and won’t set properly.
Make It Your Way
If you want adjustments, here are practical, no-surprise edits that use the recipe’s components and technique rather than adding new ingredients:
Texture options
Use the coarse almond meal option instead of whole almonds for a denser, more uniform bar. If you prefer visible nut pieces, use the whole almonds and give them a few quick pulses so you still have small bites in the mix.
Chocolate finish
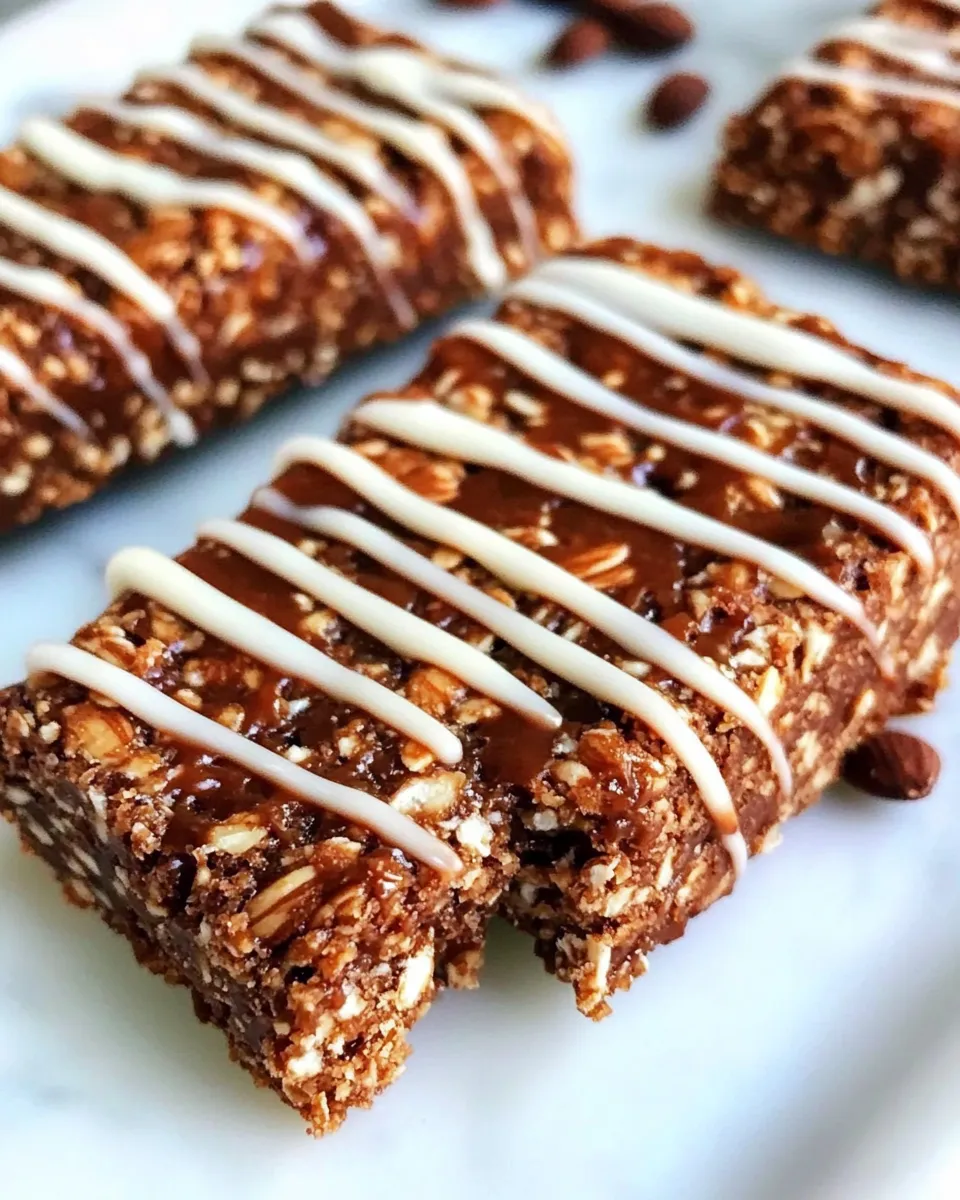
Spread a thin layer of melted chocolate to fully enrobe the bars, or keep it a drizzle for less chocolate per bite. A thin, even spread sets faster and tastes like a candy bar; a drizzle is lighter and quicker.
Cook’s Commentary
Quinoa is the star of the technique rather than the flavor. It brings tiny pockets of texture and helps the dates and almonds bind without needing nut butter. I always recommend refrigerating the cooked quinoa longer rather than shorter — an overnight chill makes the mixture much easier to handle, and the bars hold their shape better.
When I test these, I make a few sample minibars first to check binding and chocolate coverage. If the first sample holds together when squeezed, the whole batch will. If it falls apart, add another teaspoon of water and mix — no more than the 3 teaspoons total listed.
Leftovers & Meal Prep
These bars store beautifully. Keep them in an airtight container in the refrigerator for several days. If you want longer storage, freeze them in a freezer-safe dish separated by parchment. Thaw in the fridge for 10–20 minutes before eating.
For meal prep, I make a double batch and freeze half. Pull them from the freezer the night before and they’ll be perfectly softened in the morning. Portion control is easy since the recipe makes 14 minibars — they’re just the right size for a snack.
Your Questions, Answered
How sticky will they be?
They should be firm enough to hold a shape but still slightly tacky from the dates. That tack helps the chocolate adhere. If they’re crumbly, you haven’t added enough water from the 2–3 teaspoon range or didn’t pulse the mixture until it began to cling together.
Can I press them into a pan instead of shaping minibars?
Yes. Press the mixture evenly into a small lined pan to about the thickness of the minibars, chill until firm, then slice into rectangles. The shaping instructions say 14 minibars, but pressing into a pan is a fine alternative if you want uniform pieces.
Do I need to toast the almonds or coconut?
The recipe does not call for toasting, and the bars are great without it. Toasting would deepen the flavor but also change the texture and moisture balance slightly. If you toast, let everything cool fully before processing.
Wrap-Up
Quinoa Almond Joy Bars are a practical, pantry-forward snack that hits the sweet-to-satisfying sweet spot. They’re simple to make, adaptable without fuss, and store well for grab-and-go days. Follow the steps — especially cooling the quinoa and adding water a teaspoon at a time — and you’ll have consistent results. Make them once, and you’ll find yourself returning to this recipe whenever you need a portable, homemade treat.
If you try this recipe, tell me how you shaped them (minibars or pan slices) and what chocolate you used. I’m always tweaking the finish and love hearing which version becomes someone’s new favorite snack.
Quinoa Almond Joy Bars
Equipment
- Small saucepan
- Food Processor
- Mixing Bowl
- Double Boiler or Heatproof Bowl
Ingredients
Ingredients
- 1/3 cupquinoadry
- 2/3 cupwater
- 12 whole datesno sugar added
- 1/2 cupwhole almondswith skins optional 1/2 coarse almond meal
- 1/2 cupcoconutfinely grated
- 2 to 3 teaspoonswater
- 1/4 cupsemi-sweet chocolate chips for gluten-free chips we usedEnjoy LIfe
Instructions
Instructions
- Add 1/3 cup dry quinoa and 2/3 cup water to a small saucepan. Cover, bring to a boil, reduce heat to a simmer and cook about 15 minutes or until the water is absorbed. Cool to room temperature, then refrigerate at least 2 hours or overnight.
- Remove the pits from the 12 whole dates.
- In a food processor, add the pitted dates, 1/2 cup whole almonds with skins (or the optional 1/2 cup coarse almond meal), 1/2 cup finely grated coconut, and the cooled cooked quinoa. Pulse until the mixture is well combined and begins to form a sticky mass that holds together when pressed.
- Transfer the mixture to a mixing bowl. Add water 1 teaspoon at a time (from the 2 to 3 teaspoons listed), mixing after each addition, until the mixture holds together enough to form bars (use no more than 3 teaspoons).
- Divide and shape the mixture into 14 minibars, pressing firmly to compact each bar.
- Melt 1/4 cup semi‑sweet chocolate chips in a small saucepan over low heat or in a double‑boiler, stirring until smooth. Drizzle or spread the warm chocolate over each bar.
- Refrigerate until the chocolate hardens. Store the bars in an airtight container for several days or freeze in a freezer‑safe dish.
Notes
7. Refrigerate until the chocolate hardens. Store the bars in an airtight container for several days or freeze in a freezer‑safe dish.