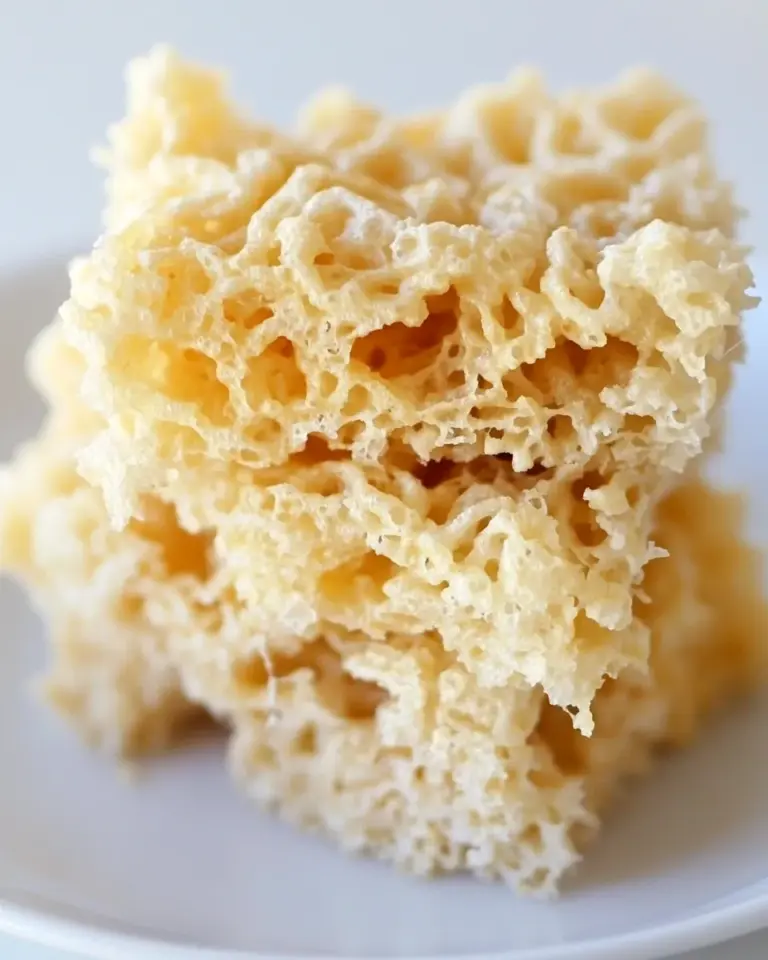
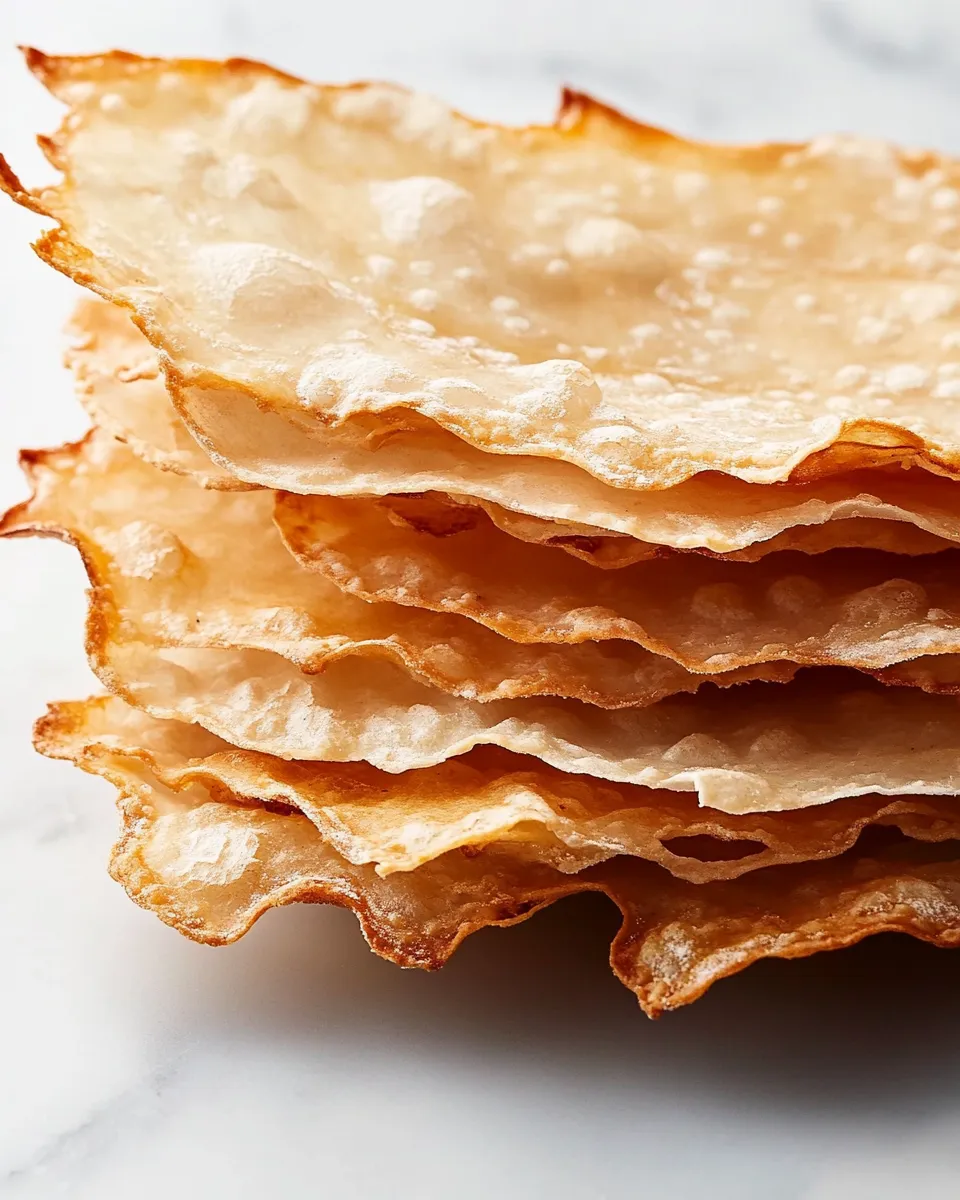
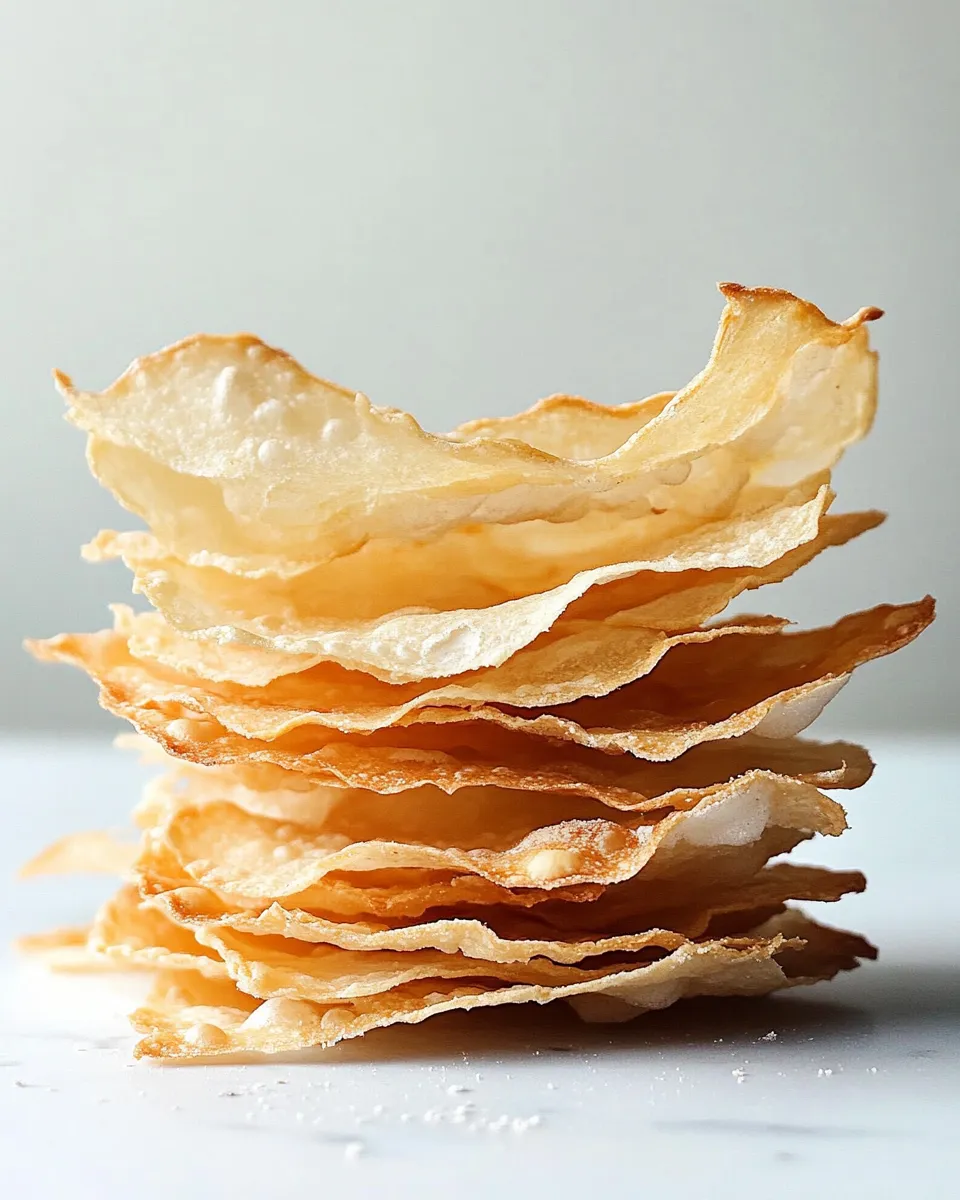
I fell for these crackers the first time I watched them puff on a red-hot stone. They start with a mature sourdough starter and semolina rimacinata, and the result is wafer-thin crisps that are surprisingly tender and impossibly light. They bake in under two minutes per sheet, so once your oven is ready, the rhythm is quick and satisfying.
This recipe is practical. It relies on technique more than fancy tools. A pasta roller and a hot surface get you those blistered bubbles and parchment-thin sheets. The dough is forgiving: it should feel soft and slightly tacky, and you can always tweak tiny amounts of warm water to hit the right texture.
If you keep a healthy sourdough starter on hand, these crackers are a great use for a mature discard or fed starter at 100% hydration. They store well at room temperature, and the method scales easily — make a batch, refrigerate the dough, and bake off as needed.
What You’ll Need
Ingredients
- 1 cup / 200 g mature sourdough starter, at 100% hydration — provides fermentation, flavor, and structure to the dough.
- 1¼ cups / 150 g semolina rimacinata flour — gives nutty flavor, structure, and the distinctive crispness.
- 2 teaspoons / 10 g extra virgin olive oil — adds tenderness and a touch of richness to the cracker.
- ½ teaspoon fine sea salt — seasons the dough evenly.
- 1 tablespoon warm water, more or less as needed — adjusts dough consistency to the right softness.
- ½ cup filtered or spring water — used to make the salted mist for the cracker surface.
- 1 teaspoon fine salt or kosher salt, not iodized — dissolved into the water for misting to season and crisp the surface.
Method: Sourdough Semolina Parchment Crackers
- In a bowl combine 1 cup (200 g) mature sourdough starter, 1¼ cups (150 g) semolina rimacinata flour, 2 teaspoons (10 g) extra virgin olive oil, ½ teaspoon fine sea salt, and 1 tablespoon warm water. Mix until the ingredients come together, then knead 3–5 minutes until the dough is smooth and cohesive. If the dough is too dry, add a little more of the warm water, a teaspoon at a time, until the dough is firm but slightly tacky (not sticky). The dough should feel soft, like the skin of your earlobe, unless you used coarser semolina.
- Wrap the dough ball tightly in plastic wrap and refrigerate for at least 30 minutes or up to 24 hours.
- Position a pizza stone on the lower third rack of your oven (or use an upside-down sheet pan that is rated for high temperatures). Preheat the oven to 475°F (245°C) and allow the stone or pan to heat for at least 45 minutes.
- Meanwhile, heat ½ cup filtered or spring water with 1 teaspoon fine salt (not iodized) in the microwave or on the stovetop, stirring until the salt is completely dissolved. Transfer this salt water to a clean spray bottle with a fine mist nozzle, or keep it in a small bowl and use a fine-bristle pastry brush to apply.
- Remove the chilled dough from the refrigerator. Divide it into small balls of approximately 18–20 g each (you should have about 18–20 balls). Drape a piece of plastic wrap over the divided dough to keep the pieces from drying while you work.
- Work with one dough ball at a time. Flatten a ball with your palm and lightly dust both sides with a little semolina flour. Pass the round through a pasta roller, starting at the widest setting and increasing the setting by one notch each pass. Dust with semolina as needed to prevent sticking and rotate the dough a quarter turn between passes so it stays round. Continue until the dough is as thin as your machine will roll it.
- Transfer the pasta-rolled round to a lightly floured surface and roll it even thinner with a rolling pin, using short, firm strokes from the center outward. Continuously move and rotate the dough and dust with semolina as needed. Aim for a super-thin sheet (you should be able to see contrast through it).
- Lightly spritz the top of the thin dough with the prepared salt water (or brush with the salted water).
- Carefully transfer the dough, spritzed side up, onto the preheated pizza stone or hot inverted sheet pan. Bake for about 90 seconds, until the piece puffs and becomes bubbly. Using tongs or a spatula, flip the cracker and bake 1–2 minutes more, until it is crisp and the edges and bubbles are light golden brown while flatter areas remain pale. The cracker is done when it no longer droops when picked up.
- Remove the baked cracker to a cooling rack. Repeat steps 6–9 with the remaining dough, keeping the unused dough balls covered so they do not dry out. If using a spray bottle, shake or agitate occasionally so salt does not settle.
- Once completely cool, store the crackers in an airtight container at room temperature for up to one month.
What Sets This Recipe Apart
These are not ordinary crackers. Semolina rimacinata gives a finer grind than standard semolina and creates a tender, almost delicate crisp that still has a hint of grit in the best way. Using a mature sourdough starter layers in depth of flavor without the long proofing time a bread dough would need.
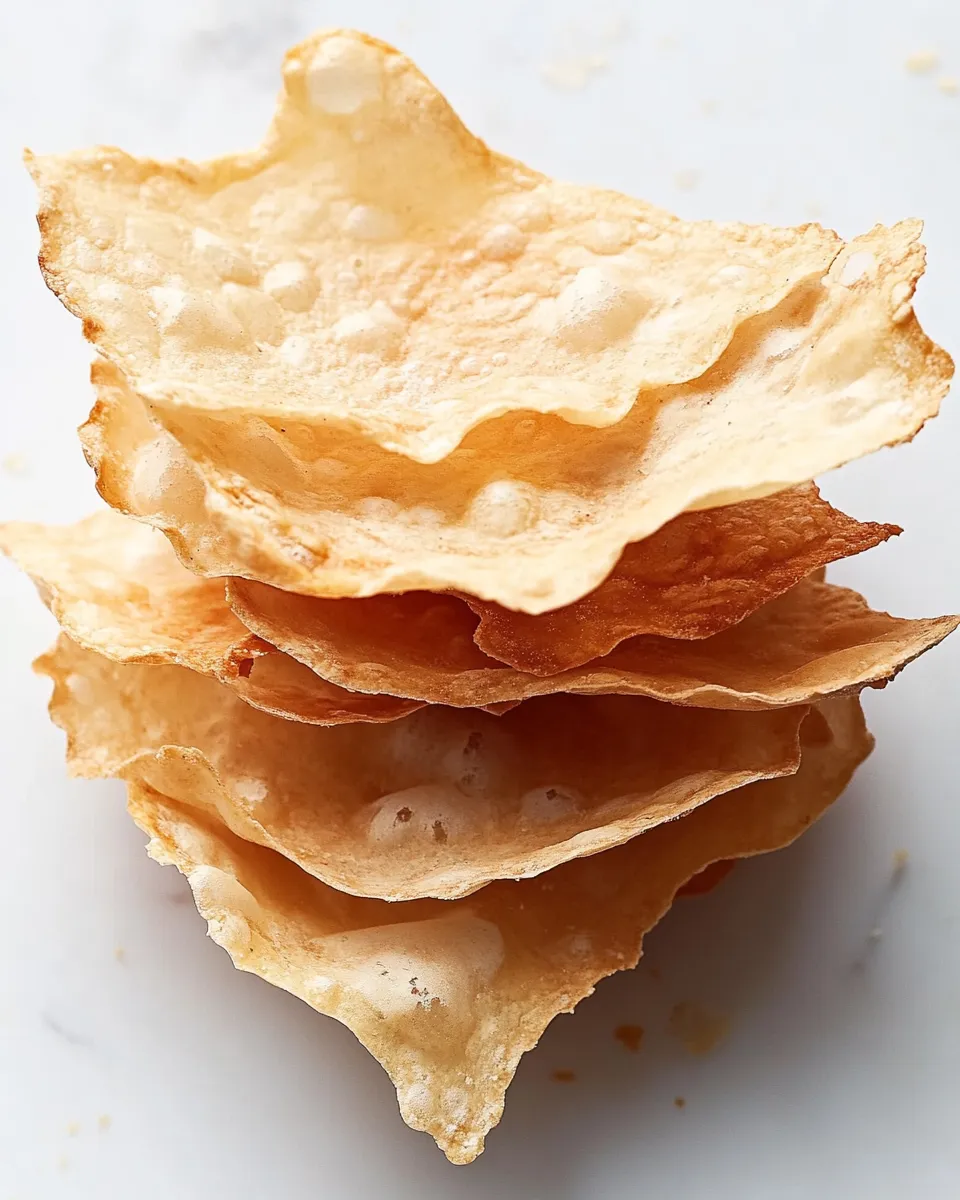
The technique of rolling through a pasta machine and then thinning by hand creates an ultra-thin sheet that blisters quickly on a very hot surface. That instant contact with a preheated stone or inverted pan is what yields the signature bubbles and the contrast between pale flats and bronzed edges.
Ingredient Flex Options
Keep the core ingredients as written for the intended texture and flavor. Small, technique-focused changes are the safest way to alter results:
- Semolina coarseness — if you use a coarser semolina, expect a slightly more rustic texture; the dough will feel a little firmer.
- Starter hydration — this recipe assumes a 100% hydration starter. If your starter is thicker or thinner, adjust the warm water a teaspoon at a time to reach the described dough feel.
- Salt choice — the recipe specifies fine or kosher (not iodized) for the spray water to avoid off-flavors and ensure even dissolution.
Prep & Cook Tools
For making the dough
- Mixing bowl (medium)
- Plastic wrap for chilling
- Kitchen scale for accurate weighing
- Pasta roller and rolling pin
For baking & finishing
- Pizza stone or an upside-down heavy-duty sheet pan
- Oven preheated to 475°F / 245°C
- Spray bottle with fine mist nozzle or a fine-bristle pastry brush
- Tongs or a thin spatula for flipping
- Cooling rack and an airtight container for storage
Common Errors (and Fixes)
Dough too dry: The recipe allows for more warm water a teaspoon at a time. If the dough cracks when you try to smooth it, add moisture and knead until it becomes soft and slightly tacky.
Dough too sticky: If it clings to your hand excessively, dust lightly with semolina and continue kneading until it firms. Don’t add too much flour — the goal is not a stiff dough.
Crackers tear when rolling: Keep them well dusted with semolina and work on a smooth, even feed through the pasta machine. Rotate the round between passes so it wears evenly.
Salt settles in the spray bottle: Shake the bottle occasionally or use the brush method from step 4 to apply the salted water.
Underbaked/crispy inconsistency: Baking times are short and depend on oven heat. Watch for puffing and color: pale flats with bronzed edges and bubbles indicate doneness.
Holiday & Seasonal Touches
These crackers are a blank canvas for presentation rather than recipe ingredients. For gatherings, bake a larger batch and arrange them on platters so guests can build their own bites. The thin, crisp texture pairs well with whatever seasonal accompaniments you prefer — they won’t overpower delicate toppings.
Make the dough ahead and refrigerate for up to 24 hours, then bake off fresh crackers the day of your event. Freshly baked crackers make the best impression.
Recipe Notes & Chef’s Commentary
Starter temperature and strength matter. A mature, active starter at 100% hydration brings predictable elasticity and flavor; if your starter is sluggish, the dough will still work but flavor may be milder.
The dough’s feel is the single most useful indicator: soft, slightly tacky, and comparable to the skin of an earlobe. If you can feel that state, the rest is straightforward. Keep unused pieces covered while you work — semolina dusting helps prevent sticking but doesn’t stop drying entirely.
The preheated stone or inverted pan must be very hot. Don’t skip the 45-minute heat time. That blast of heat is what produces the quick puff and the appealing contrast of textures.
Keep It Fresh: Storage Guide
Once completely cool, store in an airtight container at room temperature for up to one month, as stated in the method. Keep the container in a cool, dry spot away from humidity — moisture is the enemy of crispness. If you layer crackers, use parchment or paper between layers to protect the most delicate pieces.
Avoid refrigerating; cold, moist environments will soften the crackers and ruin the texture. If they do soften, a short warm minute in a low oven can help revive a little crispness, but freshly baked is always best.
Troubleshooting Q&A
Q: My dough is cracking when I roll it. What should I do?
A: It’s likely too dry. Add warm water a teaspoon at a time, knead until the dough softens and becomes slightly tacky. Ensure you dust lightly with semolina to keep the sheet from grabbing the roller.
Q: The cracker bubbles but stays floppy after baking. How do I fix that?
A: It needs more bake time or hotter surface contact. Confirm the stone or pan was fully heated for 45 minutes at 475°F (245°C). Flip the cracker and bake the second side until it no longer droops when picked up.
Q: Salt settles in my spray bottle and clogs it.
A: Shake the bottle periodically while working. Alternatively, brush the salted water on with a fine-bristle pastry brush from a bowl.
Q: I used a coarser semolina and the cracker seems gritty.
A: Coarser semolina changes mouthfeel; it’s not wrong, just different. Expect more rustic texture. If you prefer smoother crackers, use semolina rimacinata as directed.
Serve & Enjoy
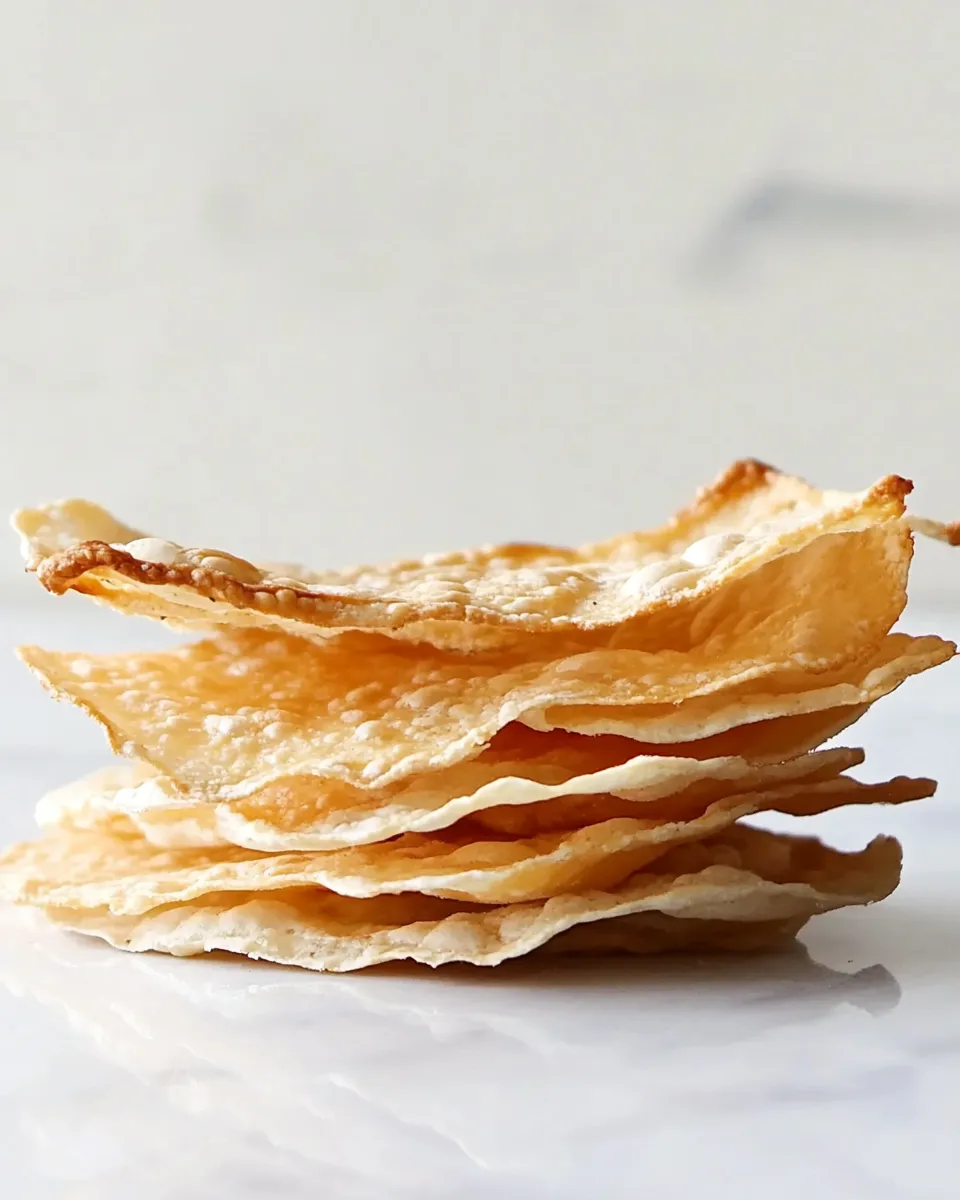
These crackers are best enjoyed crisp and fresh. Stack them on a platter and let diners pair them with their favorite toppings, or tuck them into a snack box for a lightweight, crunchy element. They’re excellent for entertaining because they travel well and hold up under small spreads.
Bake a few to taste when you first try the recipe. You’ll learn how your oven behaves and how thin you can push the dough. After that, the process becomes a quick, almost meditative routine: roll, spritz, bake, and cool. Simple, dependable, and genuinely addictive.
Sourdough Semolina Parchment Crackers
Equipment
- Mixing Bowl
- Plastic Wrap
- pizza stone or inverted sheet pan
- Oven
- pasta roller
- Rolling Pin
- spray bottle or fine-bristle pastry brush
- Tongs
- Spatula
- Cooling rack
Ingredients
Ingredients
- 1 cup/200 gmature sourdough starter* at 100% hydration
- 1 1/4 cups/150 gsemolina rimacinata flour*
- 2 teaspoons/10 gextra virgin olive oil
- 1/2 teaspoonfine sea salt
- 1 tablespoonwarm water more or less as needed
- 1/2 cupfiltered or spring water
- 1 teaspoonfine sea salt or kosher salt not iodized
Instructions
Instructions
- In a bowl combine 1 cup (200 g) mature sourdough starter, 1¼ cups (150 g) semolina rimacinata flour, 2 teaspoons (10 g) extra virgin olive oil, ½ teaspoon fine sea salt, and 1 tablespoon warm water. Mix until the ingredients come together, then knead 3–5 minutes until the dough is smooth and cohesive. If the dough is too dry, add a little more of the warm water, a teaspoon at a time, until the dough is firm but slightly tacky (not sticky). The dough should feel soft, like the skin of your earlobe, unless you used coarser semolina.
- Wrap the dough ball tightly in plastic wrap and refrigerate for at least 30 minutes or up to 24 hours.
- Position a pizza stone on the lower third rack of your oven (or use an upside-down sheet pan that is rated for high temperatures). Preheat the oven to 475°F (245°C) and allow the stone or pan to heat for at least 45 minutes.
- Meanwhile, heat ½ cup filtered or spring water with 1 teaspoon fine salt (not iodized) in the microwave or on the stovetop, stirring until the salt is completely dissolved. Transfer this salt water to a clean spray bottle with a fine mist nozzle, or keep it in a small bowl and use a fine-bristle pastry brush to apply.
- Remove the chilled dough from the refrigerator. Divide it into small balls of approximately 18–20 g each (you should have about 18–20 balls). Drape a piece of plastic wrap over the divided dough to keep the pieces from drying while you work.
- Work with one dough ball at a time. Flatten a ball with your palm and lightly dust both sides with a little semolina flour. Pass the round through a pasta roller, starting at the widest setting and increasing the setting by one notch each pass. Dust with semolina as needed to prevent sticking and rotate the dough a quarter turn between passes so it stays round. Continue until the dough is as thin as your machine will roll it.
- Transfer the pasta-rolled round to a lightly floured surface and roll it even thinner with a rolling pin, using short, firm strokes from the center outward. Continuously move and rotate the dough and dust with semolina as needed. Aim for a super-thin sheet (you should be able to see contrast through it).
- Lightly spritz the top of the thin dough with the prepared salt water (or brush with the salted water).
- Carefully transfer the dough, spritzed side up, onto the preheated pizza stone or hot inverted sheet pan. Bake for about 90 seconds, until the piece puffs and becomes bubbly. Using tongs or a spatula, flip the cracker and bake 1–2 minutes more, until it is crisp and the edges and bubbles are light golden brown while flatter areas remain pale. The cracker is done when it no longer droops when picked up.
- Remove the baked cracker to a cooling rack. Repeat steps 6–9 with the remaining dough, keeping the unused dough balls covered so they do not dry out. If using a spray bottle, shake or agitate occasionally so salt does not settle.
- Once completely cool, store the crackers in an airtight container at room temperature for up to one month.