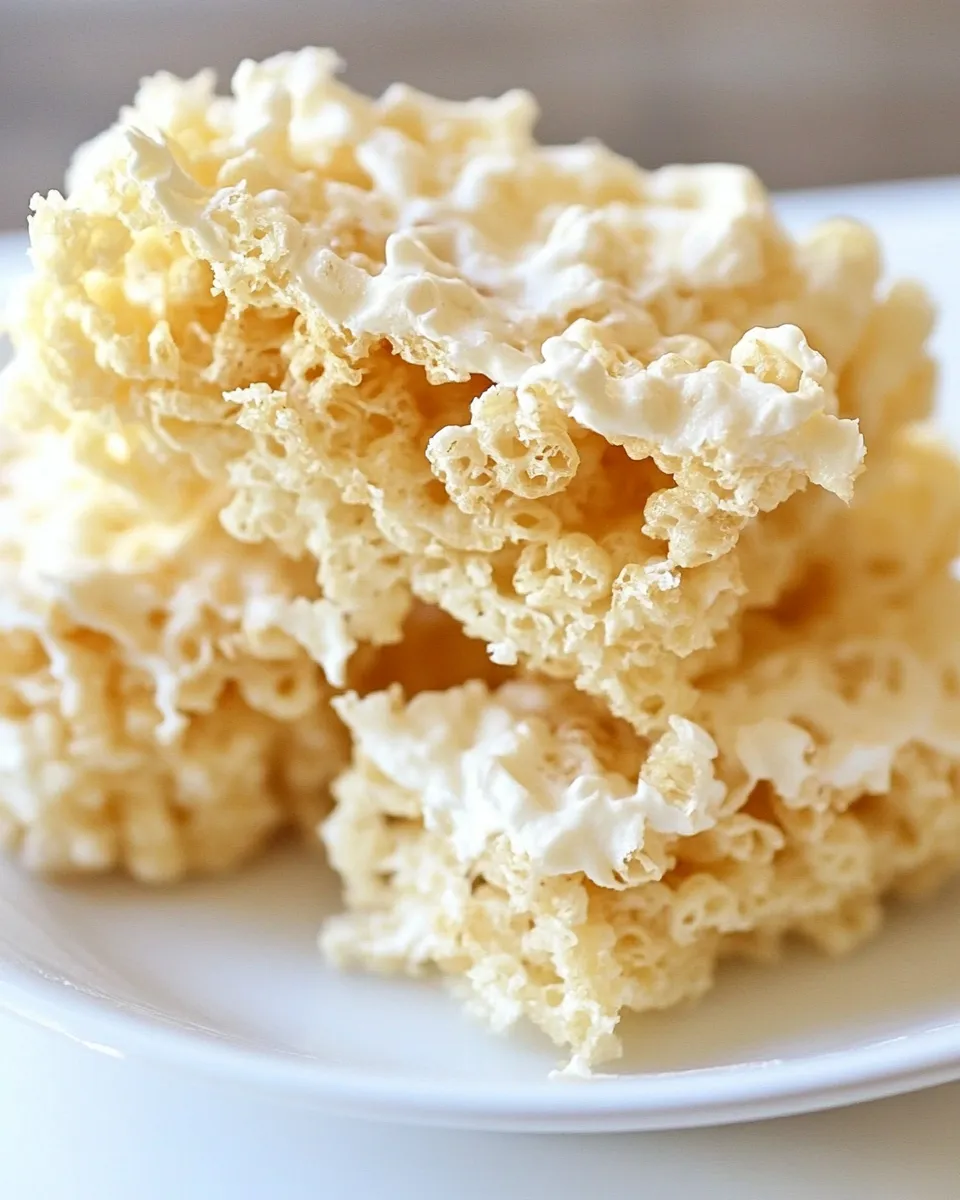
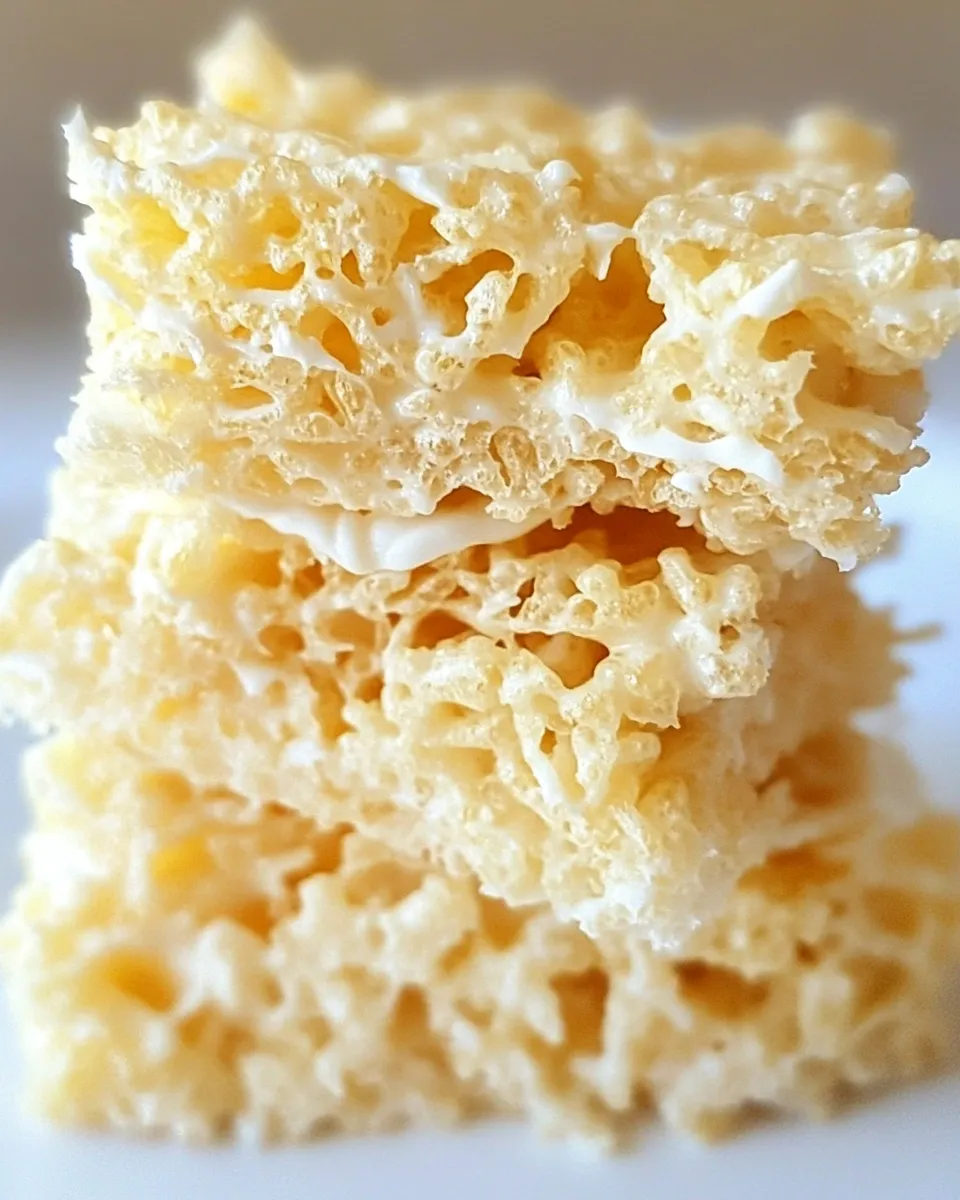
I love a recipe that shows up with attitude: crunchy, salty, and the kind of sweet treat that makes people do a double take. These Ruffles Krispie Treats use a single 8-ounce bag of original Ruffles to give a classic mall-snack-bar vibe, but with homemade marshmallow glue that you can make in a single pot. No baking, no complicated technique—just melt, fold, press, and set.
I’m practical about desserts. I want clear steps, predictable results, and a few tips to troubleshoot while the pan is still warm. Below I walk through the exact ingredients, the method step-by-step, and my favorite tips for getting the crispiest, least-sticky squares possible.
If you’re making these for a crowd, they come together fast and scale predictably. They also travel well and hold up to being boxed for school events or late-night snack trays. Read through the ingredients and the method once, then premeasure so the whole thing moves quickly when the marshmallows start melting.
Ingredients
- 3 tablespoons butter — used for melting with the marshmallows and for greasing the dish; gives richness and helps keep treats from sticking.
- 4 1/2 cups mini marshmallows — the binding agent; mini marshmallows melt more evenly and give a smoother mix than large ones.
- 1 teaspoon vanilla extract — adds warmth and rounds the sweetness; stir in off the heat to preserve flavor.
- 6 cups crushed original Ruffles chips (crushed, 1 8-oz. bag) — provides the salty, ridged crunch; crush to about 6 cups to match the texture and ratio in the recipe.
Ingredient Breakdown
There are only four ingredients and each has a clear job. The butter softens and carries flavor while creating a slick surface so marshmallows won’t aggressively bond to the pot. The marshmallows are the glue—more marshmallows will make the bars denser and chewier; fewer makes them drier and more fragile. Vanilla extract brightens the sweet flavors and makes the whole thing taste a little more homemade.
The Ruffles are the star. Using original Ruffles gives a specific salty-sweet contrast and a crunchy, ridged texture you won’t get from flat chips. Crushing them to about 6 cups ensures every bite has chip in it, and letting the chips cool a touch before pressing helps maintain crunch.
Ruffles Krispie Treats: How It’s Done
- Lightly grease a 9×9-inch baking dish and a spatula or your hands with a little of the butter; set the dish aside. Crush the 8-oz. bag of Ruffles (in a sealed plastic bag or food processor) until you have 6 cups crushed, then transfer the crushed chips to a large bowl and set aside.
- In a large pot over medium-low heat, melt the 3 tablespoons butter.
- Add the 4 1/2 cups mini marshmallows to the melted butter and stir constantly over medium-low heat until the marshmallows are completely melted and smooth.
- Remove the pot from the heat and stir in the 1 teaspoon vanilla extract.
- Add the 6 cups crushed Ruffles to the melted marshmallow mixture and fold gently until the chips are evenly coated.
- Pour the mixture into the greased 9×9 dish and press it evenly and firmly into the pan using the greased spatula or greased fingers.
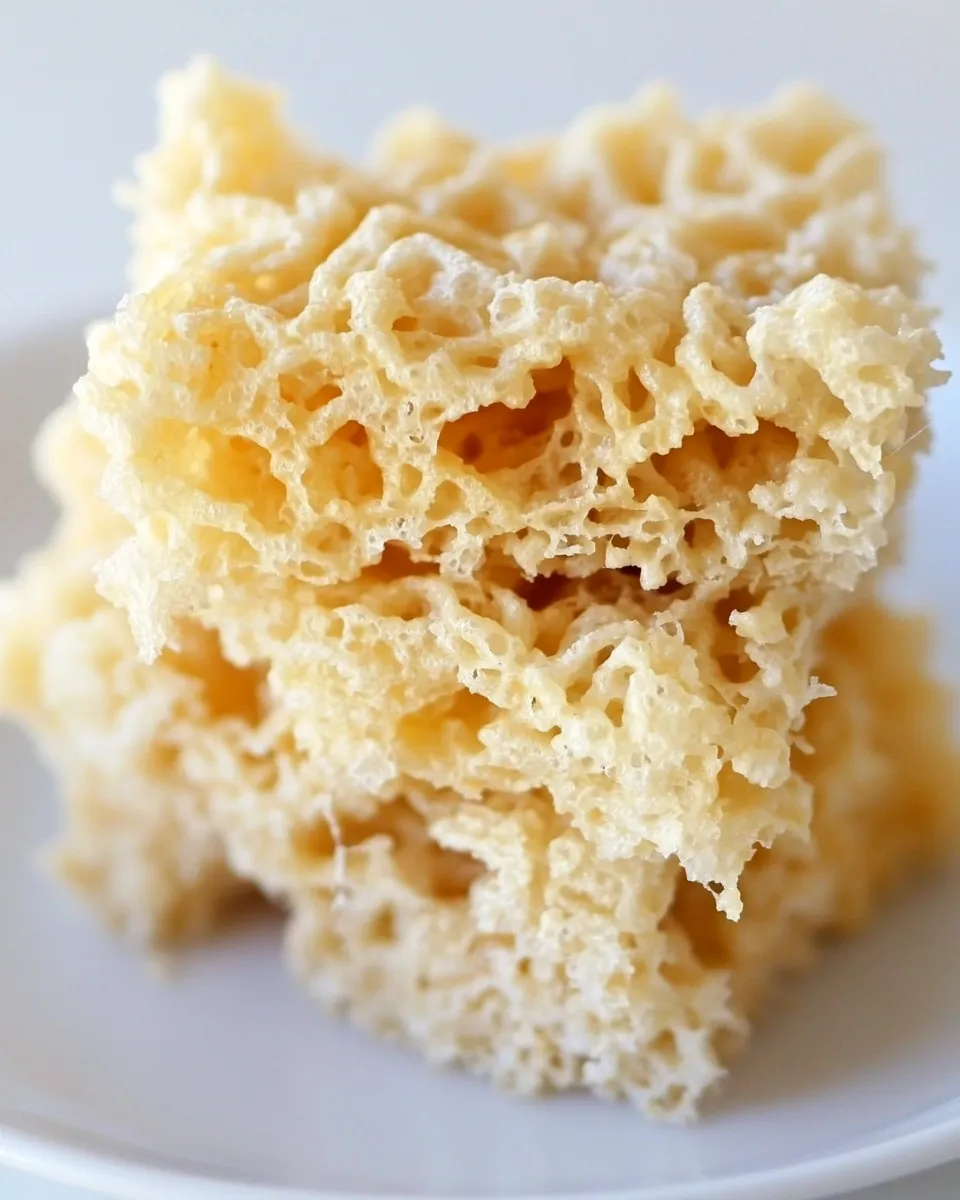
- Let the treats cool to room temperature until set, then cut into squares and serve.
Why It’s My Go-To
These treats are fast and unfussy. They require one pot, one bowl, and minimal hands-on time. The combination of sweet marshmallow and salty potato chip is immediately crowd-pleasing—people who love salty snacks and those who favor sweets both find common ground here. No special equipment or baking time, and the method is forgiving: if you keep the heat low while melting the marshmallows and press the mixture firmly, you’ll get tidy squares every time.
They’re also versatile. Make them for game night, a potluck, or when you need a tray that will disappear fast. Plus, you can prep the chips and measure the marshmallows ahead of time so assembly takes only minutes once the butter is hot.
Low-Carb/Keto Alternatives
If you’re strictly low-carb, this exact recipe isn’t keto-friendly because of the marshmallows and chips. You can mimic the effect without precise swaps here, but two common approaches people try are:
- Use crushed pork rinds in place of potato chips for crunch and salt (note: pork rinds compress differently and will change texture).
- Look for sugar-free marshmallow options or marshmallow-flavored protein melts, keeping in mind melt behavior may differ and ratios will need testing.
Neither of these is a drop-in replacement that guarantees the same texture; try a small batch to see how the balance of sweet and salt works for you.
Tools & Equipment Needed
Keep your setup minimal and ready before you start. The few essential tools:
- Large pot — for melting butter and marshmallows evenly.
- 9×9-inch baking dish — the pan size specified ensures the right thickness.
- Spatula and/or greased hands — for pressing the mixture firmly into the pan.
- Sealed plastic bag or food processor — to crush the Ruffles to the right volume.
- Measuring cups and spoons — accurate measurements keep texture consistent.
Avoid These Traps
Here are the common slip-ups that make the difference between a neat tray and a sticky mess:
- High heat when melting marshmallows — cook over medium-low and stir constantly. Too hot and the marshmallows will scorch or become grainy.
- Not greasing the pan and spatula/hands — the marshmallow mix sticks aggressively; grease prevents that and helps you press evenly.
- Over-crushing or under-crushing the chips — aim for roughly 6 cups of crushed Ruffles so the ratio of marshmallow to chip is balanced. Too fine and they’ll act like crumbs; too large and you’ll get loose pockets of chips.
- Pressing the mixture too lightly — press firmly so bars hold together when cut. Use greased fingers or a greased spatula to pack them well.
- Cutting while still warm — wait until fully set at room temperature. Cutting too soon will smear and create uneven squares.
How to Make It Lighter
If you want a slightly lighter feel without changing the core ingredients, try these practical moves:
- Use slightly less marshmallow by reducing the 4 1/2 cups by a partial cup, but know the texture will be drier and less cohesive.
- Press the mixture a little thinner in the 9×9 pan to create more pieces per batch and a slightly crisper edge.
- Serve smaller squares—portion control changes the perception of richness without changing the recipe.
Each option shifts texture and hold. If you reduce marshmallows, press extra firmly and allow a bit longer to fully set.
Author’s Commentary
I first made these because I wanted a snack that felt indulgent and nostalgic but wasn’t fussy. The moment the chip crunch cut through the soft marshmallow, I knew I had something that would travel well to parties and survive a picnic. I’m straightforward in the kitchen; I prefer techniques that give consistent outcomes. With these treats, consistency comes from keeping the heat low, measuring the chips to 6 cups, and pressing the pan firmly.
My practical note: I don’t bother with elaborate garnishes on these. The texture and the sweet-salty contrast are the show. If you want to dress them up, sprinkle a few whole Ruffles on top before they set or press a few intact chips into the surface for visual drama, but don’t overload; the goal is balance.
Save for Later: Storage Tips
These treats store well at room temperature. For best results:
- Keep in an airtight container at room temperature for up to 3 days to maintain crispness.
- If you need to store longer, separate layers with parchment paper and refrigerate; they will firm up and need to come back to room temperature slightly before serving for the best texture.
- Avoid airtight refrigeration for long periods if you want maximum crunch; moisture in the fridge can soften the chips over time.
Ask & Learn
Questions I hear most often are about substitutions and scaling. Yes, you can double the recipe for a larger crowd—use a 13×9-inch pan and adjust pressing time accordingly. You’ll want to melt marshmallows and butter in a slightly larger pot and make sure you can still handle the folding without overworking the chips.
If you’re worried about the chips getting soggy, crush them just before mixing and don’t let them sit exposed to air for too long. That preserves the texture. If you have leftover crushed chips, stash them in a sealed bag and use them the same day for best results.
Time to Try It
Make sure your butter and marshmallows are measured and your Ruffles are crushed to 6 cups. Work over medium-low heat and move quickly once the marshmallows are melted. Press firmly into the greased 9×9 pan, let cool fully, then slice into squares. Serve warm or at room temperature. They’re best the first day, but still tasty a day or two after if stored properly.
Tag me if you try them—snap a photo of your crispiest edge or your favorite way to press them into the pan. These Ruffles Krispie Treats are simple to execute and delightful to share.
Ruffles Krispie Treats
Ingredients
Ingredients
- 3 tablespoonsbutter
- 4 1/2 cupsmini marshmallows
- 1 teaspoonvanilla extract
- 6 cupscrushed original ruffles chipscrushed 1 8-oz. bag
Instructions
Instructions
- Lightly grease a 9×9-inch baking dish and a spatula or your hands with a little of the butter; set the dish aside. Crush the 8-oz. bag of Ruffles (in a sealed plastic bag or food processor) until you have 6 cups crushed, then transfer the crushed chips to a large bowl and set aside.
- In a large pot over medium-low heat, melt the 3 tablespoons butter.
- Add the 4 1/2 cups mini marshmallows to the melted butter and stir constantly over medium-low heat until the marshmallows are completely melted and smooth.
- Remove the pot from the heat and stir in the 1 teaspoon vanilla extract.
- Add the 6 cups crushed Ruffles to the melted marshmallow mixture and fold gently until the chips are evenly coated.
- Pour the mixture into the greased 9×9 dish and press it evenly and firmly into the pan using the greased spatula or greased fingers.
- Let the treats cool to room temperature until set, then cut into squares and serve.