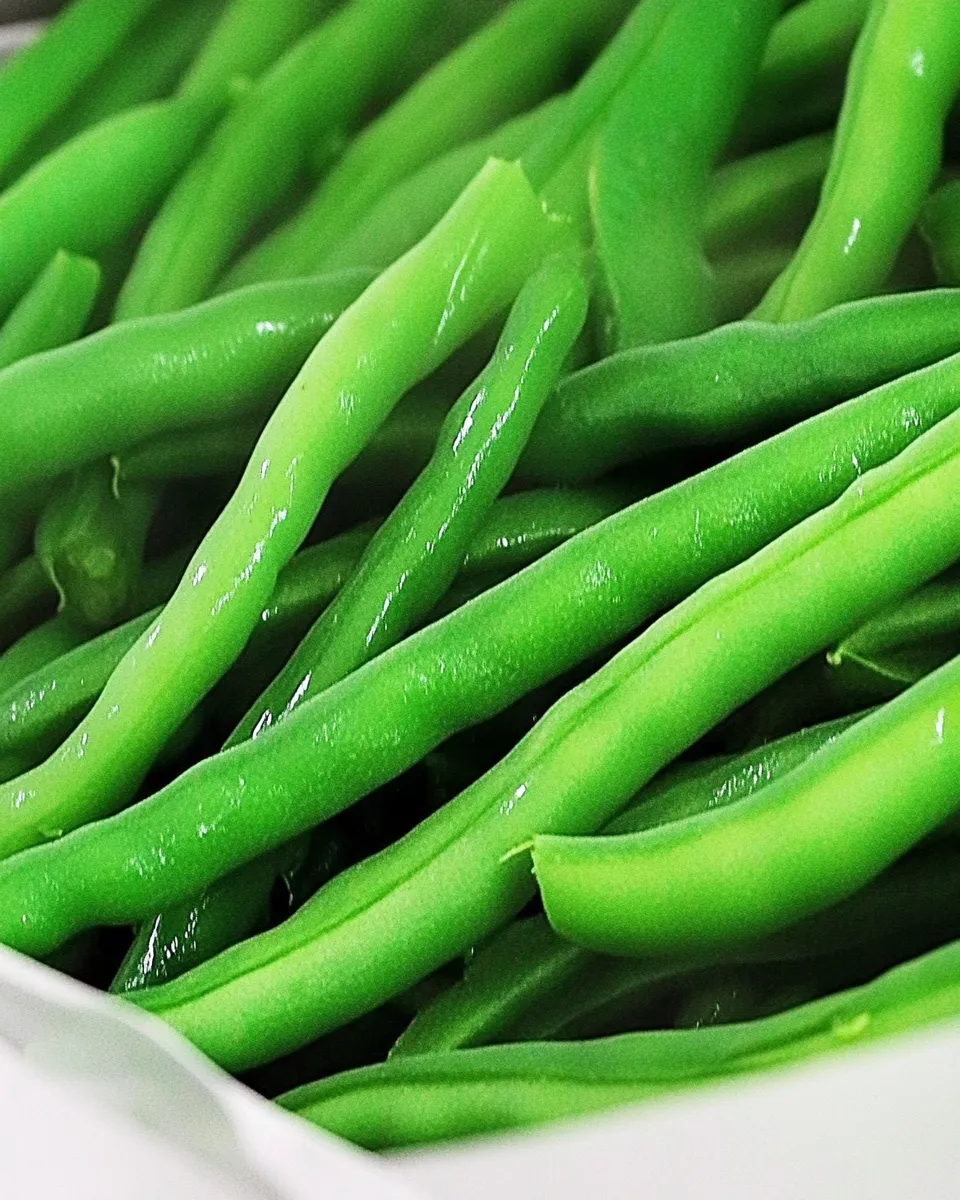
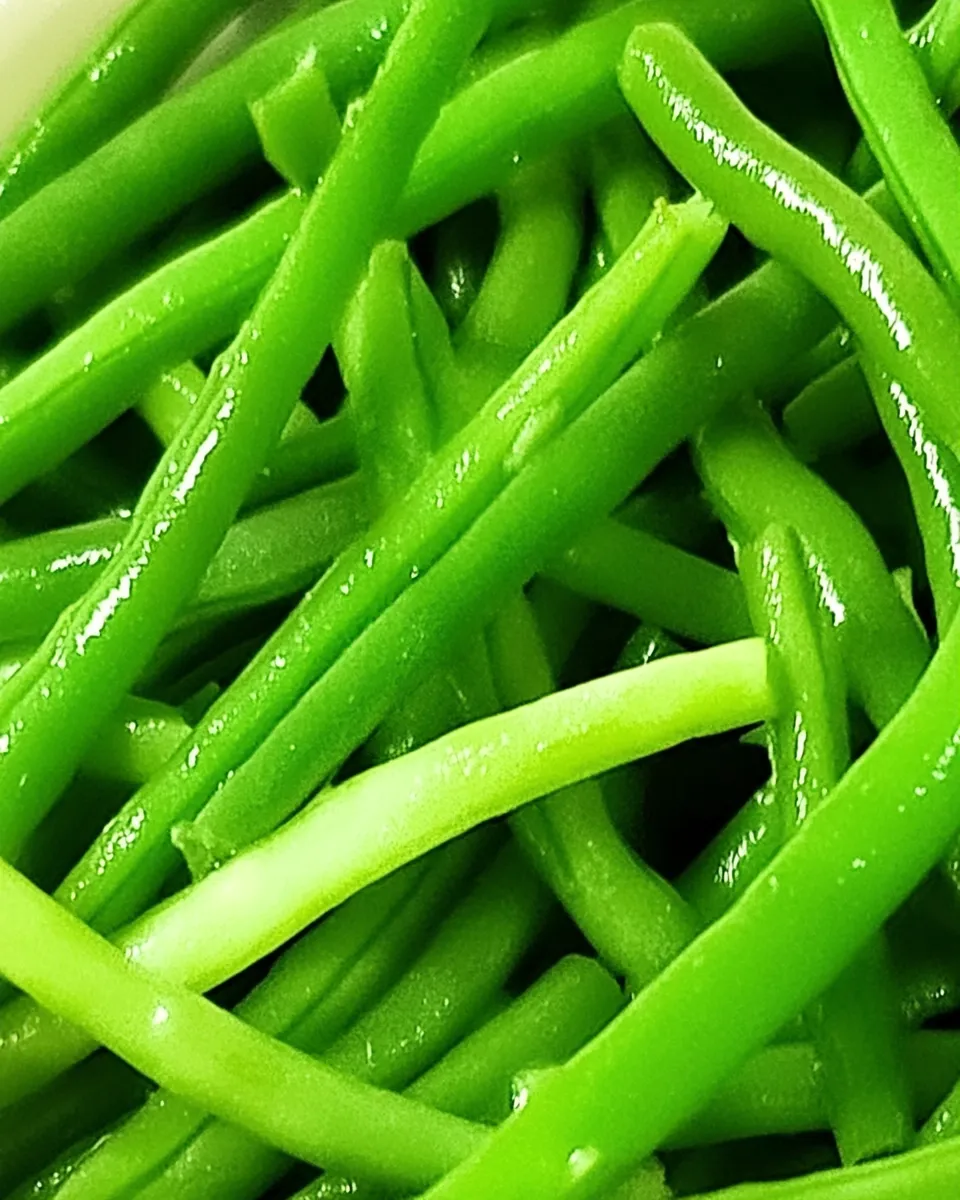
I love green beans for their snap, color, and how quickly they turn from raw to ready. This microwave method keeps their bright green, cooks them evenly, and wastes almost no time. If you want a reliable, everyday vegetable that complements almost any main course, these beans are a go-to.
This recipe is deliberately simple: just green beans, water, a bit of butter, and salt and pepper. That small list of ingredients makes it easy to cook a batch on a weeknight or when you need a fast side for guests. No steaming basket, no stove, and very little babysitting.
Below you’ll find the ingredients, the exact step-by-step microwave method, swaps, gear suggestions, common mistakes to avoid, and storage tips so you can make these often and well. Practical notes are sprinkled throughout — short, clear, and useful.
What Goes Into Steamed Green Beans in the Microwave
Ingredients
- 1 pound green beans — trimmed; the main vegetable, choose firm bright pods.
- 1 cup water — creates the steam that cooks the beans quickly and evenly.
- 1 tablespoon butter — coats the beans for flavor and a bit of gloss.
- salt & freshly ground black pepper — to taste; finish seasoning at the end.
Make Steamed Green Beans in the Microwave: A Simple Method
- Place 1 pound trimmed green beans and 1 cup water in a microwave-safe dish large enough to hold them.
- Cover the dish with a microwave-safe plate or microwave-safe cover.
- Microwave on high for 6–7 minutes, until the beans are tender when pierced with a fork; if they are not tender, continue microwaving in 1-minute increments until done.
- Carefully remove the dish from the microwave and drain off the cooking water.
- Stir in 1 tablespoon butter until melted and the beans are coated.
- Season with salt and freshly ground black pepper to taste and serve.
Top Reasons to Make Steamed Green Beans in the Microwave

- Speed: You can have a bright, tender vegetable on the table in under 10 minutes total.
- Consistency: The water-and-cover method produces even steam, so you avoid scorched or overcooked spots.
- Minimal cleanup: The dish and a plate or cover are all you need — no pot, no strainer, no extra pans.
- Great texture control: Microwave in short increments if you prefer crisper beans or a little longer for fully tender ones.
- Energy-efficient: Microwaving uses less energy and heats up the kitchen far less than boiling on the stove.
Easy Ingredient Swaps
- If you want a dairy-free finish, omit the 1 tablespoon butter and toss the beans with a teaspoon of olive oil after draining. (Note: butter is in the source of truth; this is an optional swap for dietary needs.)
- Add a squeeze of lemon or a sprinkle of grated Parmesan after cooking for a different flavor profile without changing the basic method.
Gear Checklist
- Microwave — obviously. Make sure it runs at full power for the listed times.
- Microwave-safe dish large enough to hold 1 pound of beans and 1 cup of water — a shallow casserole or large bowl works well.
- Microwave-safe plate or microwave-safe cover — something that seals or covers to trap steam.
- Colander or a plate to drain the cooking water safely.
- Spoon or tongs to stir in 1 tablespoon butter and to transfer beans to a serving dish.
Easy-to-Miss Gotchas
- Not trimming the ends: Tough stems take longer to cook. Trim the beans for consistent tenderness.
- Using too small a dish: If beans are cramped, steam circulation is restricted and cooking becomes uneven.
- Skipping the cover: The water needs to steam the beans; an uncovered dish will dry them and slow cooking.
- Overcooking by minutes: Microwaves vary. If your microwave runs hot, start checking at 5 minutes to avoid mushy beans.
- Ignoring the resting time: Letting the beans sit covered for a minute after microwaving lets residual steam finish the job without overcooking.
Make It Year-Round
Fresh beans
In season, buy firm, snap-ready pods with no soft spots. They should bend and break cleanly. Fresh beans react well to the short, hot steam of the microwave and keep a bright color.
Out of season
Frozen green beans are a reasonable alternative. If using frozen, reduce the water slightly (there’s residual ice) and shorten the initial microwave time — start testing at about 3–4 minutes, then proceed in 1-minute increments. Drain and finish with the 1 tablespoon butter and seasoning the same way.
Insider Tips
Timing & texture
- For crisp-tender beans: Microwave for the lower end of the range (6 minutes) and check with a fork.
- For fully tender beans: Use the higher end (7 minutes) or add 1-minute increments until fork-tender.
Finishing touches
- Stir in the 1 tablespoon butter right after draining so it melts completely and glazes the beans.
- Season with salt and freshly ground black pepper to taste. Salt brings out sweetness; freshly ground pepper adds a bright bite.
Serving ideas
- Toss with toasted almonds, a pinch of red pepper flakes, or a little grated zest of lemon after the butter if you want a quick flavor boost.
Make-Ahead & Storage
- Refrigerate: Cooled cooked beans keep well in an airtight container for 3–4 days.
- Reheating: Reheat gently in the microwave in 20–30 second bursts to avoid overcooking. Add a few drops of water or a small pat of butter to refresh texture and shine.
- Freezing: Cooked beans become soft and can get watery on thawing; I don’t recommend freezing if you want a crisp texture, but they will work in soups or casseroles after thawing.
Ask & Learn
- Q: Can I cook more than 1 pound at once? A: You can, but use a larger microwave-safe dish and increase the water slightly if the beans sit in multiple layers. Start with the same time and add 1-minute increments as needed.
- Q: My beans turned out pale — what went wrong? A: Overcooking causes color loss. Use slightly less time and remove as soon as fork-tender. Shock in ice water if you want to halt cooking and lock in color for salads.
- Q: Is it safe to microwave with a plate as a cover? A: Yes, as long as the plate is labeled microwave-safe and you leave a slight gap or vent steam carefully when removing to avoid burns.
- Q: Can I add seasonings before microwaving? A: Strong spices or salt can draw moisture out; I prefer to season after draining and buttering so flavors stay bright and evenly distributed.
Final Thoughts
This Steamed Green Beans in the Microwave method is a small routine that pays big dividends: quick prep, dependable results, and a bright, versatile side dish you can dress up or serve plain. Keep the ingredients simple and follow the one-dish approach. It’s one of those practical recipes I return to when I want something fast, healthy, and unfussy.
Make a batch, taste as you go, and adjust your microwave time to match how you like your beans — crisp or tender. With a tablespoon of butter and a final seasoning of salt and freshly ground black pepper, these beans become more than just a quick vegetable; they become a reliable partner on busy weeknights and a no-stress side for company.

Steamed Green Beans in the Microwave
Equipment
- Microwave
- microwave-safe dish
- microwave-safe plate or cover
Ingredients
Ingredients
- 1 poundgreen beanstrimmed
- 1 cupwater
- 1 tablespoonbutterto taste
- salt & freshly ground black pepperto taste
Instructions
Instructions
- Place 1 pound trimmed green beans and 1 cup water in a microwave-safe dish large enough to hold them.
- Cover the dish with a microwave-safe plate or microwave-safe cover.
- Microwave on high for 6–7 minutes, until the beans are tender when pierced with a fork; if they are not tender, continue microwaving in 1-minute increments until done.
- Carefully remove the dish from the microwave and drain off the cooking water.
- Stir in 1 tablespoon butter until melted and the beans are coated.
- Season with salt and freshly ground black pepper to taste and serve.