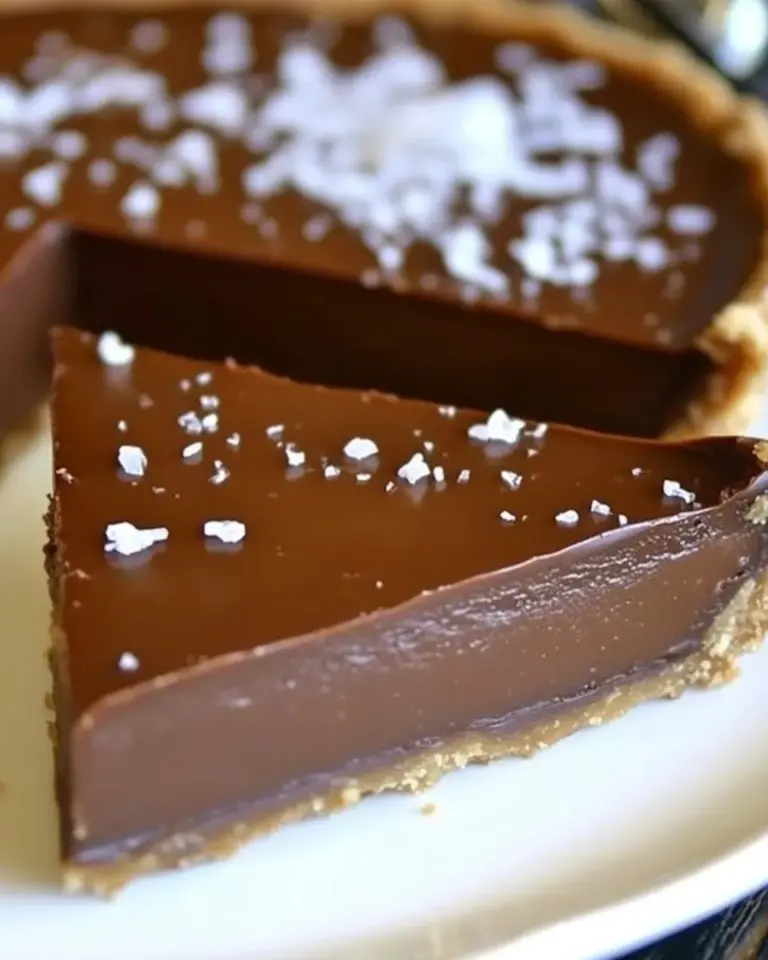
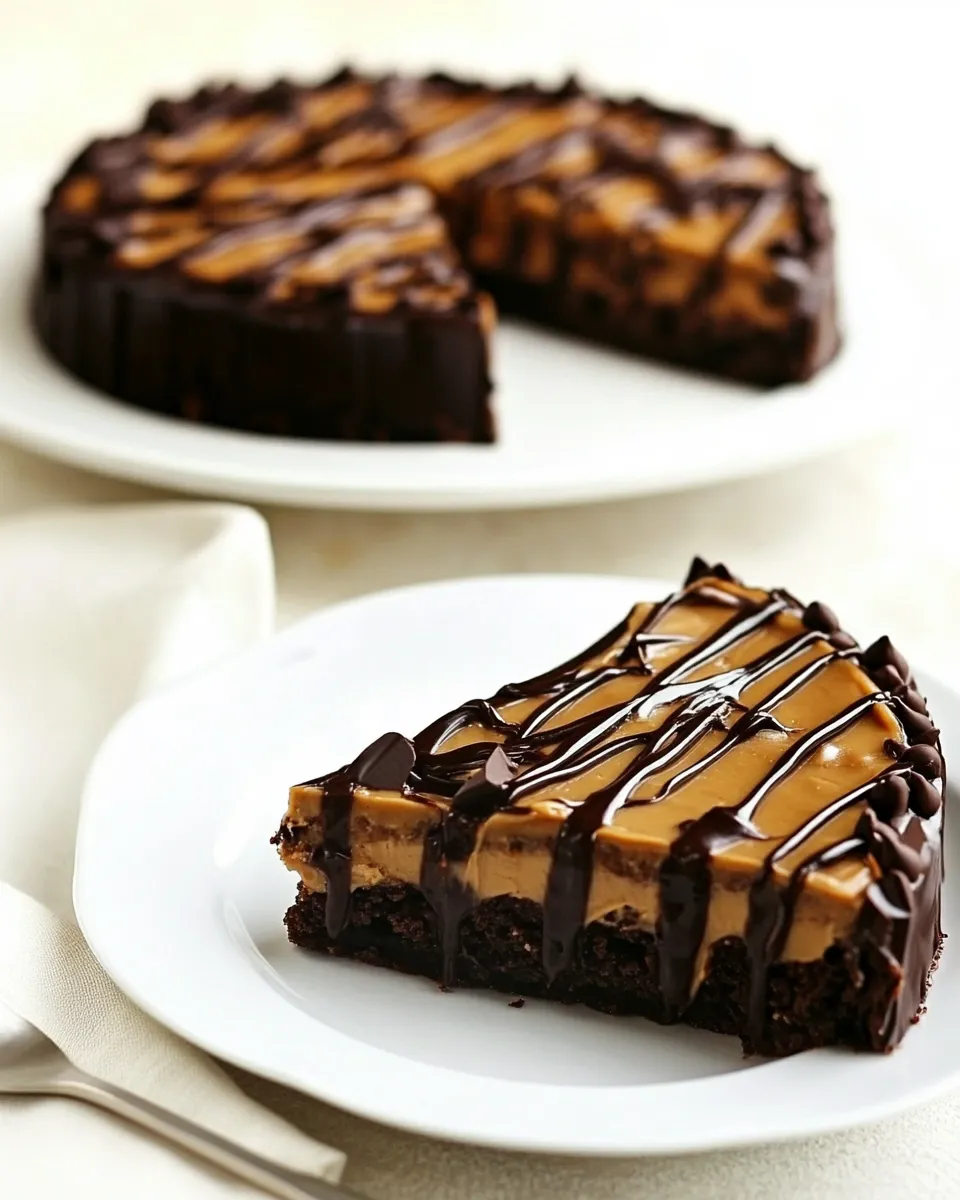
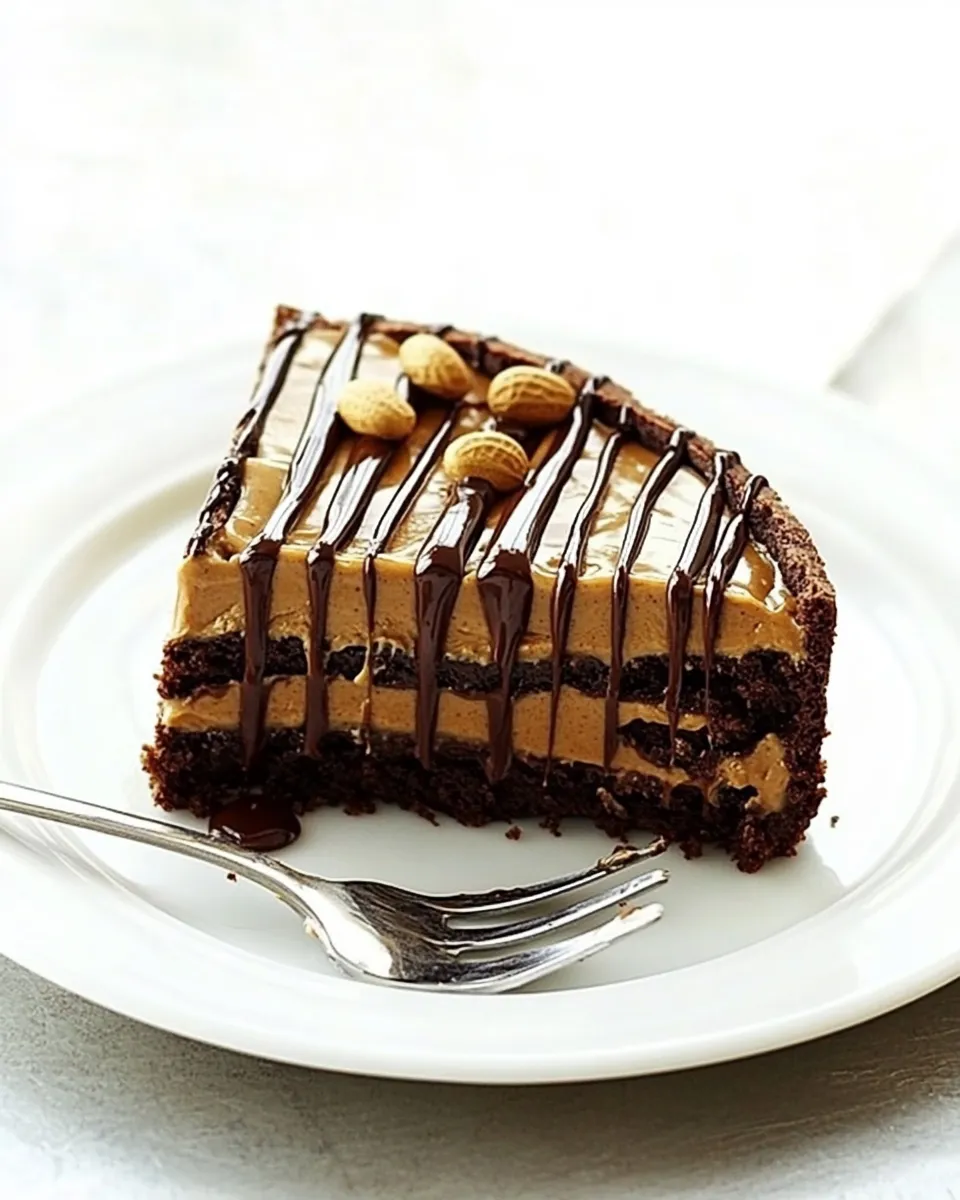
I make this torte when I want something that feels special but doesn’t require a full-day bake. It’s dense, fudgy, and cuts cleanly — the kind of dessert that earns “wow” without drama. The combination of rich cocoa, real butter, and chopped Reese’s Cups gives it peanut-buttery pockets and a fudgy crumb that pairs perfectly with the silky peanut glaze and drizzled chocolate.
The method is straightforward: two quick cake rounds, a warmed smear of peanut butter between them, a pourable peanut glaze, and a final semisweet chocolate drizzle. Most of the time is passive cooling, so you can get other things done while it sets. I’ll walk you through each stage so you avoid the few snafus that can happen with dense batters and glazes.
This recipe is forgiving in texture but precise in technique. Follow the steps in order, keep your pans prepared, and take your time with the glaze. You’ll have a stunning torte that serves a small crowd and holds up well for leftovers. Let’s get into what you’ll need and how to assemble it cleanly.
What You’ll Gather
Gather your pans, parchment, and the ingredients below before you start. The batter comes together quickly, and having everything at hand prevents overmixing or waiting on a single step.
Ingredients
- 1 cup butter, melted, plus more for pan — provides richness and tender crumb; butter the pans well so cakes release cleanly.
- 1 cup unsweetened cocoa powder — gives deep chocolate flavor and structure; whisk with melted butter for a smooth base.
- 2 cups sugar — sweetens and helps with the torte’s dense texture.
- 4 eggs — contribute structure and richness; add them one at a time for even incorporation.
- 1 tablespoon pure vanilla extract — brightens the chocolate and peanut flavors.
- 1 cup all-purpose flour — just enough to bind without making the cake cakey; do not overmix.
- 1/2 teaspoon kosher salt — balances sweetness and enhances chocolate.
- 10 individual Reese’s Cups, chopped — pockets of peanut butter and milk chocolate throughout the cake.
- 1/4 cup peanut butter, heated in microwave at 10 second intervals for easy spreading — warmed and spread between layers for immediate adhesion and flavor.
- 3 tablespoons peanut butter — used in the glaze to add peanut flavor and sheen.
- 1/4 cup confectioners’ sugar — sweetens and slightly thickens the peanut glaze.
- 1/2 teaspoon pure vanilla extract — in the glaze to echo the vanilla in the cake.
- 1/2 cup heavy cream, plus more if needed — loosens the glaze to pourable consistency and adds richness.
- 1/2 cup semisweet chocolate chips — melted and drizzled on top for contrast and shine.
Chocolate-Peanut Butter Torte Made Stepwise
- Preheat the oven to 350°F. Butter two 8-inch round pans and line the bottoms with parchment paper; butter the parchment.
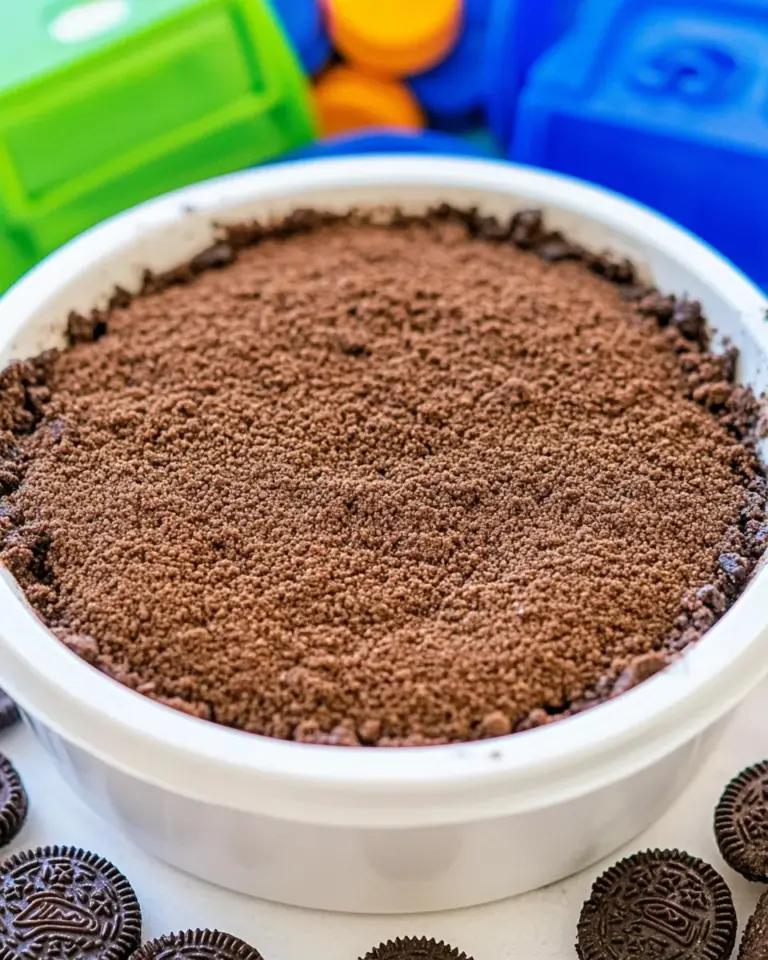
- In a medium bowl whisk together 1 cup melted butter and 1 cup unsweetened cocoa powder until the cocoa is dissolved and the mixture is smooth.
- Add 2 cups sugar and stir until combined. Add 4 eggs one at a time, mixing after each egg until incorporated. Stir in 1 tablespoon pure vanilla extract.
- Add 1 cup all-purpose flour and 1/2 teaspoon kosher salt; stir or fold until the flour is no longer visible. Fold in 10 chopped Reese’s Cups.
- Divide the batter evenly between the prepared pans and smooth the tops. Bake about 25 minutes, or until the centers are set and a toothpick inserted near the center comes out with moist crumbs but not wet batter.
- Remove the pans from the oven and let the cakes cool in the pans on a wire rack for 10–15 minutes. Run a knife around the edges, invert the cakes onto the rack, peel off the parchment, and let the cakes cool completely.
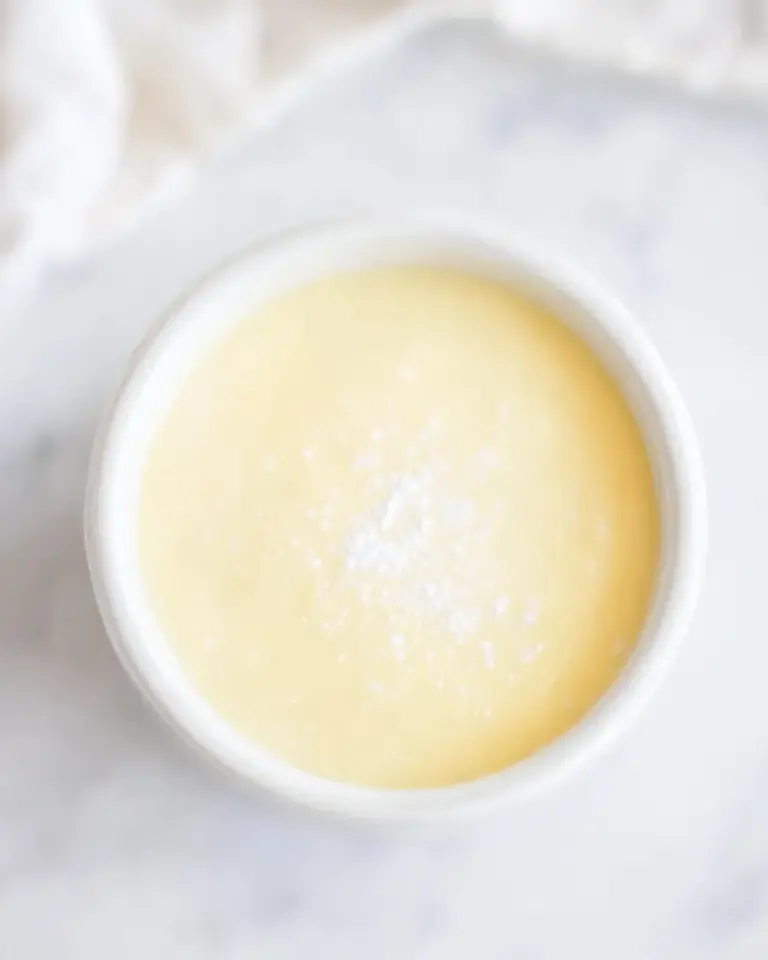
- Place one cooled cake layer on a cake plate or serving platter. Heat 1/4 cup peanut butter in the microwave in 10-second intervals, stirring between intervals, until spreadable. Spread the warmed 1/4 cup peanut butter evenly over the first layer, then top with the second cake layer.
- In a bowl combine the remaining 3 tablespoons peanut butter, 1/4 cup confectioners’ sugar, 1/2 teaspoon pure vanilla extract, and 1/2 cup heavy cream. Whisk until smooth; add more heavy cream, if needed, to reach a pourable glaze consistency.
- Pour the glaze over the top of the torte and use a small knife to spread it, allowing the glaze to drip down the sides.
- Melt 1/2 cup semisweet chocolate chips in a double boiler, stirring until smooth. Drizzle the melted chocolate over the glazed torte.
- Let the glaze and chocolate set briefly before slicing. Cut into slices and serve.
What Sets This Recipe Apart

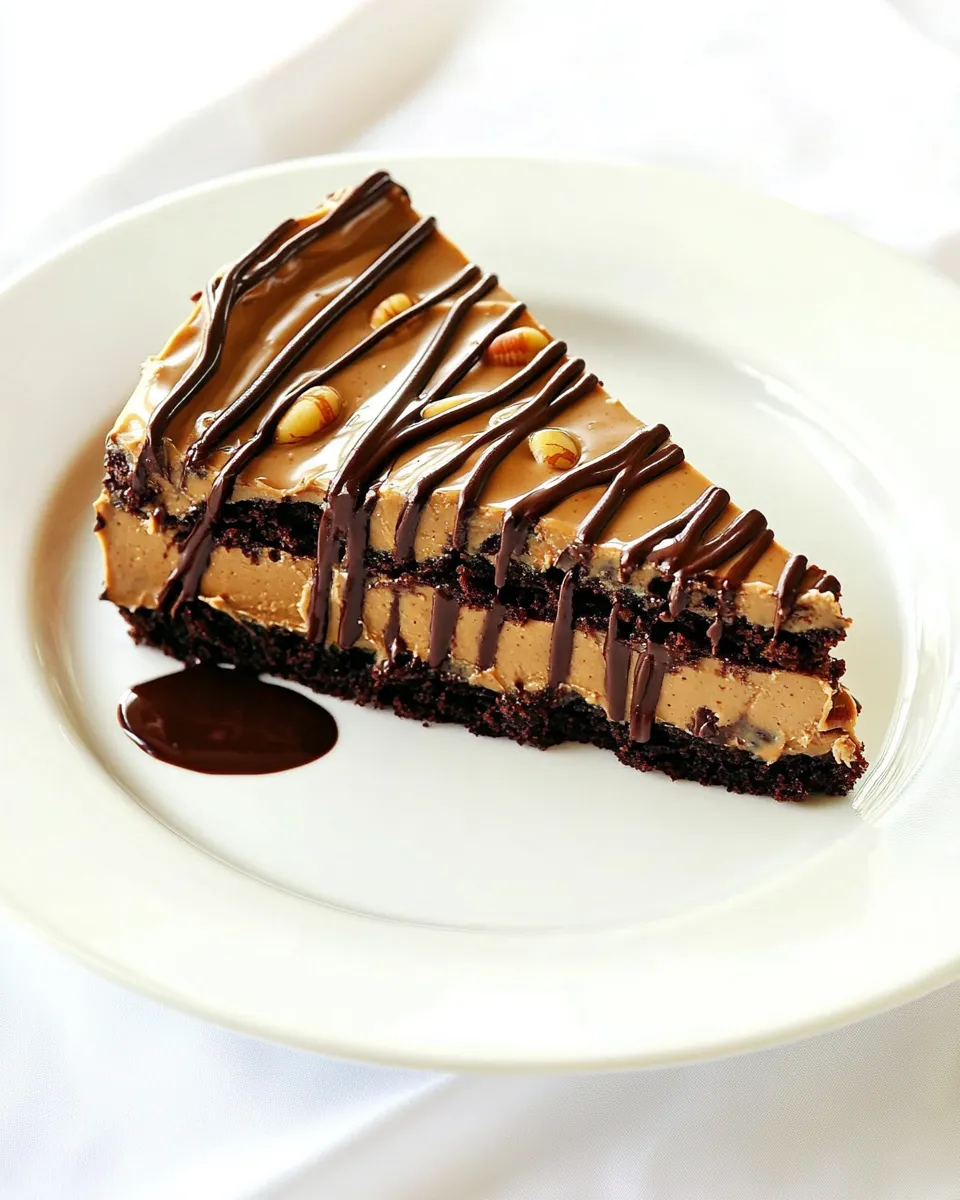
This is not a light, airy cake — it’s a torte: dense, rich, and intensely chocolatey. The melted butter-whisked-with-cocoa step delivers a silky, fudgy batter that feels almost like a chocolate ganache once baked. The real differentiator is the chopped Reese’s Cups folded into the batter; they melt slightly while baking and create pockets of classic peanut-milk-chocolate bites.
The layered approach also matters. Instead of frosting between layers, a warmed smear of plain peanut butter adds texture and clear peanut flavor without being cloying. Then a thin, pourable peanut glaze on top keeps the exterior glossy while the semisweet chocolate drizzle gives balance and visual contrast.
Dairy-Free/Gluten-Free Swaps
Swaps change texture, so proceed with awareness.
- Dairy-free: Replace the butter with a high-quality dairy-free butter stick at a 1:1 ratio, and use full-fat coconut cream in place of heavy cream for the glaze. The mouthfeel will be slightly different; the cake will be less rich but still fudgy. Choose dairy-free chocolate chips labeled vegan for the drizzle.
- Gluten-free: Use a 1:1 gluten-free all-purpose flour blend that contains xanthan gum. Measure the flour by weight if possible. Expect the crumb to be slightly more fragile; handle the layers gently when inverting and assembling.
- Nut-free alternative: If peanut allergy is a concern, omit Reese’s Cups and peanut butter components — this fundamentally changes the recipe, so consider a straight chocolate torte instead and use a neutral-flavored glaze (confectioners’ sugar + cream).
Tools of the Trade
- Two 8-inch round cake pans — even size ensures layers stack properly.
- Parchment paper — for clean release and easy handling.
- Wire rack — for cooling the cakes evenly.
- Mixing bowls and whisk — a medium bowl for the butter+cocoa and a whisk for the glaze.
- Small offset knife or spatula — to smooth batter and spread glaze cleanly.
- Double boiler or heatproof bowl over simmering water — for melting semisweet chocolate without seizing.
- Microwave-safe bowl — to warm the 1/4 cup peanut butter in short intervals.
Things That Go Wrong
Common mistakes are easy to fix if you spot them early.
- Cake sticks to the pan: Either the pans weren’t greased well or the parchment wasn’t buttered. Always butter the pan and parchment bottom thoroughly. If a layer breaks during release, press it gently back together; the peanut smear hides uneven edges.
- Batter too dry or crumbly: That usually comes from overmeasuring flour. Spoon flour into the measuring cup and level it, or better yet, weigh it. Also avoid overmixing once flour is added—stop as soon as it disappears.
- Glaze too thick to pour: Add a teaspoon of heavy cream at a time until pourable. The glaze should be glossy and flow slowly.
- Chocolate seizes while melting: Remove the chocolate from direct heat as soon as it begins to melt, and stir continuously. If it seizes, stir in a small amount of hot cream to smooth it out.
Year-Round Variations
- Spring/Summer: Top with a handful of chopped salted peanuts and a dusting of flaky sea salt to cut the sweetness. Serve slightly chilled for a refreshing finish.
- Fall/Winter: Fold in a tablespoon of instant espresso powder into the melted butter+cocoa mix for a mocha hint. Warm slices slightly before serving with a scoop of vanilla ice cream.
- Holiday twist: Use peppermint Reese’s-style candies or miniature peppermint cups folded into the batter for a seasonal spin; finish with a chocolate drizzle and crushed candy cane garnish.
What I Learned Testing
I tested this torte several times to find the best balance between fudgy and sliceable. Two lessons stood out: first, do not skimp on the butter—it’s essential for the torte’s dense, silky texture. Second, letting the layers cool completely before assembly prevents the peanut layer and glaze from sliding.
Chopping the Reese’s Cups into uneven pieces gave the cake interest — some pieces mostly melted into the crumb while others stayed jammy. That contrast is what makes this torte feel layered even though the structure is simple. The glaze needs to be thin enough to drip slightly; a thick coat hides the chocolate drizzle effect.
Storage Pro Tips
- Room temperature: Store covered at room temperature for up to 24 hours. The glaze will remain glossy and the texture stays tender.
- Refrigerator: Keep tightly covered or in a cake container for up to 4 days. Bring to room temperature before serving for the best texture; chilling firms the peanut butter and chocolate.
- Freezing: Wrap individual slices tightly in plastic and place in a freezer-safe container for up to 2 months. Thaw overnight in the fridge and then sit at room temperature for 30 minutes before serving.
- Travel tip: If transporting, assemble layers at destination if possible. If already assembled, chill briefly so the glaze sets and put the torte on a non-slip mat in a box.
Popular Questions
- Can I use crunchy peanut butter? Yes. Crunchy will add texture to the smear between layers and in the glaze; smooth provides a cleaner finish.
- Can I make this in one 9-inch pan? The baking time will change and the cake will be thicker. I recommend following the two 8-inch pan instructions for even baking and easier layering.
- Why warm the 1/4 cup peanut butter? Warming makes it spreadable and helps it adhere to the cake without tearing the crumb. Heat in 10-second intervals and stir between bursts.
- My glaze separated — what went wrong? You likely overworked the glaze or added too much cold peanut butter at once. Whisk vigorously until smooth and add cream a little at a time to re-emulsify.
- Can I double the recipe? Yes, double everything and bake in four 8-inch pans or in batches. Keep the same ratios and baking time per layer.
Make It Tonight
This is a do-able evening project: 15 minutes prep, about 25 minutes bake, and an hour of cooling and assembly if you’re efficient. Start by measuring and prepping pans. While the cakes bake, chop the Reese’s Cups and warm the peanut butter for spreading. Let the cakes cool while you make the glaze and melt the chocolate. Put it together, let the glaze set, and you’ll have a handsome torte to slice for dinner or dessert.
Keep things simple: follow the steps in order, don’t rush cooling, and warm that 1/4 cup peanut butter just enough to spread. Serve with coffee or a small scoop of vanilla ice cream. It looks like effort. It tastes like a celebration.
Chocolate-Peanut Butter Torte
Equipment
- Oven
- 8-inch round pans
- Parchment Paper
- Mixing Bowls
- Whisk
- Wire Rack
- Microwave
- Double boiler
- cake plate or serving platter
- Knife
Ingredients
Ingredients
- 1 cup butter melted, plus more for pan1 cup unsweetened cocoa powder2 cups sugar4 eggs1 tablespoonpure vanilla extract1 cup all-purpose flour1/2 teaspoon kosher salt10 individual Reese's Cups, chopped
- 1/4 cup peanut butter heated in microwave at 10 second intervals for easy spreading
- 3 tablespoons peanut butter1/4 cup confectioners' sugar1/2 teaspoon pure vanilla extract1/2 cup heavy cream plus more if needed
- 1/2 cup semisweet chocolate chips
Instructions
Instructions
- Preheat the oven to 350°F. Butter two 8-inch round pans and line the bottoms with parchment paper; butter the parchment.
- In a medium bowl whisk together 1 cup melted butter and 1 cup unsweetened cocoa powder until the cocoa is dissolved and the mixture is smooth.
- Add 2 cups sugar and stir until combined. Add 4 eggs one at a time, mixing after each egg until incorporated. Stir in 1 tablespoon pure vanilla extract.
- Add 1 cup all-purpose flour and 1/2 teaspoon kosher salt; stir or fold until the flour is no longer visible. Fold in 10 chopped Reese's Cups.
- Divide the batter evenly between the prepared pans and smooth the tops. Bake about 25 minutes, or until the centers are set and a toothpick inserted near the center comes out with moist crumbs but not wet batter.
- Remove the pans from the oven and let the cakes cool in the pans on a wire rack for 10–15 minutes. Run a knife around the edges, invert the cakes onto the rack, peel off the parchment, and let the cakes cool completely.
- Place one cooled cake layer on a cake plate or serving platter. Heat 1/4 cup peanut butter in the microwave in 10-second intervals, stirring between intervals, until spreadable. Spread the warmed 1/4 cup peanut butter evenly over the first layer, then top with the second cake layer.
- In a bowl combine the remaining 3 tablespoons peanut butter, 1/4 cup confectioners' sugar, 1/2 teaspoon pure vanilla extract, and 1/2 cup heavy cream. Whisk until smooth; add more heavy cream, if needed, to reach a pourable glaze consistency.
- Pour the glaze over the top of the torte and use a small knife to spread it, allowing the glaze to drip down the sides.
- Melt 1/2 cup semisweet chocolate chips in a double boiler, stirring until smooth. Drizzle the melted chocolate over the glazed torte.
- Let the glaze and chocolate set briefly before slicing. Cut into slices and serve.