When it comes to creating the perfect dessert, a tart crust is the unsung hero of the baking world. This delicate and buttery base is the foundation for so many delightful fillings, from rich chocolate ganache to fresh fruit compotes. Mastering a tart crust can elevate your baking game and impress anyone who takes a bite. Today, I’m sharing my go-to tart crust recipe that’s not only simple but also incredibly versatile. With just a handful of ingredients, you can create a crust that’s flaky, tender, and simply irresistible.
Why It’s My Go-To
This tart crust recipe has become my trusted companion in the kitchen for several reasons. First and foremost, the flavor is divine—the combination of butter and a hint of sweetness from the powdered sugar creates a rich, melt-in-your-mouth experience. Moreover, the texture is perfectly balanced; it’s sturdy enough to hold fillings yet tender enough to crumble just right. Whether you’re making a classic fruit tart or a more adventurous savory version, this crust adapts beautifully. Plus, it’s quick to whip up, so you can spend more time enjoying your creation rather than slaving away in the kitchen.
What You’ll Need
- 1 1/2 cups all-purpose flour
- 1/2 cup powdered sugar
- 2 pinches salt
- 1-2 teaspoons milk (to help bind)
- 1/2 cup unsalted butter, cold and cubed
- 1 large egg
Toolbox for This Recipe
- Mixing Bowl: For combining your ingredients.
- Pastry Cutter or Fork: To cut the butter into the flour mixture.
- Plastic Wrap: For chilling the dough.
- Tart Pan: A removable bottom tart pan is ideal for easy serving.
- Parchment paper: To line the tart when blind baking.
Tart Crust Recipe Made Stepwise
Step 1: Combine Dry Ingredients
In a mixing bowl, whisk together the all-purpose flour, powdered sugar, and salt until well combined. This step is crucial as it ensures even distribution of the ingredients.
Step 2: Cut in the Butter
Add the cold, cubed butter to the flour mixture. Using a pastry cutter or a fork, cut the butter into the flour until it resembles coarse crumbs. Be careful not to overwork the dough; you want small clumps of butter to remain for a flaky texture.
Step 3: Add the Egg and Milk
Crack the large egg into the mixture and add 1 teaspoon of milk. Stir until the dough begins to come together. If the mixture is too dry, add an additional teaspoon of milk as needed.
Step 4: Chill the Dough
Turn the dough out onto a lightly floured surface and shape it into a disc. Wrap it in plastic wrap and refrigerate for at least 30 minutes. Chilling the dough helps prevent shrinkage during baking.
Step 5: Roll Out the Dough
Once chilled, remove the dough from the refrigerator. On a floured surface, roll it out to fit your tart pan, about 1/8 inch thick. Carefully transfer it to the pan, pressing it into the edges and trimming any excess.
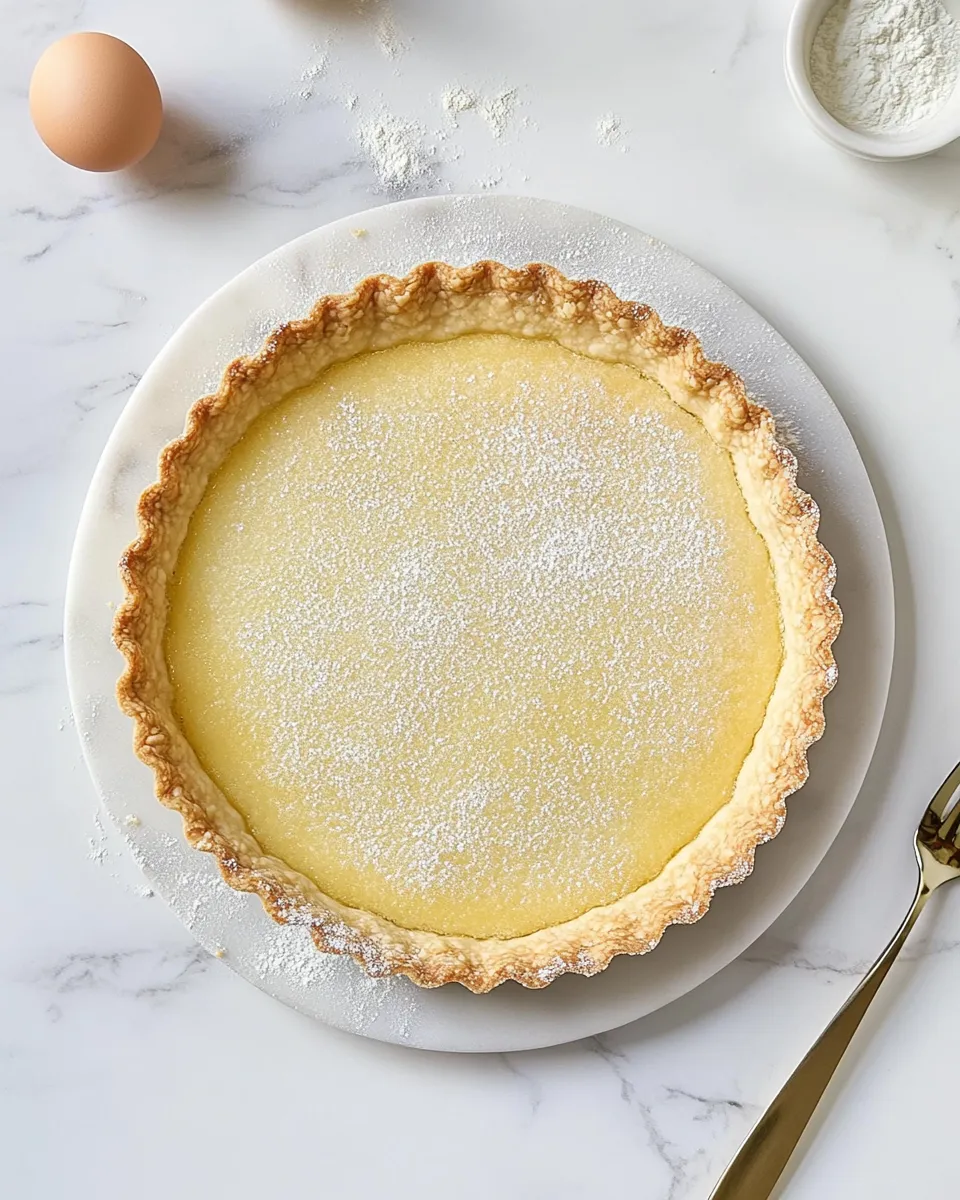
Step 6: Blind Bake the Crust
Preheat your oven to 350°F (175°C). Place a piece of parchment paper over the crust and fill it with pie weights or dried beans. Bake for 15 minutes, then remove the weights and parchment and bake for an additional 10 minutes, or until lightly golden.
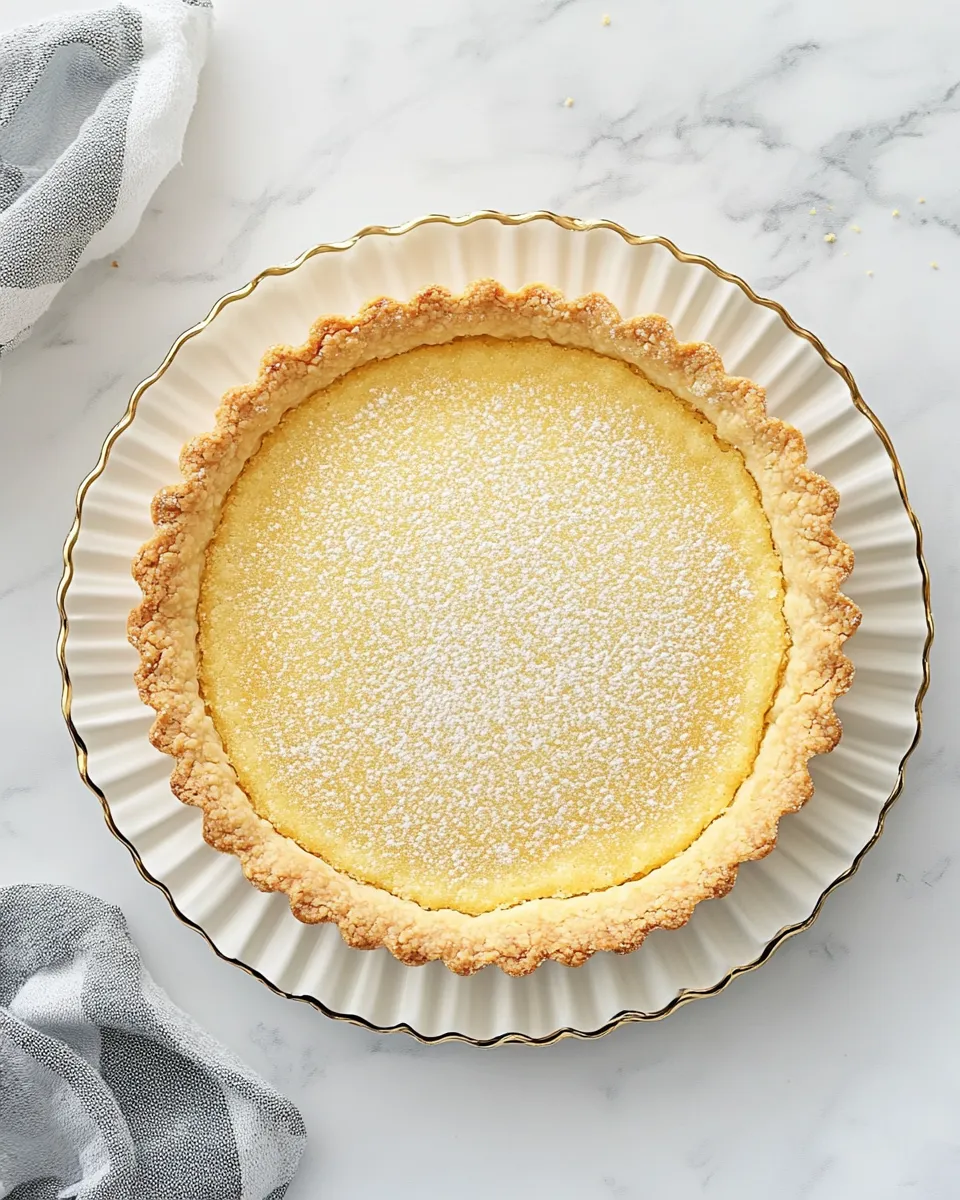
Step 7: Let It Cool
Once baked, remove the tart crust from the oven and allow it to cool completely before filling it with your favorite fillings.
Warm & Cool Weather Spins

- Warm Weather: Fill with fresh fruit and a light glaze for a refreshing summer dessert.
- Cool Weather: Opt for a rich chocolate filling or a spiced pumpkin mixture for a cozy fall treat.
Mistakes That Ruin Tart Crust Recipe
- Overworking the dough can lead to a tough crust. Remember to handle it gently.
- Using warm butter instead of cold can affect the flakiness.
- Not chilling the dough long enough may cause it to shrink while baking.
- Skipping the blind baking step can result in a soggy base.
Storage & Reheat Guide
Once your tart crust is baked and cooled, it can be stored in an airtight container at room temperature for up to 3 days. If you want to keep it longer, wrap it tightly in plastic wrap and freeze it for up to a month. To reheat, simply pop it in a 350°F (175°C) oven for about 10 minutes until warmed through before adding your filling.
Common Qs About Tart Crust Recipe
Can I make the dough ahead of time?
Absolutely! You can prepare the dough, shape it into a disc, wrap it in plastic, and refrigerate it for up to 2 days or freeze it for up to a month.
What kind of fillings work best with this tart crust?
This crust is incredibly versatile! It pairs well with fruit fillings, custards, ganaches, and even savory mixtures like quiches or cheese tarts.
Is it possible to make this crust gluten-free?
Yes! You can substitute the all-purpose flour with a gluten-free blend. Make sure to choose a blend that contains xanthan gum for best results.
Can I add flavors to the crust?
Definitely! You can infuse the dough with zest from citrus fruits, vanilla extract, or even spices like cinnamon for an extra layer of flavor.
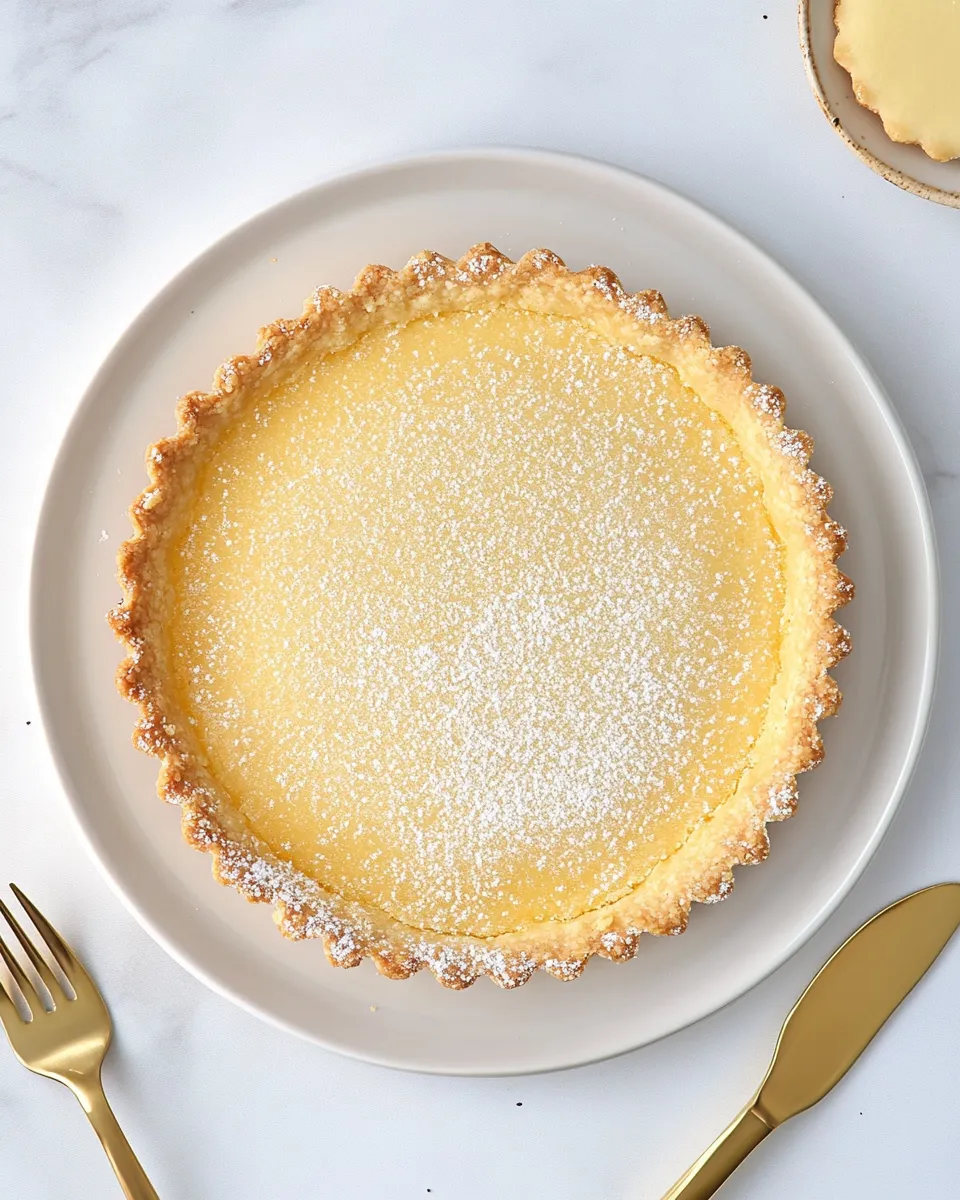
Wrap-Up
Creating the perfect tart crust doesn’t have to be daunting. With this Tart Crust Recipe, you can confidently embark on your baking adventures, knowing you have a reliable base for any delicious filling you choose. Whether you’re a seasoned baker or a newbie in the kitchen, this recipe will help you achieve that flaky, buttery crust everyone raves about. So gather your ingredients, roll up your sleeves, and get ready to impress your family and friends with your baking prowess!
Every great dessert starts with a fantastic crust, and I hope this Tart Crust Recipe becomes your new favorite. Enjoy the process, and remember, the best part is sharing your delicious creations with others. Happy baking!
Tart Crust Recipe
Equipment
- Mixing Bowl
- Pastry Cutter or Fork
- Plastic Wrap
- Tart Pan
- Parchment Paper
Ingredients
- 1 1/2 cups all-purpose flour
- 1/2 cup powdered sugar
- 2 pinches salt
- 1-2 teaspoons milk to help bind
- 1/2 cup unsalted butter cold and cubed
- 1 large egg
Instructions
- In a mixing bowl, whisk together the all-purpose flour, powdered sugar, and salt until well combined.
- Add the cold, cubed butter to the flour mixture. Using a pastry cutter or a fork, cut the butter into the flour until it resembles coarse crumbs. Be careful not to overwork the dough; you want small clumps of butter to remain for a flaky texture.
- Crack the large egg into the mixture and add 1 teaspoon of milk. Stir until the dough begins to come together. If the mixture is too dry, add an additional teaspoon of milk as needed.
- Turn the dough out onto a lightly floured surface and shape it into a disc. Wrap it in plastic wrap and refrigerate for at least 30 minutes. Chilling the dough helps prevent shrinkage during baking.
- Once chilled, remove the dough from the refrigerator. On a floured surface, roll it out to fit your tart pan, about 1/8 inch thick. Carefully transfer it to the pan, pressing it into the edges and trimming any excess.
- Preheat your oven to 350°F (175°C). Place a piece of parchment paper over the crust and fill it with pie weights or dried beans. Bake for 15 minutes, then remove the weights and parchment and bake for an additional 10 minutes, or until lightly golden.
- Once baked, remove the tart crust from the oven and allow it to cool completely before filling it with your favorite fillings.
Notes
- Handle the dough gently and avoid overworking to keep the crust tender and flaky.
- Chill the dough well to prevent shrinkage during baking.
- Store baked crusts in an airtight container for up to 3 days or freeze for up to a month.