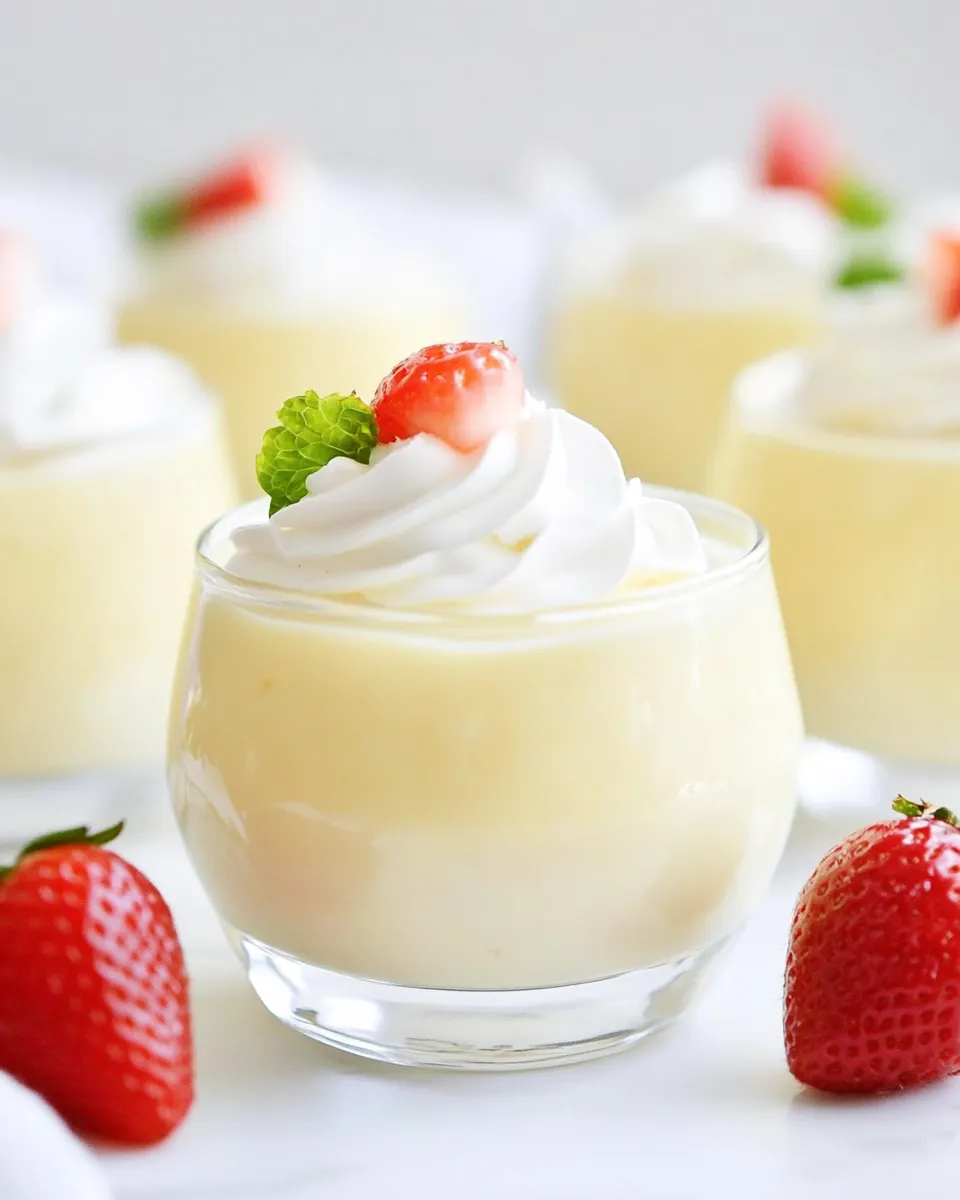
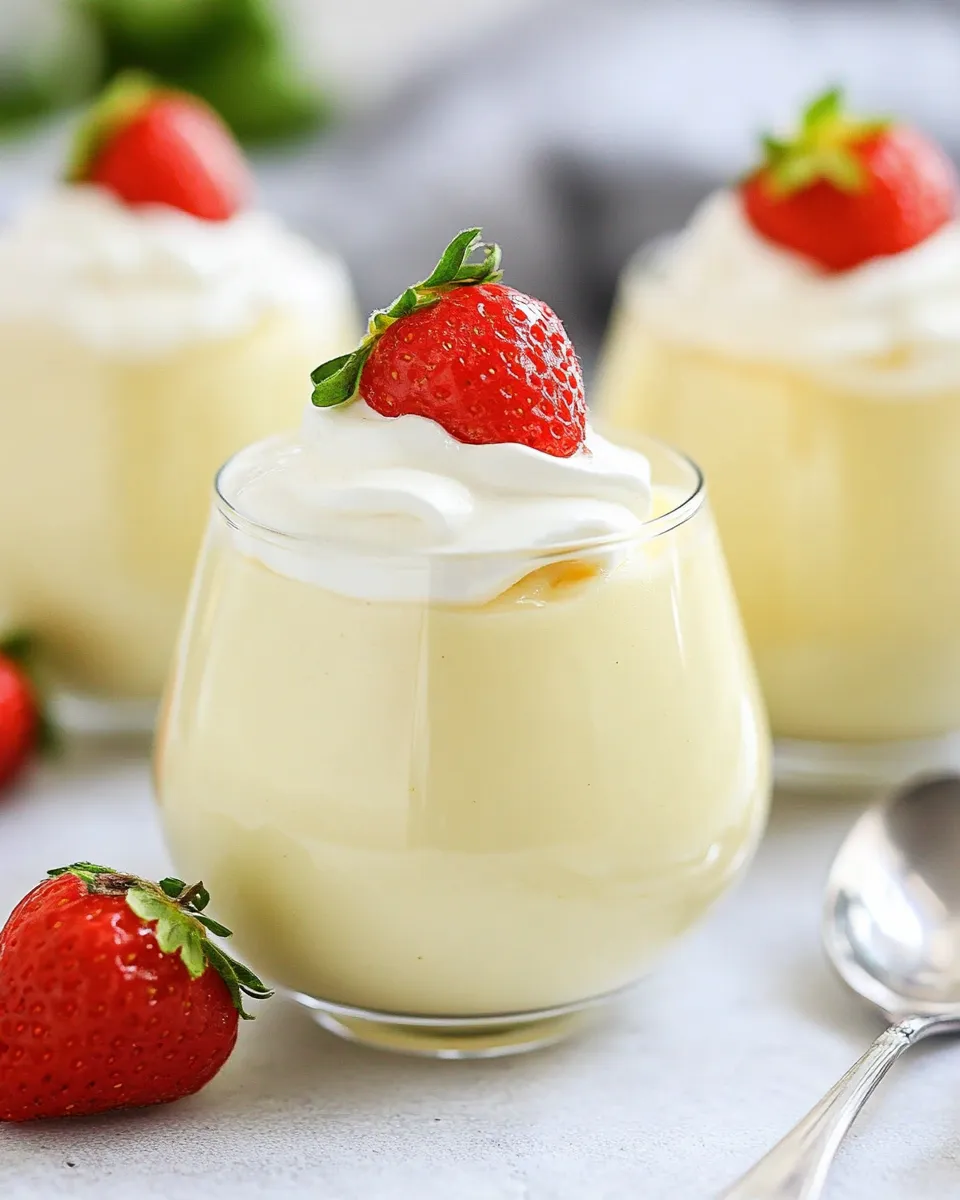
I grew up on spoonfuls of simple, homemade pudding — the kind that clings to the spoon and comforts without fuss. This vanilla pudding is exactly that: straightforward, reliable, and built from pantry staples. It takes less than half an hour active time and rewards you with a smooth, silken custard that works warm from the pot or chilled and dolloped into bowls.
There’s no need for fancy equipment or obscure ingredients. The technique centers on gentle heat, constant whisking, and a couple of small tricks to avoid lumps and skin. If you follow the steps, you’ll get consistently good results: glossy, stable pudding with a clean vanilla flavor.
Below I’ll walk you through the ingredients, the exact step-by-step method, and practical notes I rely on when I make this late-night dessert or a quick finish to a weeknight meal. I also include substitutions, troubleshooting, and storage advice so you can make it tonight without worry.
Ingredients at a Glance
- ⅓ cup granulated sugar — sweetens and helps stabilize the custard; measure accurately for balance.
- 3 tablespoons cornstarch — the thickening agent; whisked in dry to prevent lumps.
- 2¼ cups 2% milk, or higher — provides the liquid and body; whole milk makes it richer.
- 2 large egg yolks — add silkiness, color, and extra richness.
- 1 tablespoon salted butter — finishes the pudding, adding shine and a touch of savory contrast.
- 2 teaspoons pure vanilla extract — the primary flavor; use good vanilla for the cleanest taste.
Vanilla Pudding: Step-by-Step Guide
- In a medium bowl, sift together the granulated sugar and cornstarch. Whisk in the cold milk and the egg yolks until the mixture is completely smooth and no dry streaks remain.
- Pour the mixture into a medium saucepan. Cook over medium heat, whisking constantly and scraping the bottom and sides of the pan so nothing sticks.
- When the mixture thickens and comes to a gentle boil, continue whisking and cook for 1 minute more to fully activate the cornstarch.
- Remove the pan from the heat and immediately whisk in the butter and vanilla until the butter is fully melted and the pudding is smooth.
- To serve warm: let the pudding cool 5–10 minutes and serve. To chill: transfer the pudding to a bowl, press plastic wrap directly onto the surface to prevent a skin, and refrigerate at least 2 hours before serving. If any lumps remain, optionally strain the pudding through a fine-mesh sieve before covering.
Why You’ll Love This Recipe
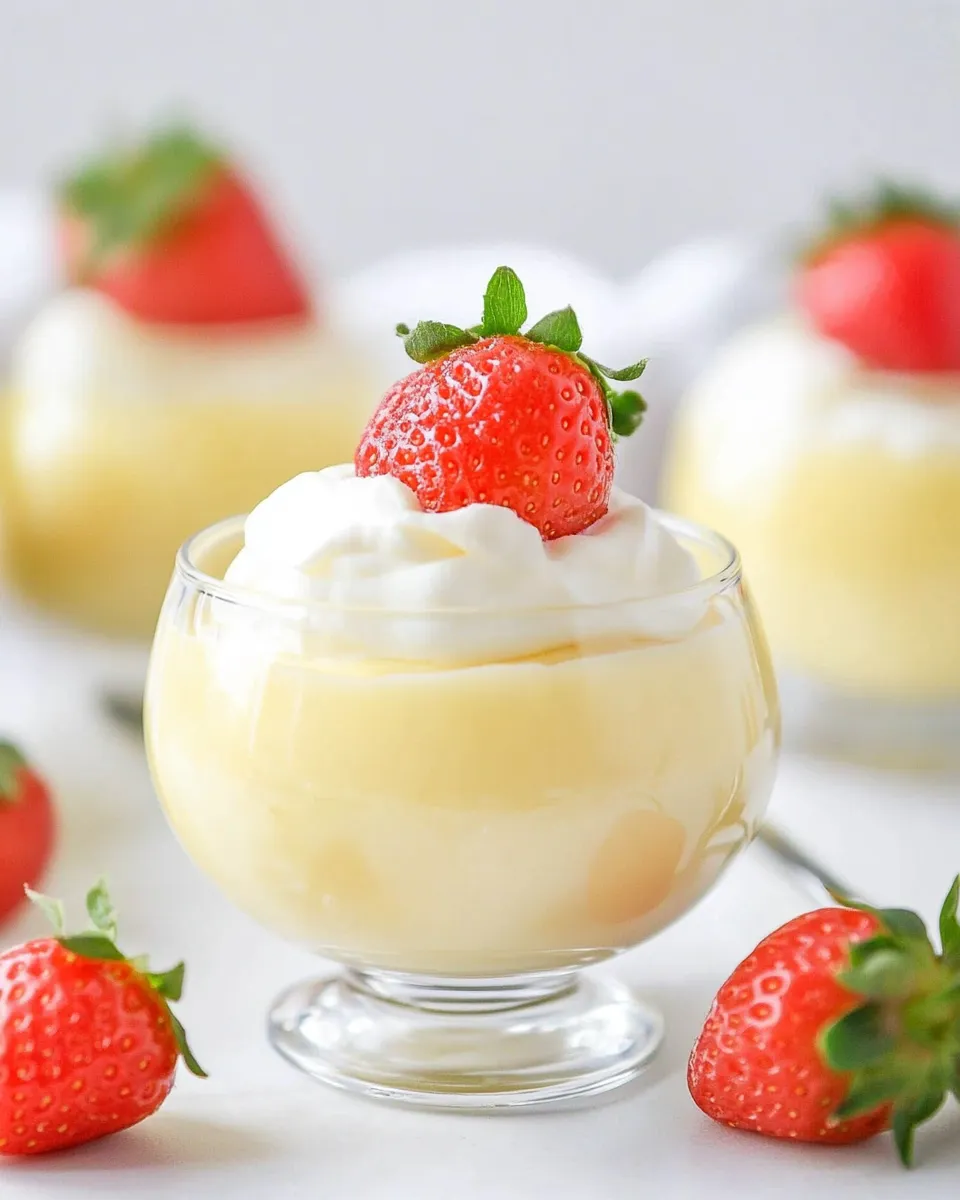
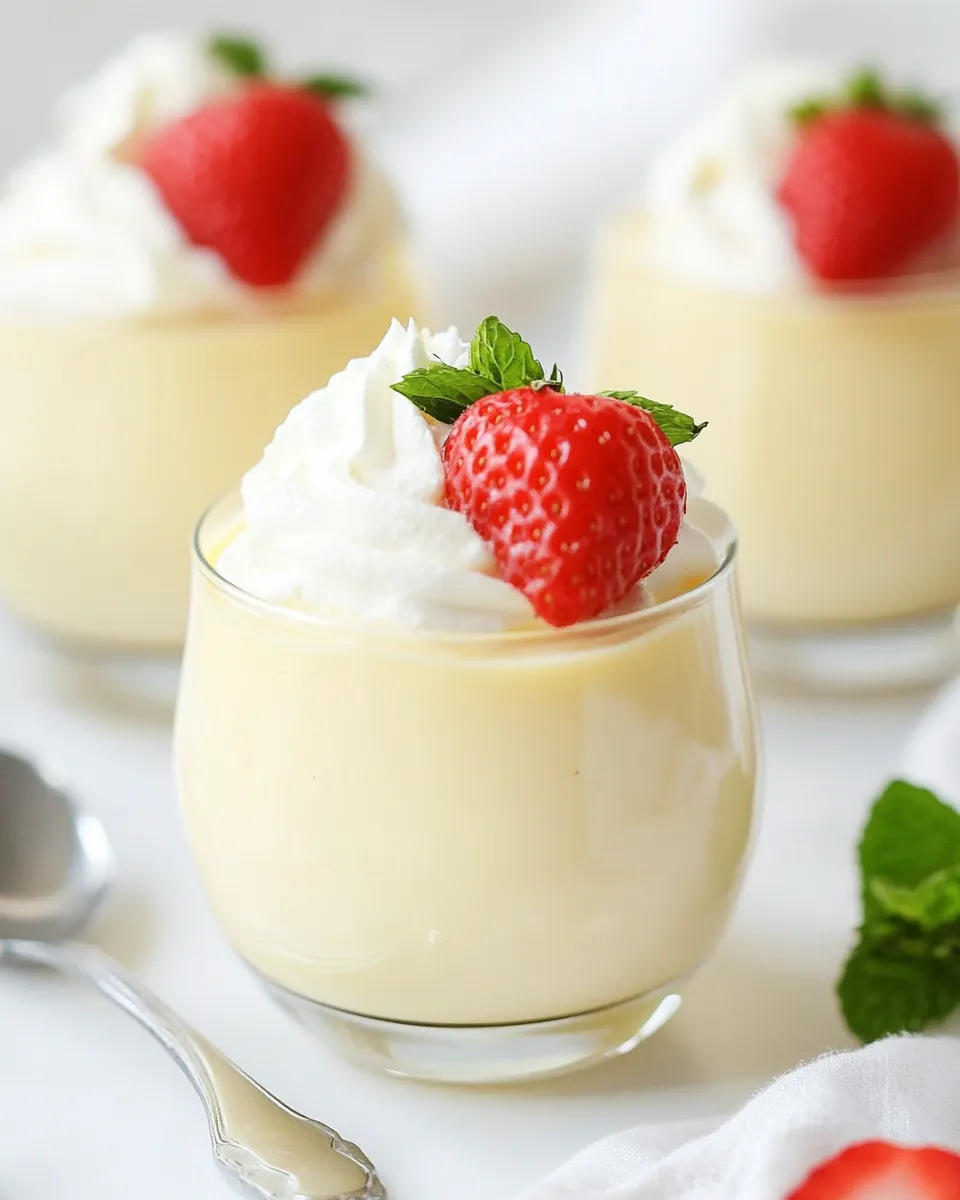
This pudding is pure comfort with minimal fuss. It hits the classics: a lightly sweet, creamy custard flavored by real vanilla, with a texture that’s dense enough to hold its shape but still silky on the palate. It’s versatile — serve it warm with a dusting of nutmeg or chilled with fresh berries and whipped cream.
It’s also forgiving in timing: once it thickens and you give it the minute at a gentle boil, the cornstarch sets the structure reliably. You don’t need to babysit for hours or temper dozens of eggs. The short ingredient list means you can make it on a whim, and the technique scales up or down easily for more or fewer servings.
Low-Carb/Keto Alternatives
- Sugar swap: Use erythritol or a granular monk fruit blend on a 1:1 basis; expect a slightly different mouthfeel and sweetness.
- Cornstarch substitute: For keto, use a small amount of xanthan gum (start with 1/8 teaspoon) whisked into the cold milk — add it slowly to avoid clumping. Texture will be a touch different but stable.
- Milk choice: Replace part or all of the milk with unsweetened almond milk or a higher-fat option like canned coconut milk (watch final flavor with coconut).
Equipment Breakdown
You don’t need a kitchen full of tools. These are the items I use every time:
- Medium mixing bowl — for combining dry ingredients and tempering the yolks.
- Whisk — essential. A silicone or balloon whisk helps keep the mixture smooth.
- Medium saucepan — heavy-bottomed is best to prevent hot spots and sticking.
- Spatula — for scraping the sides before and after cooking.
- Fine-mesh sieve (optional) — handy if you want the silkiest finish and to remove any stubborn bits.
- Plastic wrap or an airtight container — to press onto the surface and prevent skin if chilling.
Common Errors (and Fixes)
Problem: Lumpy pudding
Cause: Dry starch or egg streaks that weren’t fully combined before heating, or the mixture heated too quickly. Fix: Whenever possible, whisk the dry ingredients with the milk until fully smooth before applying heat. If lumps form, remove from heat and vigorously whisk; if that fails, strain through a fine-mesh sieve.
Problem: Grainy or curdled texture
Cause: Overcooked eggs or too-high heat. Fix: Cook over medium heat and keep whisking. Once it reaches a gentle boil, time 1 minute and then remove from heat. If curdled, try straining and finishing with an extra tablespoon of warm milk whisked in to smooth.
Problem: Skin forming on top when chilled
Cause: Air exposure during cooling. Fix: Press plastic wrap directly onto the pudding surface before refrigerating or transfer into individual ramekins and cover with plastic so the surface stays protected.
Seasonal Adaptations
Small changes turn this base into a seasonal treat. In summer, fold in a spoonful of lemon curd or spoon juice-thinned berry purée into the chilled pudding for brightness. In fall, stir in a pinch of ground cinnamon and nutmeg, or finish with a brown-butter swirl instead of plain butter. For winter, swap half the milk for cream and add a tiny pinch of cardamom for warmth. These changes keep the base technique identical but vary the finished flavor to match the season.
Flavor Logic
Everything in this pudding has a specific job. Sugar sweetens and also contributes to texture. Cornstarch is the thickener — it swells when heated and sets once cooled, giving you that spoonable body without eggs alone. Milk delivers liquid, fat, and lactose for mouthfeel. Egg yolks enrich the custard, adding a velvety mouthfeel and color. Salted butter finishes the pudding, brightening the flavor and smoothing the surface. Pure vanilla extract is the aromatic backbone — use good quality for the cleanest result.
Make-Ahead & Storage
This pudding stores well. For chilled pudding, press plastic wrap directly onto the surface to prevent a skin, then refrigerate for at least 2 hours. It will keep for 3–4 days in the fridge in an airtight container. If you plan to reheat, warm gently over low heat while whisking; add a splash of milk to loosen if it’s become too thick.
If you’ve strained the pudding and filled individual dishes, those are convenient for grab-and-go desserts. For longer storage, freeze is not ideal — the texture changes when frozen and thawed, so I don’t recommend it.
Common Qs About Vanilla Pudding
- Can I use whole milk or cream? — Yes. Whole milk will make the pudding richer; swapping part of the milk for cream yields an even silkier result. Adjust sweetness to taste.
- Do I need to temper the eggs? — The recipe mixes egg yolks into the cold milk with the dry ingredients before heating, which works well when whisked thoroughly. Because the eggs start in the cold liquid, you avoid a separate tempering step.
- Can I make this without eggs? — Yes. Omit the egg yolks and increase cornstarch slightly (add about 1 extra teaspoon) to help body, or use a vegan starch like tapioca in an adjusted amount. Texture will differ slightly.
- How do I prevent sticking or burning? — Use a medium saucepan with a heavy bottom and cook over medium heat while whisking constantly. Scrape the bottom and sides while cooking; don’t let the mixture sit on the heat unattended.
- Why does the recipe call for a gentle boil? — Cornstarch needs to reach a boil to fully activate and thicken properly. Once you hit that gentle boil, continue for 1 minute as instructed to fully set the structure.
Make It Tonight
Want this on the table in under an hour? Start now. Measure everything first: combine the sugar and cornstarch, separate the yolks, and have your vanilla and butter ready. Whisk everything cold, heat and whisk until it thickens and hits a gentle boil, then finish with butter and vanilla. If you’re serving chilled, pop it in the fridge for at least 2 hours; if serving warm, let it rest 5–10 minutes and spoon into bowls.
This recipe is reliable and fast. Keep a jar of vanilla and a box of cornstarch on hand — they’re the only special ingredients. Make a double batch for company, or halve it for a quiet night in. Either way, you’ll have a smooth, homemade vanilla pudding that feels like a small, delicious accomplishment.
Vanilla Pudding Recipe
Equipment
- Medium Bowl
- Medium Saucepan
- Whisk
- Fine mesh sieve
- Plastic Wrap
Ingredients
Ingredients
- 1/3 cupgranulated sugar
- 3 tablespoonscornstarch
- 2 1/4 cups2% milk or higher
- 2 large egg yolks
- 1 tablespoonsalted butter
- 2 teaspoonspure vanilla extract
Instructions
Instructions
- In a medium bowl, sift together the granulated sugar and cornstarch. Whisk in the cold milk and the egg yolks until the mixture is completely smooth and no dry streaks remain.
- Pour the mixture into a medium saucepan. Cook over medium heat, whisking constantly and scraping the bottom and sides of the pan so nothing sticks.
- When the mixture thickens and comes to a gentle boil, continue whisking and cook for 1 minute more to fully activate the cornstarch.
- Remove the pan from the heat and immediately whisk in the butter and vanilla until the butter is fully melted and the pudding is smooth.
- To serve warm: let the pudding cool 5–10 minutes and serve. To chill: transfer the pudding to a bowl, press plastic wrap directly onto the surface to prevent a skin, and refrigerate at least 2 hours before serving. If any lumps remain, optionally strain the pudding through a fine-mesh sieve before covering.
Notes
Make ahead of time.
Make this vanilla pudding recipe from scratch 1 day ahead of time and store it in the fridge, place a piece of plastic directly on top of the pudding.
STORE.
This leftover recipe for homemade vanilla pudding can be covered and stored in an airtight container in the fridge for up to 3 days.
FREEZE.
While you can freeze pudding it will not thaw well so instead use popsicle molds to make some vanilla pudding pops.