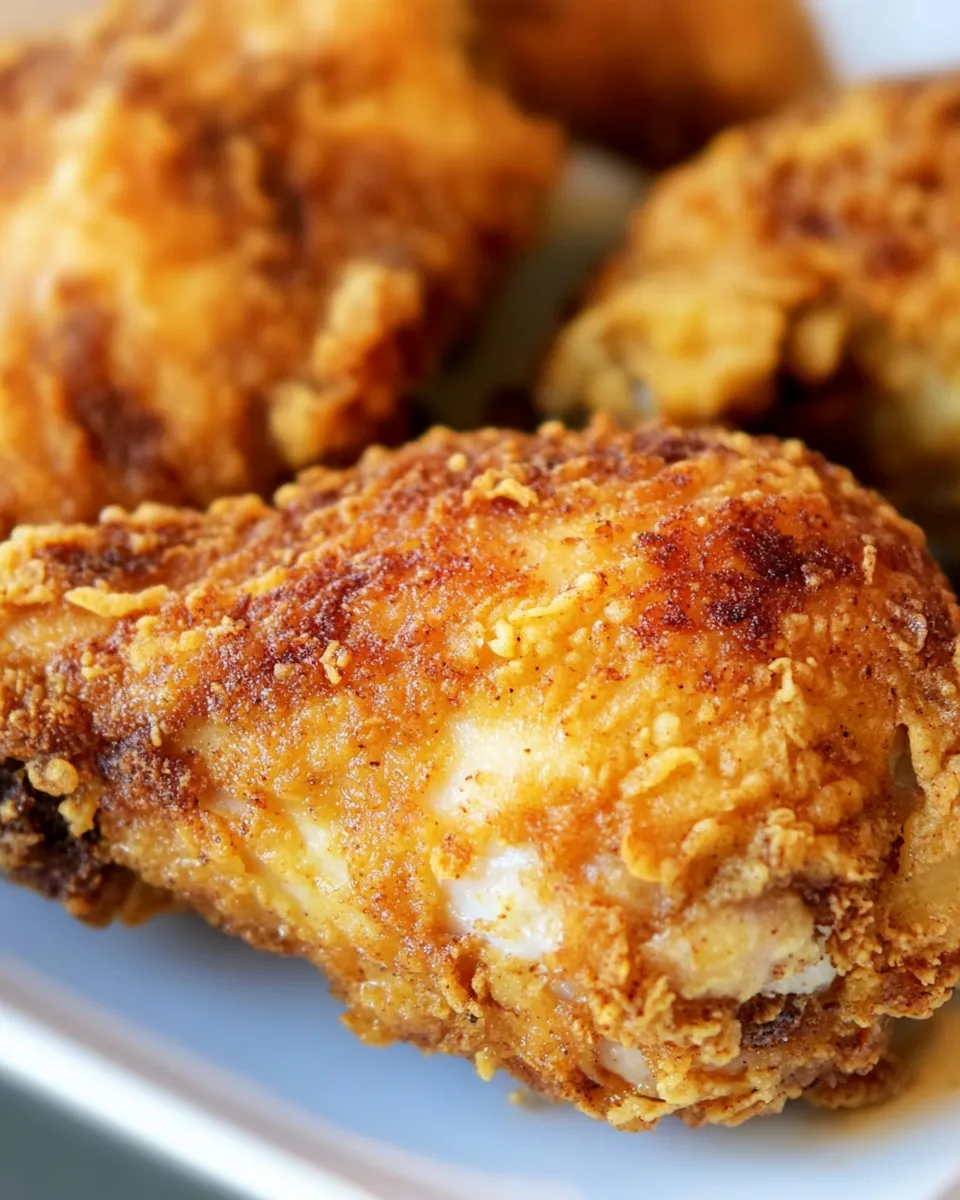
Fried Chicken
Pan‑fried seasoned chicken thighs cooked in oil until crisp and cooked through.
Equipment
- gallon-size zip-top bag
- large deep skillet
- Paper Towels
Ingredients
Ingredients
- 8 mediumchicken thighs with skin
- 3 cupsall purpose flour
- 1 tablespoonblack pepper
- 1 tablespoonsmoked paprika
- 1/2 tablespoonsalt
- vegetable or canola oil for the frying pan
Instructions
Instructions
- Place 3 cups all-purpose flour, 1 tablespoon black pepper, 1 tablespoon smoked paprika, and 1/2 tablespoon salt into a large gallon-size zip-top bag; seal and shake briefly to combine the dry mix.
- Add the 8 medium chicken thighs (with skin) to the bag, seal, and shake until each piece is evenly coated with the seasoned flour. Work in two batches inside the bag if needed so pieces coat well.
- Pour vegetable or canola oil into a large, deep skillet to a depth of about 1/4 inch. Heat the skillet over medium-high until the oil is hot and shimmering.
- Carefully place the coated chicken thighs into the hot oil, skin side down, leaving space between pieces (do not overcrowd — cook in batches if necessary).
- Cook the chicken about 10 minutes, turning as needed so all sides become light brown and evenly browned.
- Reduce the heat to low, cover the skillet, and simmer the chicken for 35 to 40 minutes, turning each piece at least once or twice during that time.
- Remove the lid for the last 5 minutes of cooking to crisp the skin. Cook until the juices run clear and the internal temperature in the thickest part of the thigh reaches 165°F.
- Remove the chicken from the skillet, transfer to a paper towel–lined plate to drain, and let rest a few minutes before serving.
Notes
If you are unable to cover the pan tightly, carefully add 1 to 2 tablespoons of water to your frying oil.
You can also add the flour mixture to a bowl and dredge your chicken that way, but I have found the zip top bag method to be quick, clean and easy.
You can also add the flour mixture to a bowl and dredge your chicken that way, but I have found the zip top bag method to be quick, clean and easy.